Various Skil pack rebuilds --
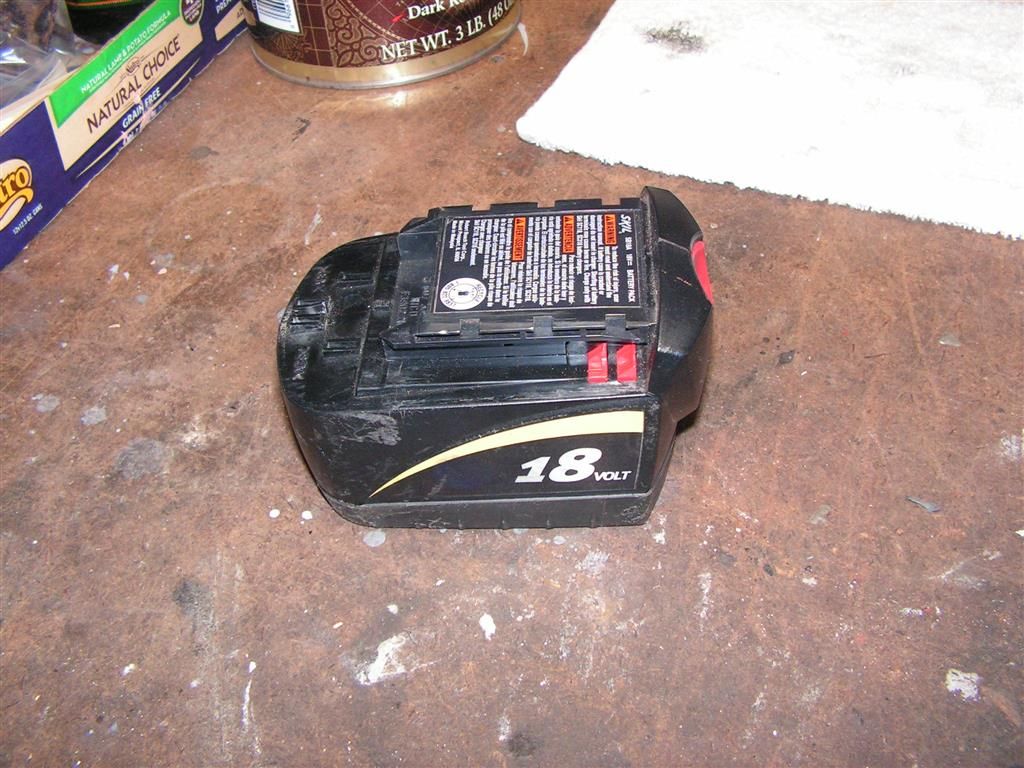
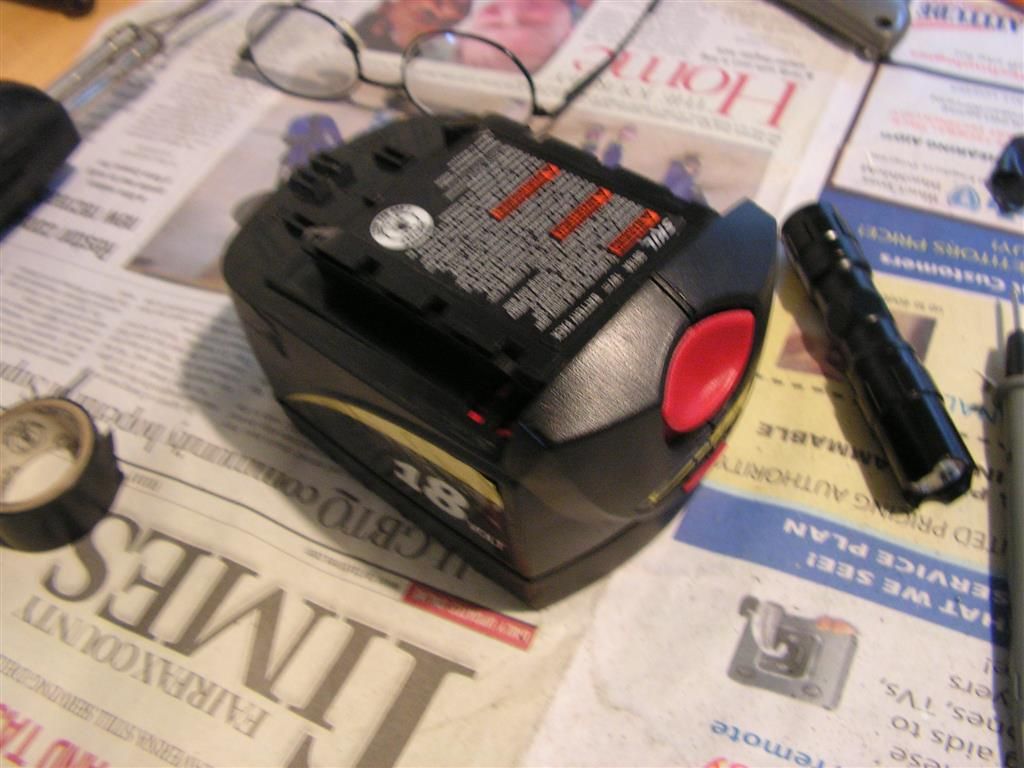
Here is a Skil 18v NiCAD battery pack. These packs DO NOT use standard Sub-C batteries, but rather the smaller 4/5 Sub-C batteries; so be careful when rebuilding various packs from different manufacturers. Even though they are 18v NiCAD, some are different with regard to battery size.
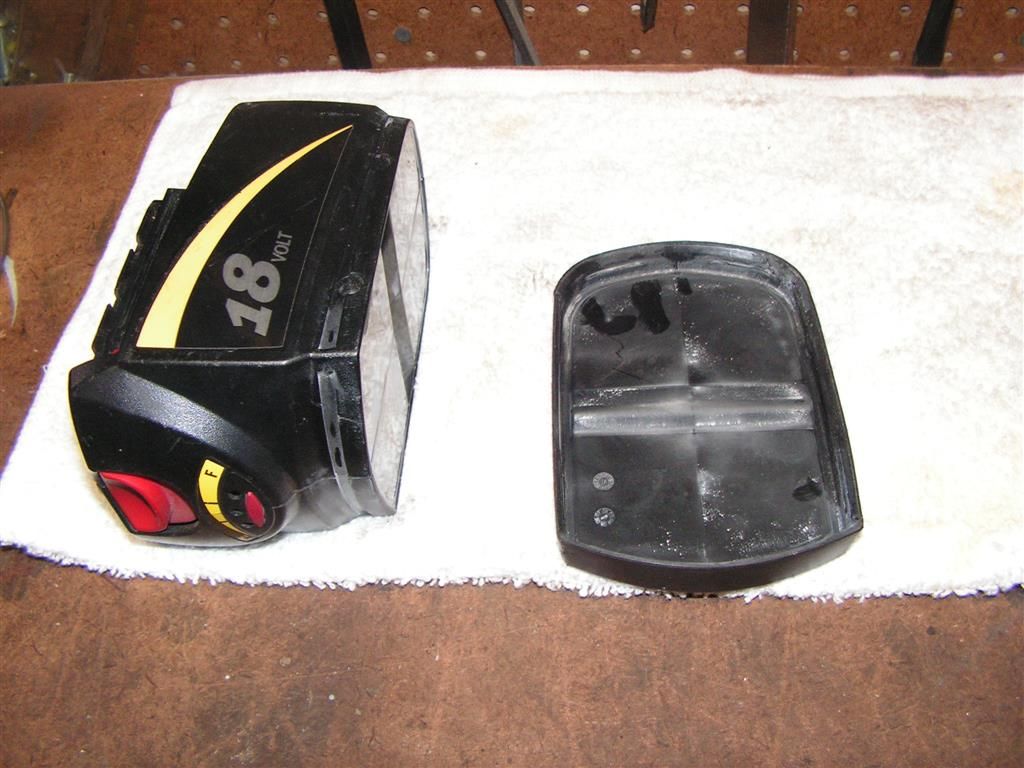
These packs are a bit more difficult to take apart because Skil has tried to make it so. First off, many of these packs (not all) have a scuff guard on the bottom. It must be removed and it pries right off
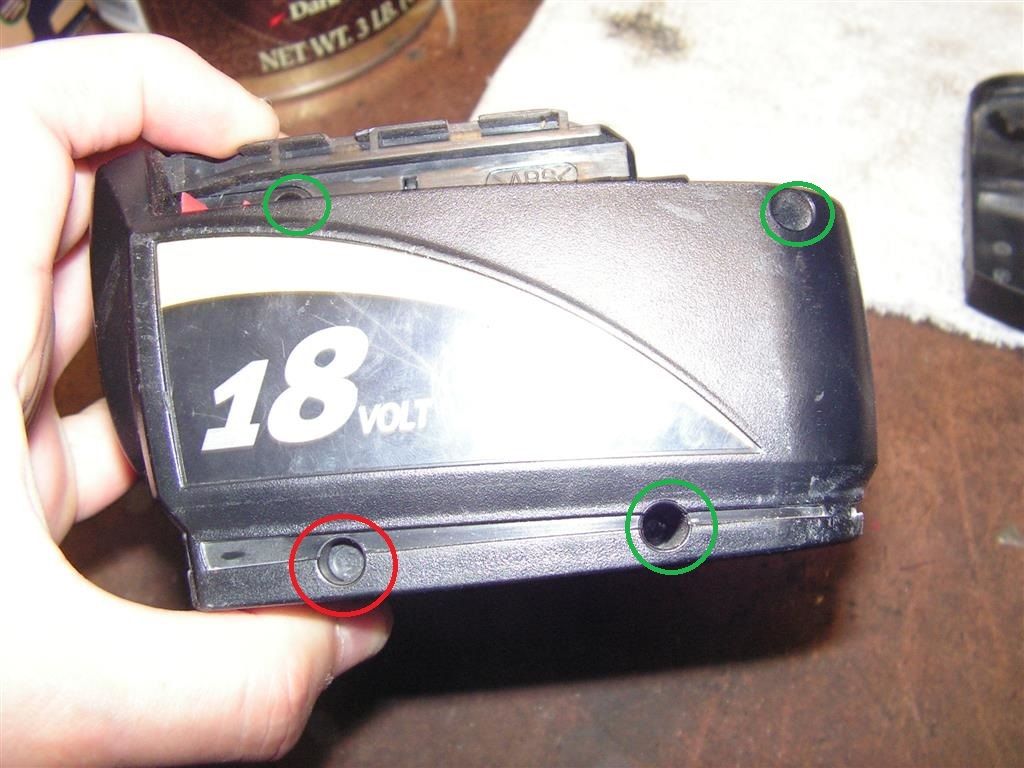
Next comes the hitch. There are three obvious screws that hold the case together in a clamshell fashion. I've noted them in green on the following pic. The screw are Torx 15. However, there is another hidden screw right under the plastic plug that's circled in red. Punch out and break the plug material to get access to the remaining screw.
Now the case should split open. Some Skil batteries have the "Power Level" indicator, and some do not. Other than cutting the level decal up the middle with a razor blade to make splitting the case easier, there is no difference in the 18v NiCAD packs.
To split the clamshell case, depress the battery holding tangs on each side of the pack and pull it apart. It should split easily --
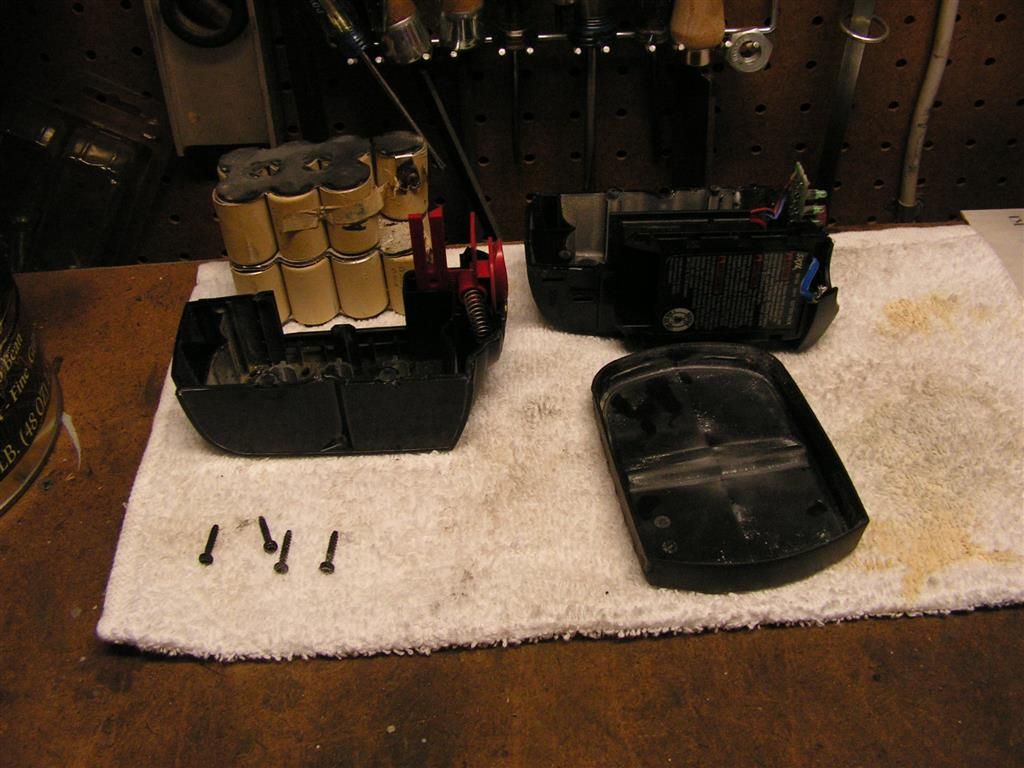
This is what you wind up with --
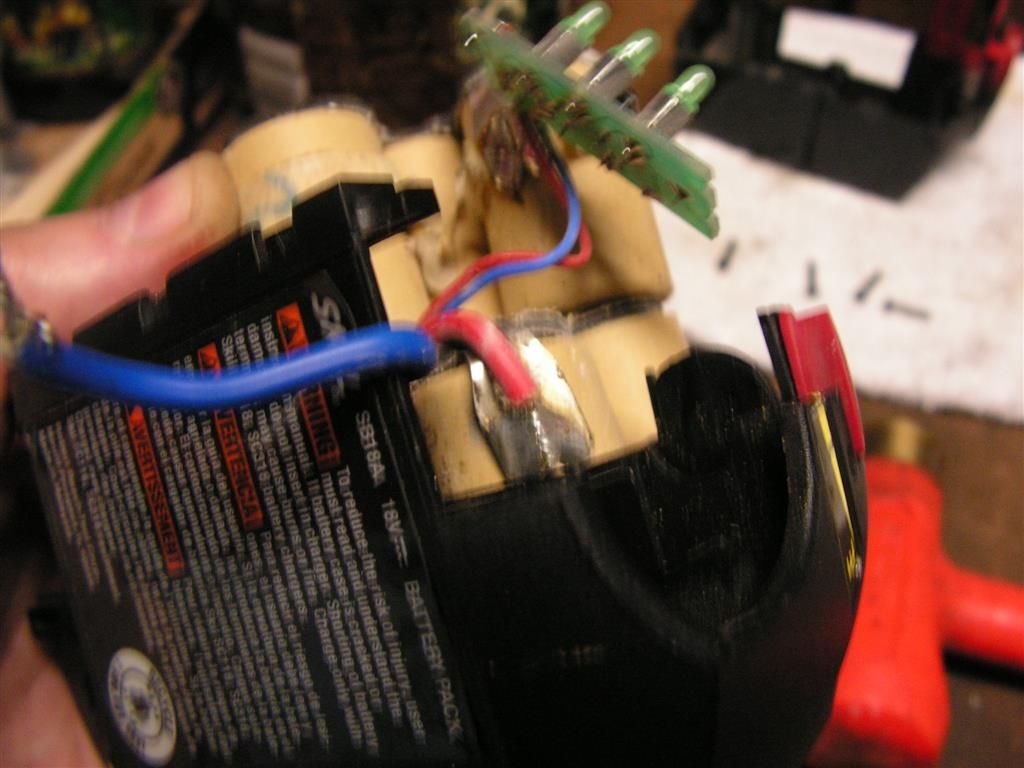
Now before the batteries can be removed, the two leads need to be desoldered
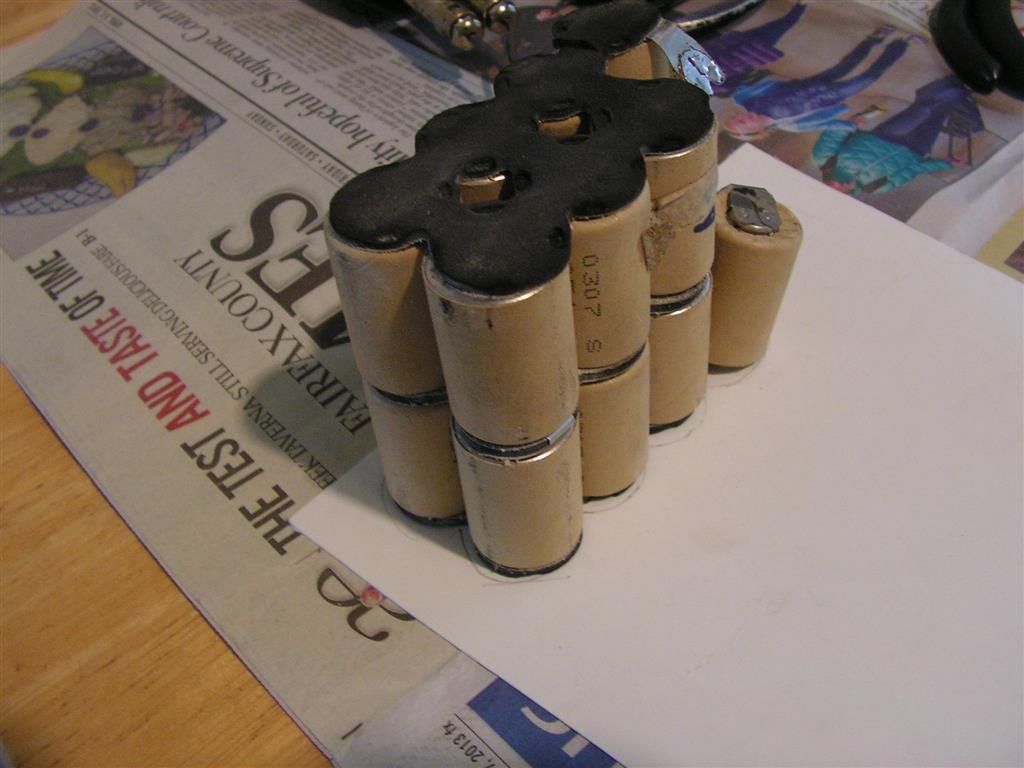
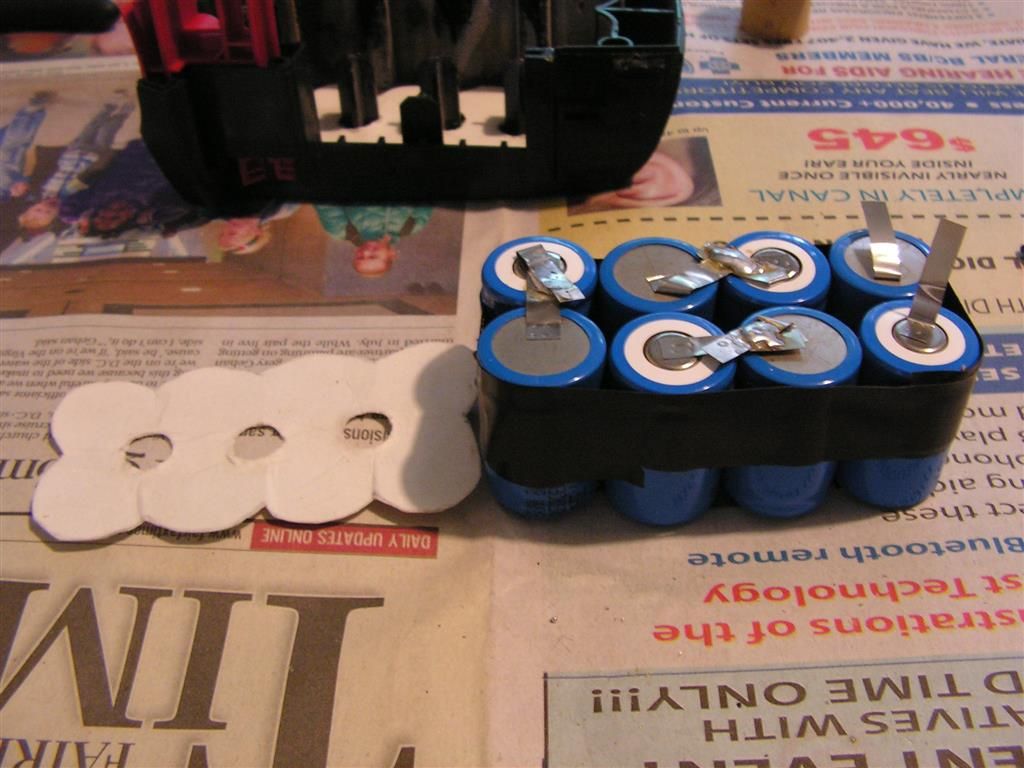
Now the pack can be removed and disassembled. The insulation cards on these things are a foam padding that is glued on, so there's no way to save it for reuse, but be can use cardboard paper for our own reassembly.
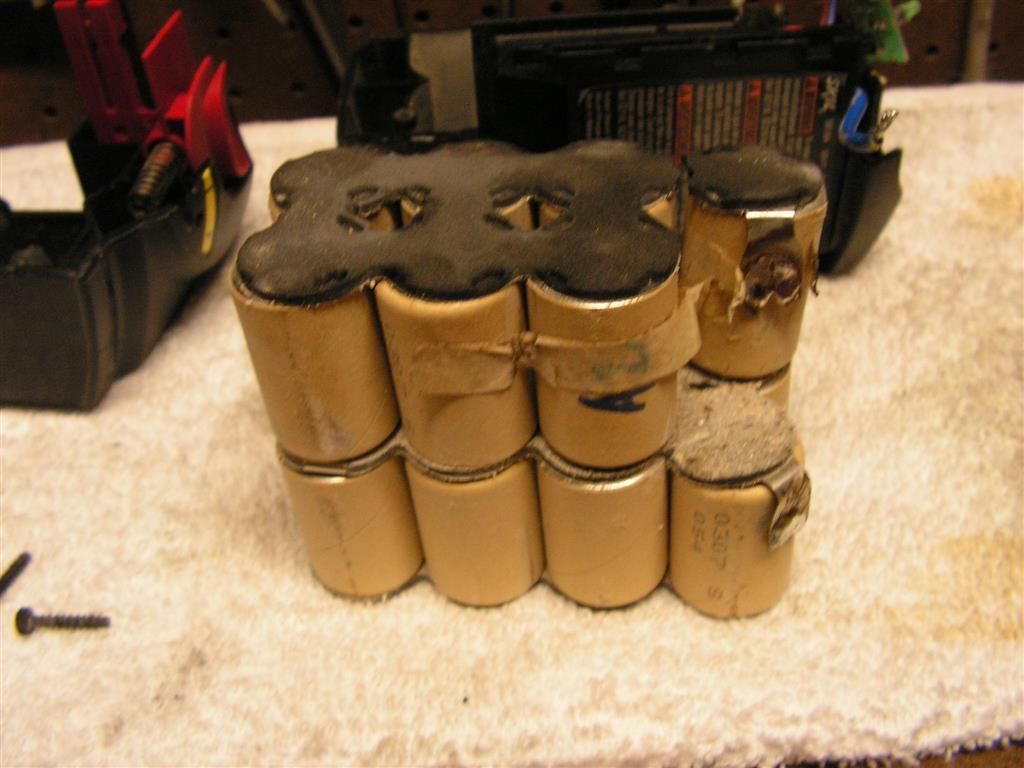
Here's the entire unit contents --
I ordered the batteries today (Fifteen 1600 mAh 1.2v batteries ), and we'll rebuild this pack when they arrive from HongKong-- LOL -- whenever that may be. There were no value priced higher mAh batteries available on eBay, so I stuck with 1600. I don't know the OEM spec mAh rating, but I suspect it's 1200. The markings on the OEM battery aren't clear as to what the OEM used.
Besides, the Skil 18v chargers are really a cheap design and would probably overheat or even burn up if a higher mAh battery charging load were to placed on them. So I'm being cautious on these packs.
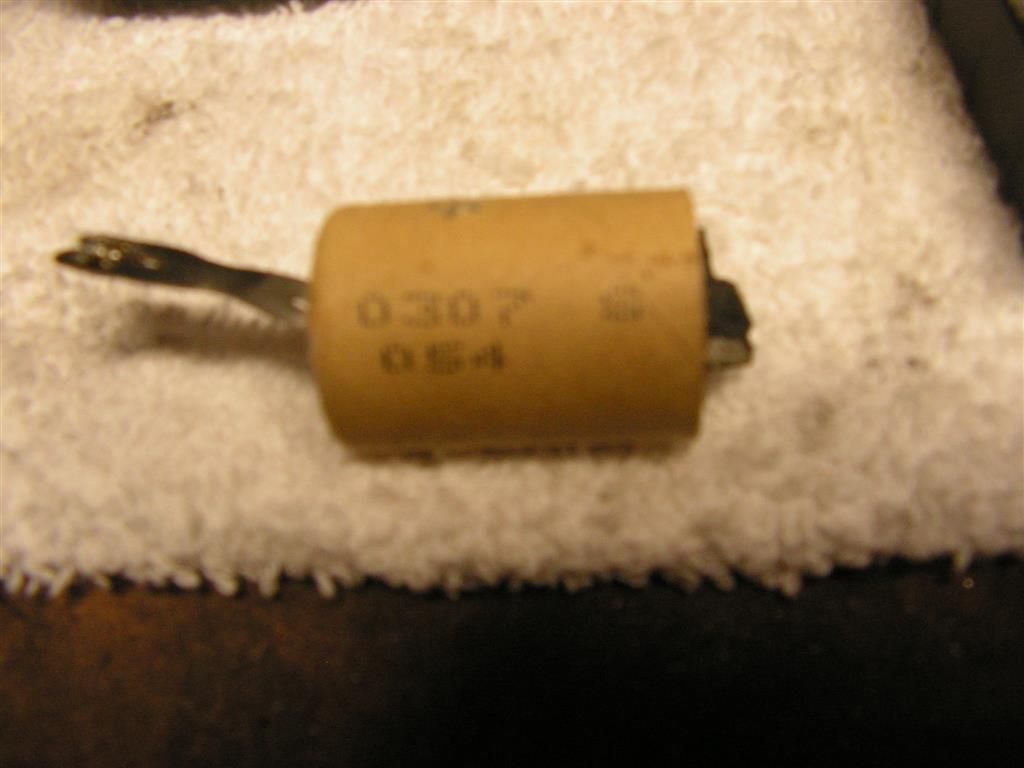
Again, these are 4/5 Sub-C batteries, NOT the standard Sub-C versions shown in the previous battery pack repair posts.
Ok -- today the batteries arrives; 15 x 1600mAh -- total was $21 incl. from an ebay special. Prices fluctuate widely on ebay and if you watch closely for a week, the competition in this market space will get you some great deals. Case in point, I ordered 30 more 4/5 mAh batteries from a HongKong supplier for $36 incl. shipping -- It was a one time deal, and now the same supplier is back at $44 for the same items.
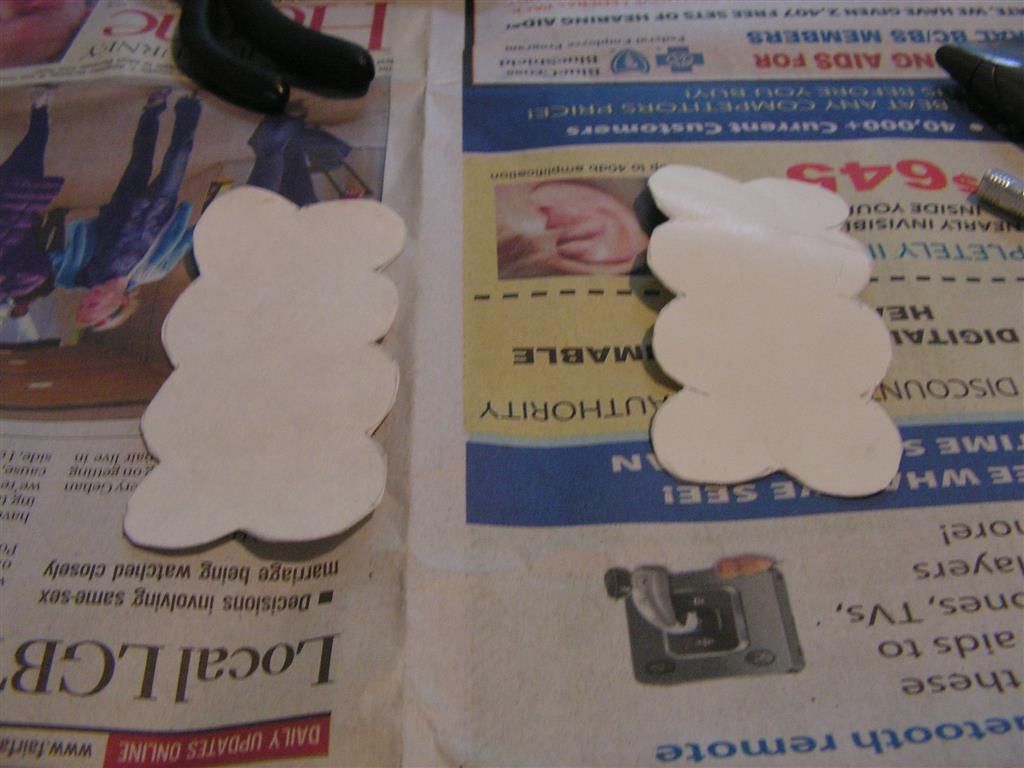
First thing to do was to make some insulating shields. Simple enough; just take some poster board and copy the outline. Cut it out and use a gasket hole punch to make the center holes. These holes are needed to allow for the internal plastic battery case reinforcement tabs. The holes can also be made with an Exacto knife -- so don't fret if you don't have a gasket punch. You need three of these shields.
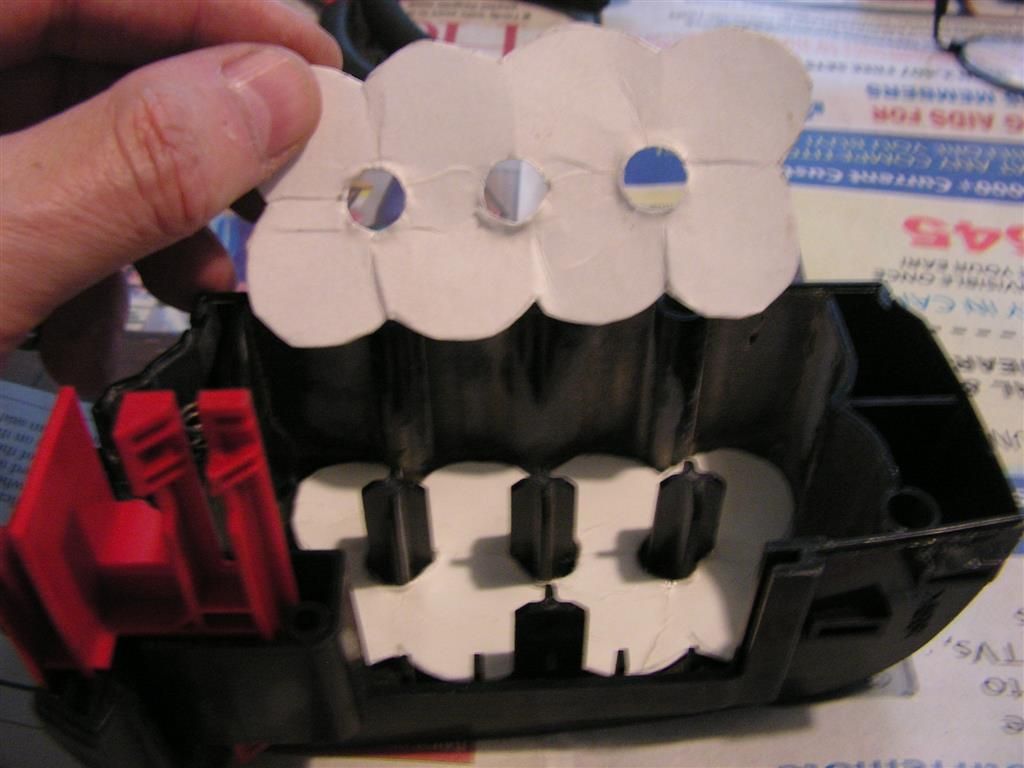
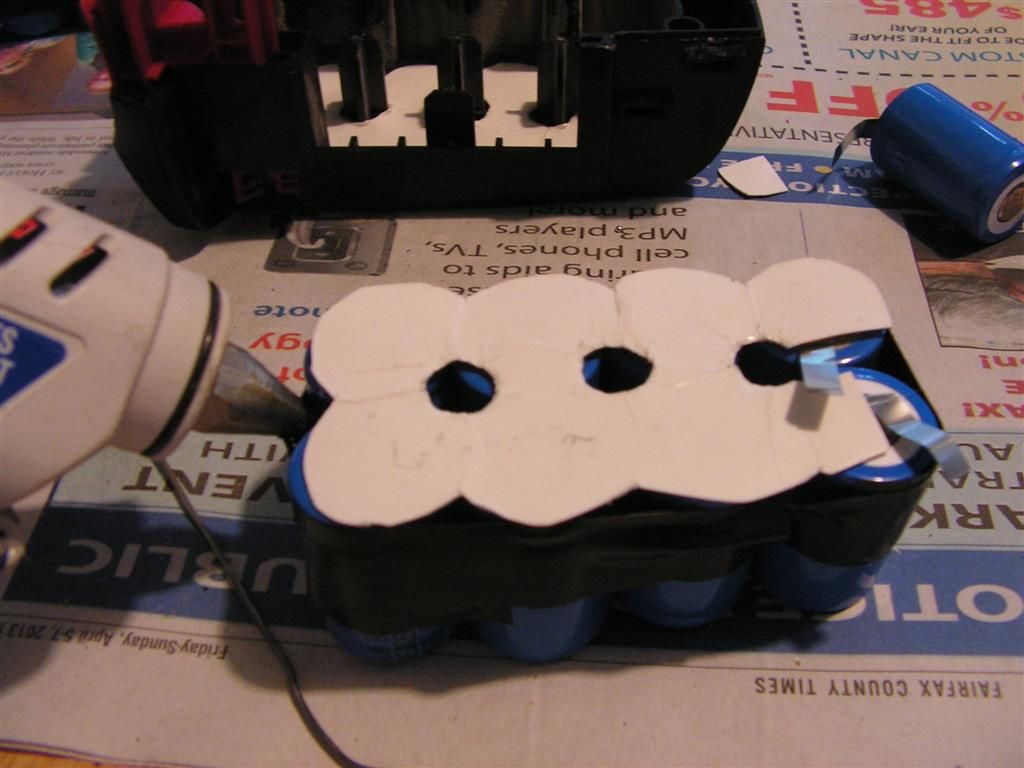
Now I use one of the shields as a pattern to arrange the batteries in series and to position the tabs for soldering. To keep everything temporarily aligned, I tape the batteries with electrical tape. On some battery packs there is enough room in the case so the tape can be left in place. Unfortunately, these Skil cases are tight, so the tape will have to come off before reassembly.
Once the lower layer is positioned and soldered up, the upper shield is glued in place with hot glue and the top layer of batteries are soldered in place. The important thing to remember is that the batteries are connected in series and even tough they are stacked, the batteries must be properly connected so that you end up with only one + (pos) and one - (neg) tab at the end of the entire process. Make a diagram if you have to, to help with the soldering pattern.
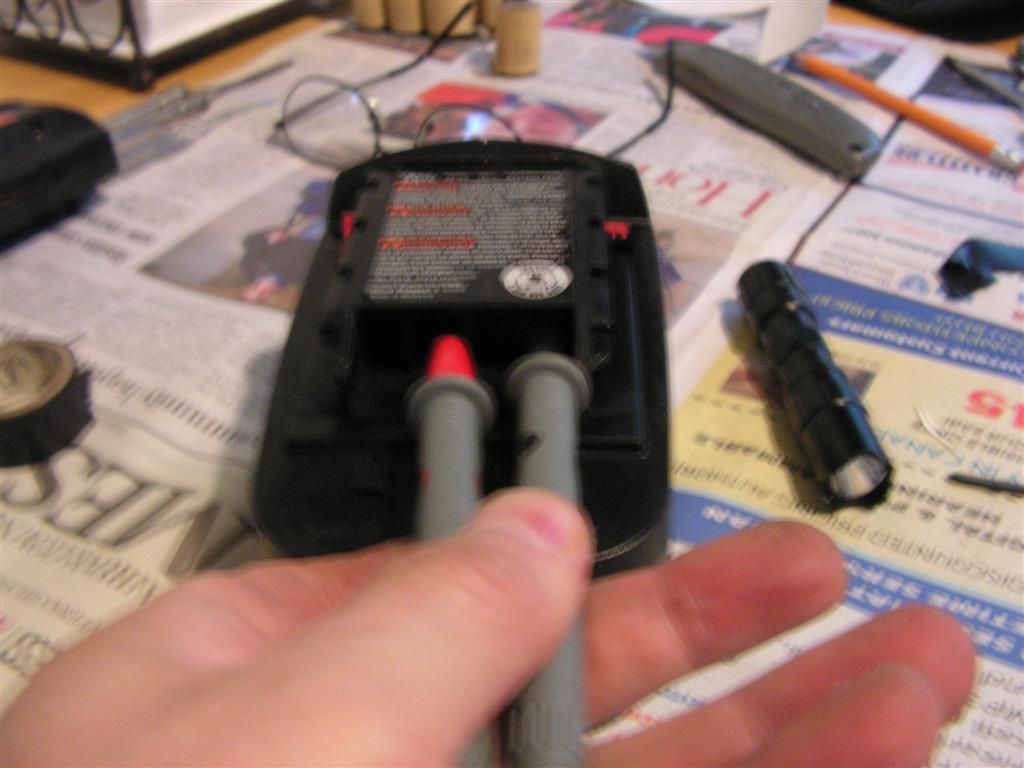
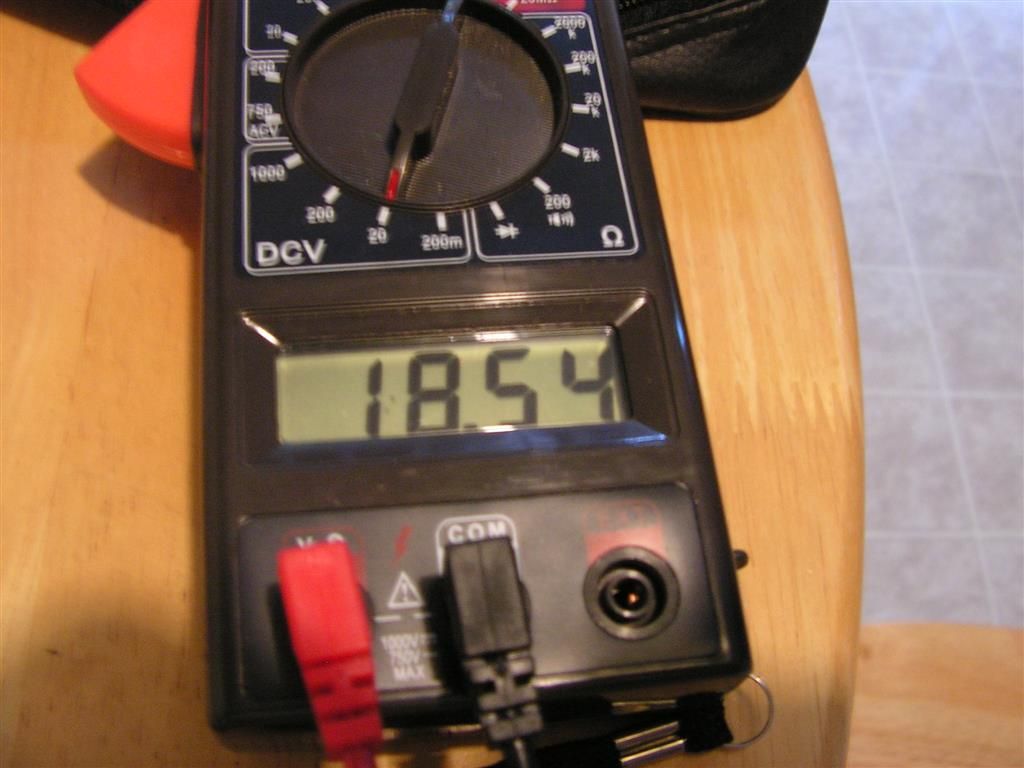
Now comes the important part. Once the batteries are properly soldered in series; first test them to see if you actually have about 18v of power. If not, the you soldered something wrong, or you missed a solder joint. If it's a short, you should have smelled it by now!! --LOL
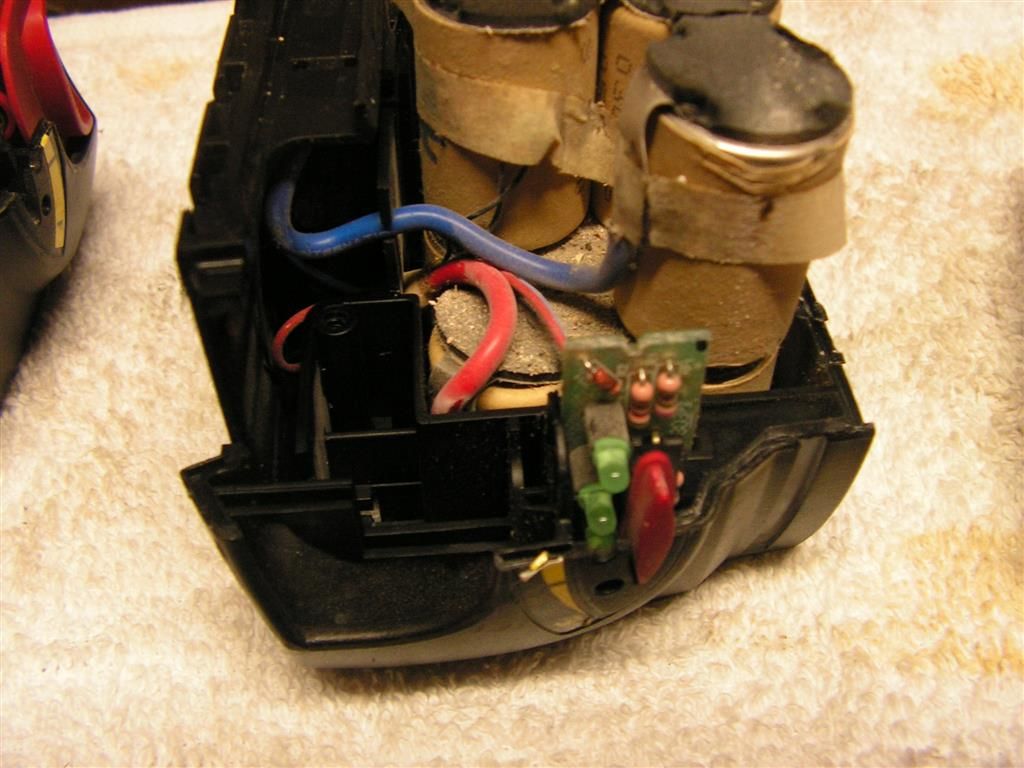
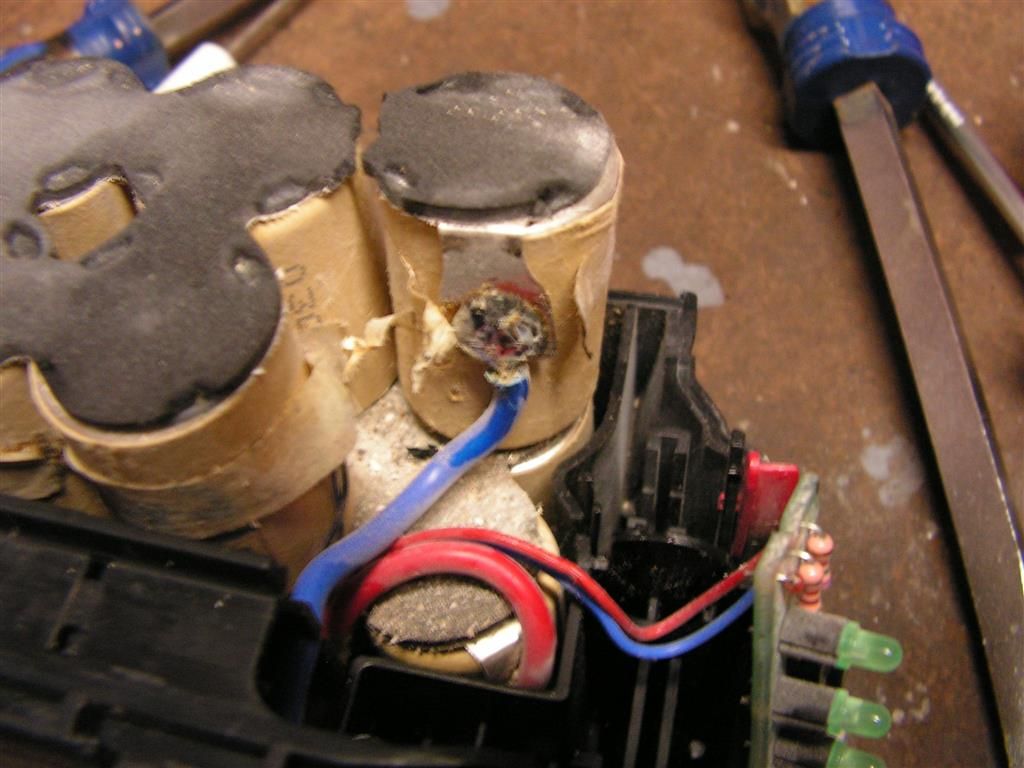
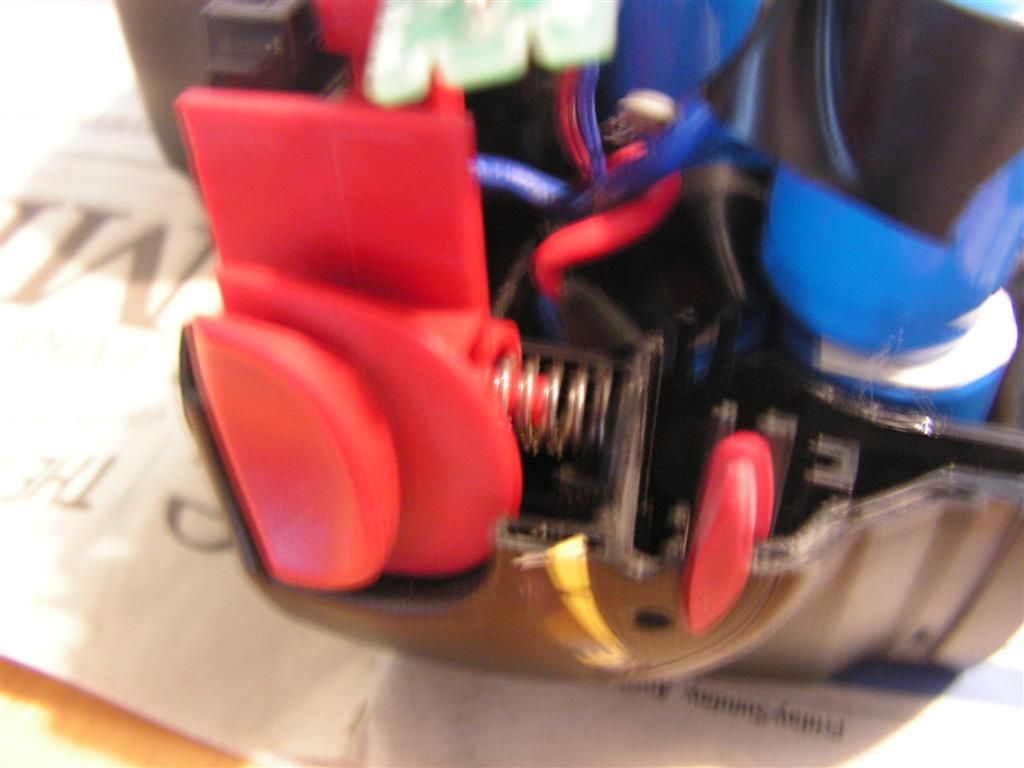
The soldered batteries MUST be installed into the side of the shell that has all the wiring attached. That way the batteries will be properly oriented for making the connections. The red wire in the shell gets soldered to the +(pos) battery tab, while the blue wire is soldered to the -(neg) battery tab. Depending on your soldering skills, a bit of electrical tape to protect the soldered tab ends may be called for to prevent a short. The space is tight --
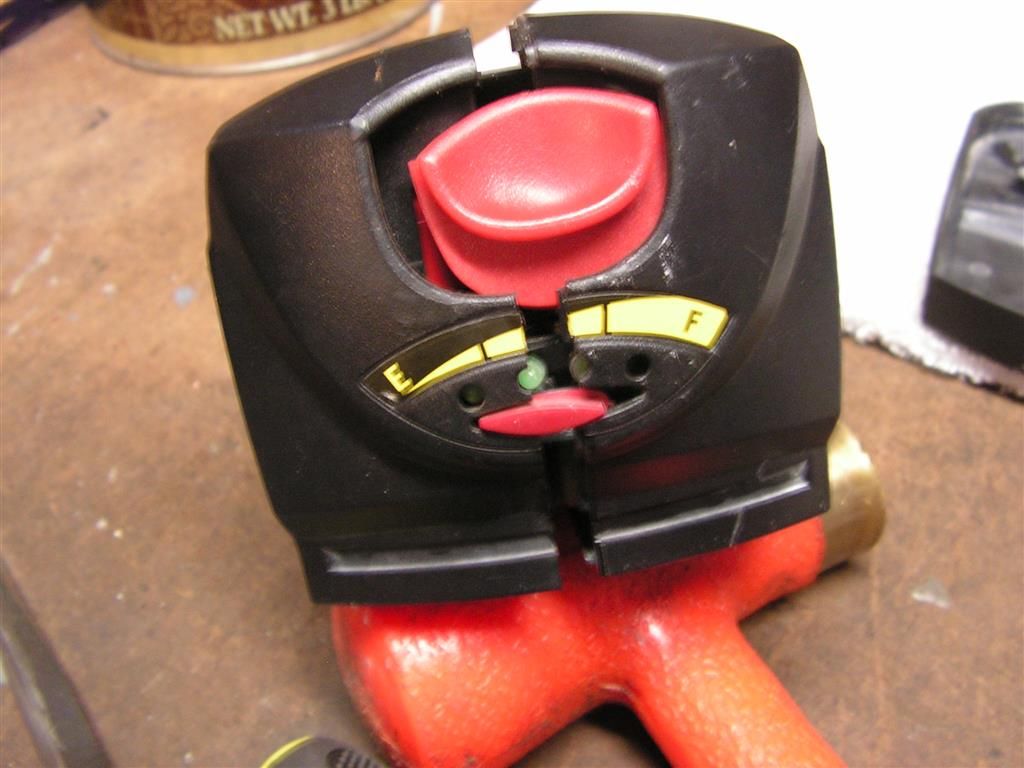
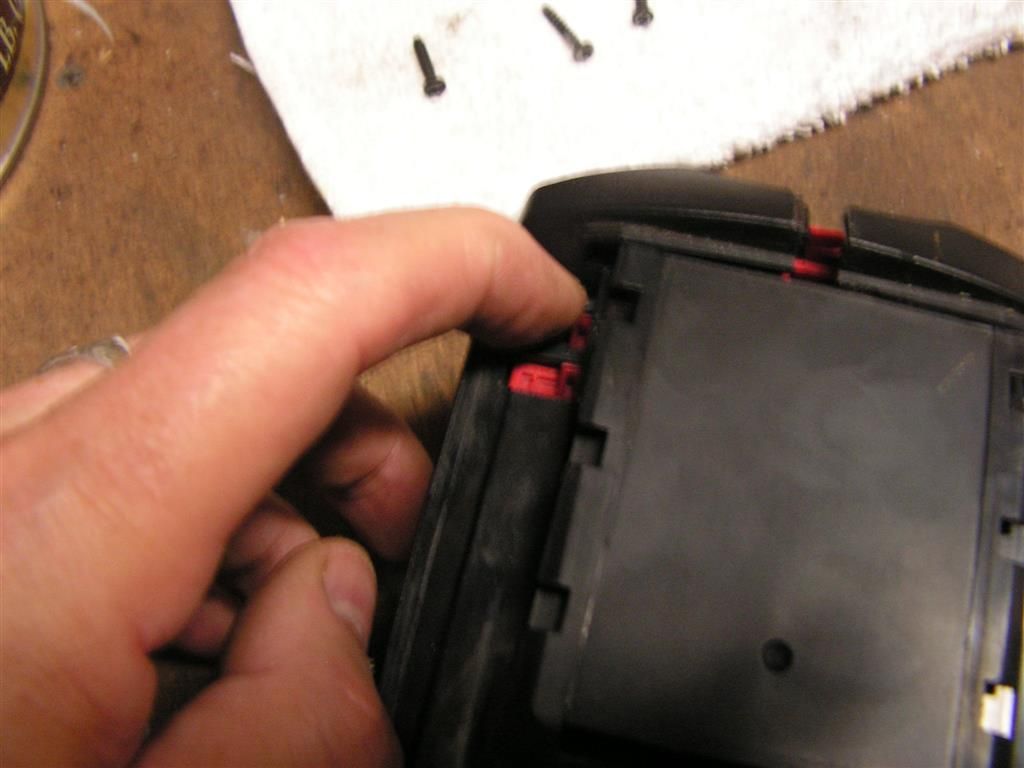
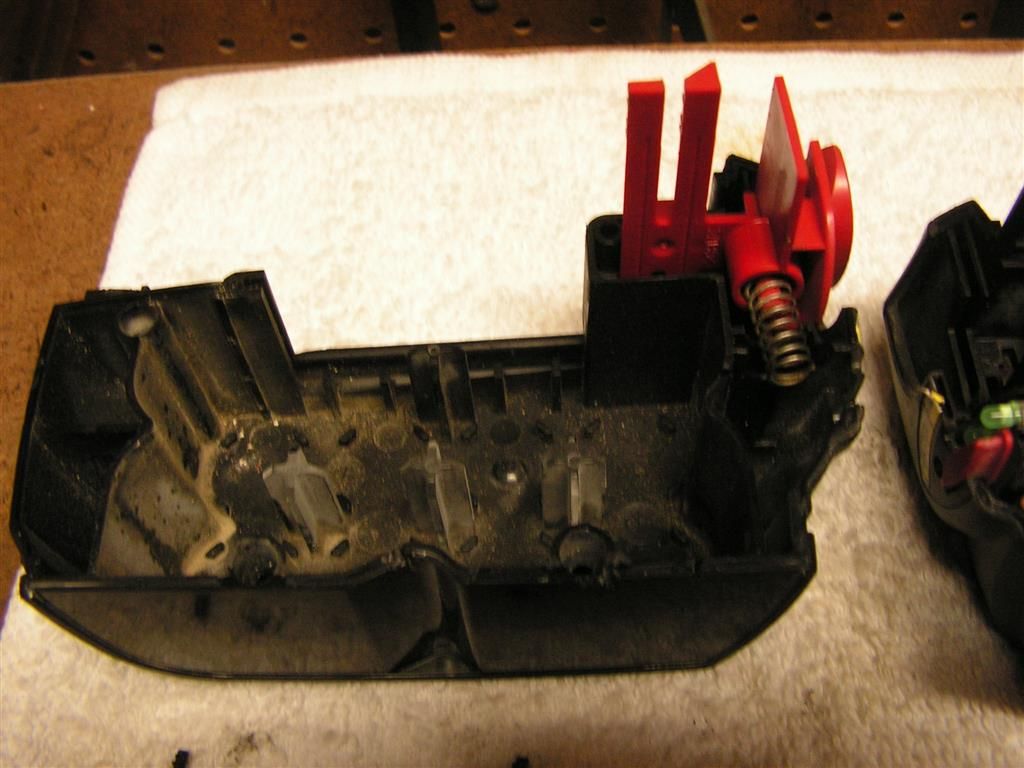
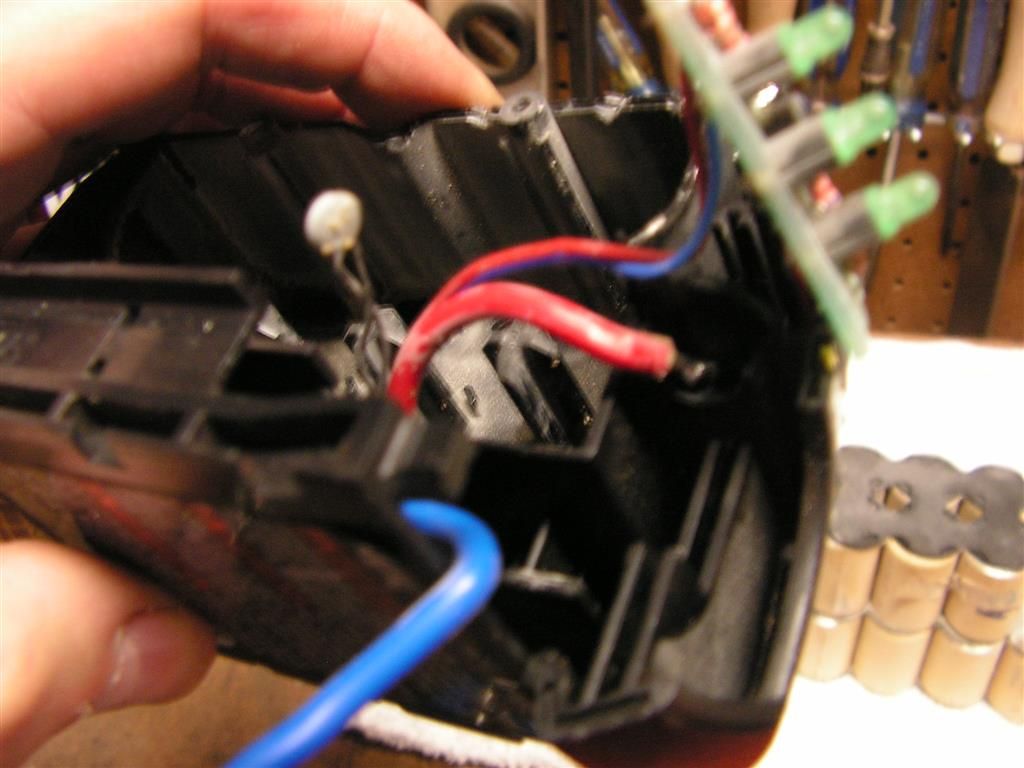
Now the next pic show the proper orientation of the locking switch for the battery pack. The spring must rest against the spring stop, and only the wired side of the battery shell has the stop molded into position. You can't position the lock on the opposite shell because you'll never get the lock spring to stay in place.
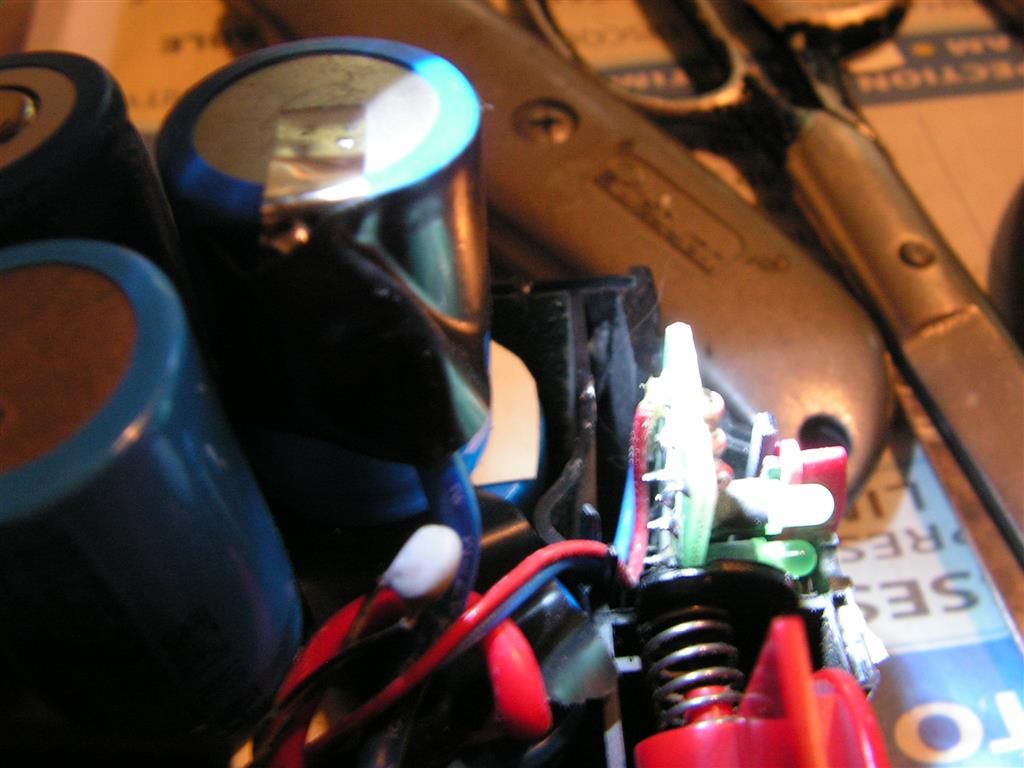
Next, install the small "Power Level" circuit board -- this just slides into two runners. Very easy to do, but almost impossible to photograph, so just trust me, you'll know where that little chip must reside.
Now, do a quick check to see if you still have at least 18v power coming from the batteries -- a little higher is OK. The surface charge on these batteries will usually indicate a bit higher than 18 volts. This is it; time to install the other side of the clamshell battery pack casing. Leaving the wired side of the case lying on a table, slide the other side on top.
In order for this side to match up, you MUST pull the battery pack lock downward so the tabs will clear the side that your trying to install. Don't force anything, and take your time. These packs are tight so be careful. Better to try several times rather than pushing too hard.
Once the two shells come together, and before you screw them together, check the voltage one more time --
If everything checks out, screw the two sides together and call it a "job well done"!!
Good luck!


