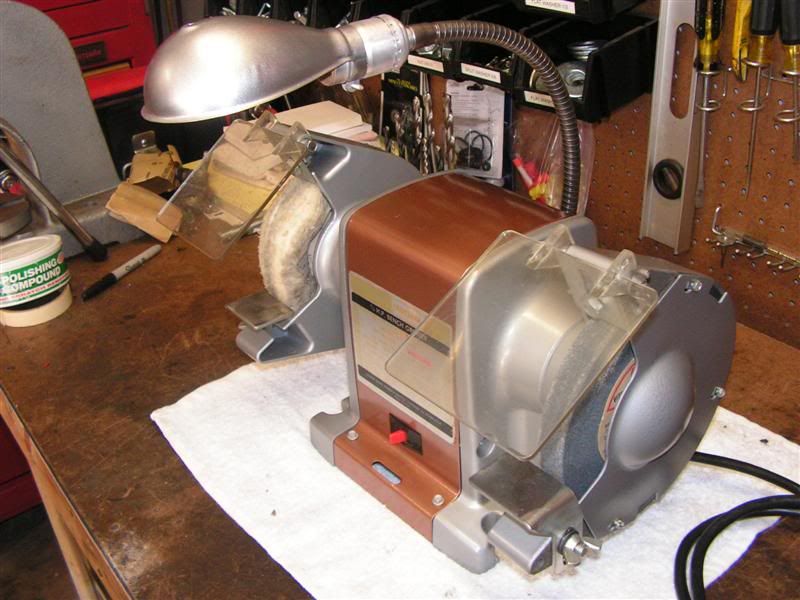
So this project is to form and fabricate a left side cover for my new bench grinder that I received a few days ago. It needs a mirror image of the right side cover which includes forming a concave pocket that accomodates the motor shaft. Here is the thread for that project --
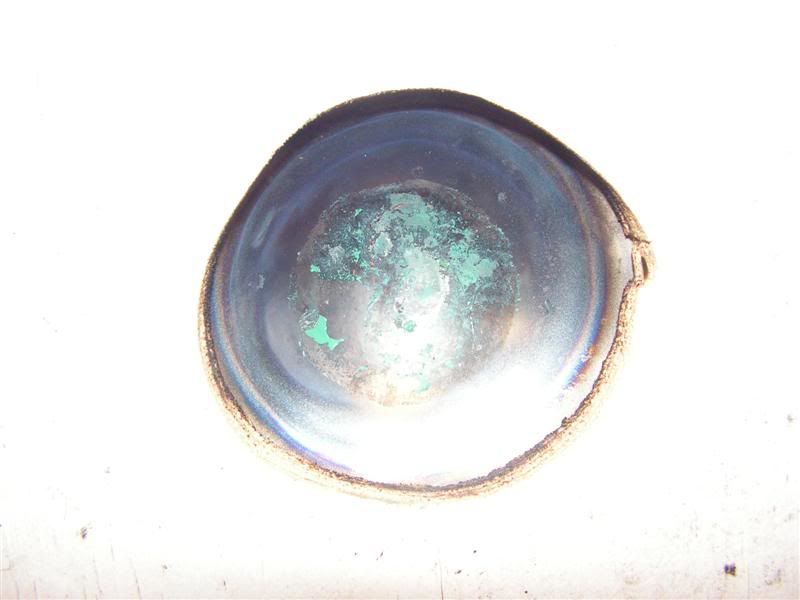
http://garagegazette.com/index.php?topic=137.0Specifically I need to make this outer wheel cover -- but for the left side. The big challenge is to form that characteristic bulge in the middle of the cover so that the motor shaft has clearance.
Basic tools needed are a set of files (round, square or flat bastard), a jig saw with wood blade, a drill and bits up to 1/2", aviation snips (straight and right hand cut), basic hand tools, a hydraulic press for forming, and an O/A torch for heating sheetmetal.
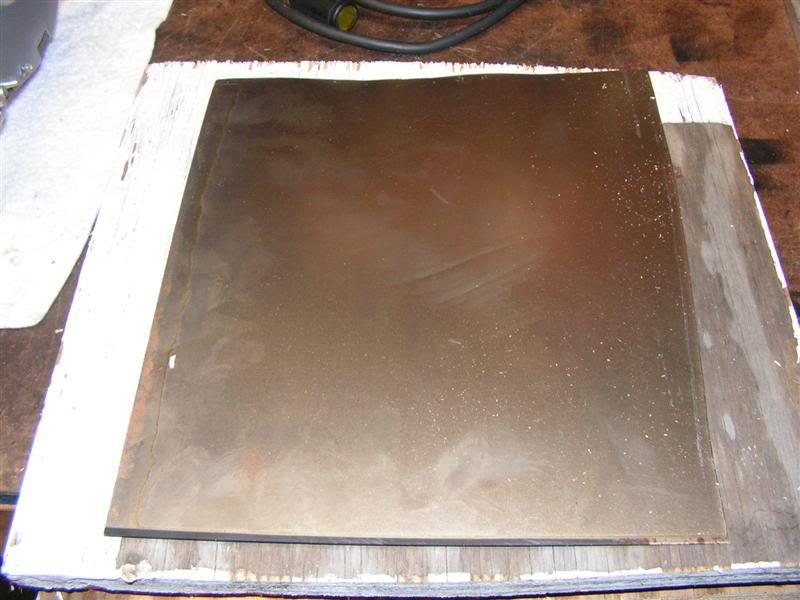
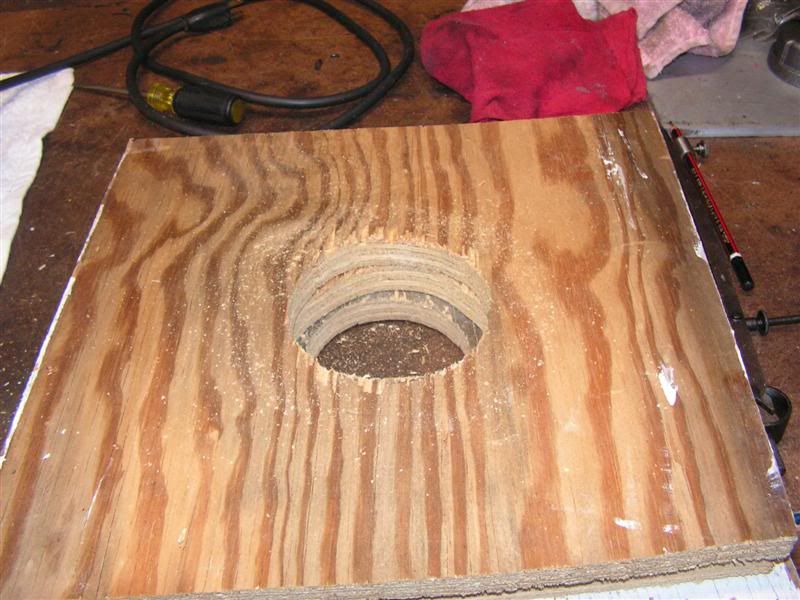
First I cut a blank piece of 18 ga. sheet about 10" square. Then I made some 12" square (roughly) plywood forming frames to sandwich the sheetmetal for the forming process. 18 ga and thinner sheet can be formed easily using plywood framing techniques. I rough cut three pieces of scrap 1/2" plywood and layed out the approprate diameter. In my case I needed a 3-1/4" diameter and using a compass I layed out the pattern on each sheet of plywood.

Next I sandwiched the sheetmetal blank between the first and second layer of plywood, because I need the two lower layers of plywood for strength. Once sandwiched, I drilled the four holes through the entire stack of plywood and sheetmetal, and fastened the entire frame with 3/8" bolts.
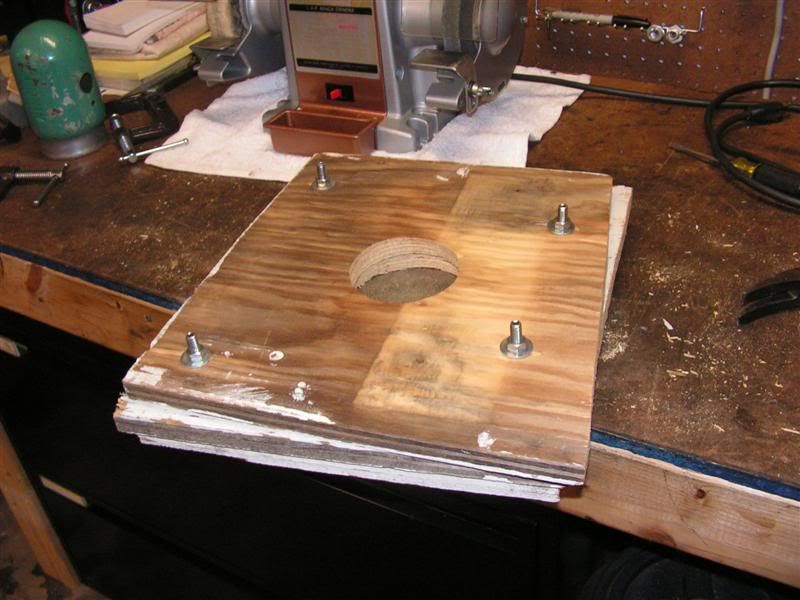
The steel sheet is now securely fastened and the top plywood hole can be used as a guide for the forming die.
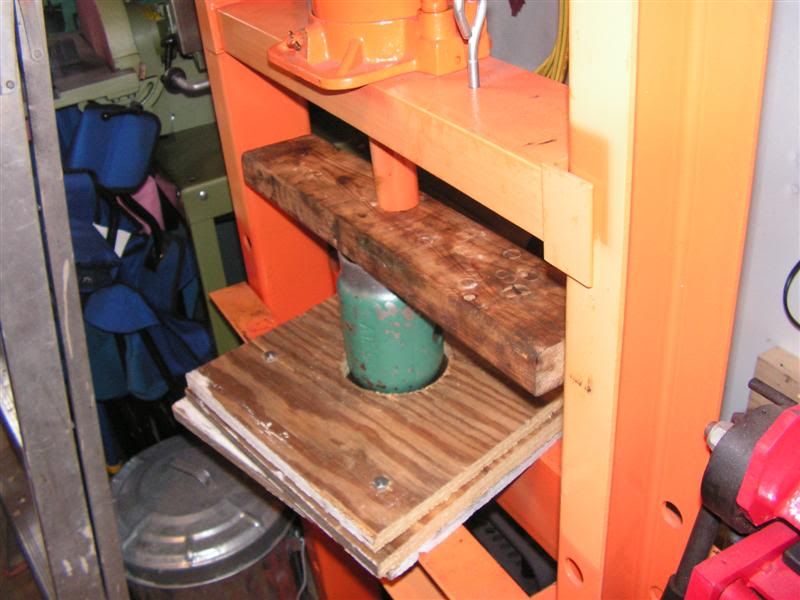
Luckily I found that a compressed gas bottle safety cap has approximately the same diameter as the required concave "bulge" of the cover and so I utilized this cap and proceeded to make a first push with my 20 ton hydraulic press.

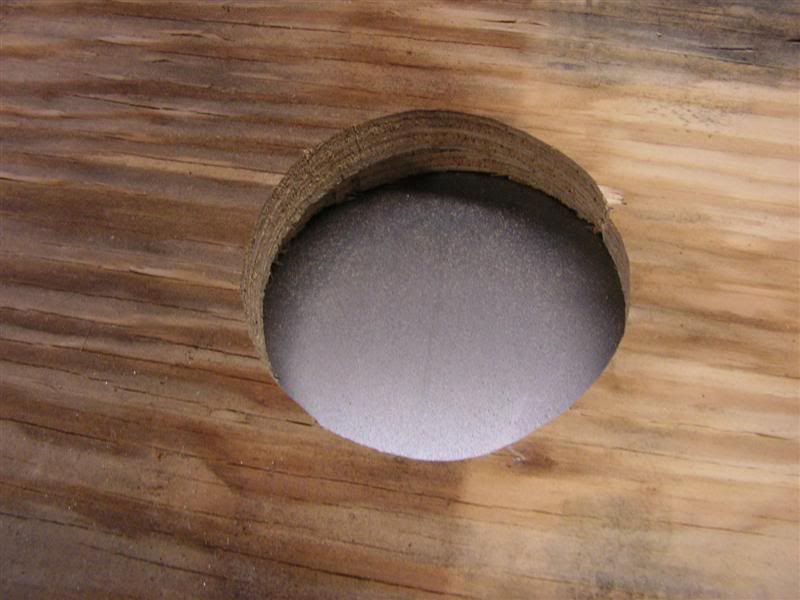
Looking from the top and bottom of the frame, you can see that the safety cap worked very well and is starting to form a bulge.
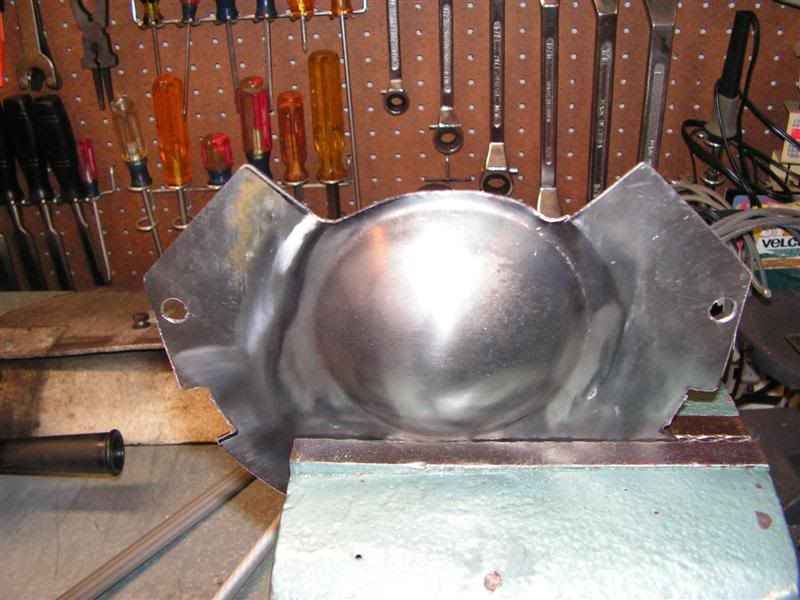
However, to make a more serious impression, I took the frame and immersed it in water for about 20 minutes to let the plywood soak up moisture. After 20 minutes I set the frame on the press and proceeded to heat the bulge with a #3 welding tip on the O/A torch. It takes just a few minutes to heat up and discolor, but once you see some even red color in the bottom, STOP and press the forming die into the frame one more time to stretch the metal to the required depth desired. In my case I heated and stretched twice, but for deeper pockets, more heating and stretching cycles may be needed.
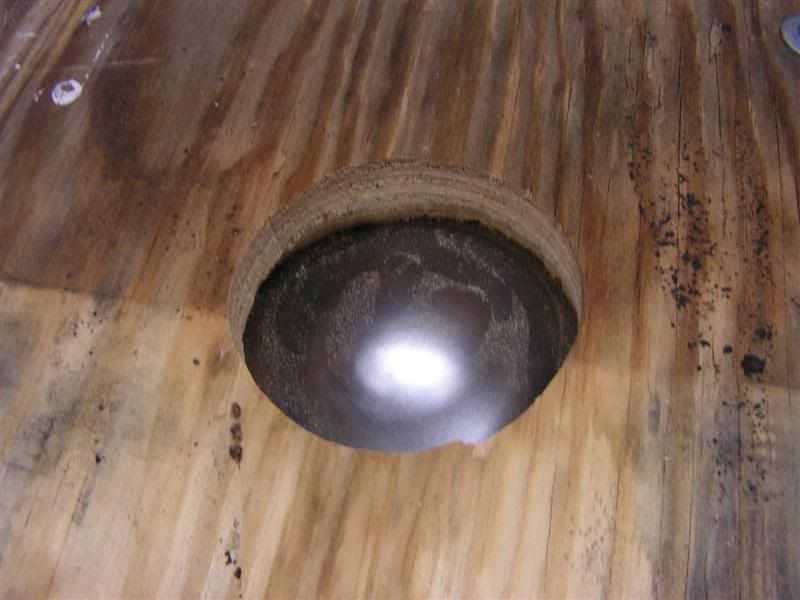
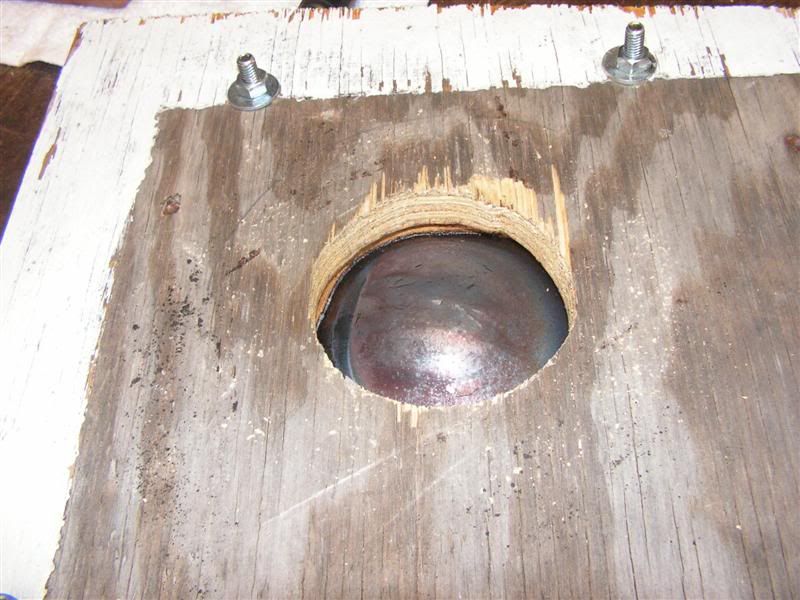
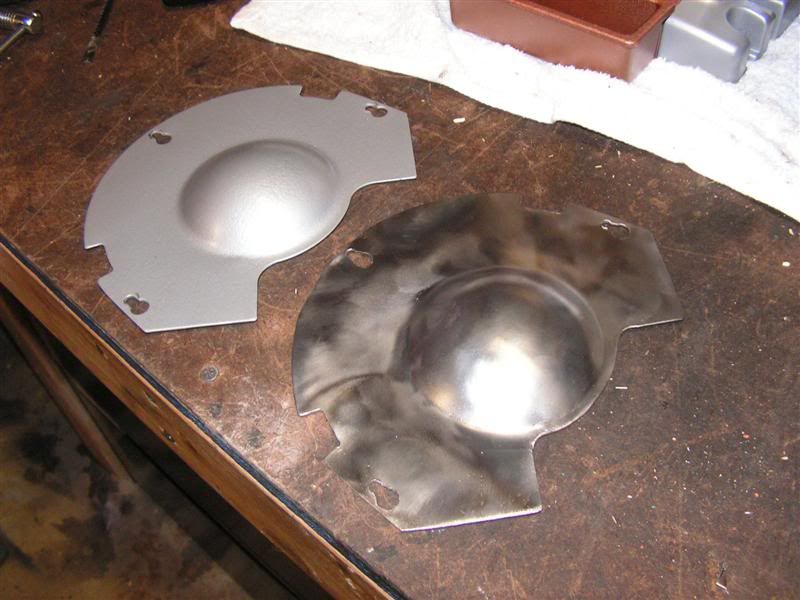
Notice the heat discoloration on the metal now --
....but it does produce a nice even pocket --

Now, using the right side cover as a template, I layout the lines for the left side.
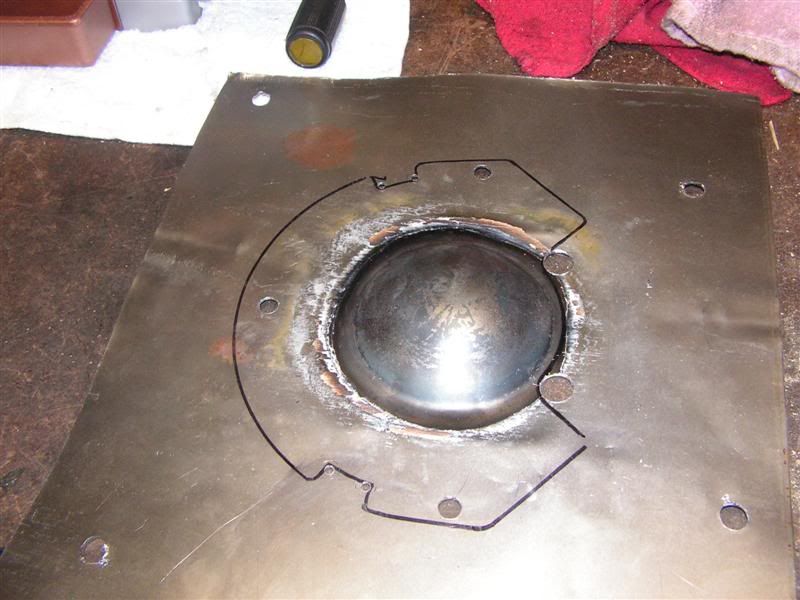
I use the snips to cut away MOST of the sheetmetal so that I can get within a 1/4" of my desired layout lines

NOTE: If you look close at the pics, before I start finish cutting, I use various drills of appropriate diameter to make holes that allow for curved tangent lines at square corners. Most all inside corners are first drilled to produce a round tanget before the cut is made with the snips.
Once the tangents are cut with the snips I use the hand files to smooth and blend the cuts.
Slowly the cuts are starting to blend and the cover takes on a quality shape. This hand fitting process takes time -- there are no short cuts to this hand fitting process.

Since both sides are interchangeable, I test fit the cover on the right. It still needed some more hand fitting and filing.
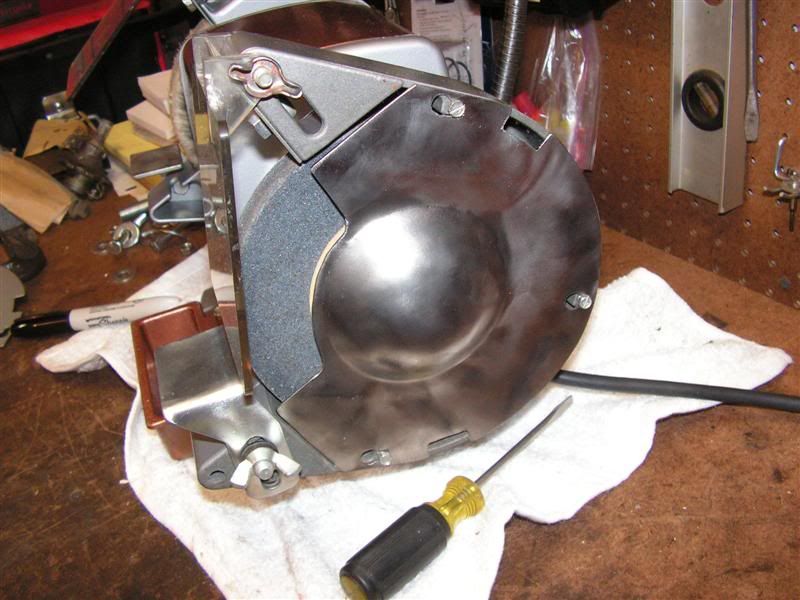
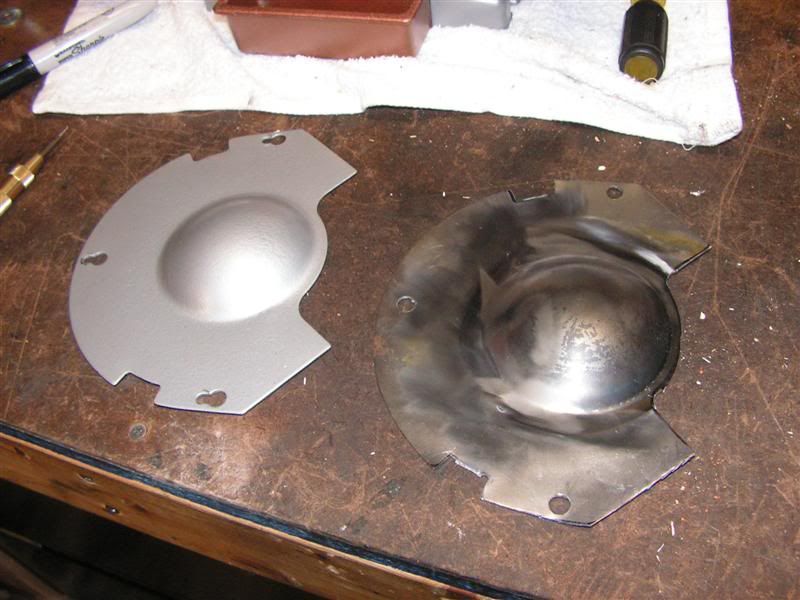
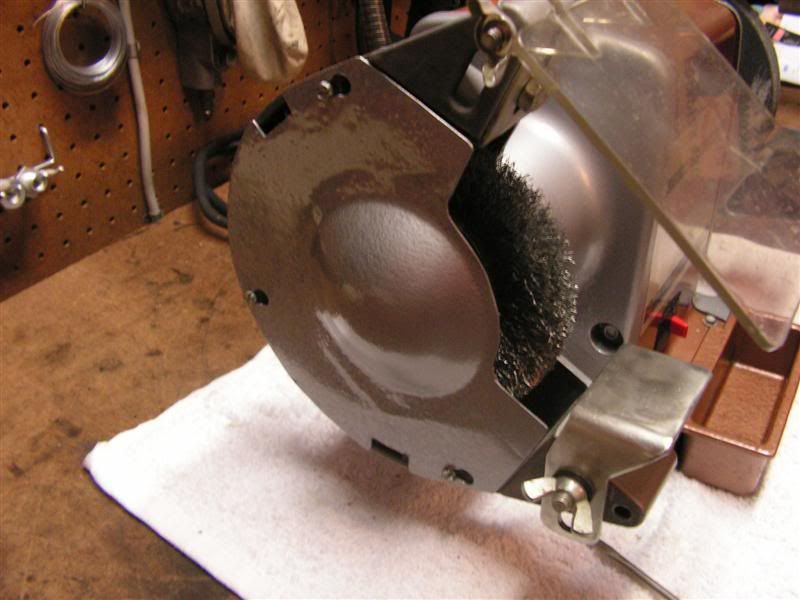
Once it fit properly, I painted the cover with Rustoleaum silver hammered paint and took one more test fit -- looks good!!!

Here is the new cover; all painted and works just as well as the other side.
Hope this will inspire some of you get out and "bang" some sheetmetal. With just a little practice and some basic tools, it's really not that hard.


