This is one of the jobs that snuck up on me. Changing plugs on the popular 3MZ-FE V6 is not easy. That's why most people put it off for so long. In my case I was under the impression that this service was done some years ago when my wife took the car in for an intake repair. I was out of town those months and wasn't around to do it; hence I thought the dealer did it. Imagine my surprise when at 95K I looked over the service records and found no trace of a plug change having been performed.
No time like the present. The job is just so damn tedious because the intake plenum needs to be removed, and that plenum is held in place by two/three almost inaccessible bolts in the rear that butt up to the firewall. It's a PITA job, so I decided to document it so that it may make it easier for someone else, and save themselves $250-300 in parts and labor (at least that's what the rate is around here).
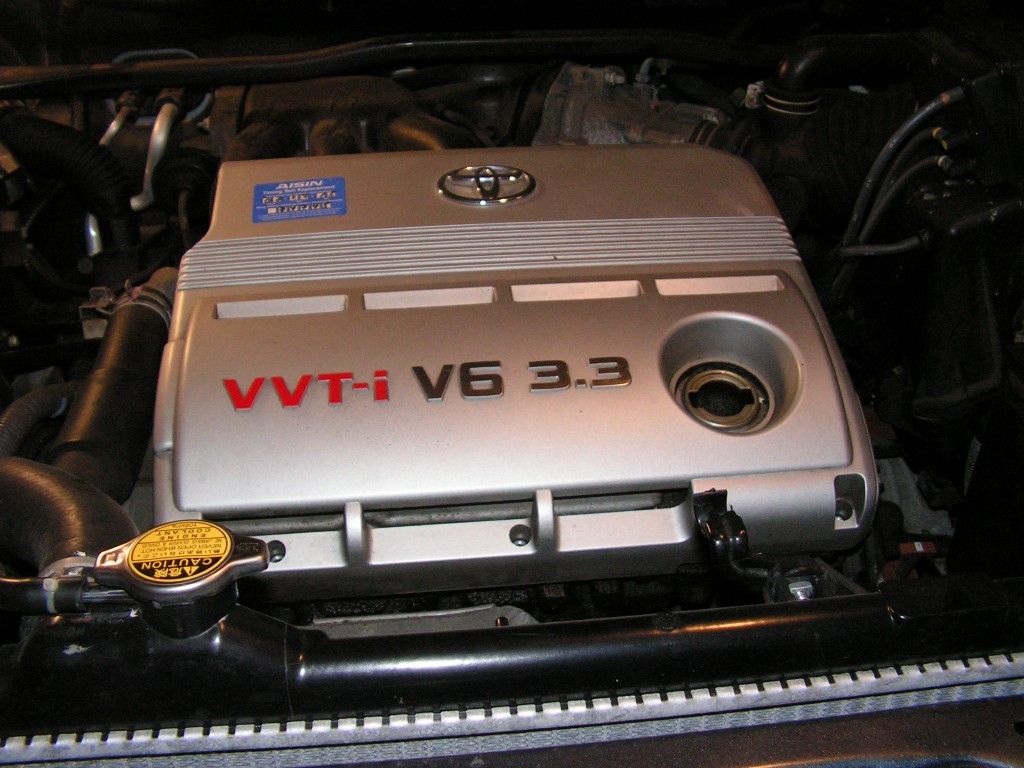
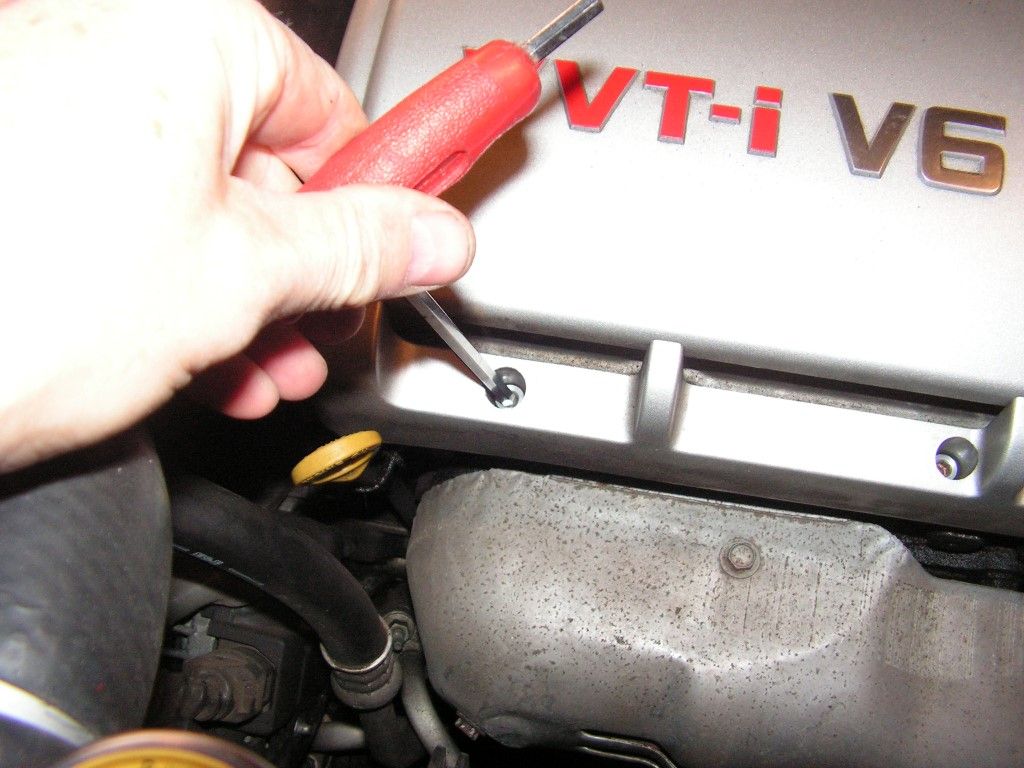
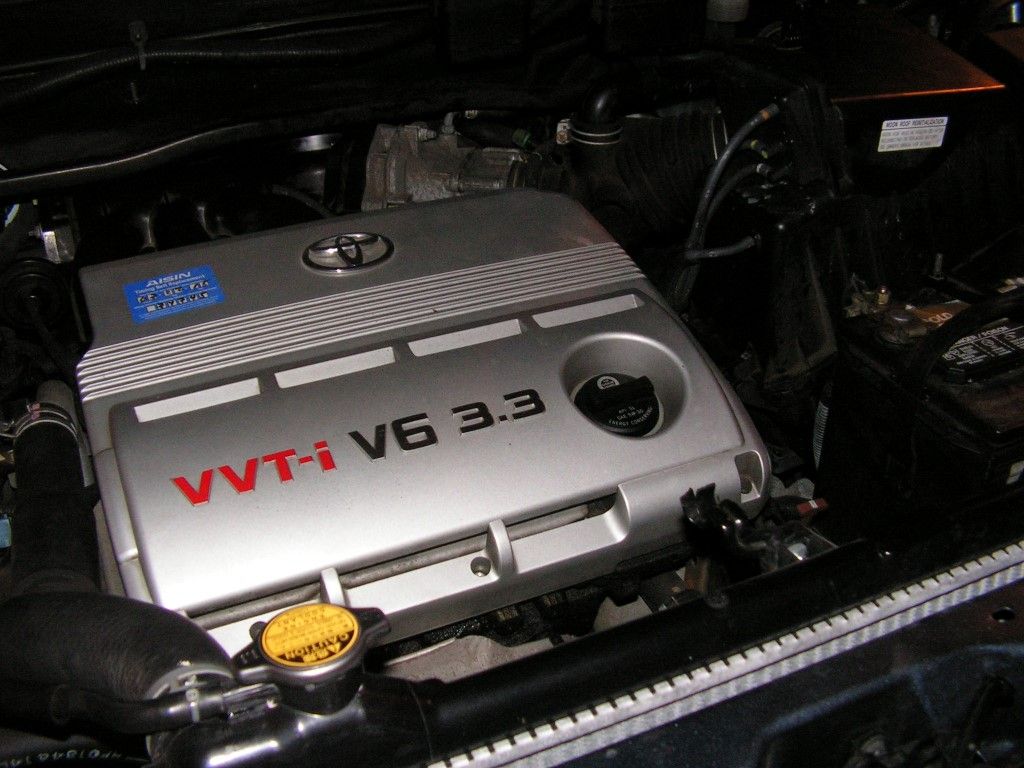
First the engine cover is removed -- held on my three 5mm hex studs on the front of the cover and a press fit pin on the rear. Remove the cover to expose the front plugs.
BTW -- most all the fasteners are either 10mm, 12mm, or 14mm -- that makes it a bit easier to work on this car.
The fronts are easy -- it's the rears that require the removal of the intake plenum
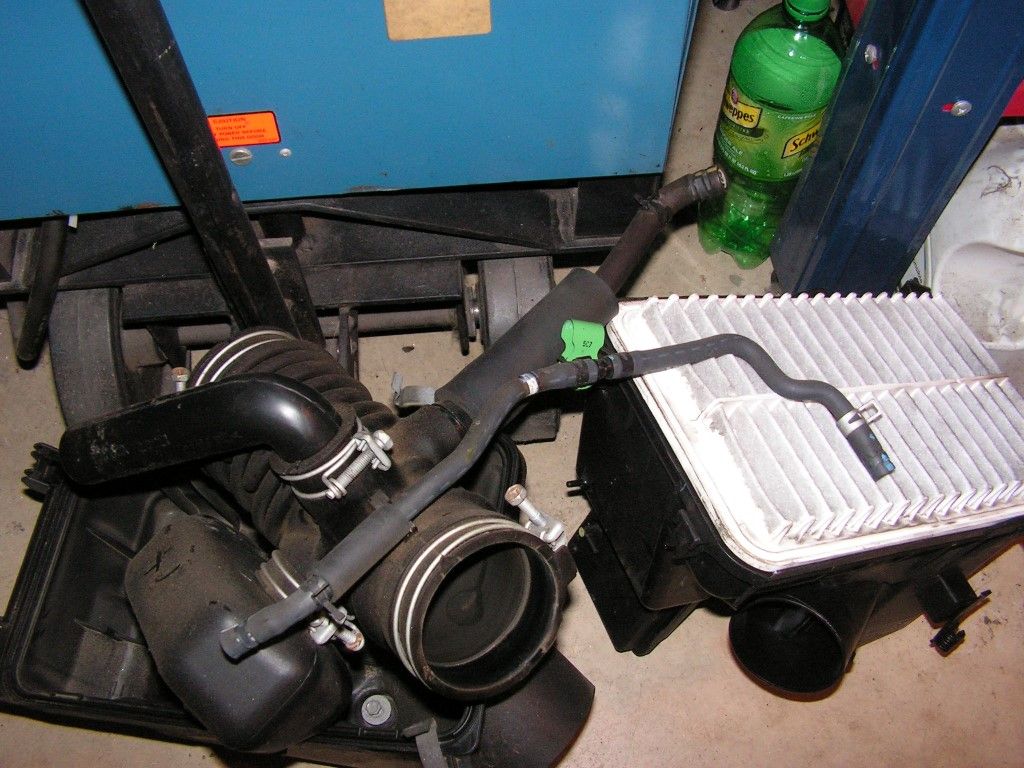
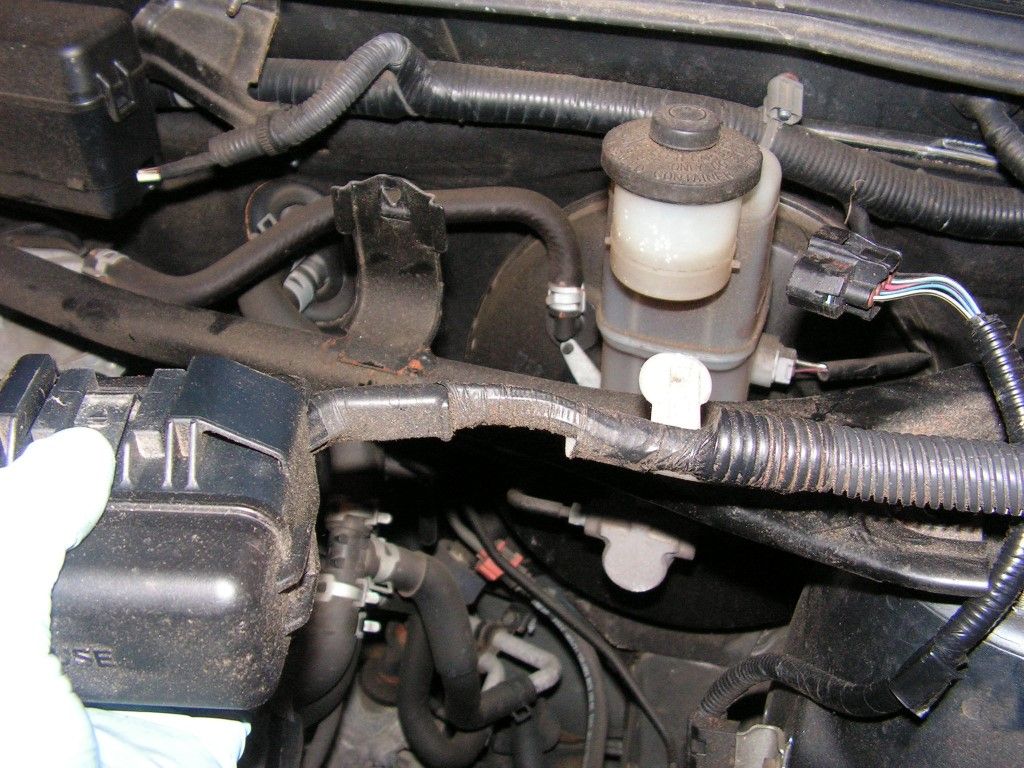
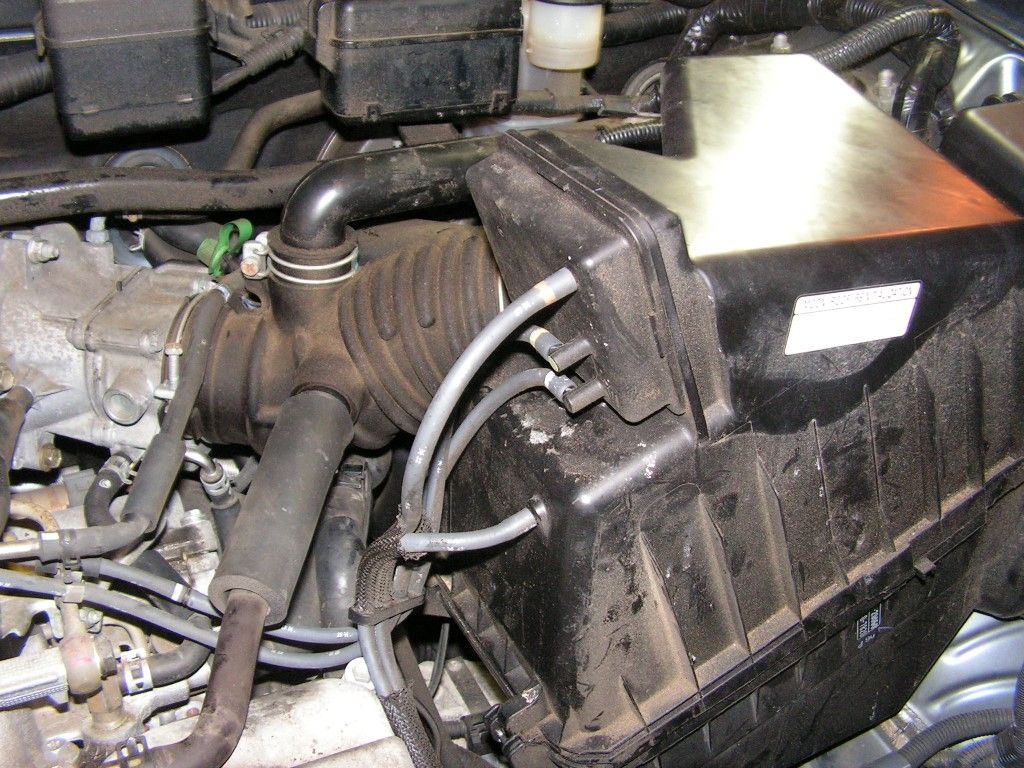
To make the removal of the plenum easier, I made sure to make a lot of room in the engine compartment by getting the battery, the air intake and filter box out of the way.
Disconnect the vac hoses from the air filter box and the air intake itself, and get the battery out of the way as well.
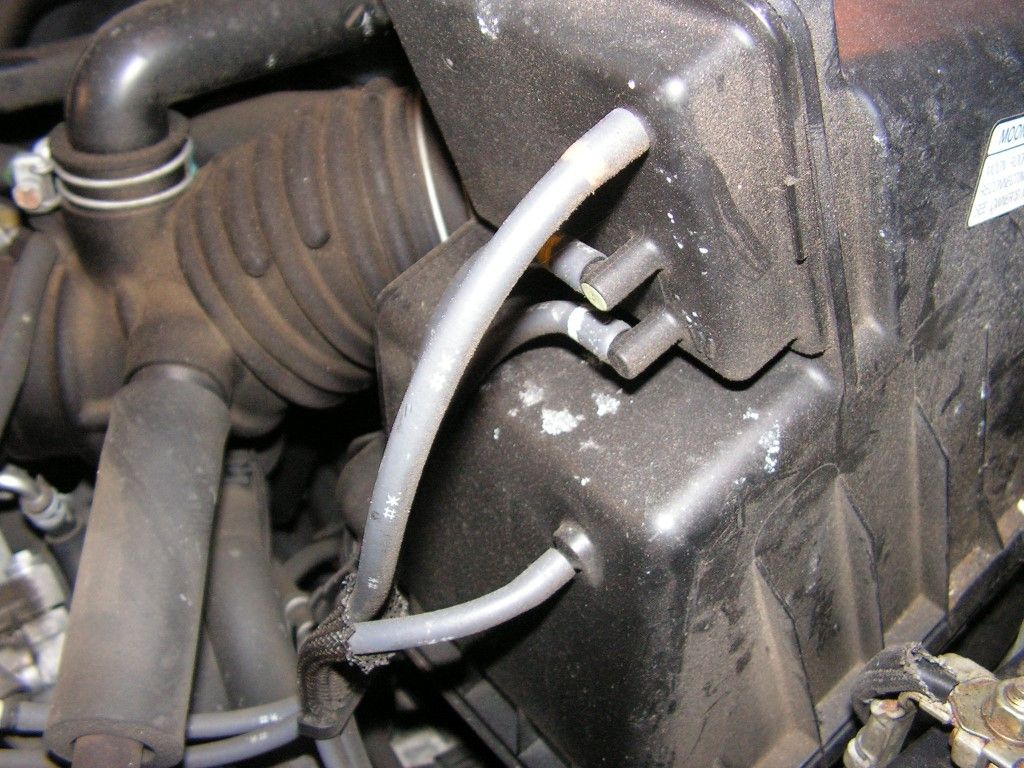
I disconnected the MAF sensor from the air intake runner and removed the air filter box and runner as one unit, along with a vacuum hose that ran from the firewall to the motor; just to get it out of the way.
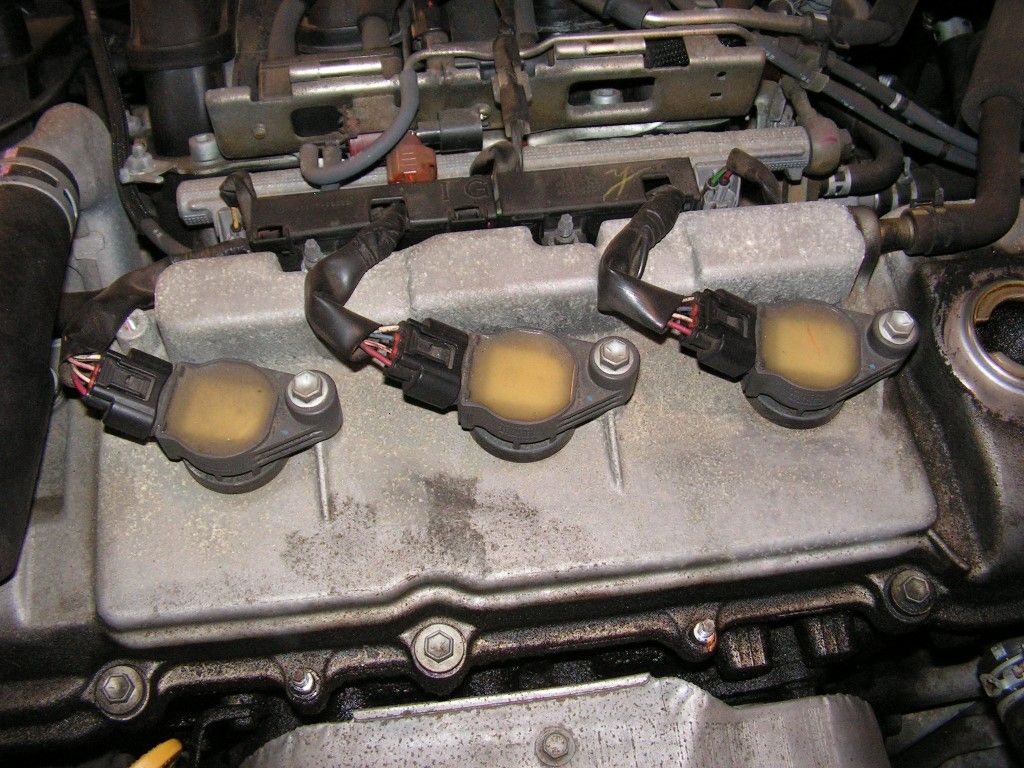
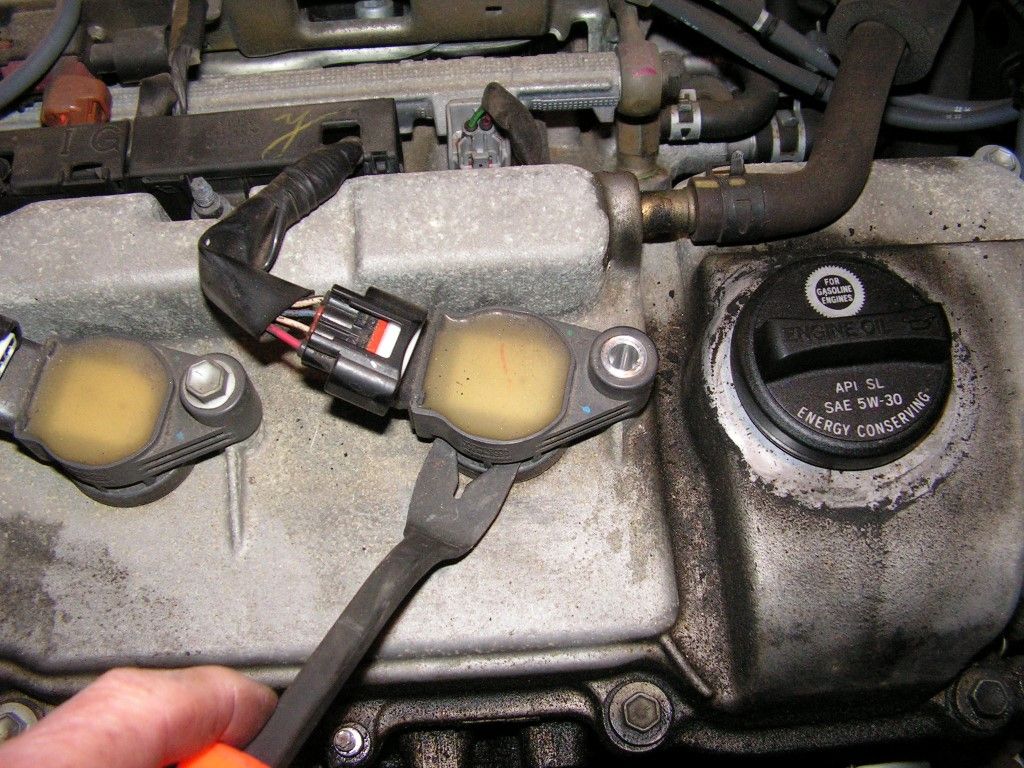
Now you have access to the front coils and coil plugs. I would strongly suggest that if the car has a lot of miles on it, and unless you're replacing the coils, that you DO NOT try to unplug the coil plugs from the coils. They are brittle, and 99% of the time you break the locking tab when you push down on the plastic tab. Better to get the coil out while leaving the plugs attached. Also, a wide pry tool such as a body clip remover helps get under the coil lip and makes it easy to pry it off the spark plug and out of the tube.
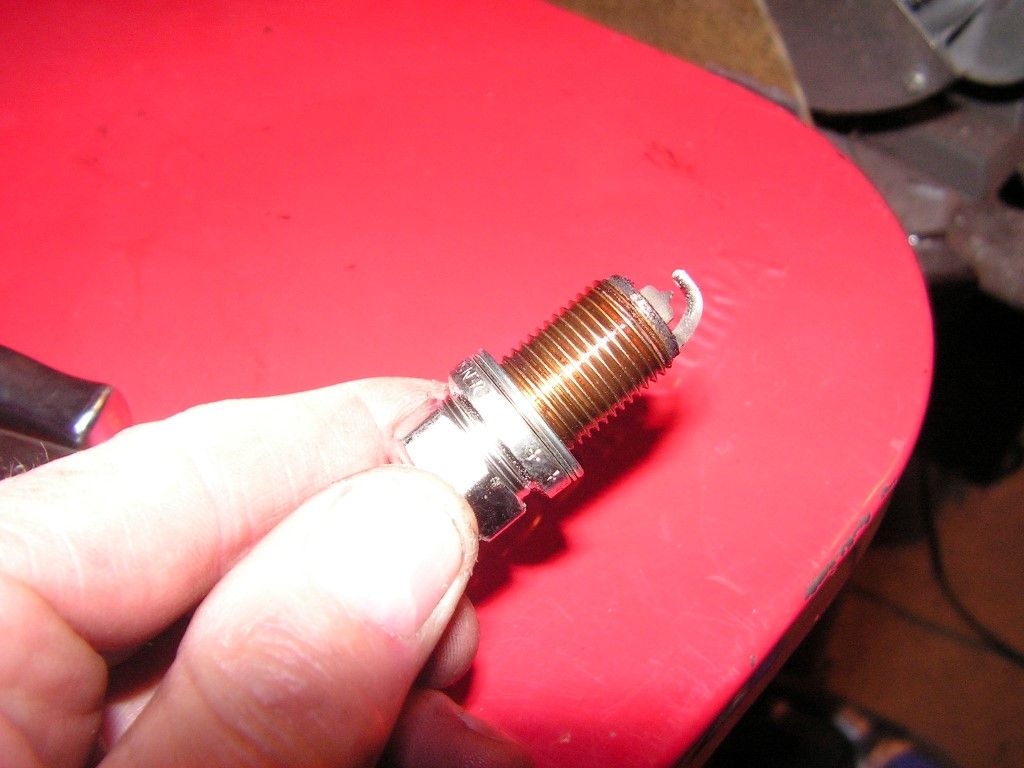
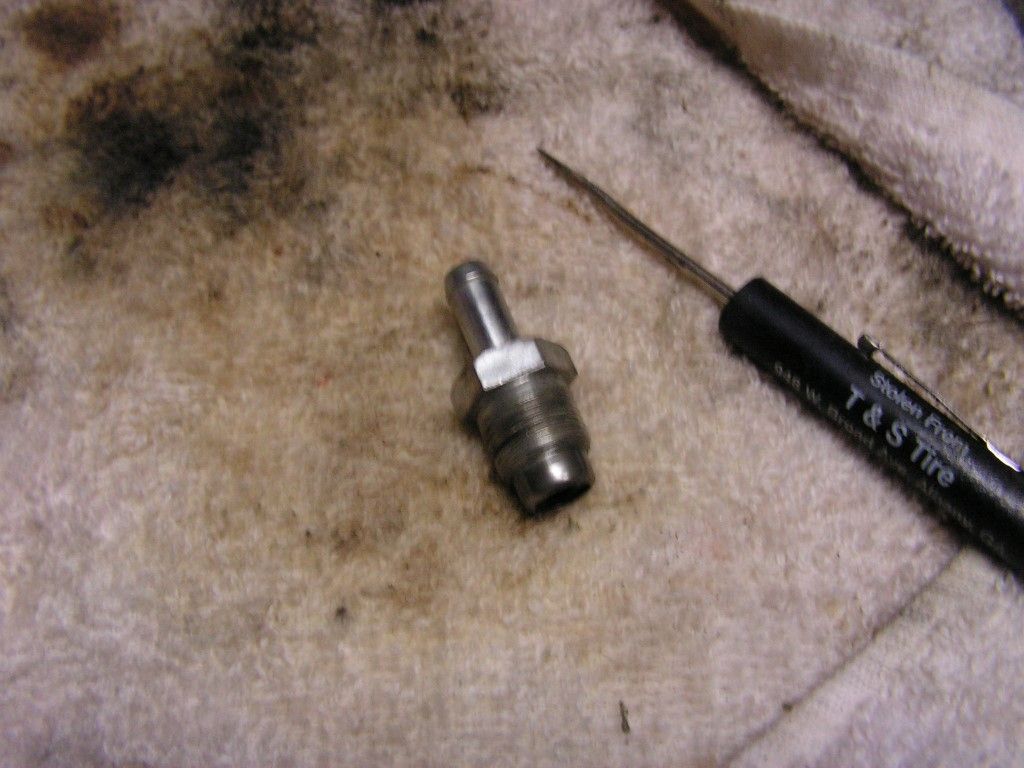
In my case the plugs looked clean, but the side ground electrode was very worn. The gap is supposed to be around .044", I had over .056 -- way too worn. But after almost 100K it's remarkable the car ran as well as it did on those worn plugs.
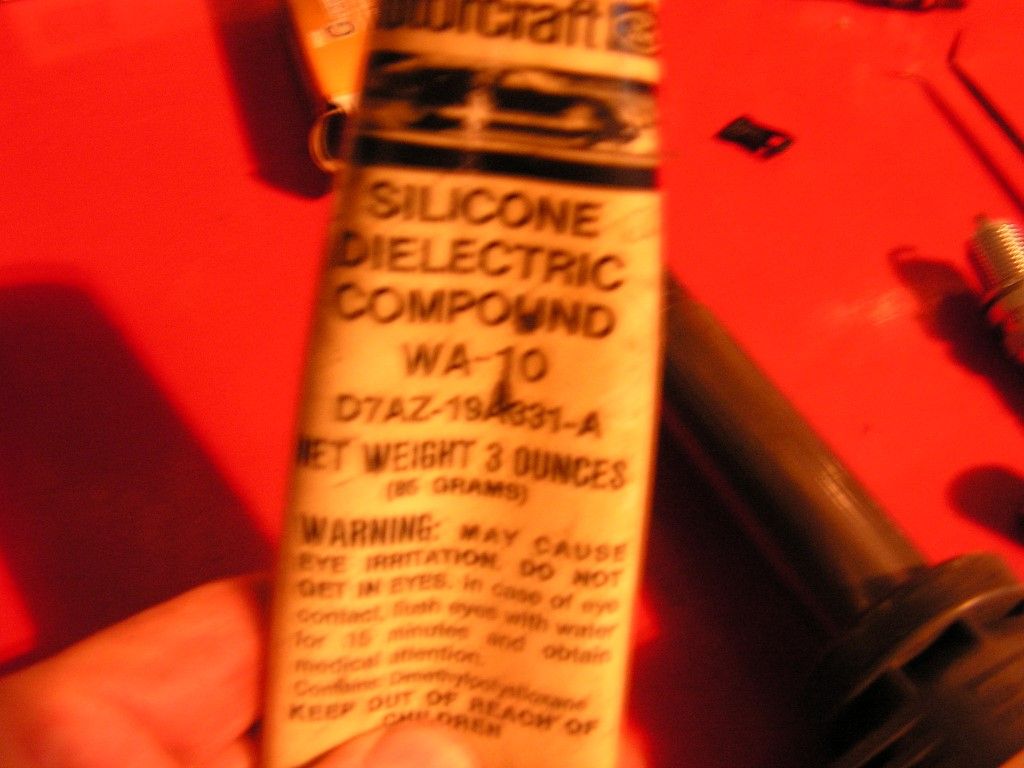
Install the new plugs and put a dab of dielectric grease in the bottom of the coil boot to seal the plug against moisture and corrosion.
The front plugs took 20 minutes -- now comes the hard part.
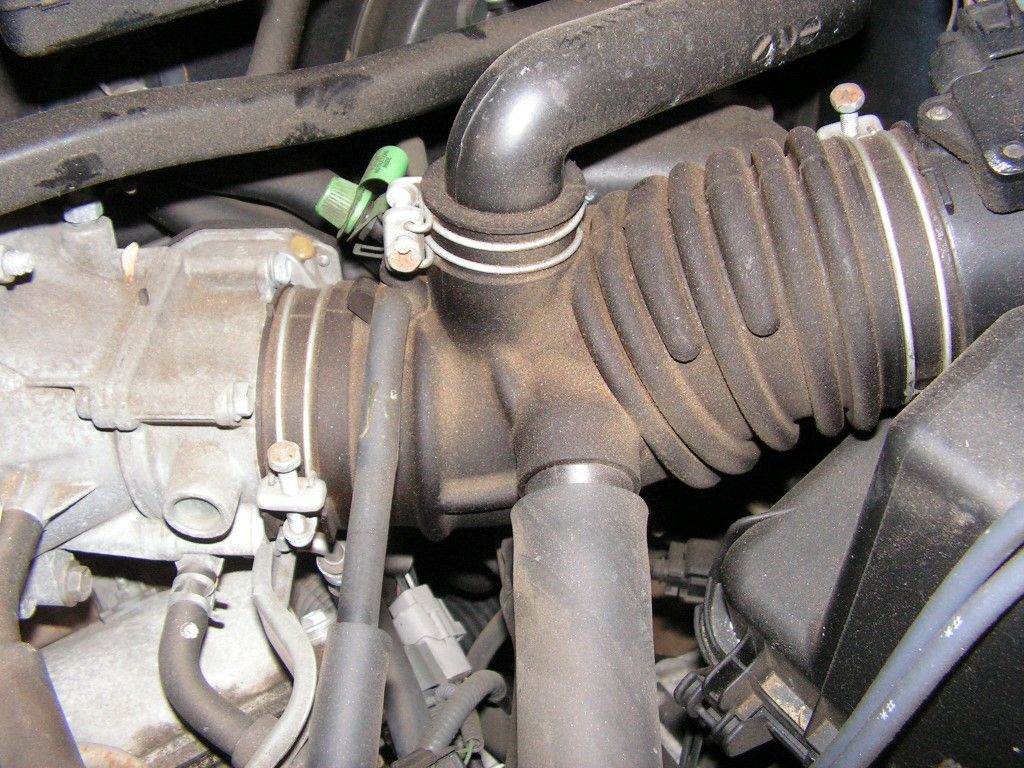
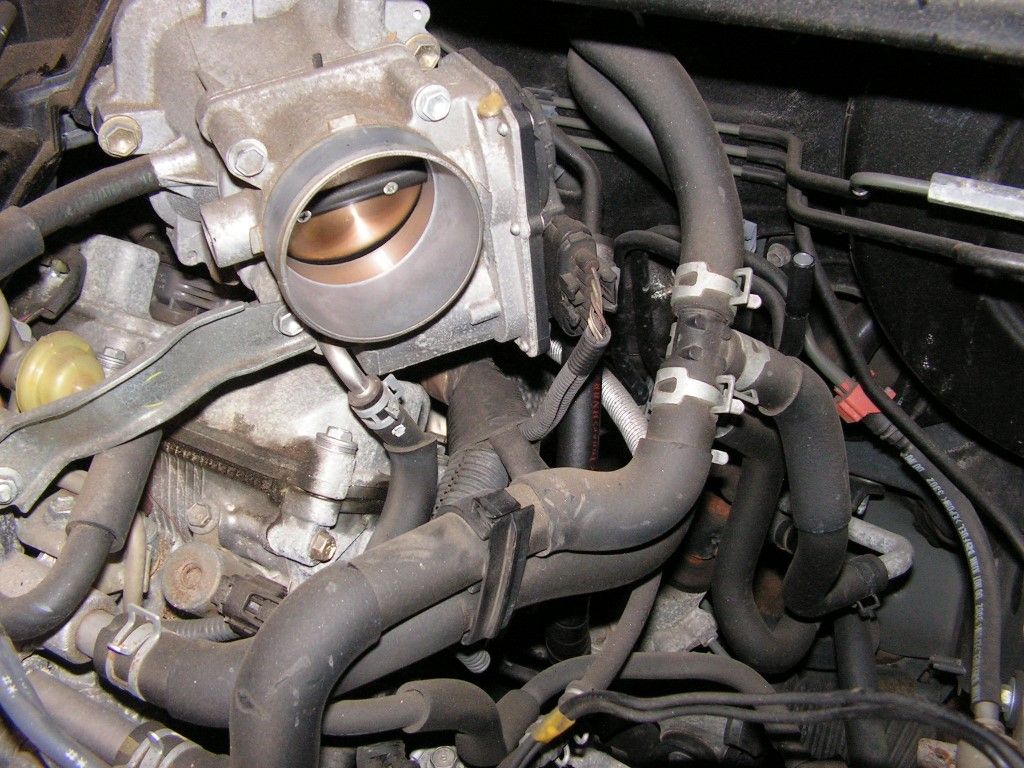
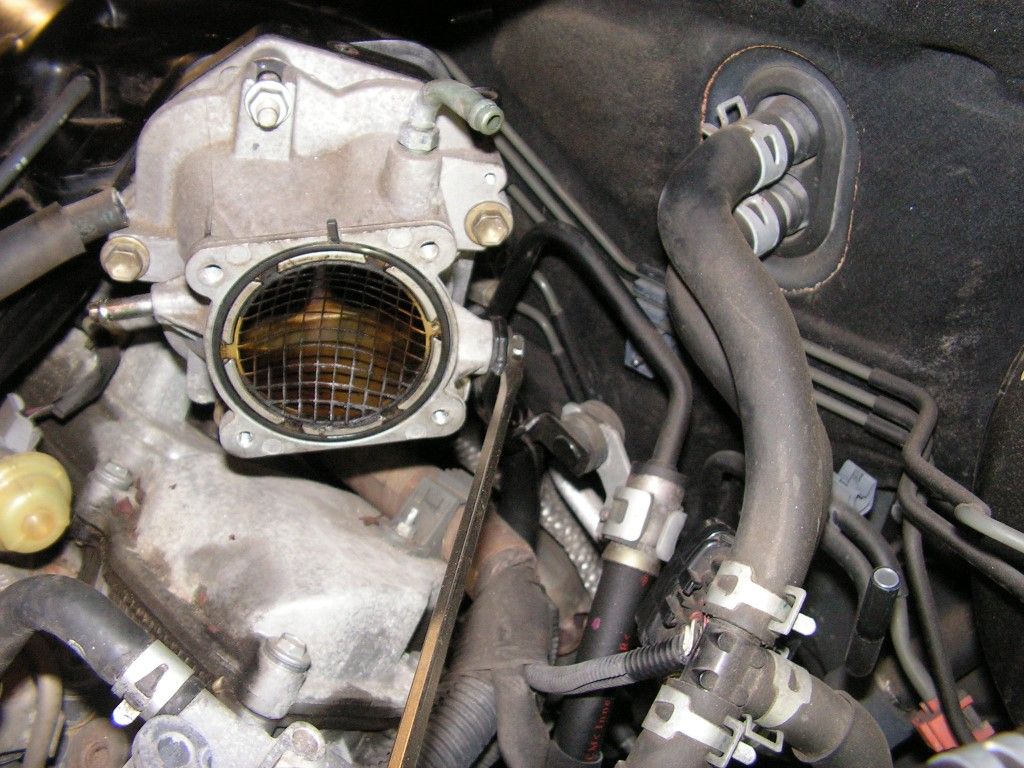
The throttle body is held on by four bolts. Unplug the electrical connector on the side and remove the bolts. Leave all the hoses connected and simply flip the throttle body off to the side to make working room.
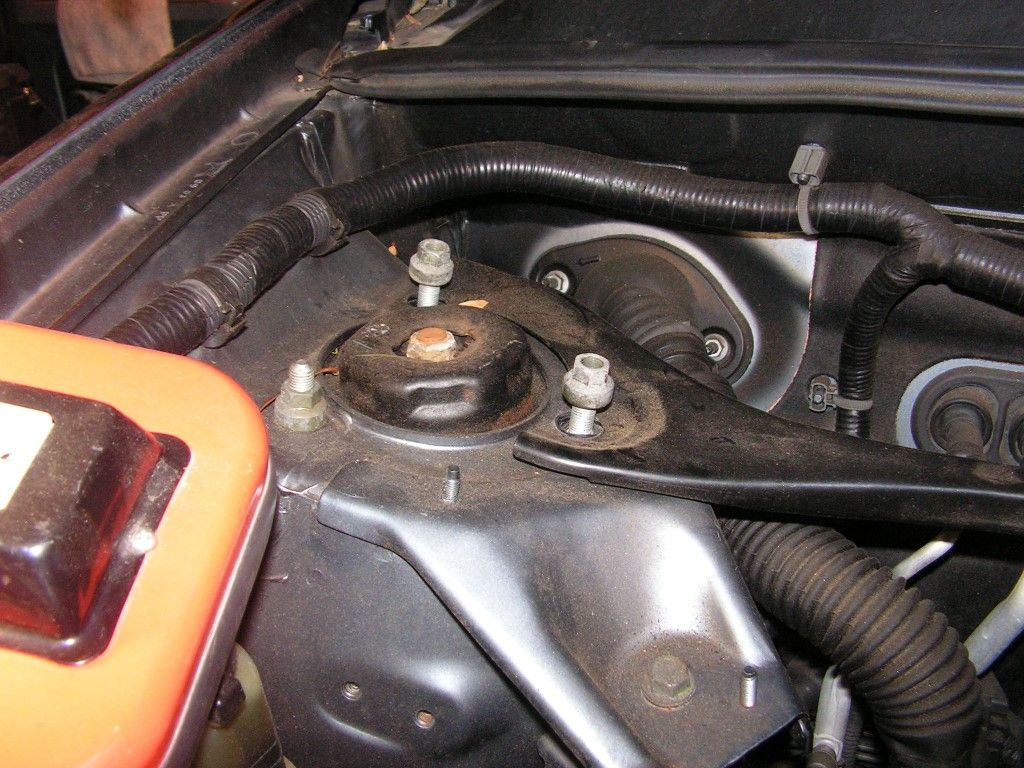
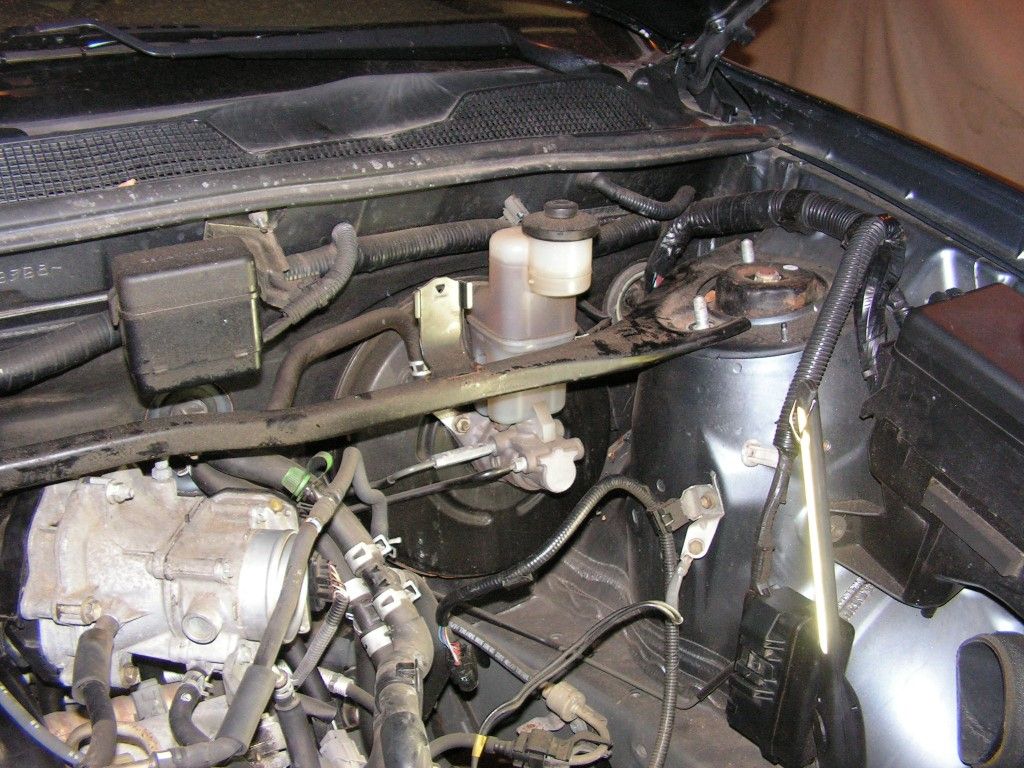
At this point the strut tower cross brace needs to be removed. The intake plenum won't come out if it remains in place.
Two 14mm bolts on each side will loosen the bar, but there is also an electrical connector box clipped to the bar -- it simply pushed off by depressing a tab in the rear. Also a small clip is removed that holds the electrical connector box cable to the bar.
Next, the plenum hold-down rail and accessories will need to be loosened and rolled out of the way
Remove the two 10mm nuts on the rail and simply flip the rail backwards -- good to go!

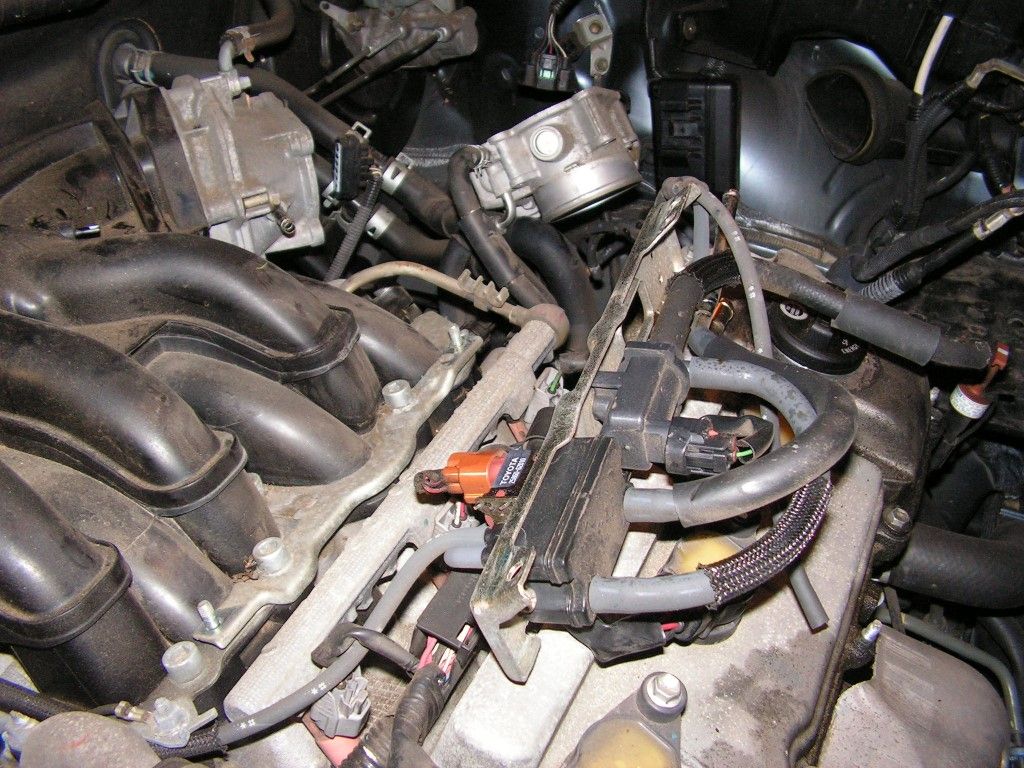
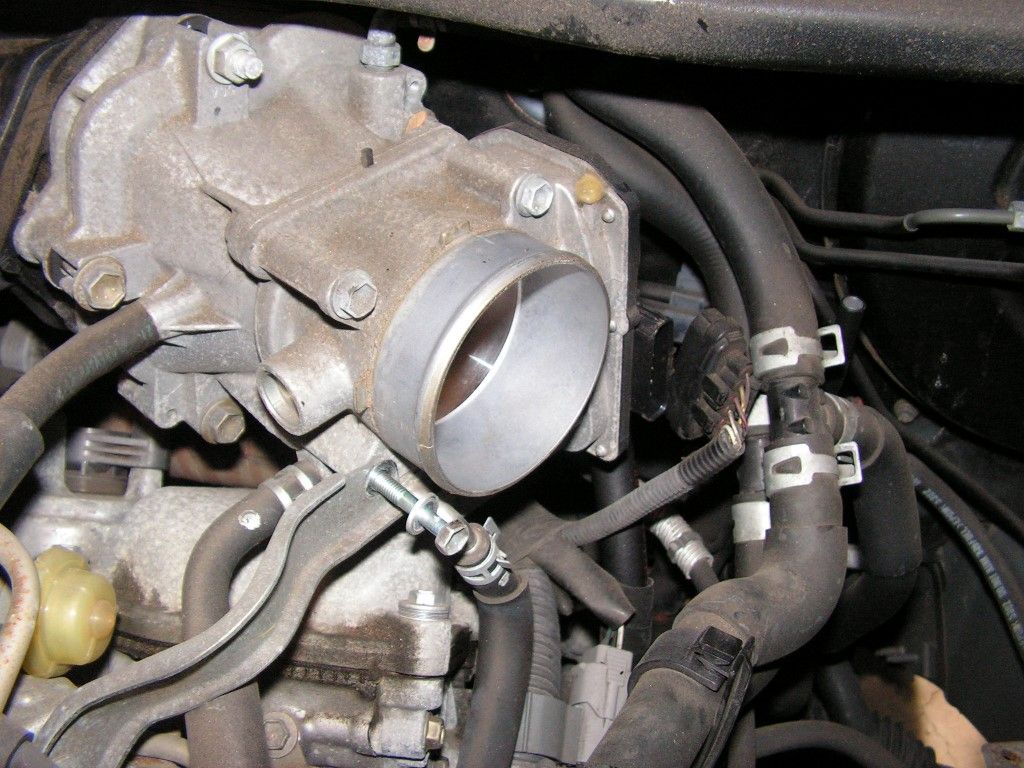
Now =-= IF you have small hands, you can leave the rear section of the throttle body assembly in place in order to get access to the 12mm rear plenum bracket bolt that's close to the firewall. In my case I couldn't fit my hand back there, so the remaining half of the throttle body was removed.
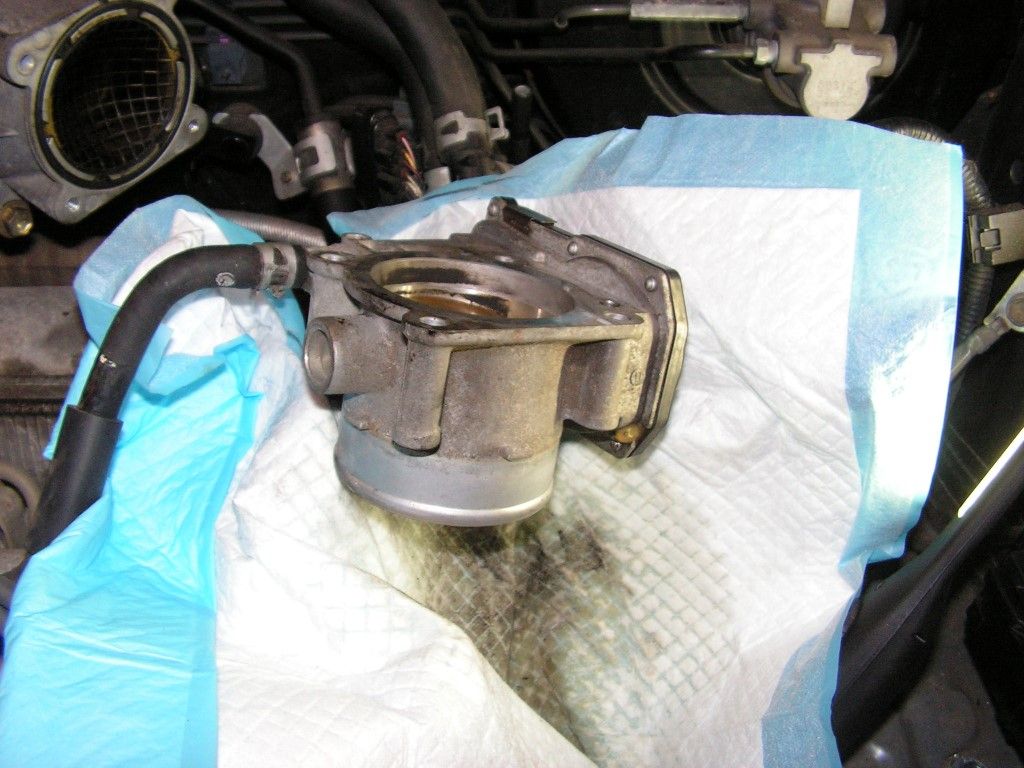
First remove the two vac hoses from the unit -
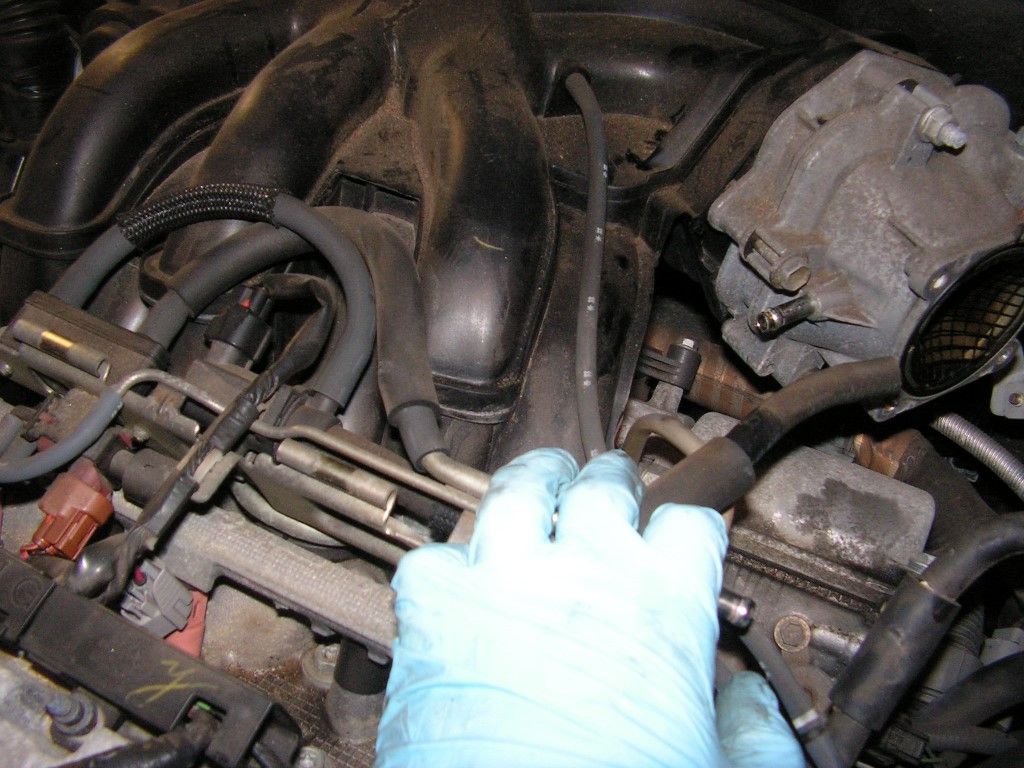
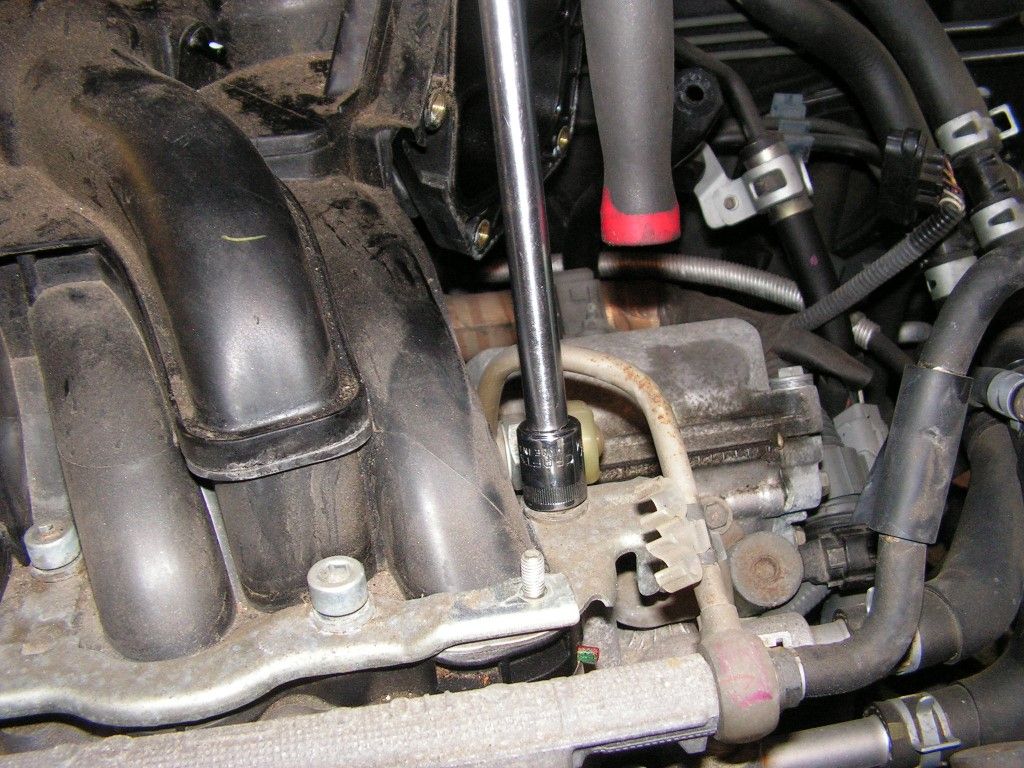
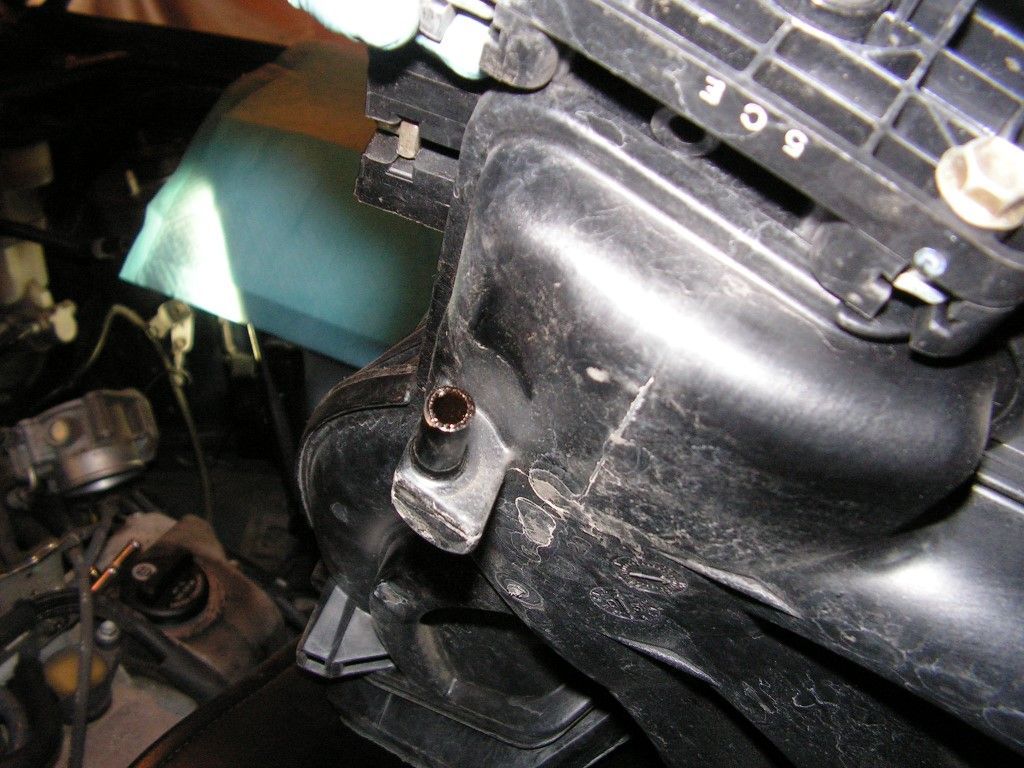
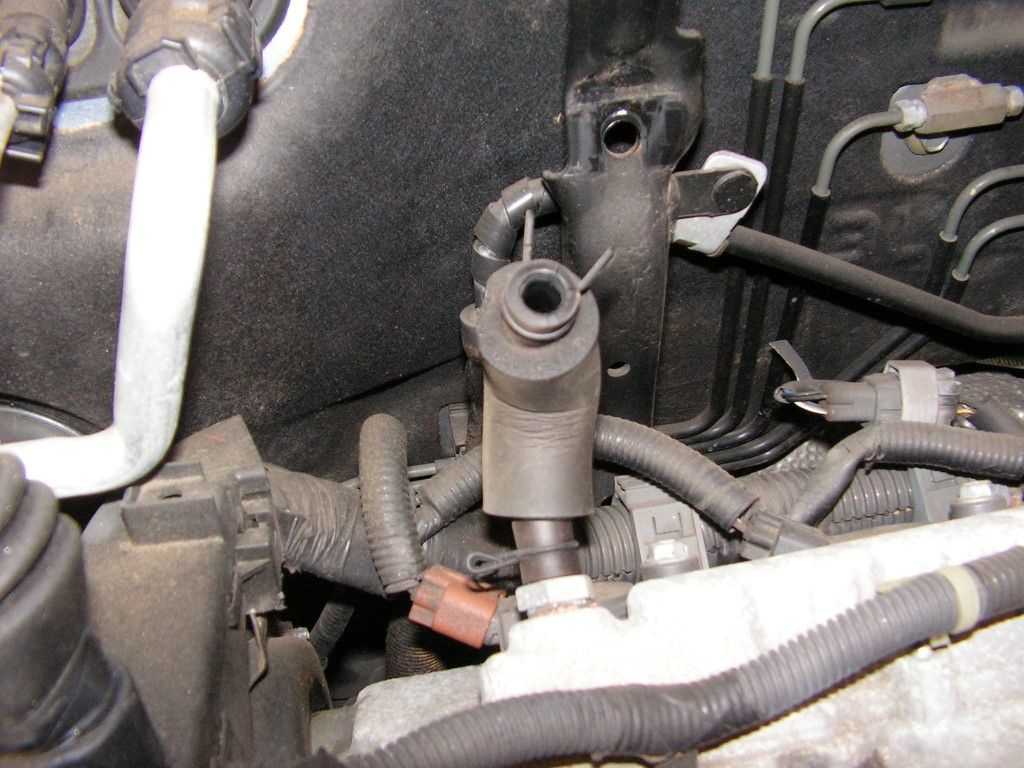
Then loosen the 12mm bolt that secures the unit to a large stationary metal bracket -- on lower right hand side. This is the first of three firewall area bolts that must be removed.

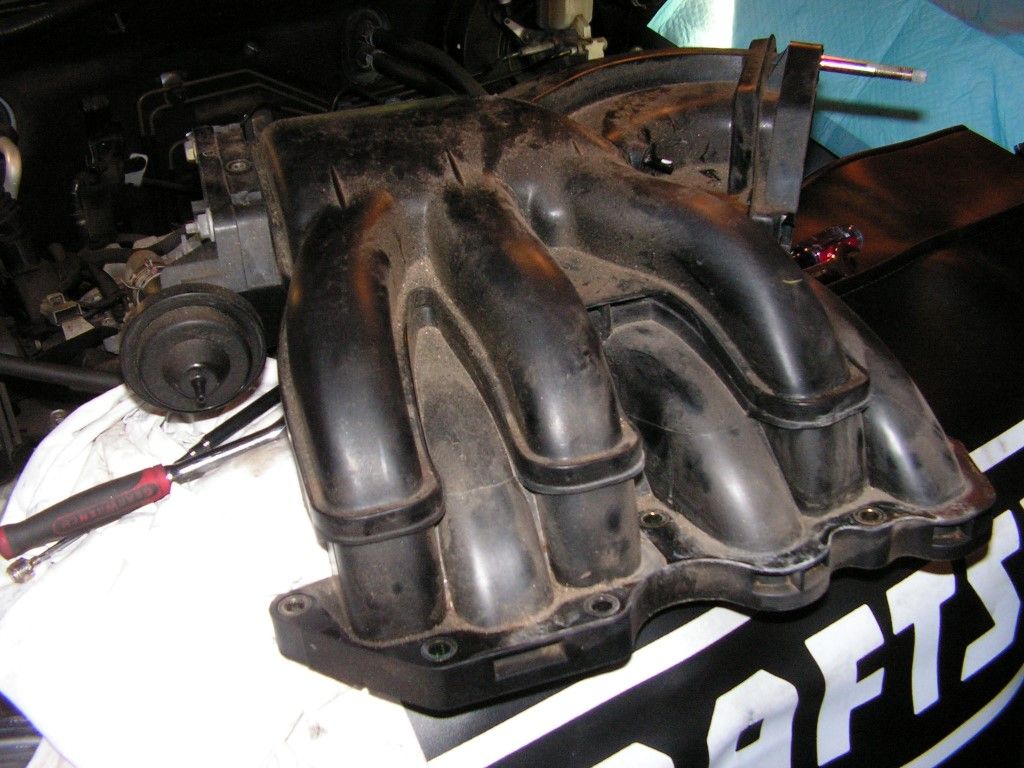
Now remove the five bolts holding this part of the trottle body to the plastic plenum, and remove the unit.
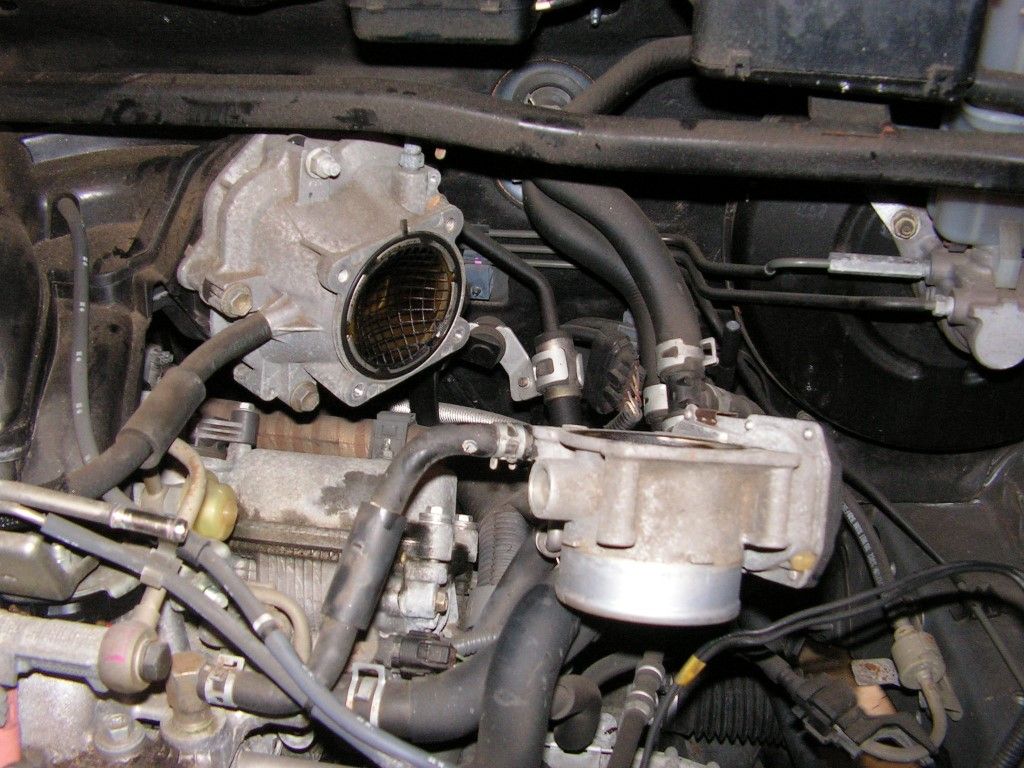
This is what you're left with.

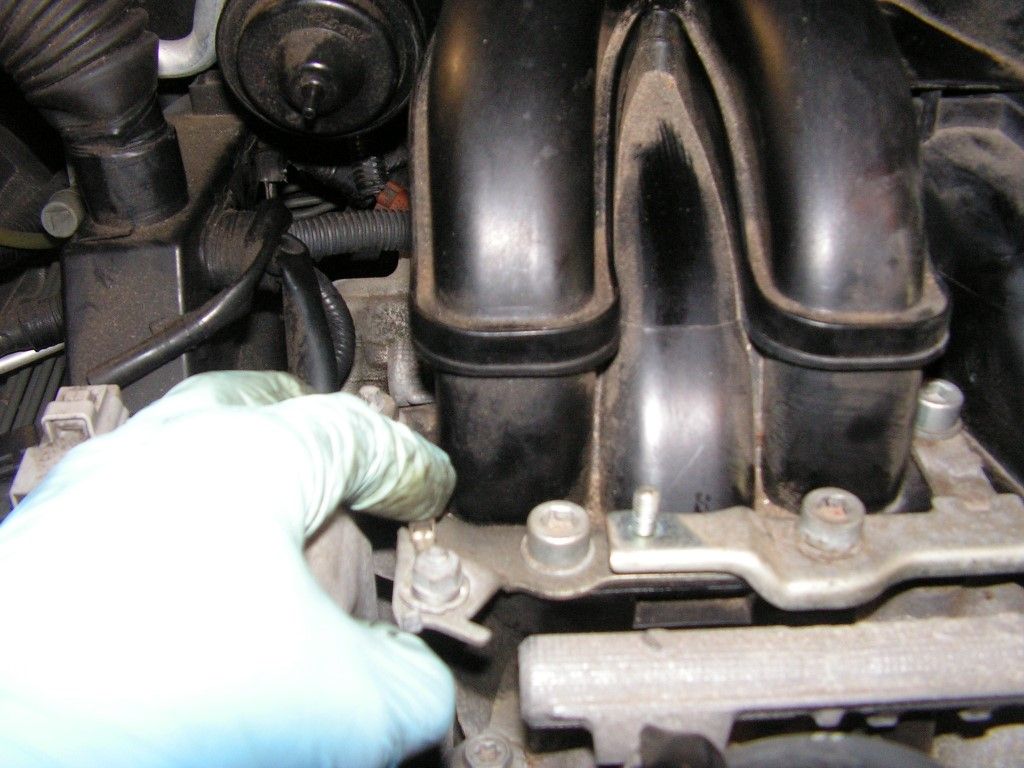
Now I gathered small ratchets with short 12mm and 14mm sockets (gearwrenches will also do) and proceeded to loosen and remove the remaining two firewall bracket bolts on the plenum. It's a tight squeeze, but you can get your hands back there with a little effort. The left side bracket bolt (when facing the car) is 14mm and the right side is 12mm. (Later pics will show the brackets in question)
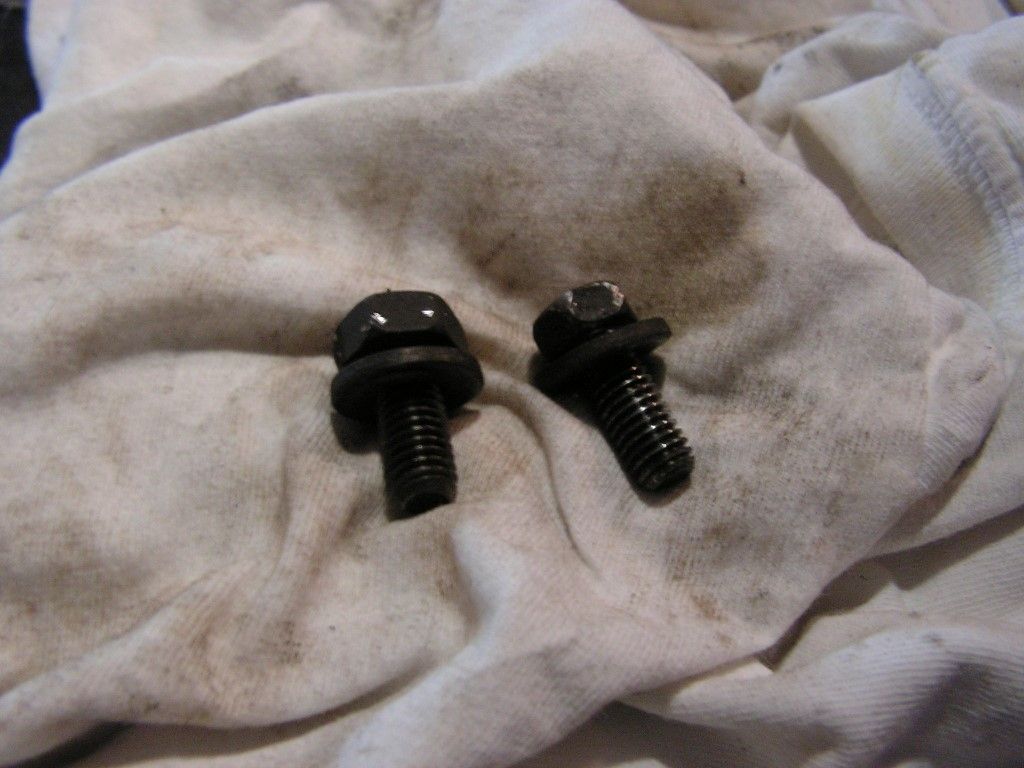
I then removed five the 8mm (?) hex cap bolts and two 12mm nuts that hold the plenum retaining bracket to the intake manifold. There is also a 10mm nut on the bracket that secures a ground wire -- it also needs to be removed.
Once the fasteners are removed, remove the plenum hold down bracket
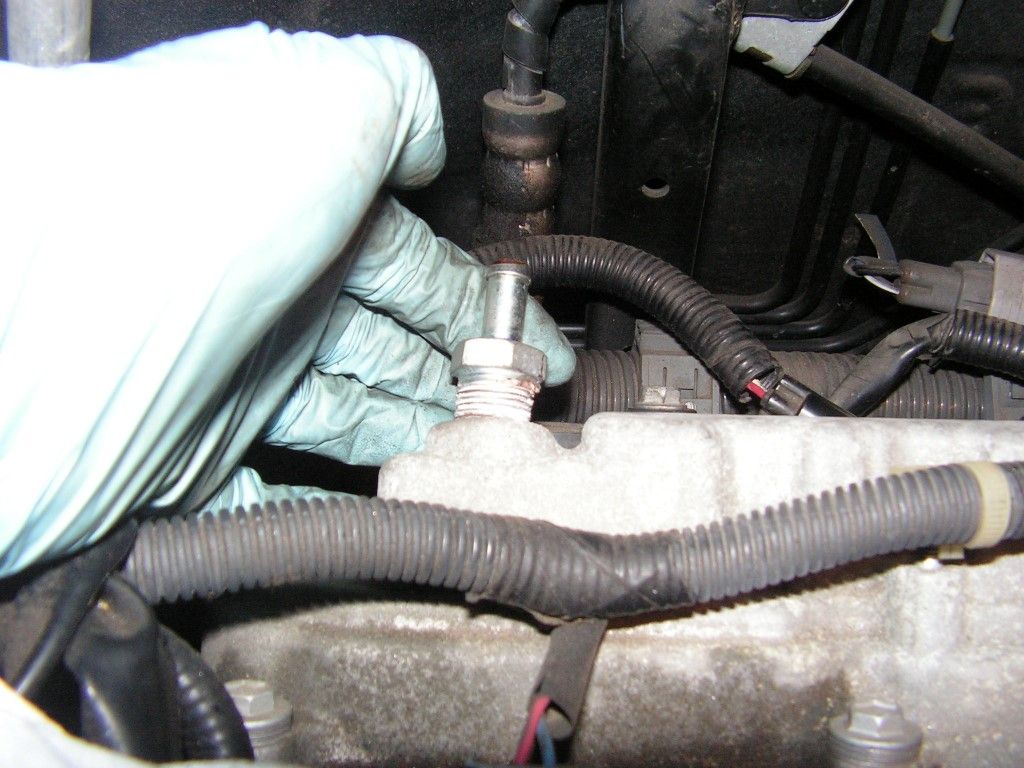
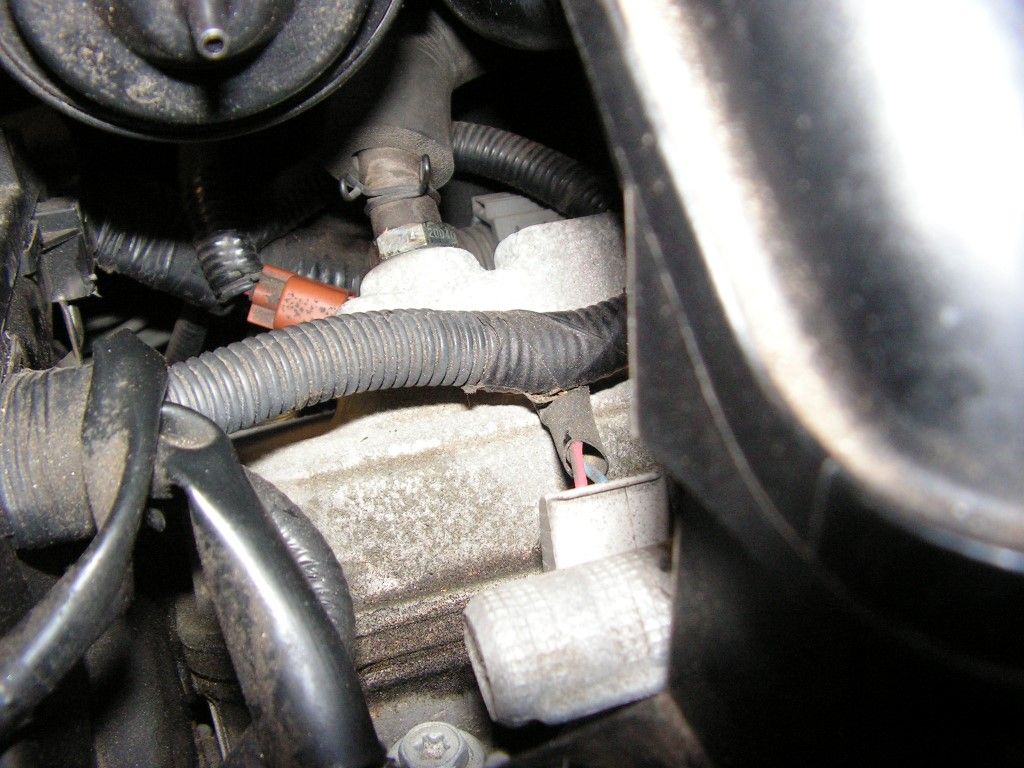
Before the plenum can be removed, there is a 90 degree rubber PCV valve hose attached to the rear underside of the plenum. It sits on the lower left hand side (when facing the car), and runs from the engine to the plenum.
It will usually come loose when the plenum is pulled up and out, but sometimes it stick and you can remove it easily by pinching and removing the large hose clamp from the PCV valve with your fingers. Now you can gently rock the plenum off the two alignment studs and remove it.
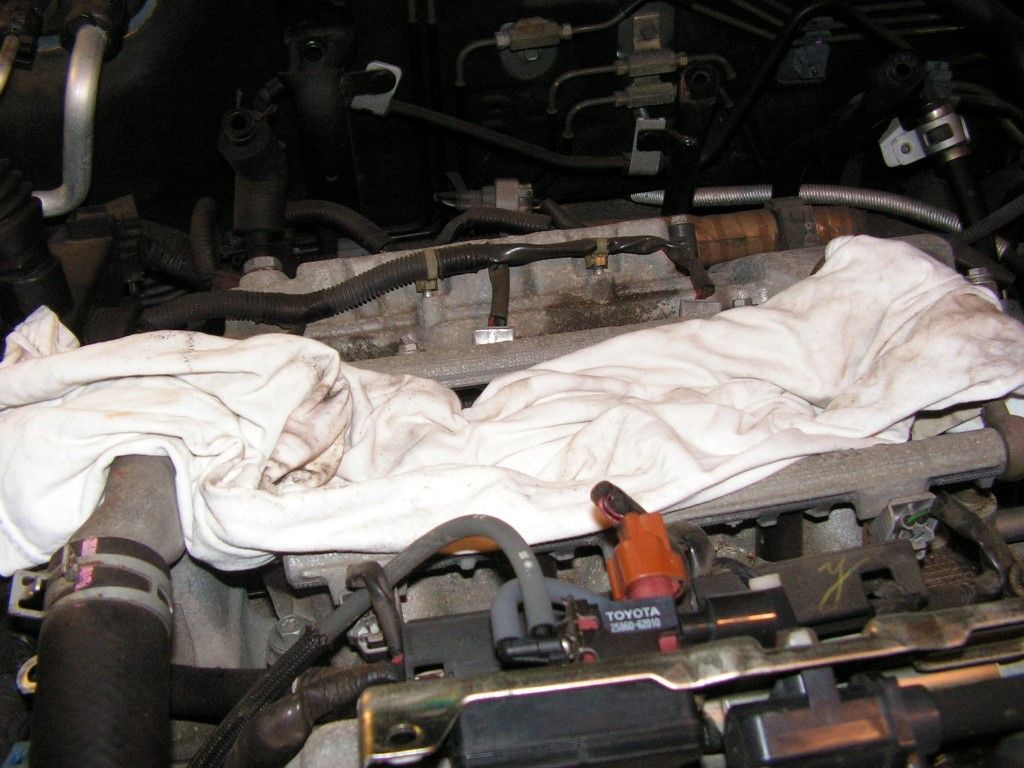
Put a large rag in the intake ports to ensure no debris or hardware falls down in there.
Also, if you have a lot of miles, remove and inspect the PCV valve. Shake it to make sure it rattles loosely. Mine was clogged -- the ball and spring were stuck and gunked with carbon.

A good douse with carb cleaner and a brush cleaned it up again, and freed the stuck ball and spring.
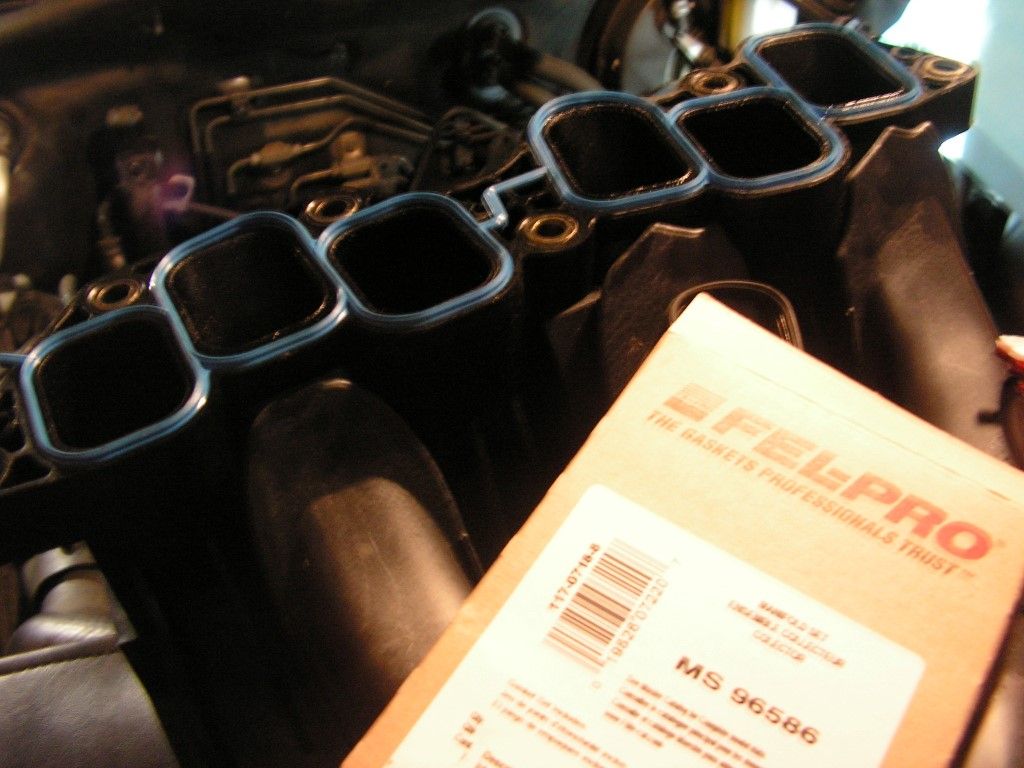
Next replace the plenum gasket -- and proceed to replace the rear spark plugs. Again, you can pull the coils with the connectors attached; there is plenty of slack and room. No use taking a chance breaking the locking tabs if your are not replacing the coils.
Once the plugs are replaced, attach the PCV hose to the plenum and loosely position the plenum over the alignment studs, then secure the PCV hose to the PCV valve on the block
Next -- push the plenum securely in place and reattach the hold down bracket. using the five hex cap bolts, the two 12mm end nuts and the 10mm nut that hold the block ground wire to the bracket.
DO NOT tighten these bolts and nuts (except the ground -- it can be tightened) -- leave them loose enough to allow the plenum some wiggle room so that the rear firewall bolts can be secure more easily.
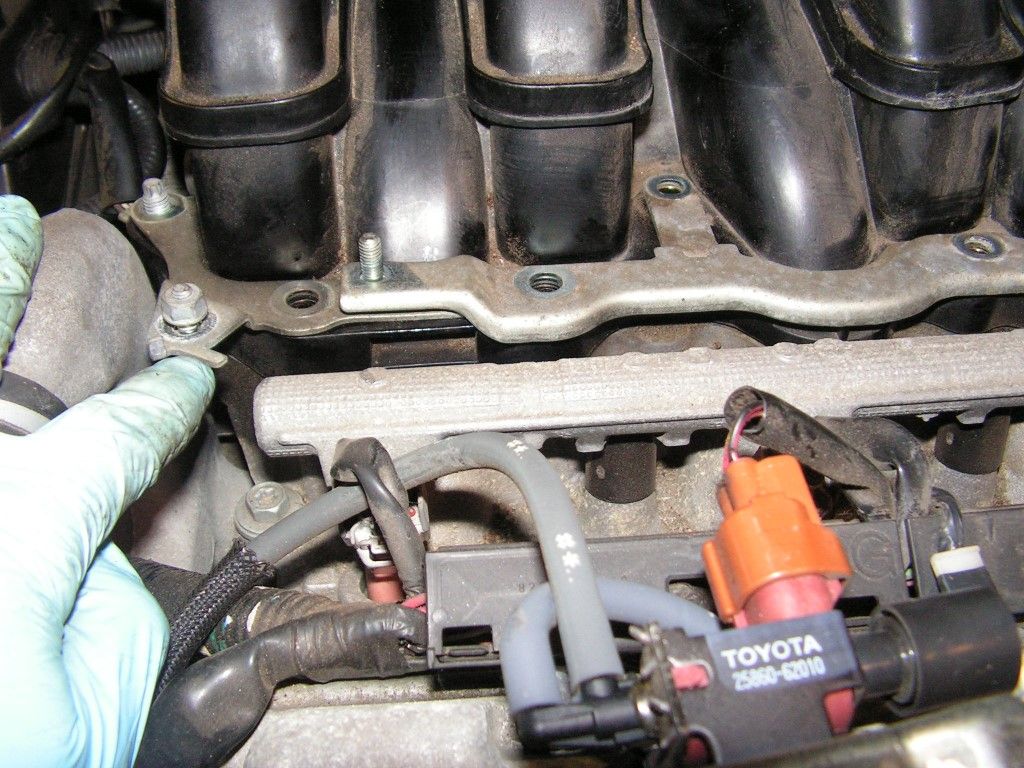
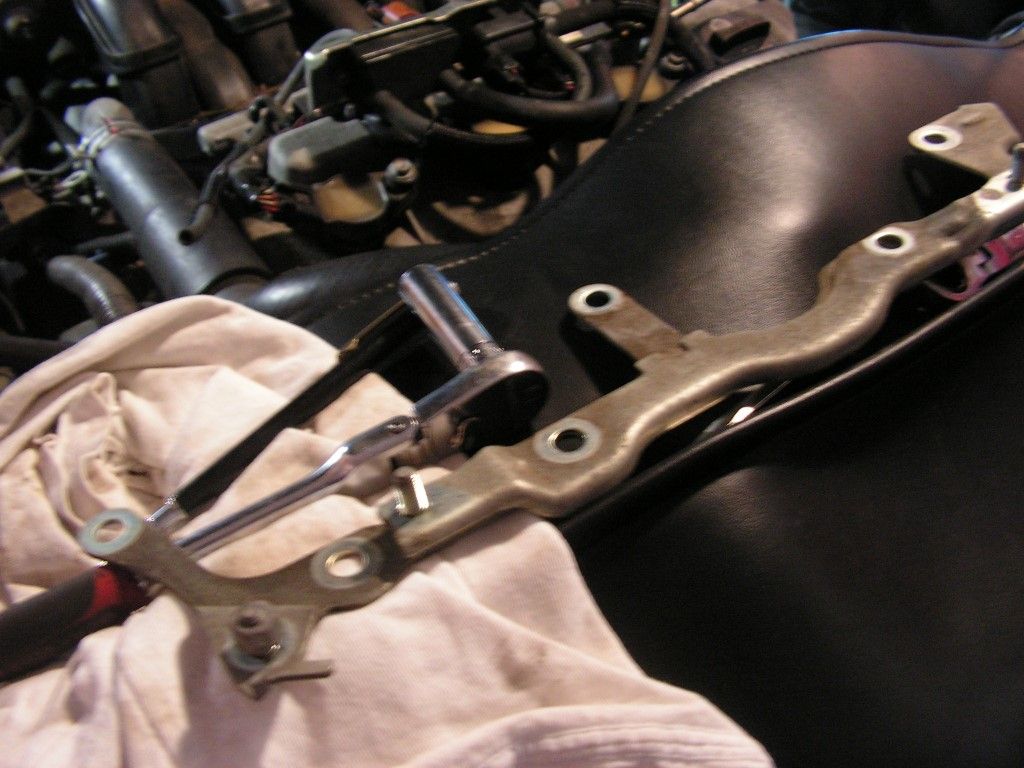
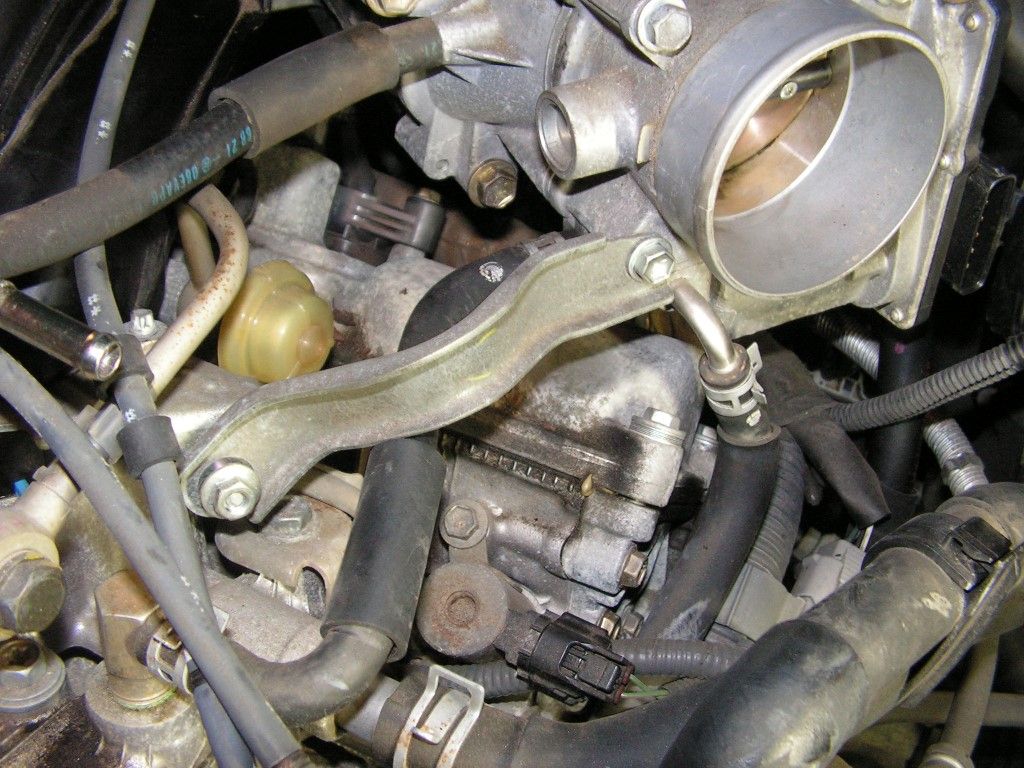
Take a close look at this pic -- the left most red circle identifies the bracket that attaches the 14mm bolt to the plenum, while the right red circle identifies the bracket that attaches the 12mm bolt to the plenum. The far right green circle identifies the bracket that attaches to the rear half of the throttle body.

Keeping the plenum loose will allow you to wiggle it enough to get the 14mm and 12mm bolts through their respective brackets and threaded into the rear of the plenum. This is fiddly work -- especially if you have large hands, but it can be done with a little patience.
Now tighten the plenum hold down bolts and nuts, and reattach the rear throttle body unit (five 12mm main body bolts and one 12mm bracket bolt)
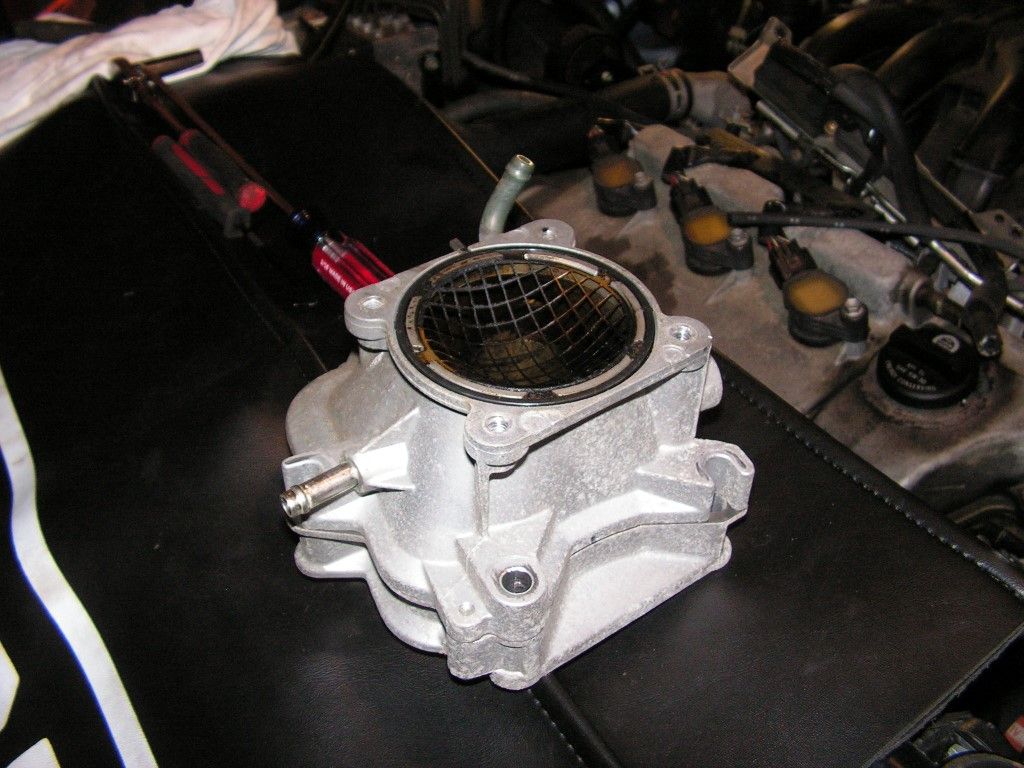
Before attaching the main throttle body section, I left it attached to all the hoses and put a puppy pad underneath the unit and proceeded to clean it internally with heavy doses of carb cleaner and a soft brush to get all the gunk out of it. It was dirty, and after about five repeated cleanings it was shiny again inside. Cleaning it makes a big difference in smoothness and driveabilty.
I reinstalled the throttle body support bracket and hand tightened all the other bolts --
Next the strut bar was replaced and the electronic control box reattached
The air filter box, air intake, and MAF sensor was reattached; along with the vac lines that attach to the air filter box.
Finally, all the hoses and connectors were double checked, the battery and engine cover was reinstalled, and the engine given a quick check to make sure all connectors and hoses were intact (i.e. not damaged)
Good to go -- a quick test drive confirmed a good repair. The car runs smoother and it also seems that throttle response is a bit better. It's a PITA, but doable with basic tools and an afternoon of your time. I took my time -- including taking all the pics, this was a four and a half hour job.
Hope this helps some of you -- good luck!!


