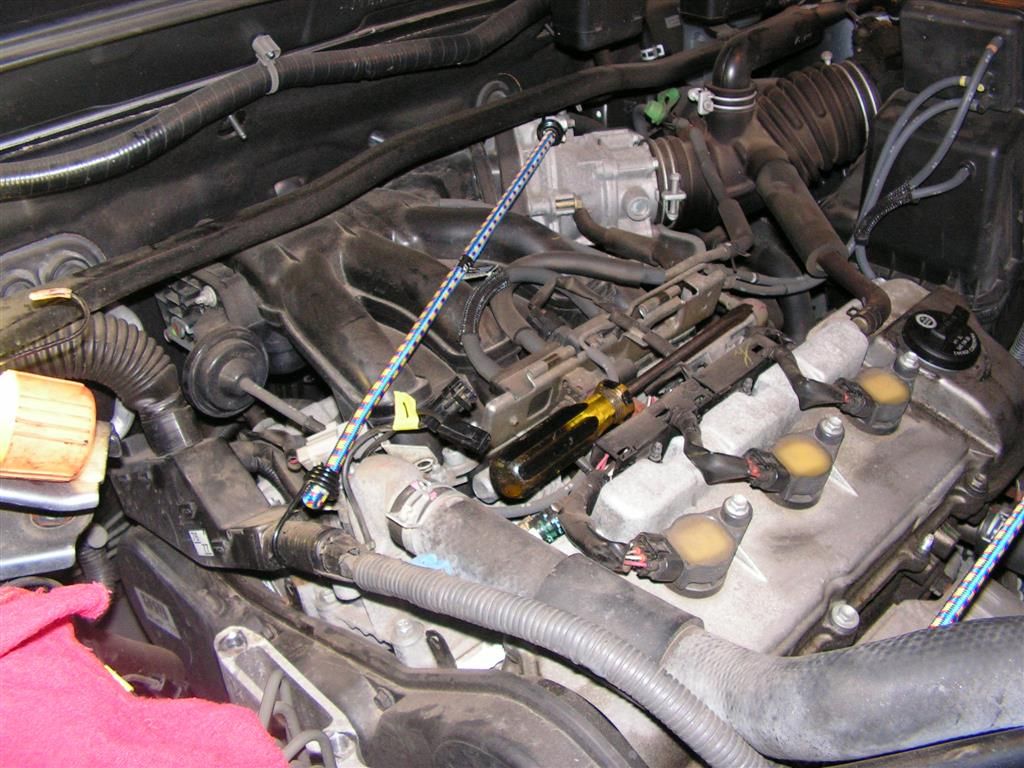
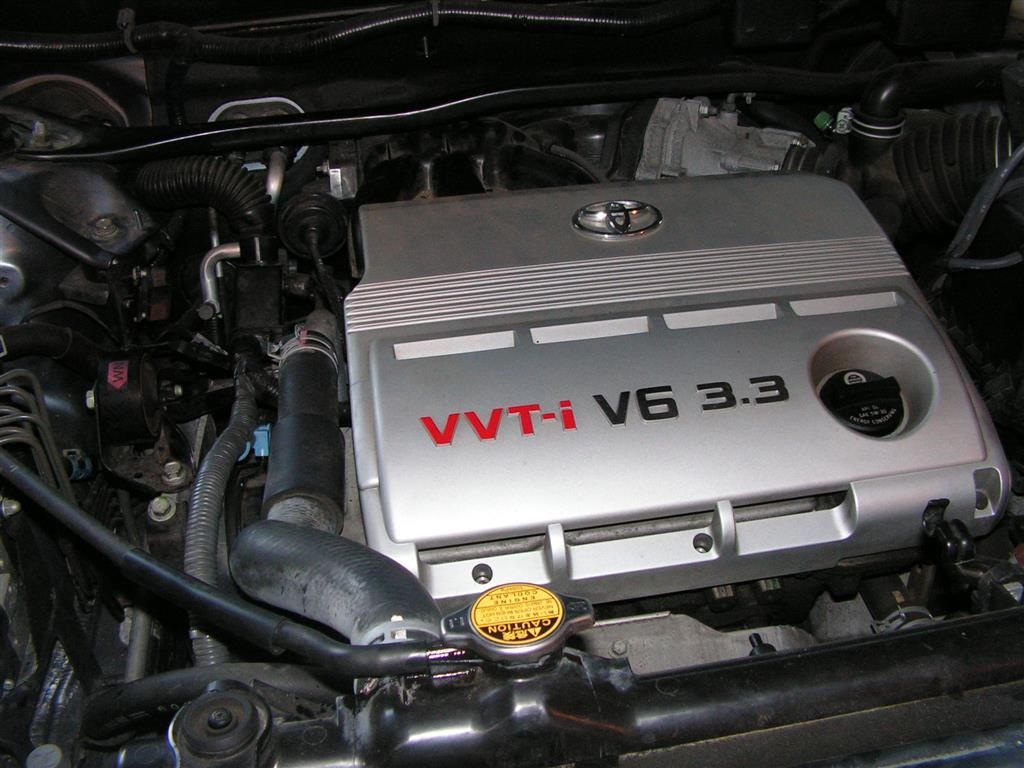
Timing belt, water pump, and accessory belts, on a Toyota Highlander with the 3.3 VVT-I V6 engine. The water pump was starting to weep, and along with the fact that it's 10 years old and had almost 80K on it, it was time for a complete service.
It takes about four - five hours if you take your time and move methodically from one part to the other.
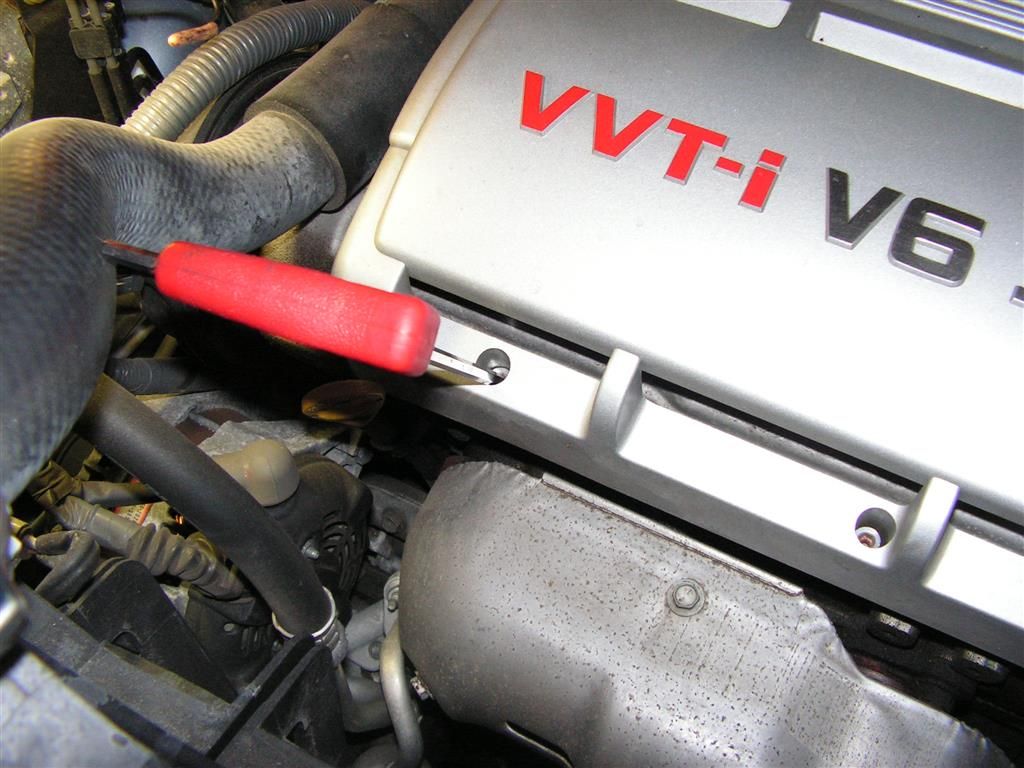
First get rid of the motor cover by loosening the three hex screws on the bottom -- you'll have more room to work \.
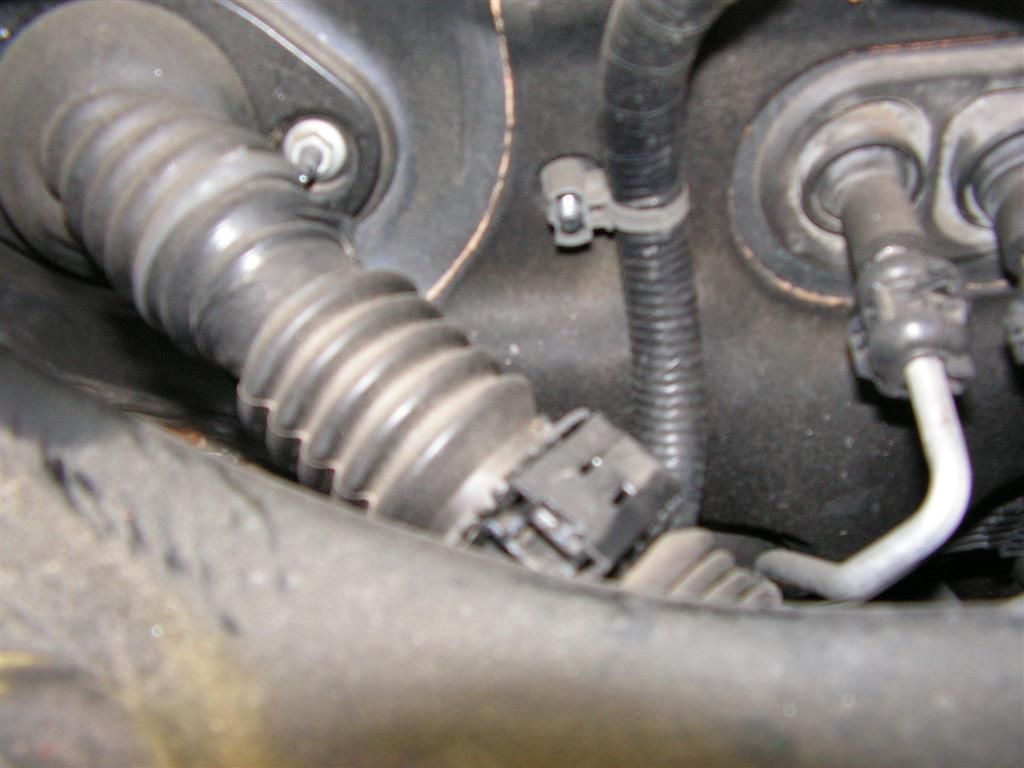
Next remove the dogbone engine stabilizer, the support brackets, and unplug the two electrical ground connectors that run under the dogbone over to the engine
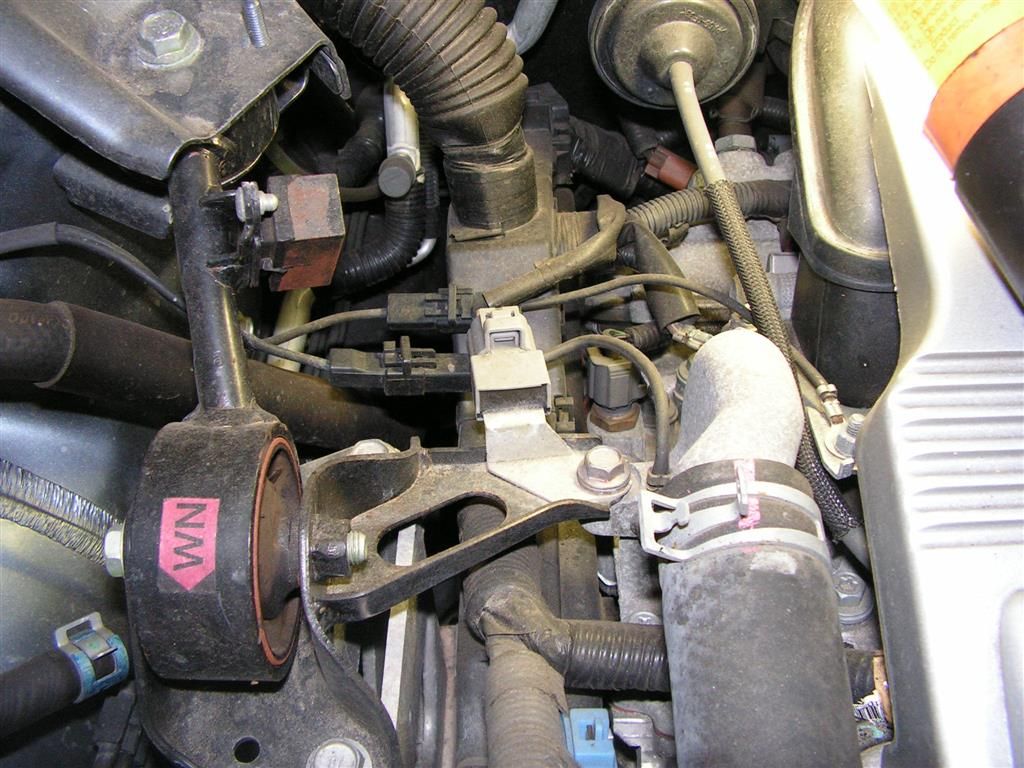
Once all the brackets are removed, the lower support is all that is left -- it can be lifted out as one piece.
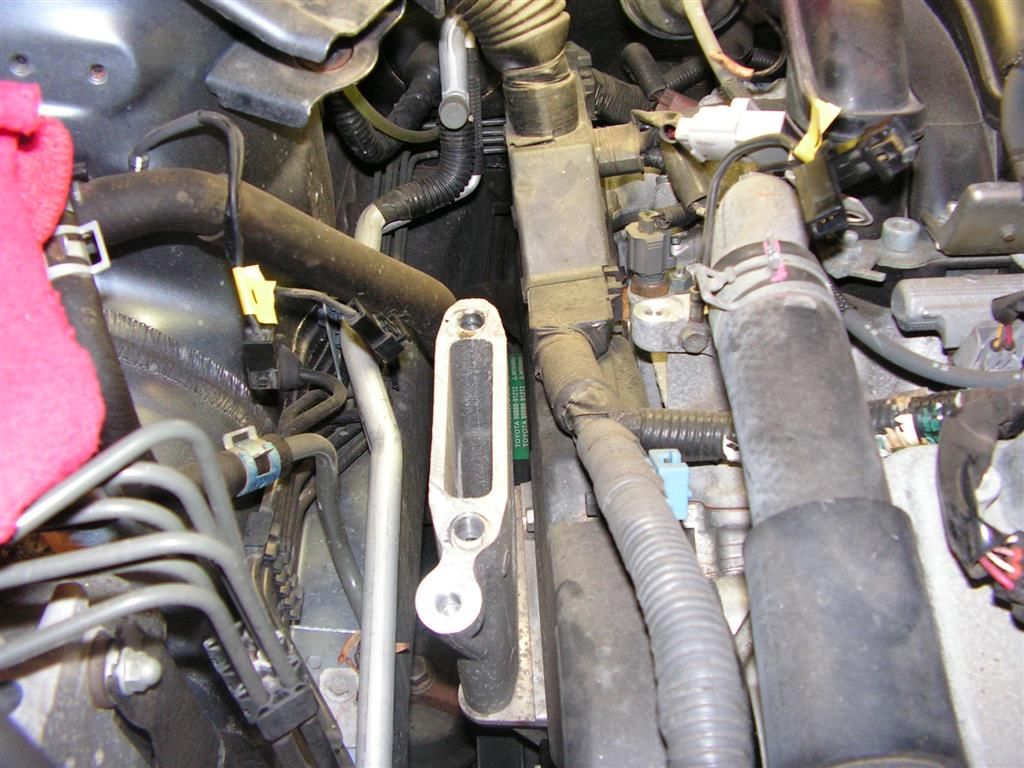
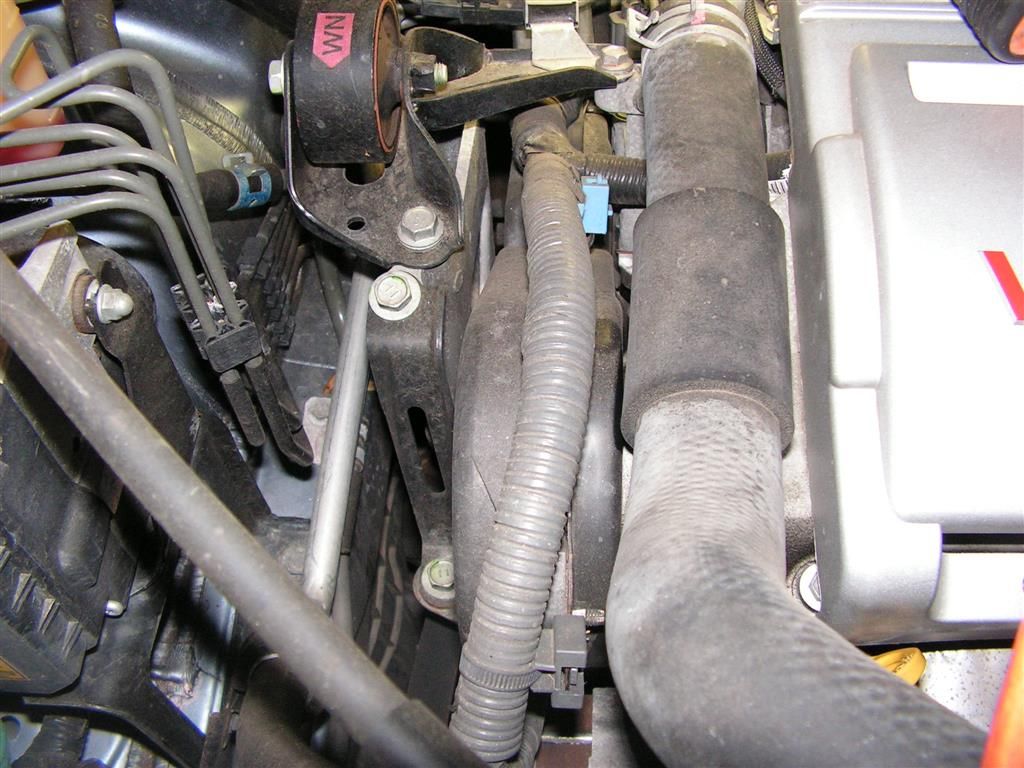
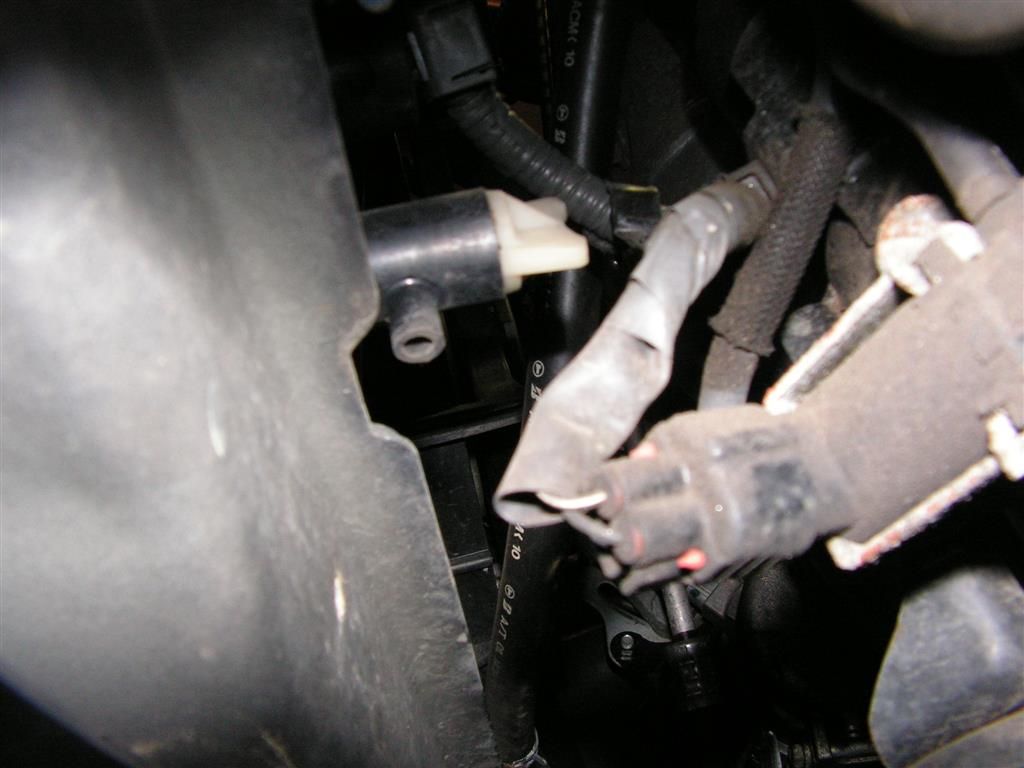
Next the wiring harness support can be loosened from the brackets by pushing a small screwdriver blade between the support and the bracket
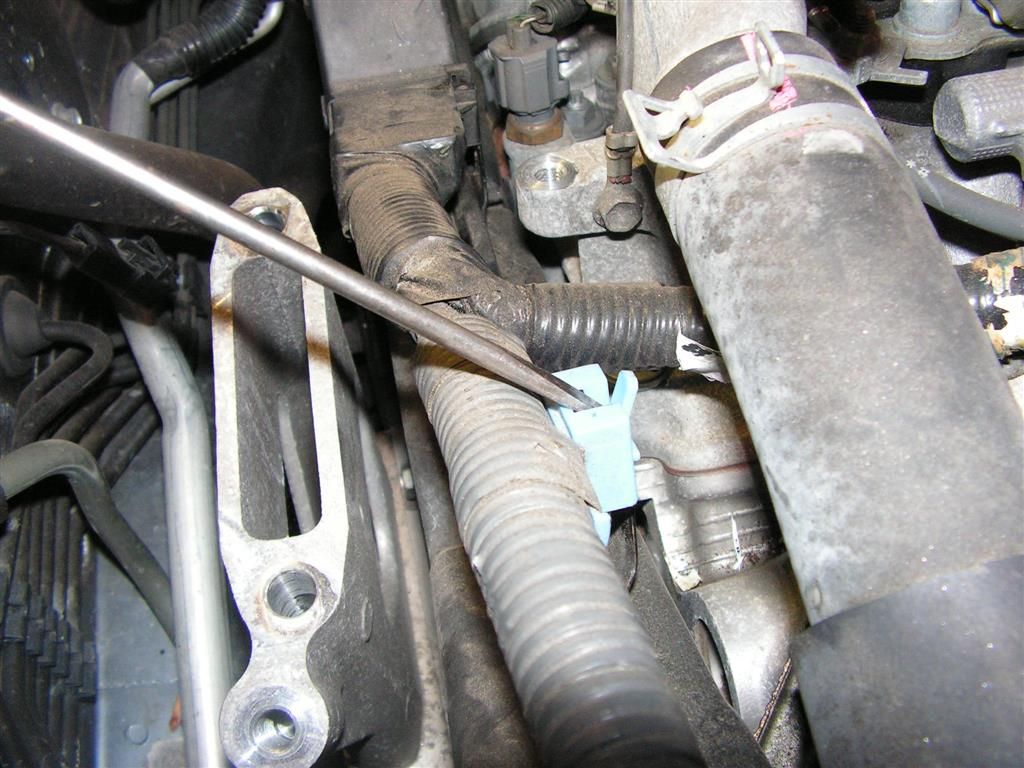
The rear of the harness (by the firewall and cross stabilizer bar) also can be loosened in order to get the thick harness to move out of the way. I use bungee cords to hold the harness out of my work area.
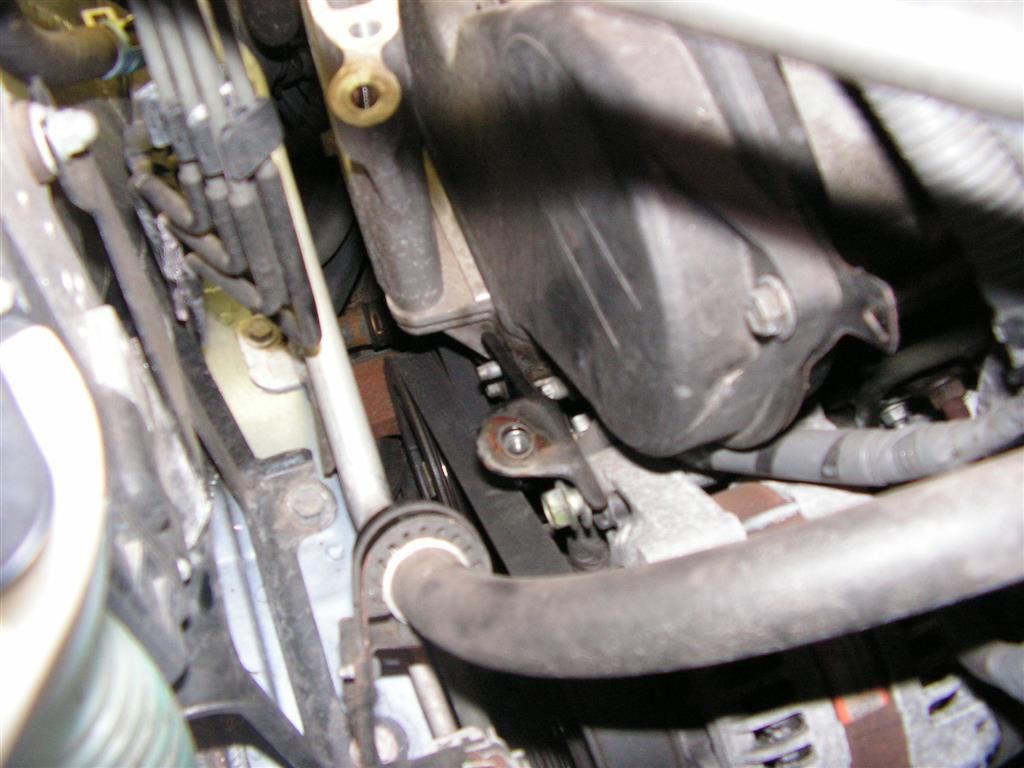
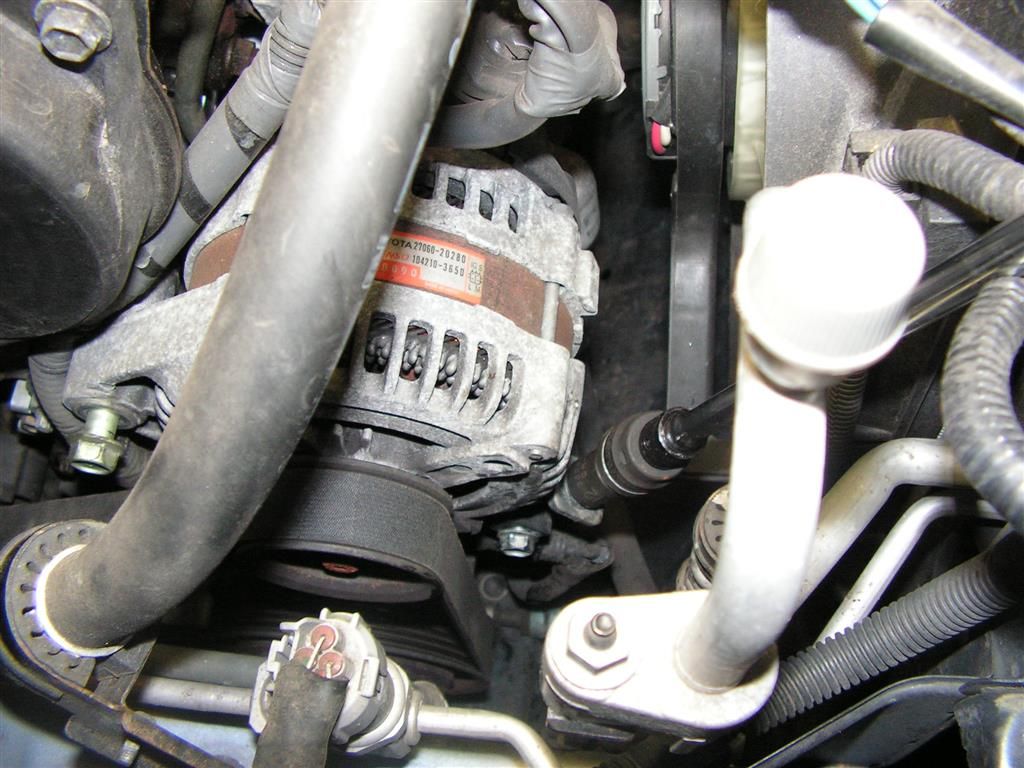
Next the alternator is loosened on its pivot bolt and the pinch bolt on the adjusting screw is loosened. Once the that pinch bolt is loose, the adjusting screw can be turned counterclockwise to to drop the alternator down and loosen the belt.
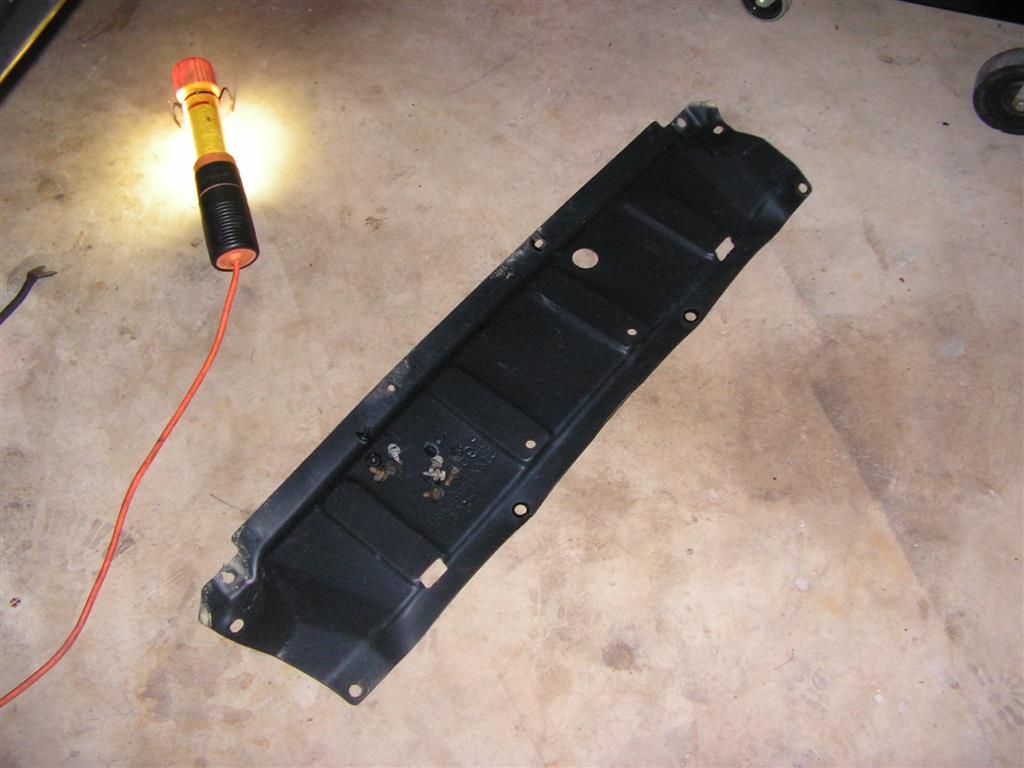
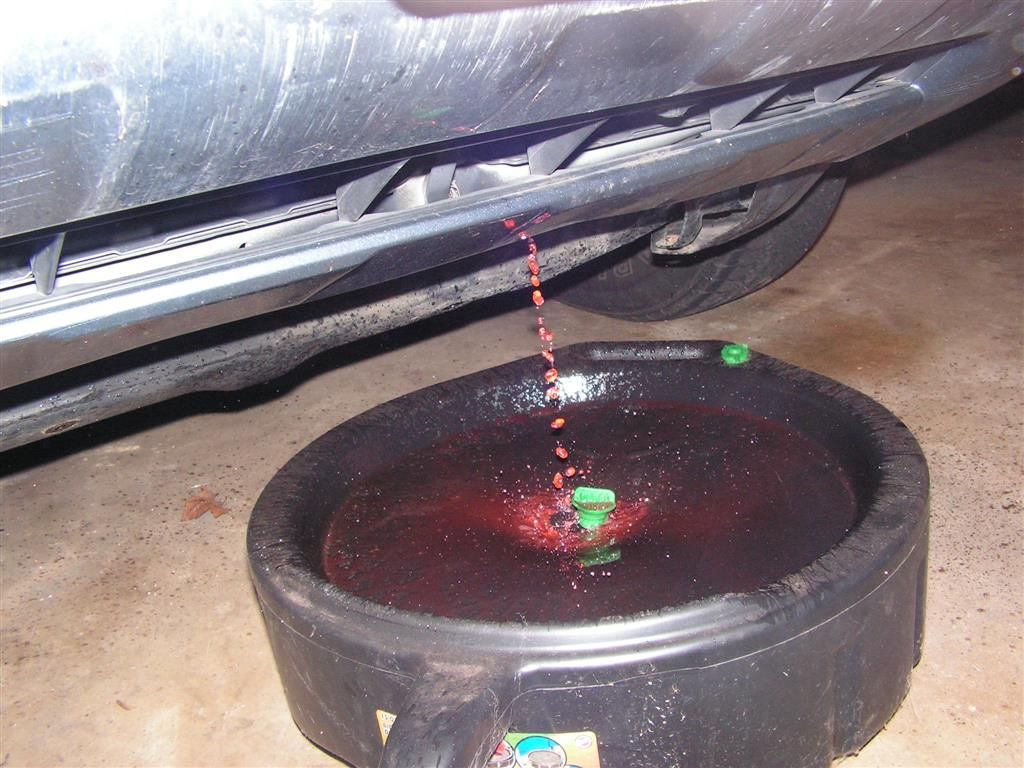
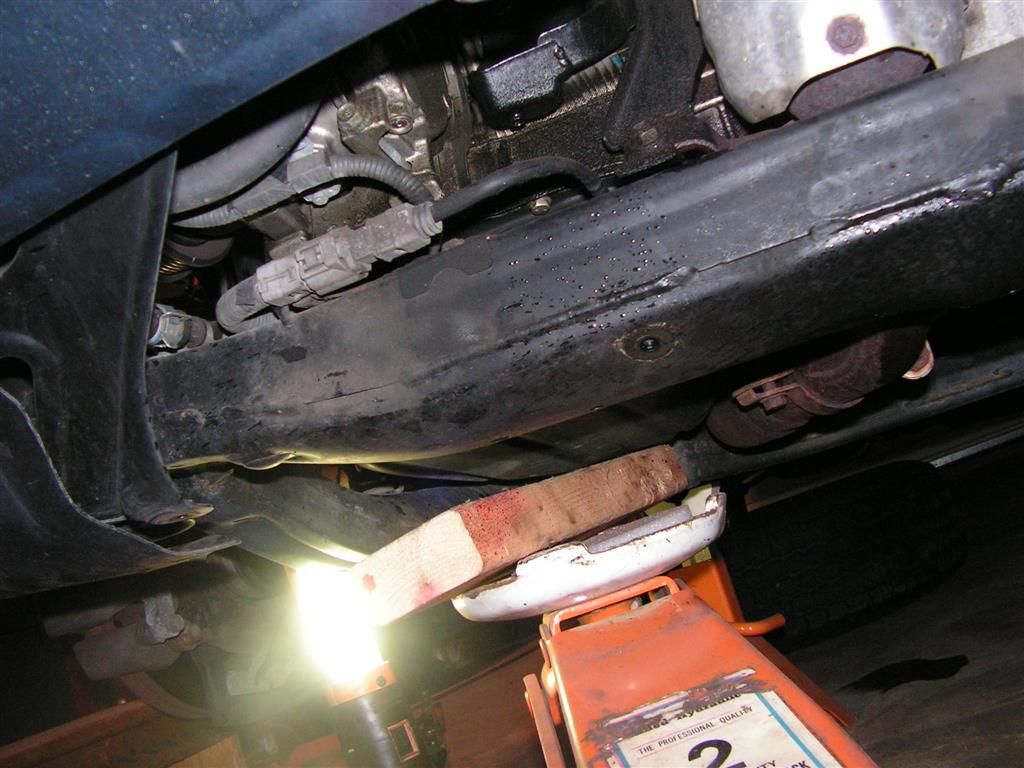
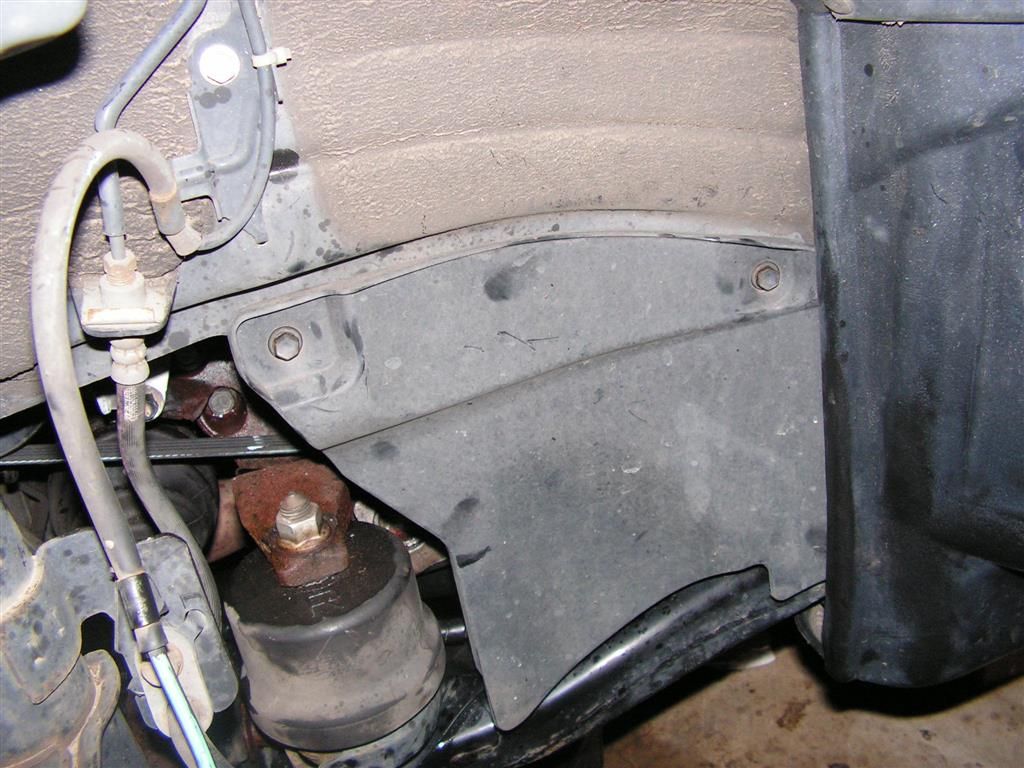
Next I removed the lower valance to gain access to the radiator drain valve -- on the drivers side if the radiator
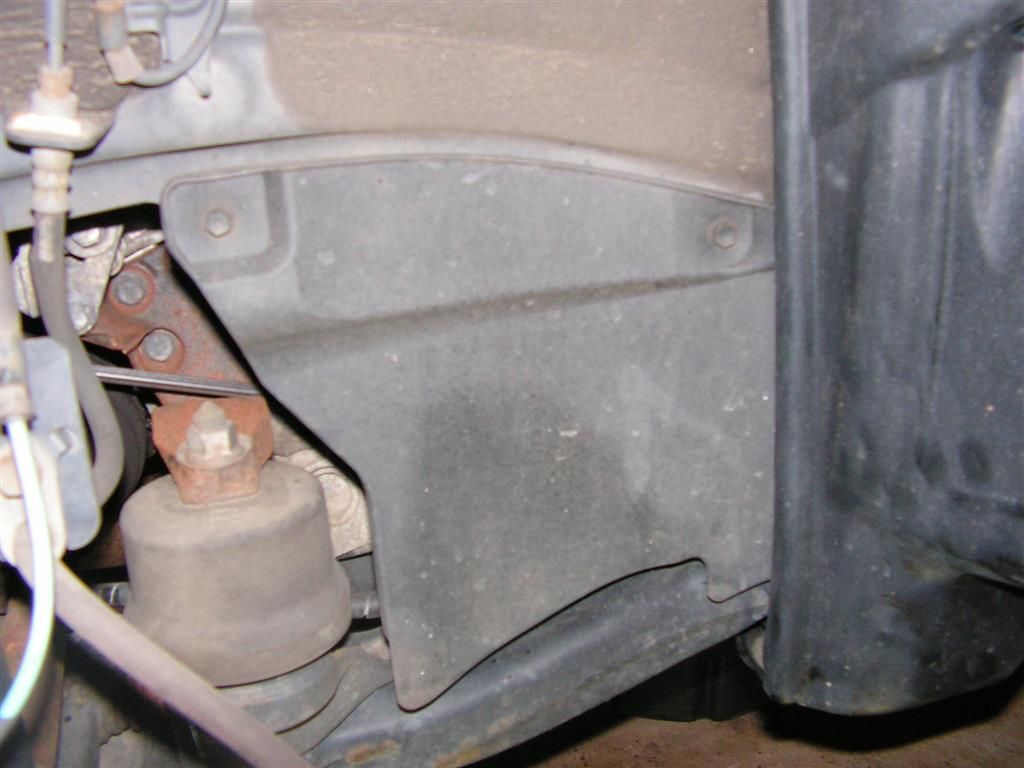
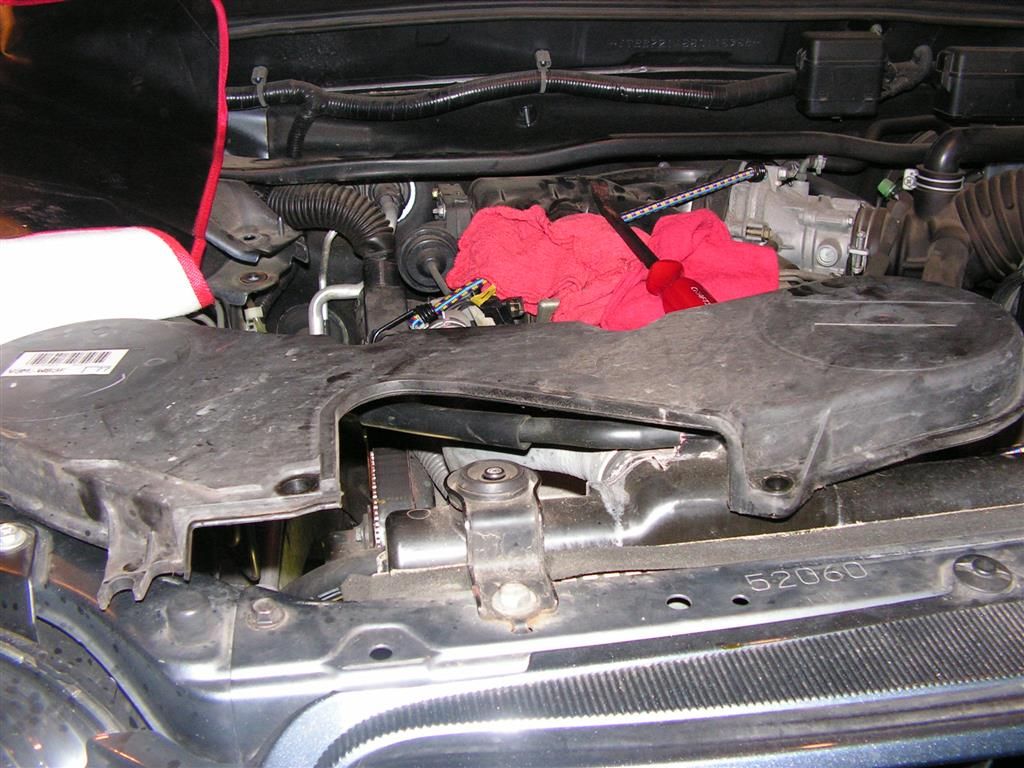
If you haven't done so already, now remove the dogbone support (it's just sitting there) and gain access to the upper timing belt cover

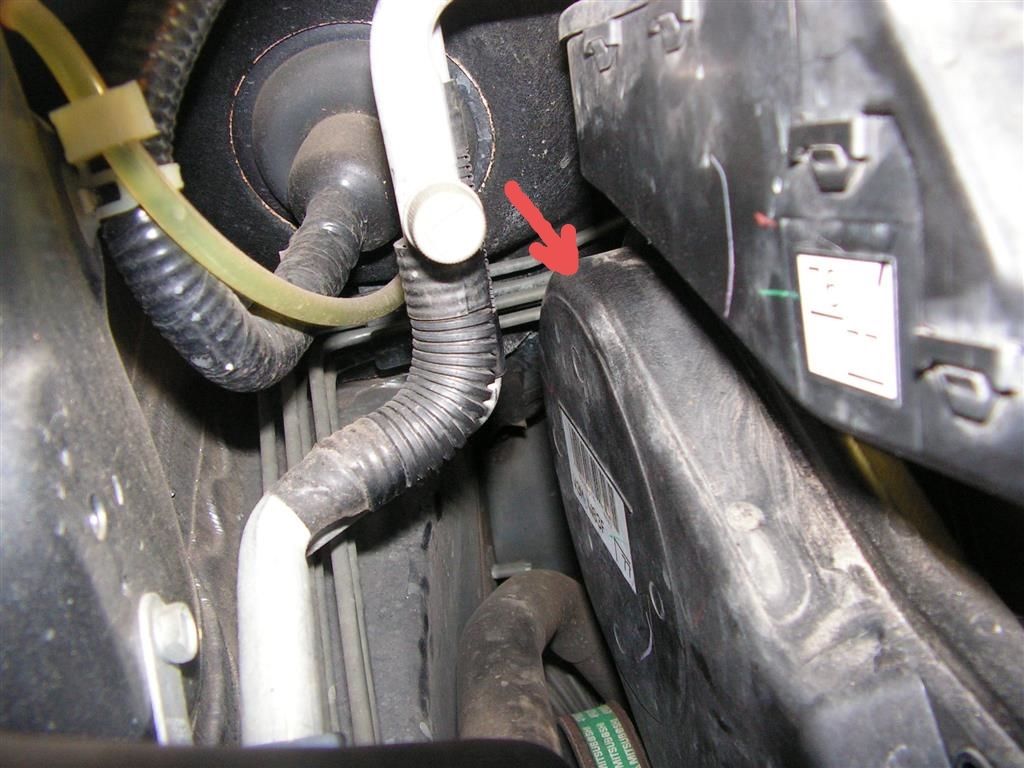
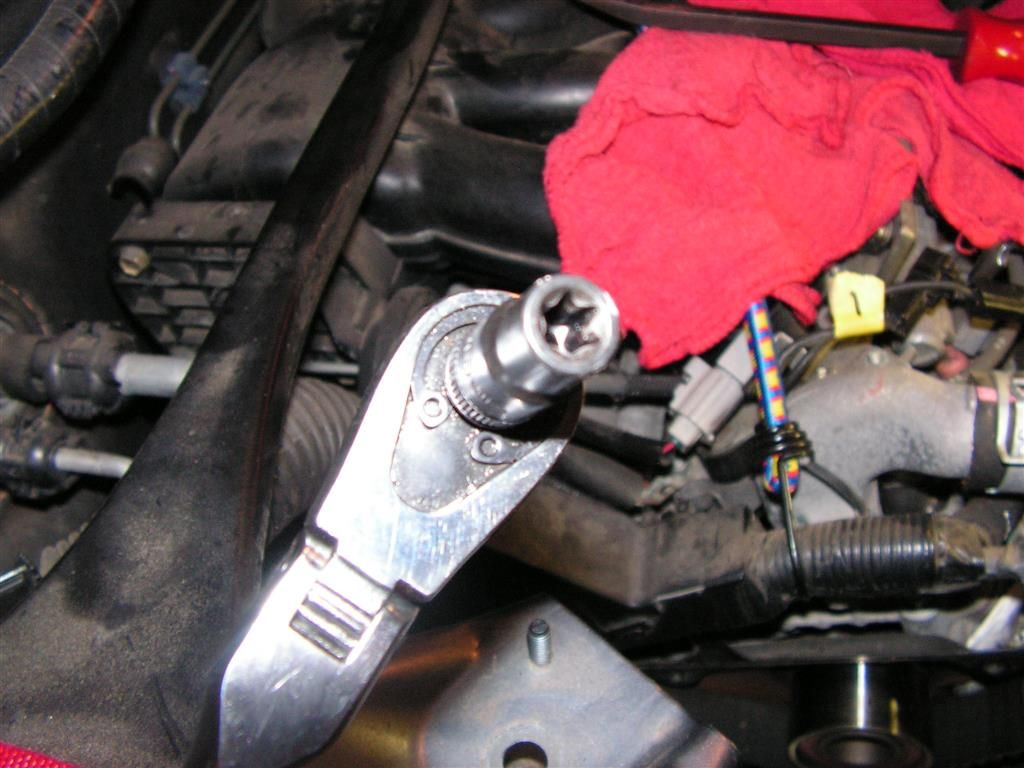
Remove the 10mm bolts holding the cover in place -- now you'll see why getting the wiring harness out of the way was so important. There is a timing belt cover bolt right to the firewall and you'll need a small 1/4" ratchet to get in there. With the harness in the place, this would be impossible.
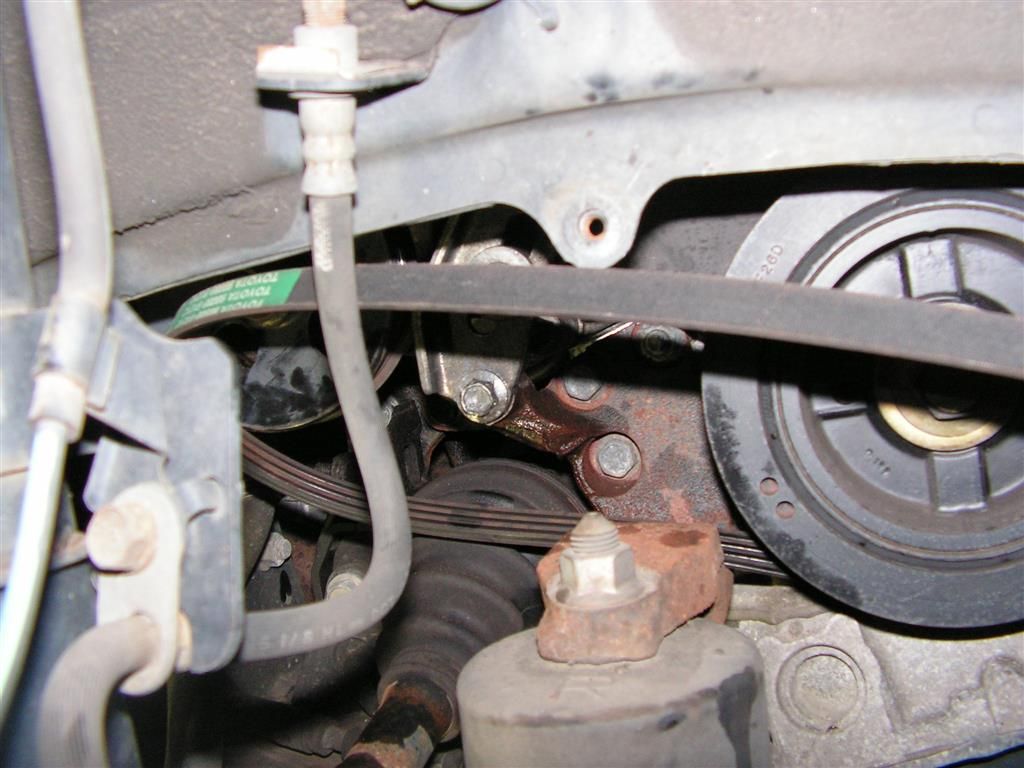
Now I jacked up the right side of the car and supported it with a jackstand. I removed the right front wheel to expose the lower engine cover in the wheelwell. I removed the two 10mm bolts and exposed crank pulley.
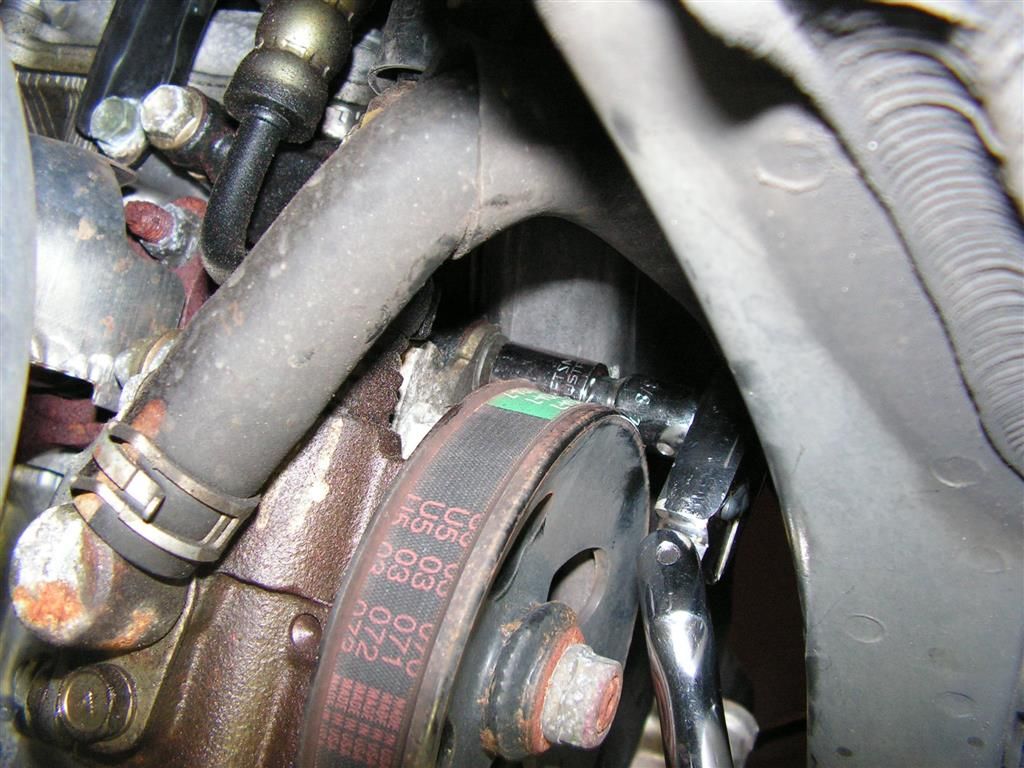
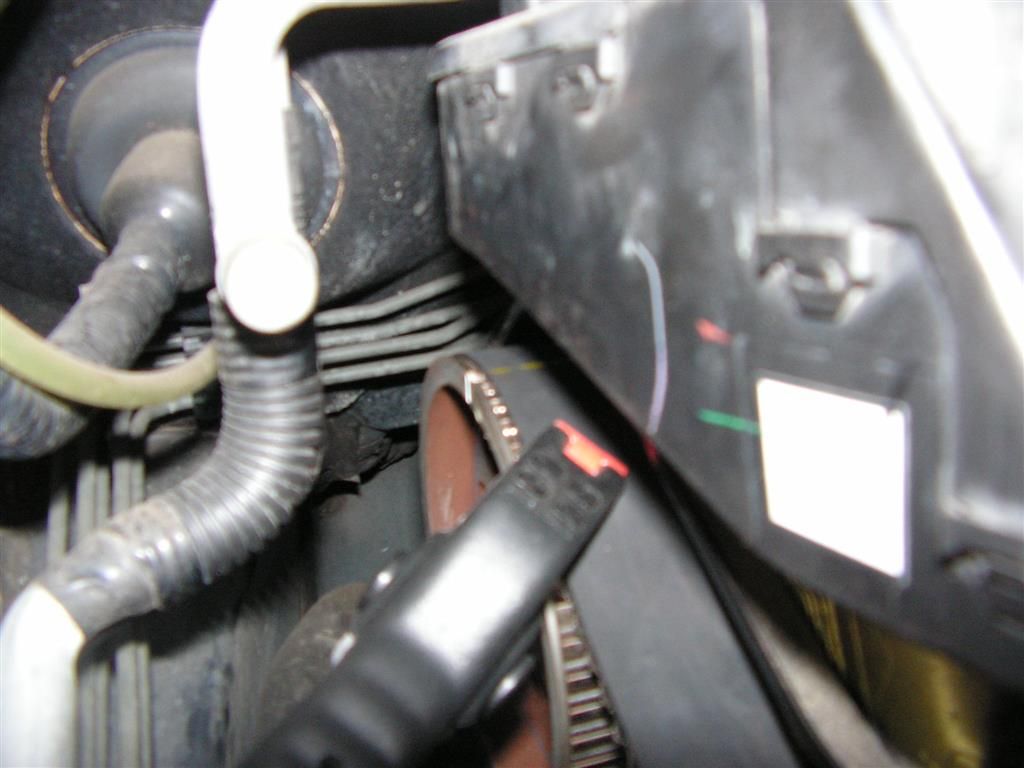
At this time the power steering belt can be removed. First a pivot bolt is loosened on top of the power steering pump and the pump adjustment bracket is loosened and removed. It's in the way when removing the timing belt tensioner later on. The power steering belt simply slips off the crank pulley once the power steering pump adjustment bracket is loosened and removed.
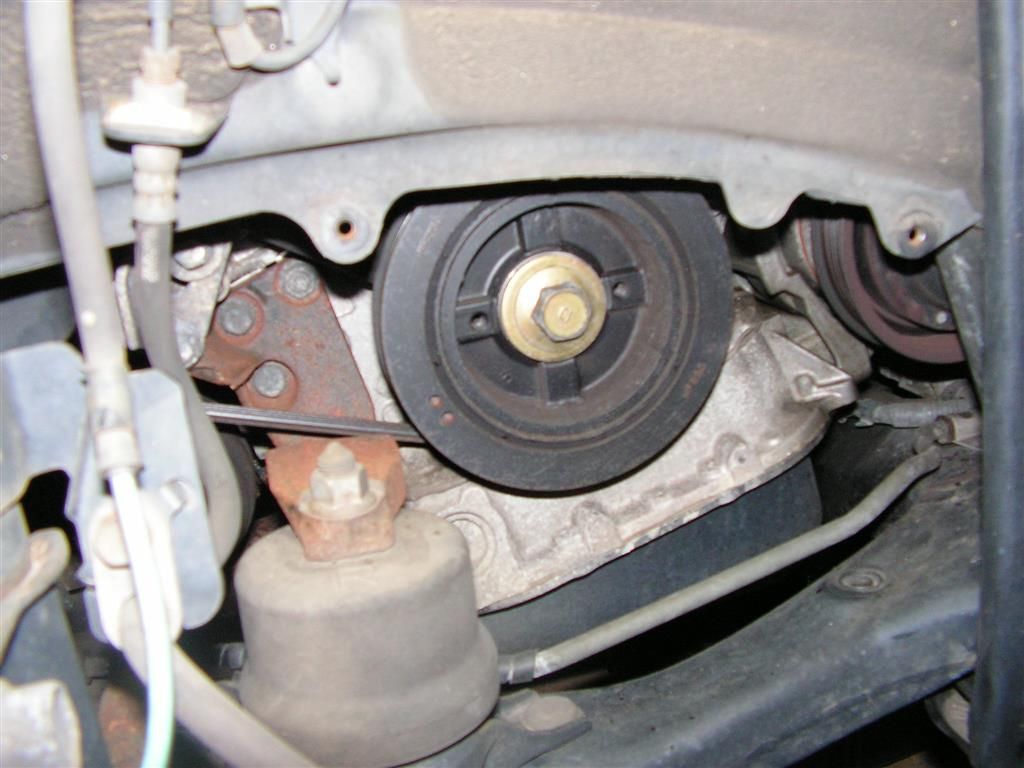
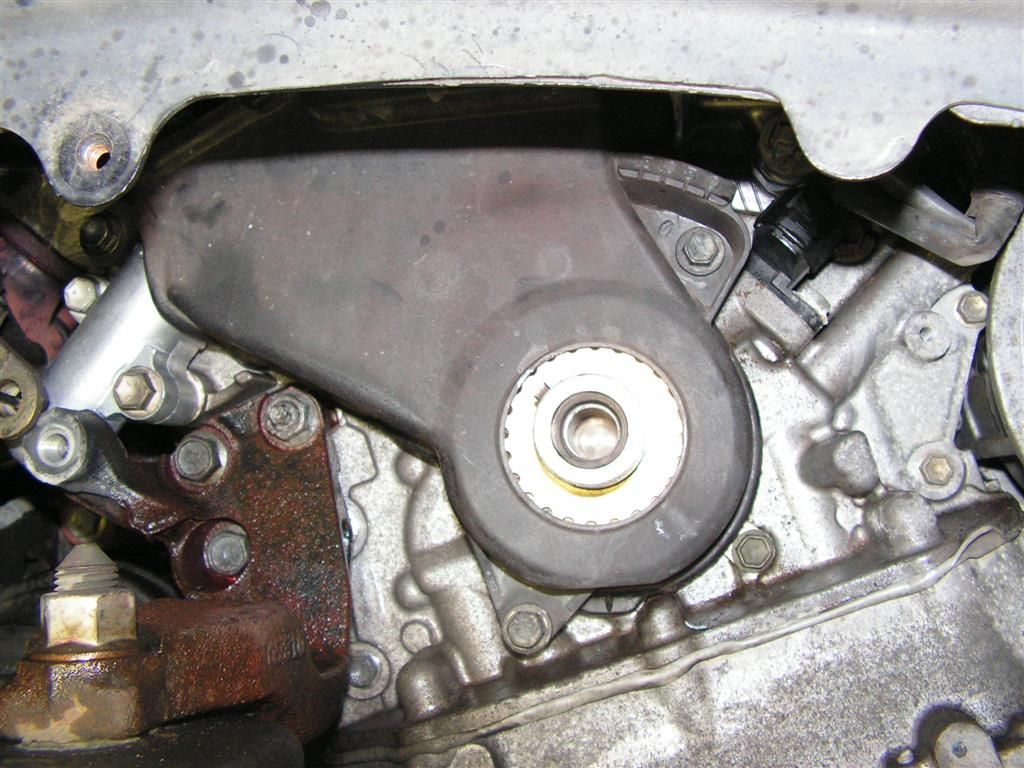
Removing the power steering pump bracket will also expose the single lower 10mm bolt that is keeping the upper timing belt cover in place. With this bolt removed, the timing chain cover can be removed
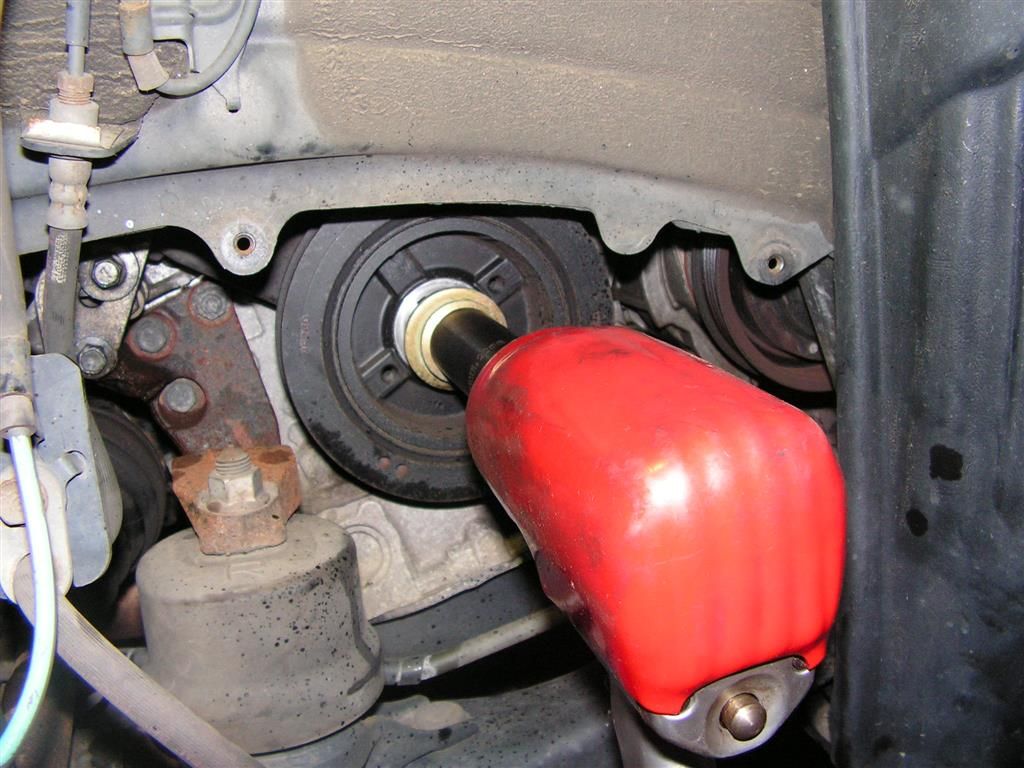
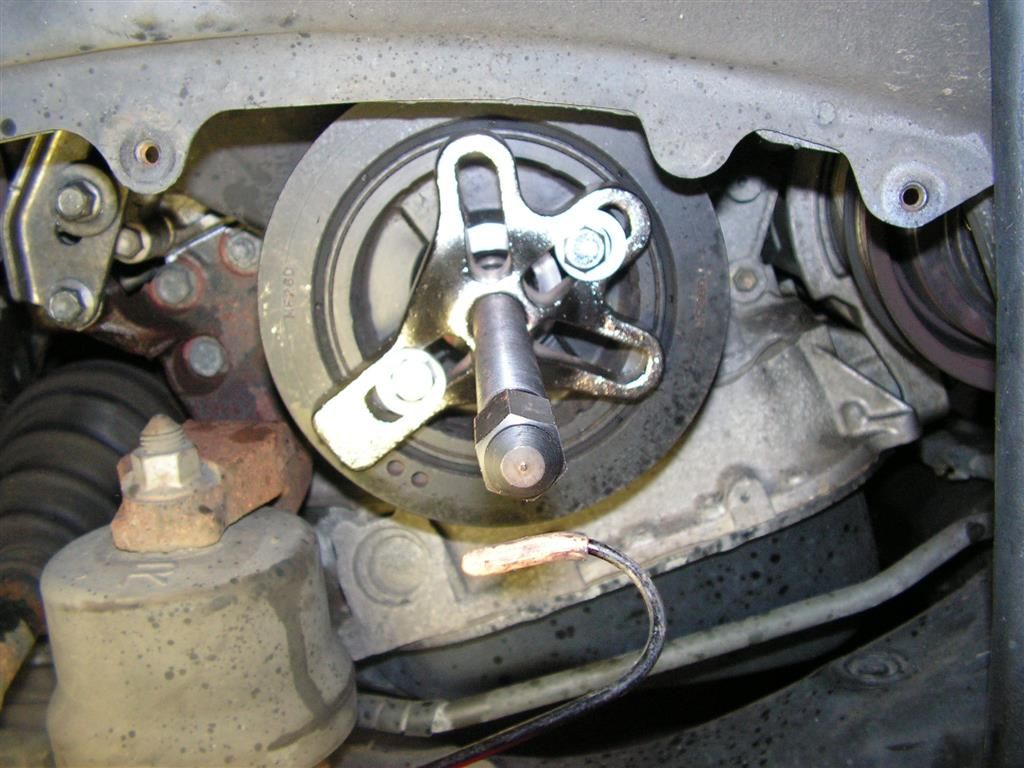
Now an Impact wrench is needed to loosen the crank pulley bolt and to remove it from the crankshaft. On some cars the crank pulley will slide right off simply by wiggling and pulling with your hands, but in my case I needed a puller to get it off. The crank pulley does have threaded holes to allow for such a puller to be used.
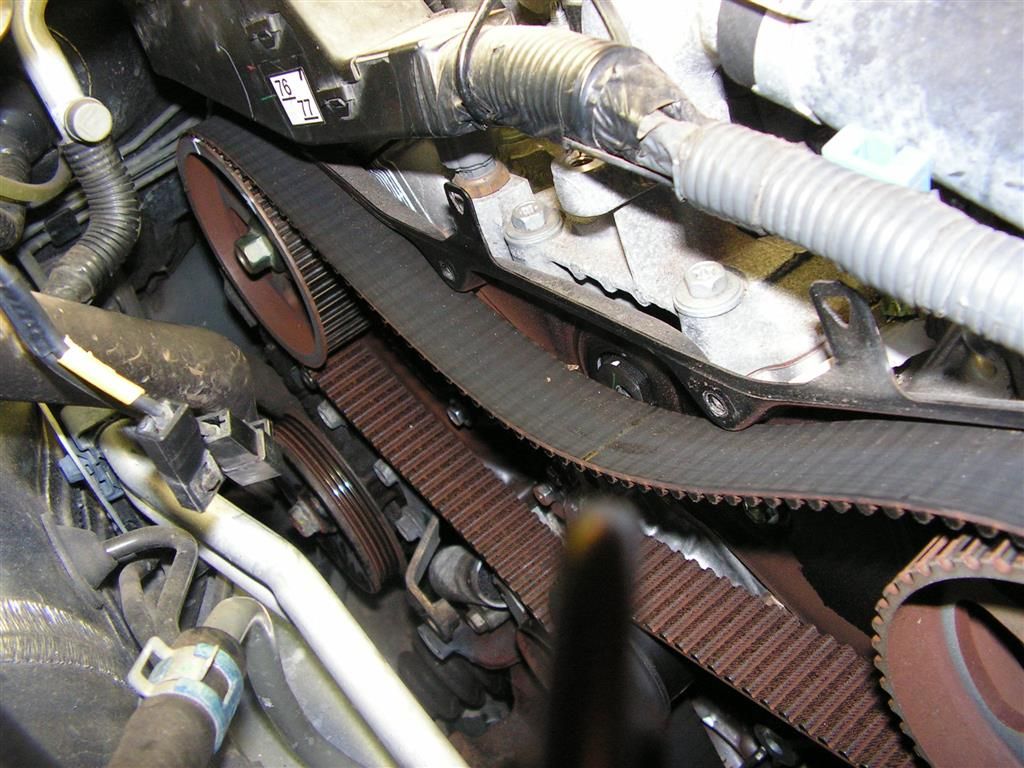
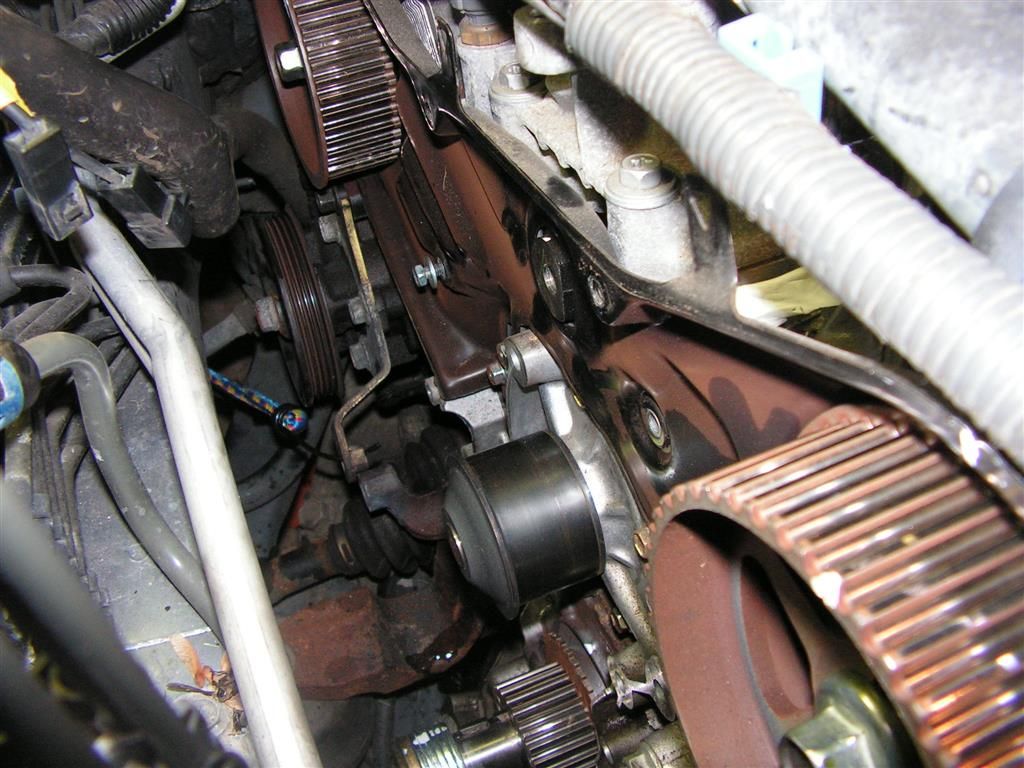
Now the lower timing belt cover 10mm bolts can be removed to expose the timing belt and tensioner
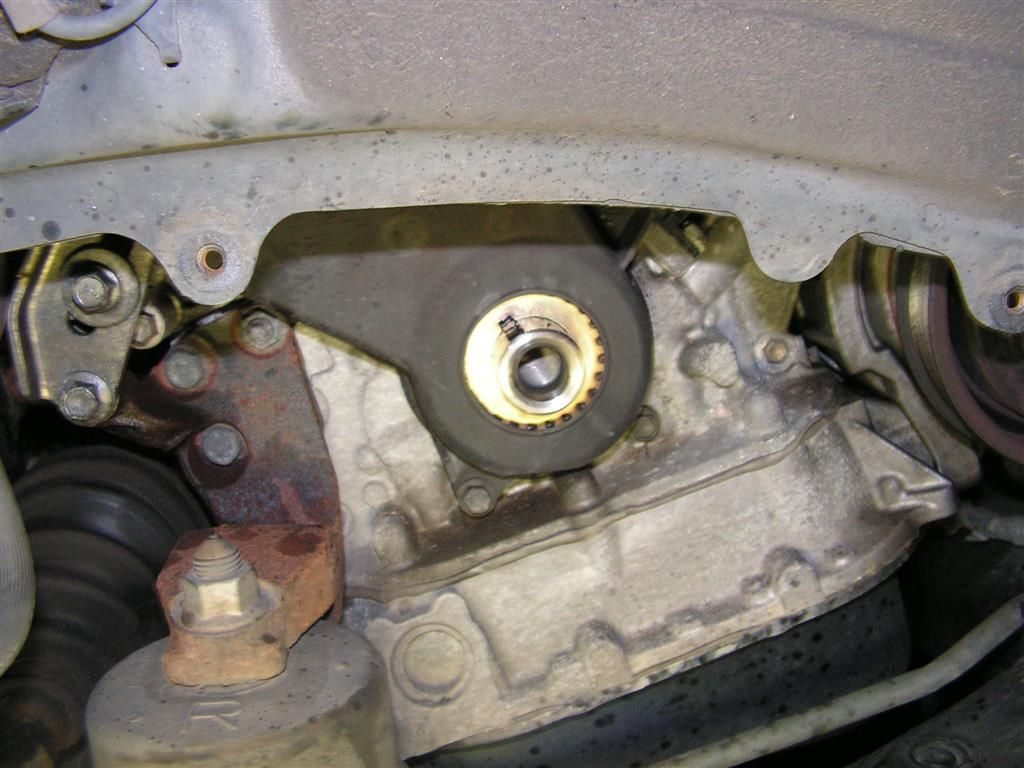
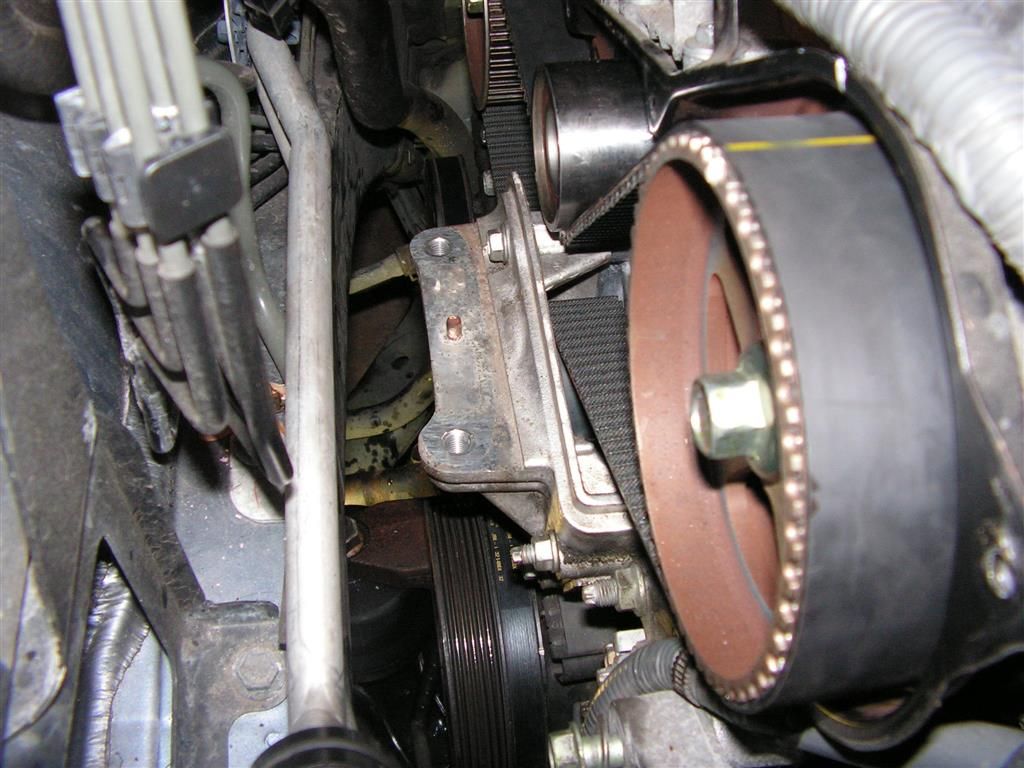
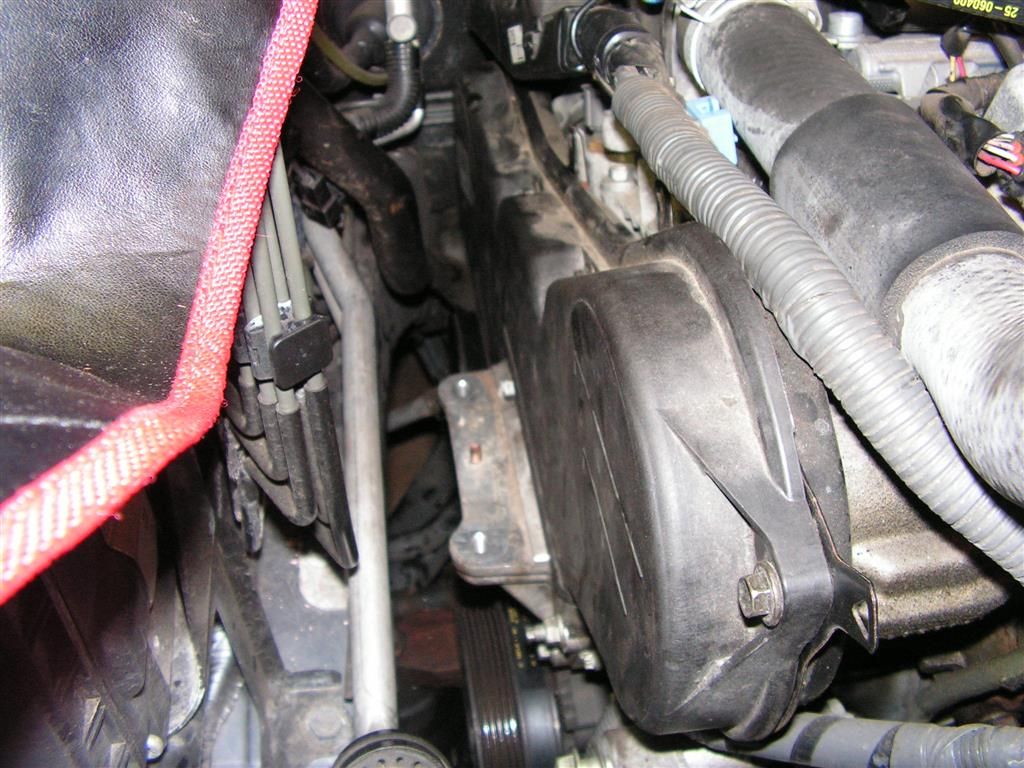
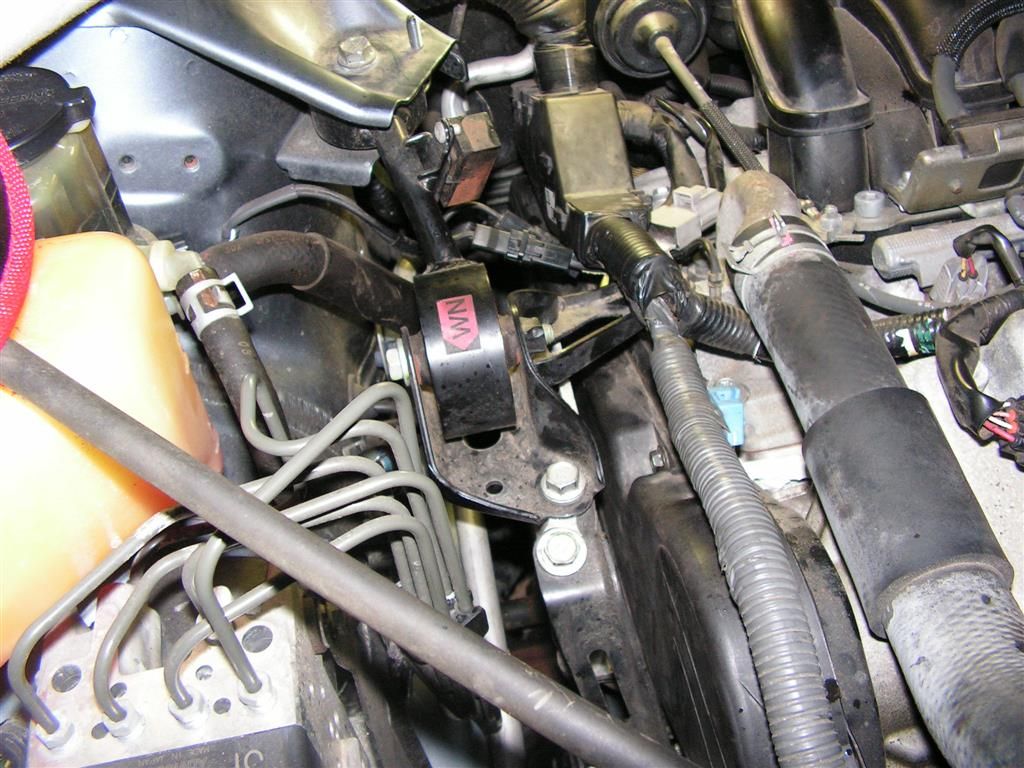
At this point we move back on top and remove the lower dogbone support, which also mounts over the water pump.
What follows is probably the trickiest part of this entire job --
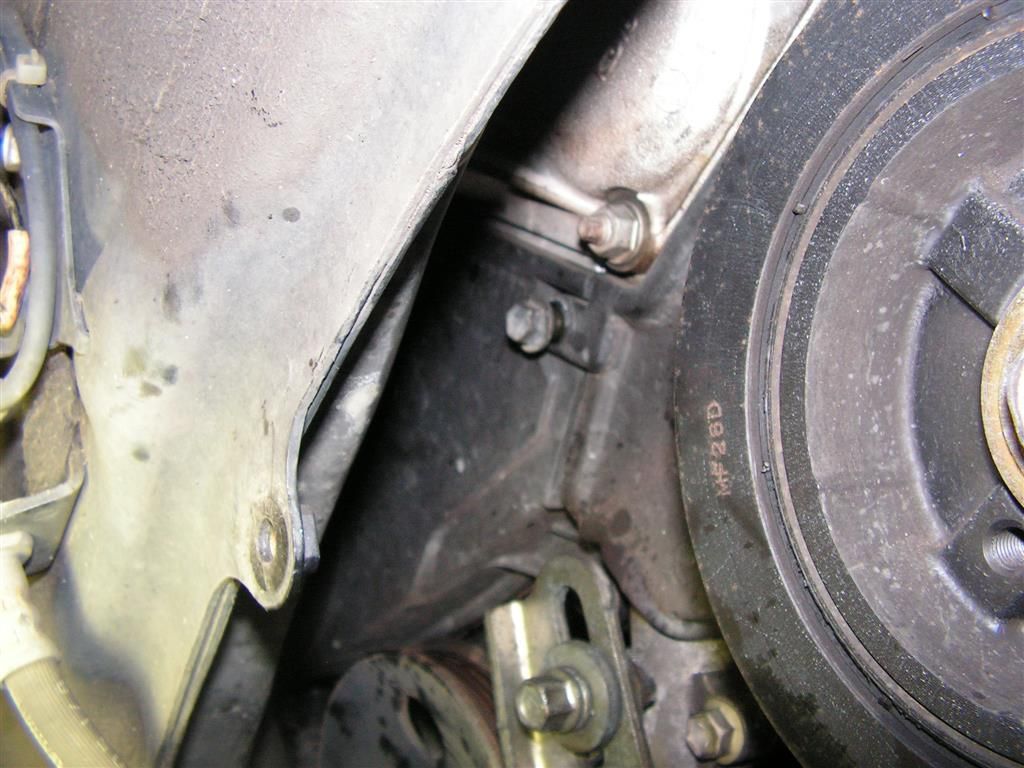
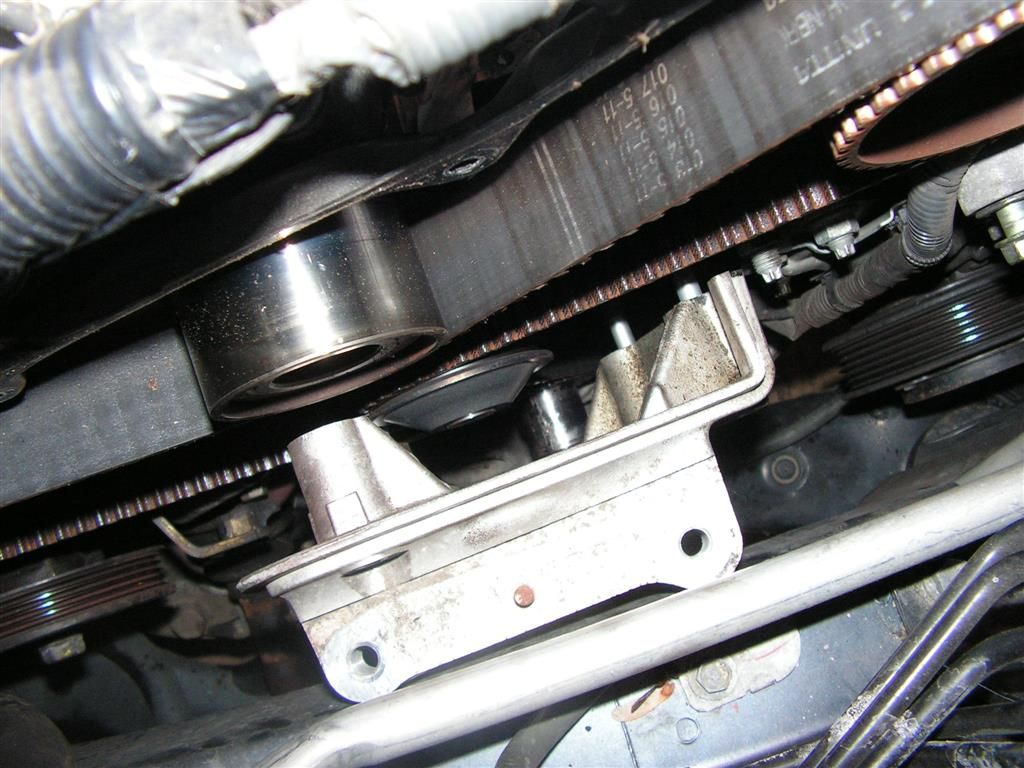
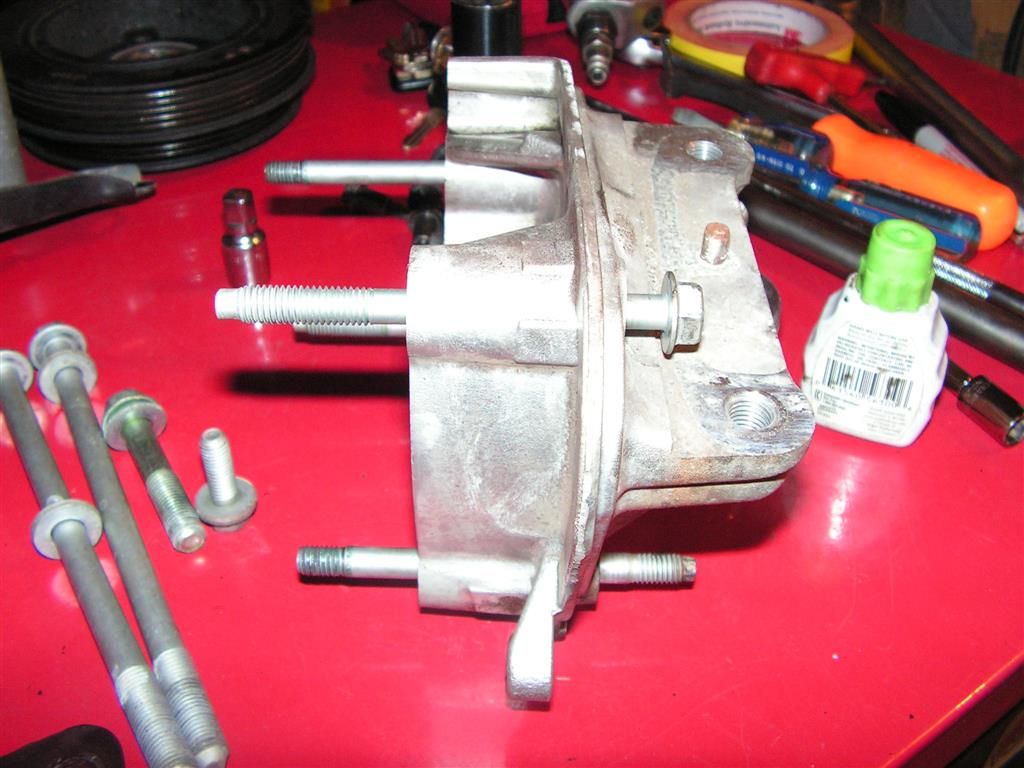
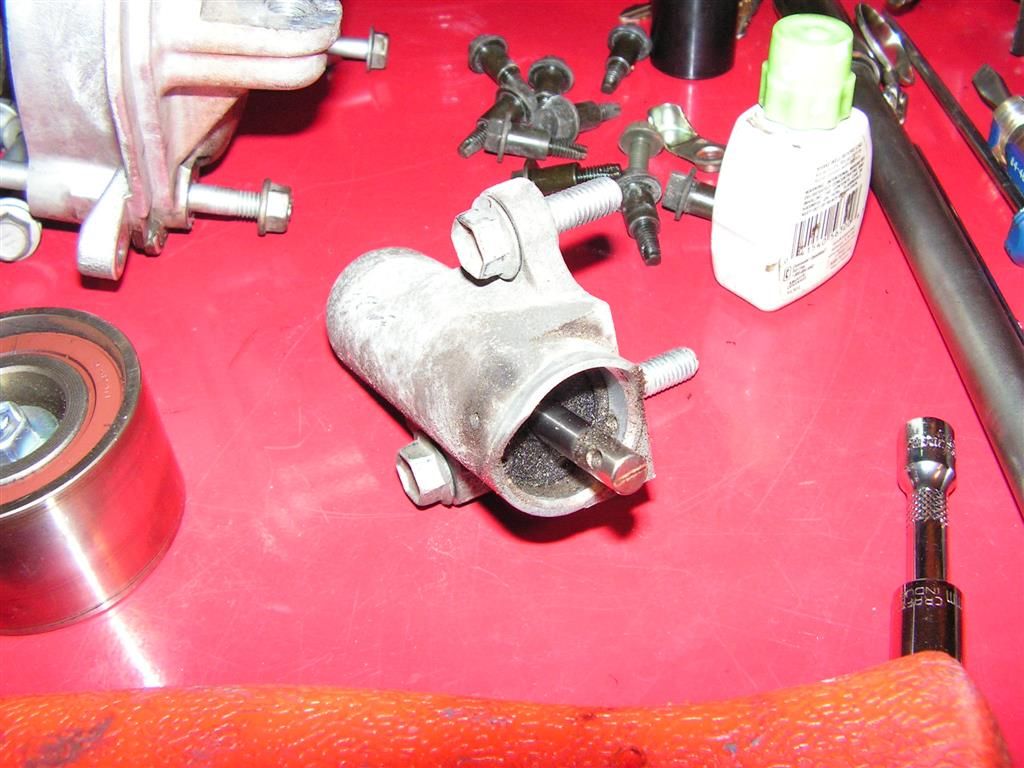
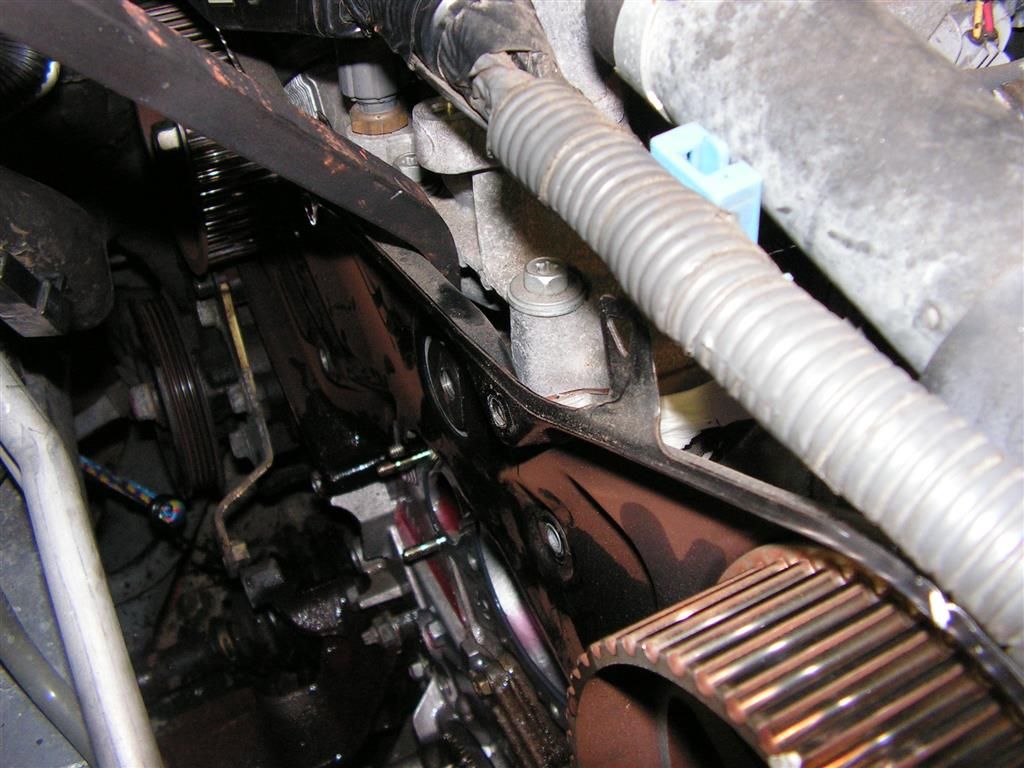
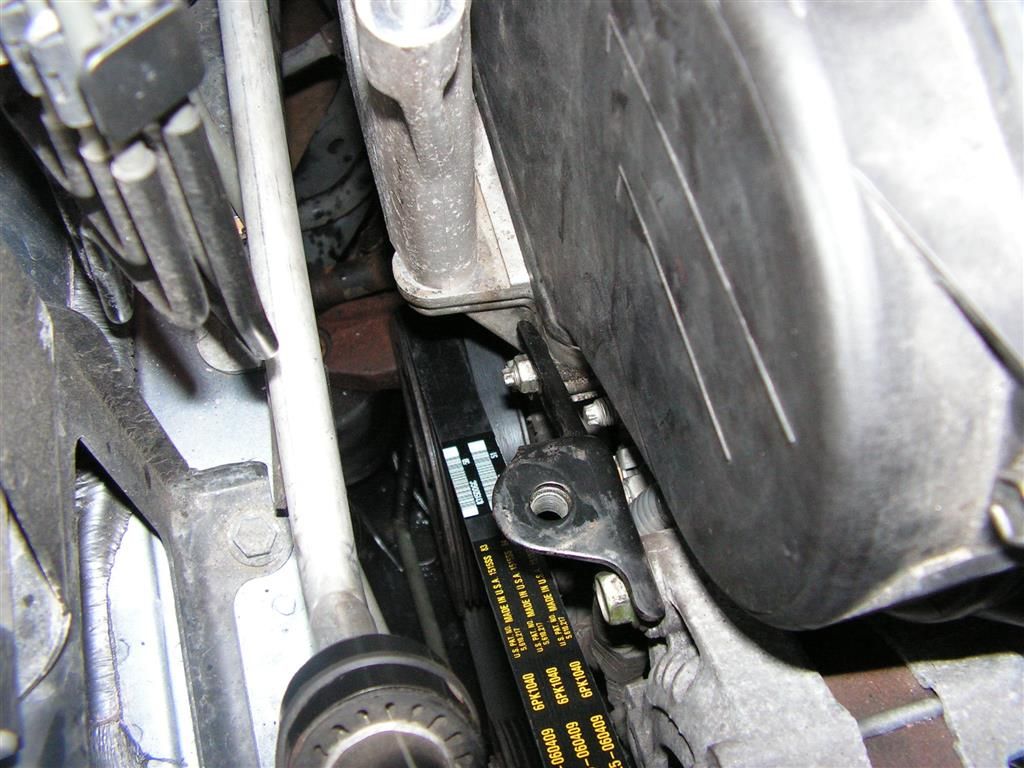
The lower mount is held in place by two long 12mm bolts and two long studs with 12mm nuts. Problem is that when you loosen these four fasteners to remove the mount it will hit the subframe before clearing the long studs. This is a design problem in the Highlander (and similar Toyota/Lexus vehicles). The only way to clear those studs is to remove them from the block and take them out along with the mount.
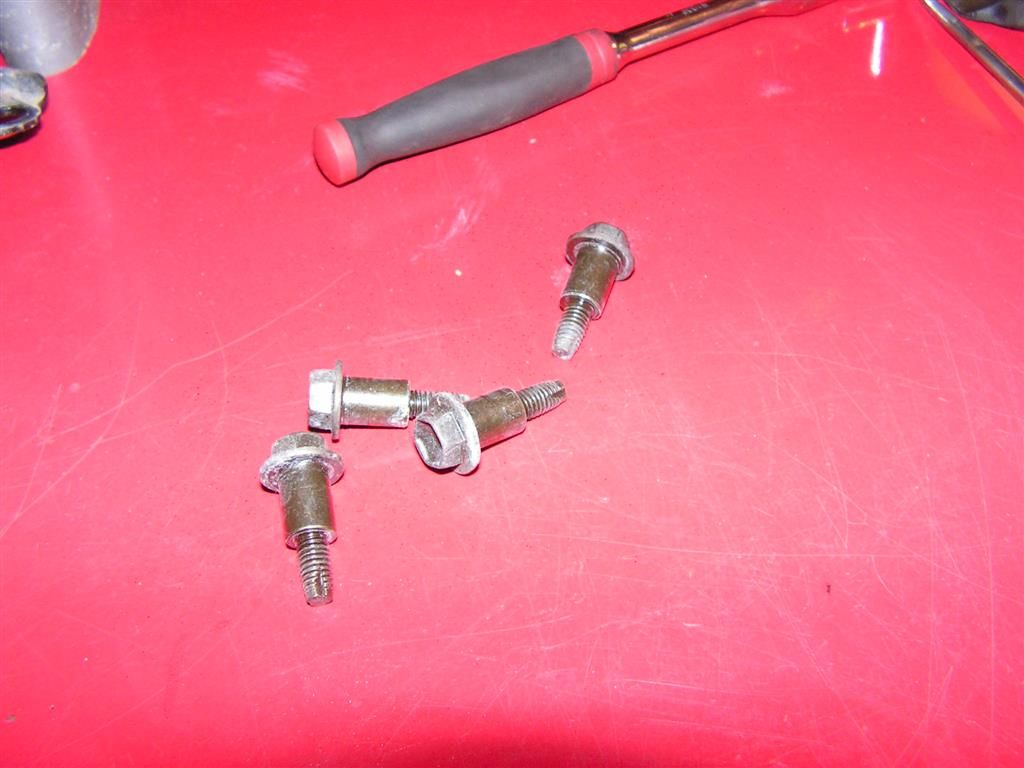
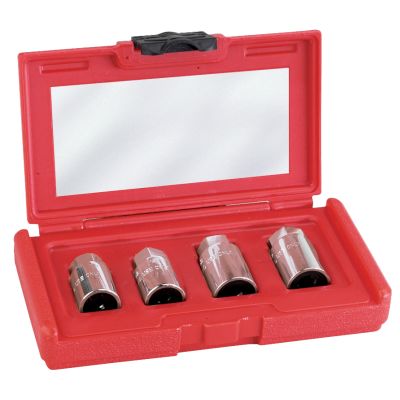
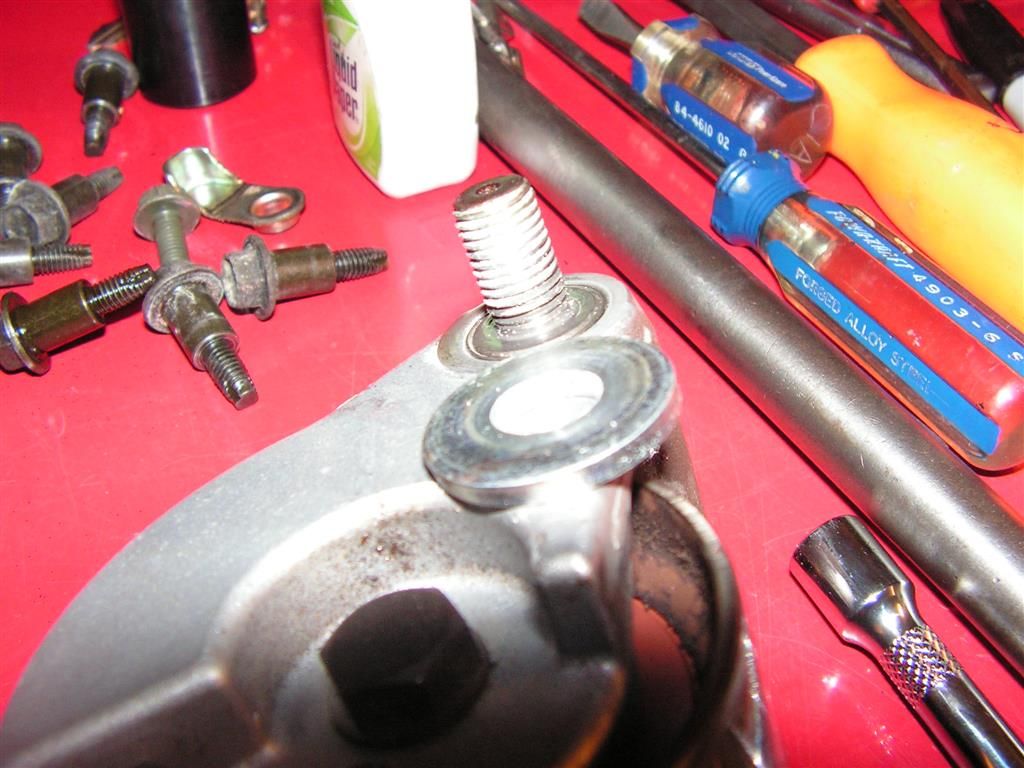
Toyota has helped along in this mess because the stud ends are actually E-Torx broached. You can use an E-8 socket to unscrew the stud from the engine block
Notice in this pic that the stud on the right has an E-Torx endcap
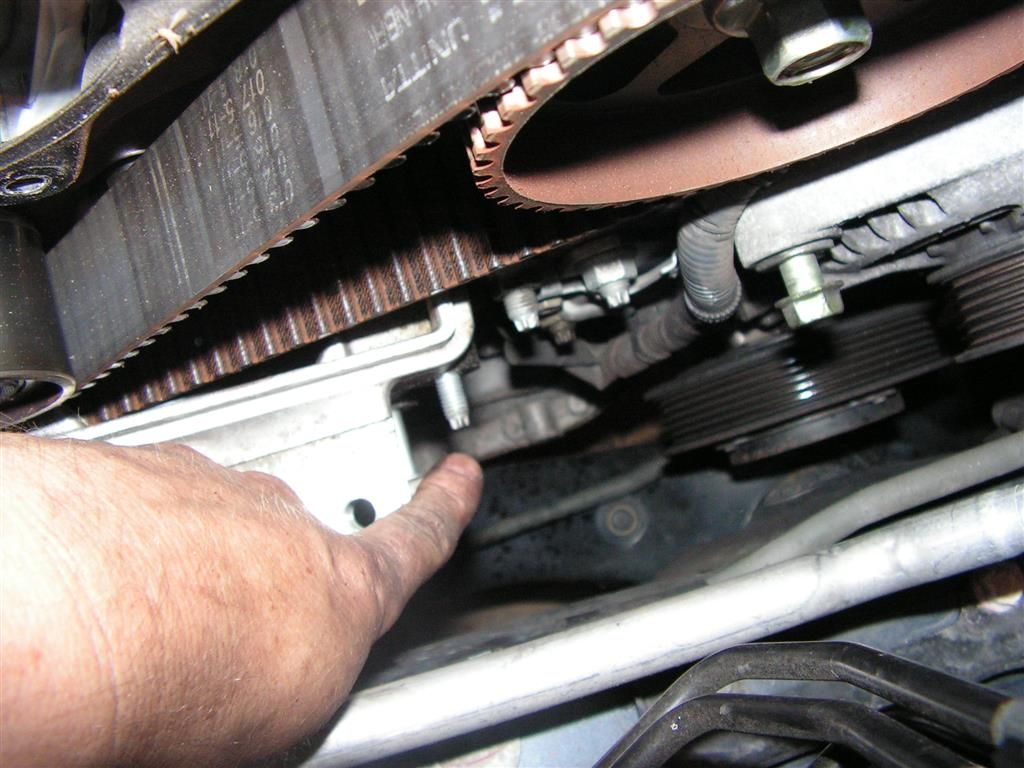
There's another such stud on the left lower side of this mount. I used a 1/4" drive ratchet with an E-8 Torx socket to loosen these studs. Once all four of the fasteners have been loosened, the mount can be pushed against the subframe along with the studs and bolts and the entire assembly removed
Now here's the clincher. These Torx end studs are fragile and in some cases the Torx end will break off. If that happens the engine must be supported with a jack (on the oil pan), and the front and side motormount loosened to allow the engine to be lifted in order to tilt the motor just enough (about 1/2") to be ensure that this mount clears the subframe.
Front and side Motor Mounts that needs to be loosened
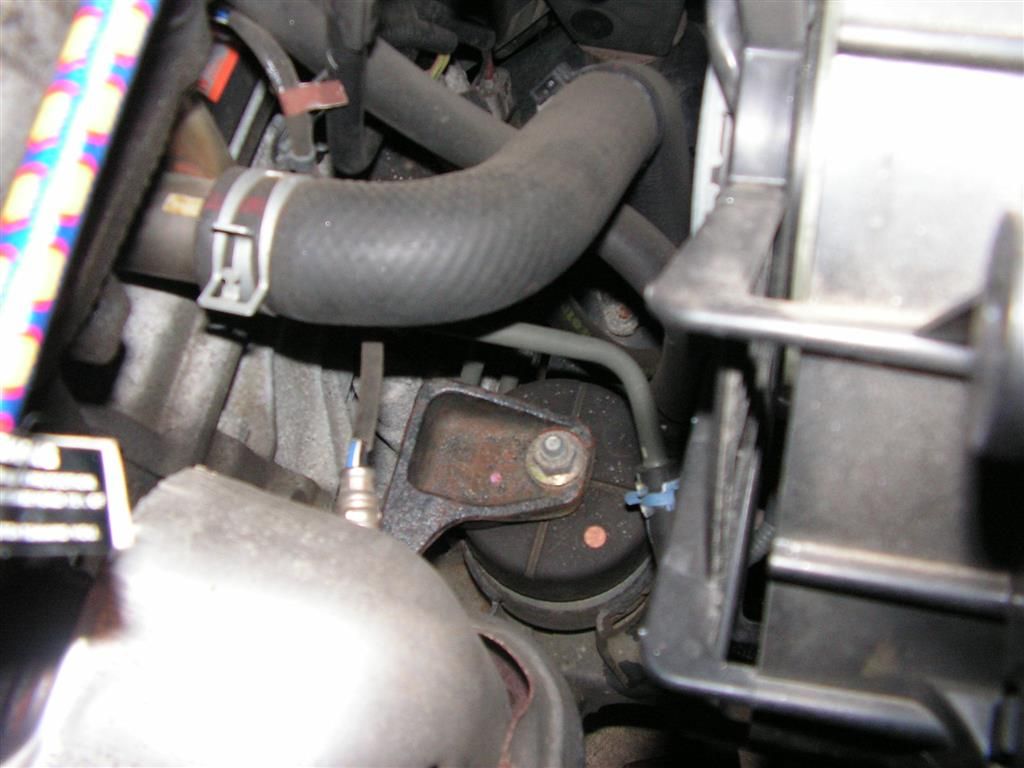
In such cases the tilted engine will allow the mount to slide off the stud and clear the frame, but you will need either new studs and a pinch style stud puller to get the broken studs out.
In my case I got lucky and the E-8 socket unscrewed the studs without problems.
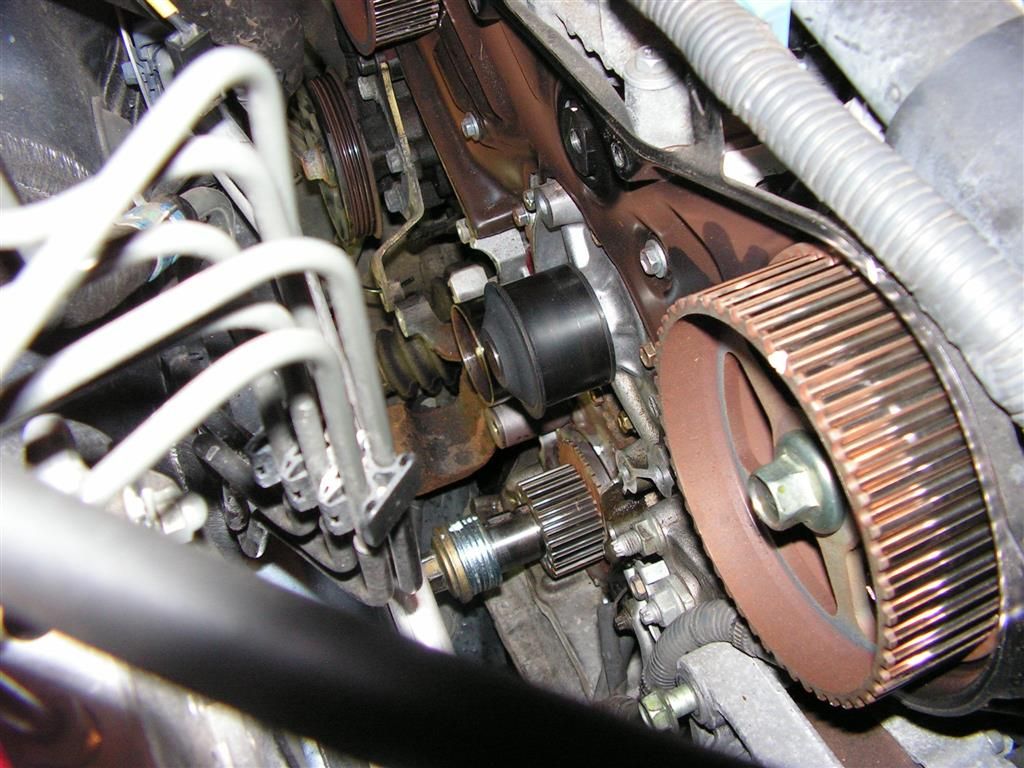
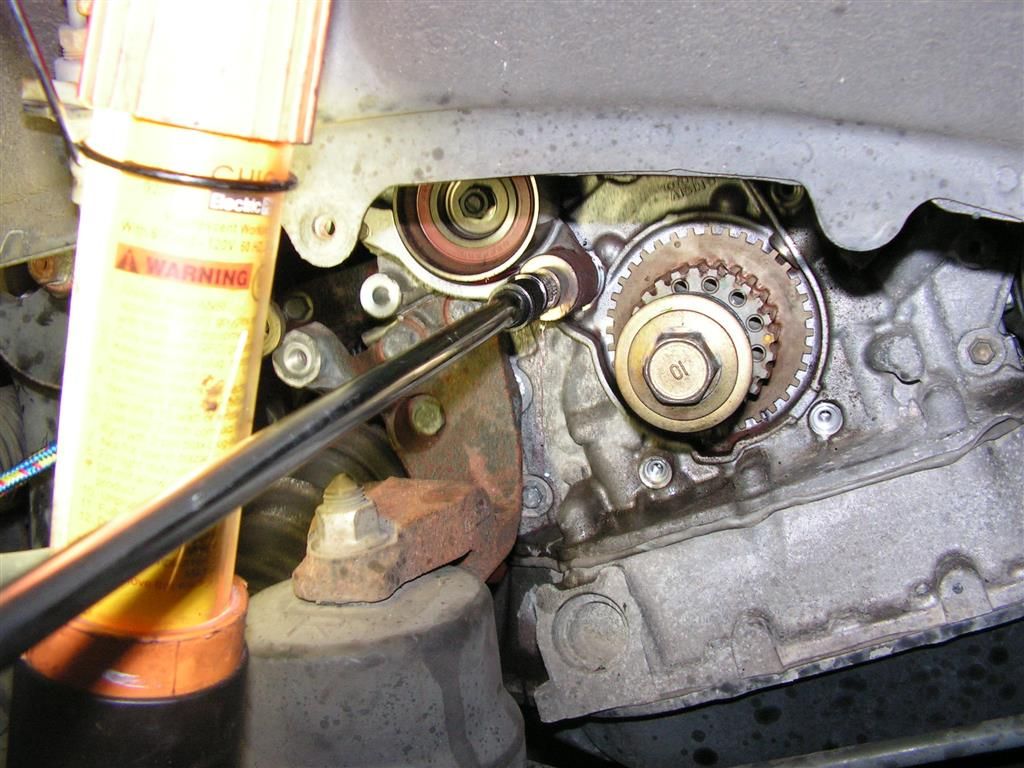
Hard part is over and now it's time to align the camshaft sprocket timing marks with the reference marks on the rear of the timing belt housing. I used some whiteout to enhance the marks. The crank pulley bolt is put back into the crank temporarily to allow the engine to be turned over by hand. Timing marks on the crank and the from and rear camshafts must align.
Front camsprocket mark aligned with rear housing mark--
Rear camsprocket mark aligned with rear housing mark-- (It's difficult to see the rear housing mark, so I used a telescoping mirror to set the alignment of the sprocket to the rear housing mark). It's a bit tricky, but not too difficult.
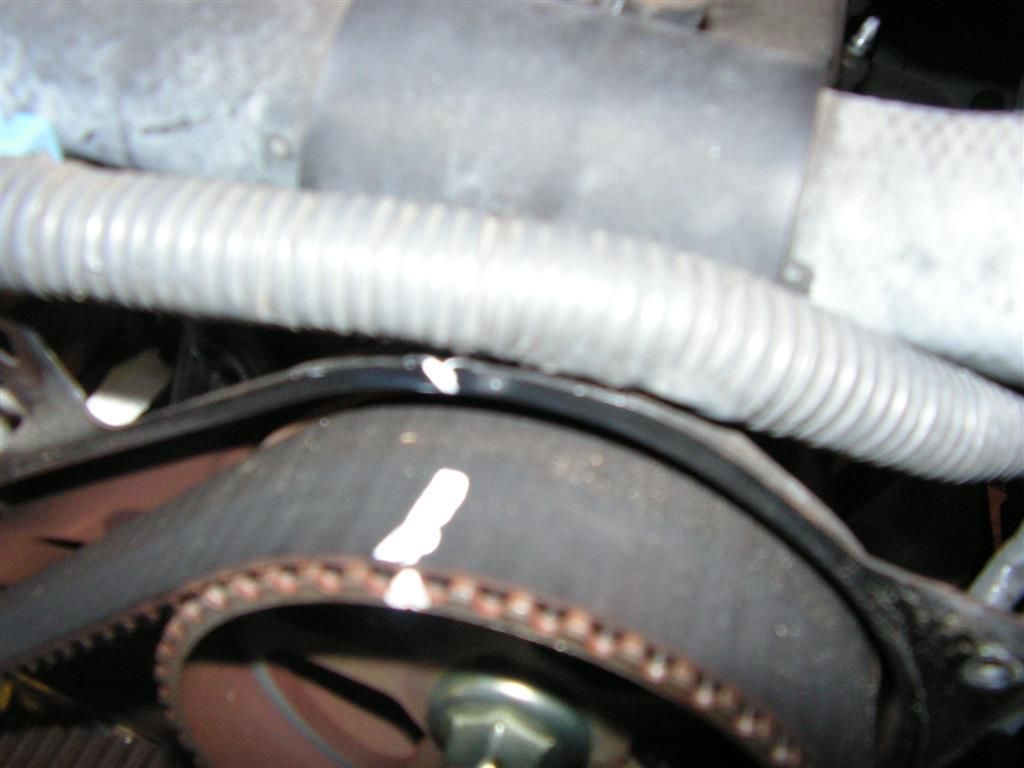
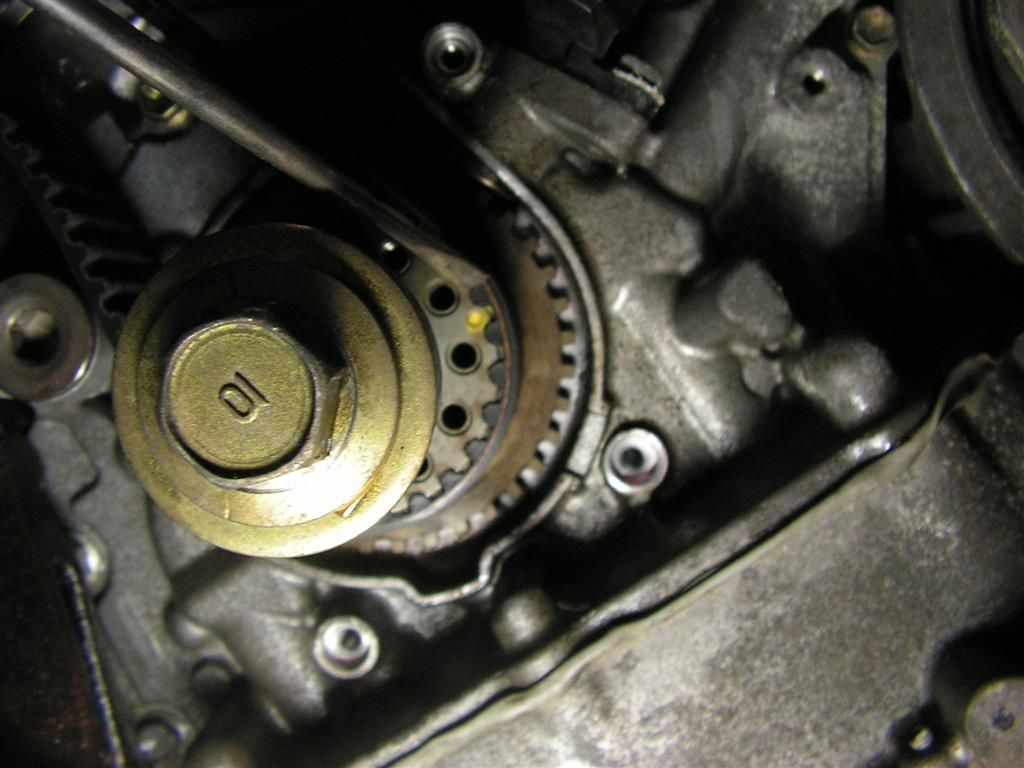
Crankshaft timing marks. The dot on the reluctor wheel needs to align with the bump on the engine block
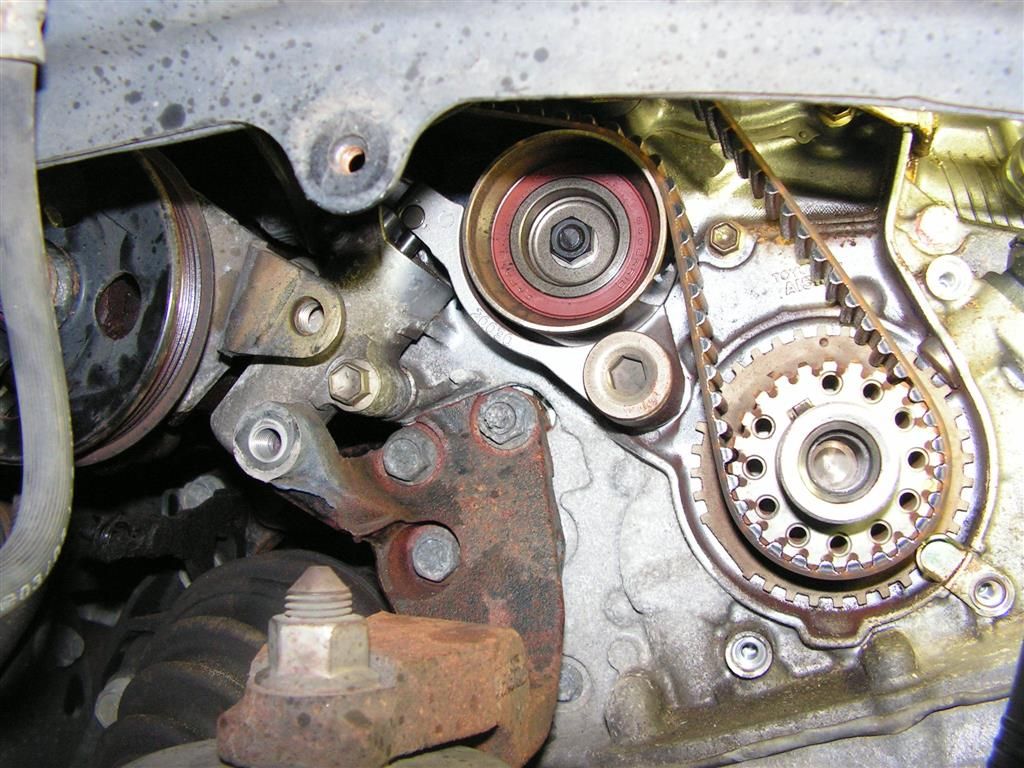
Once all the timing marks are in alignment, the upper idler pulley is removed and the timing belt can be removed as well.
Next the old belt tensioner is removed --

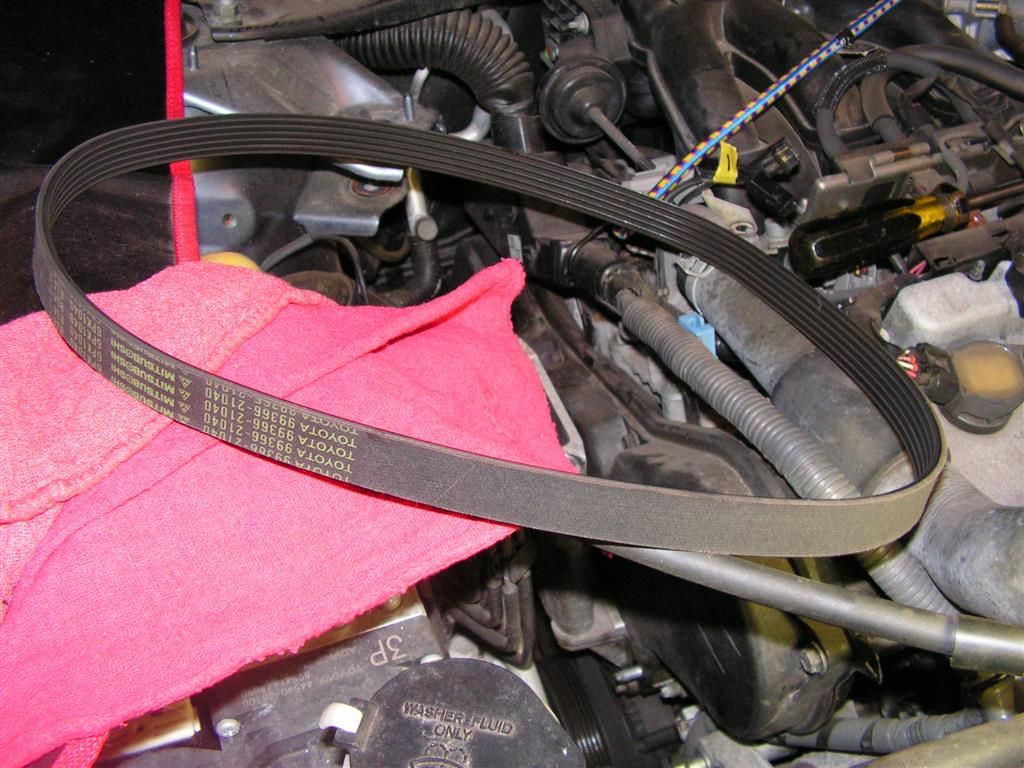
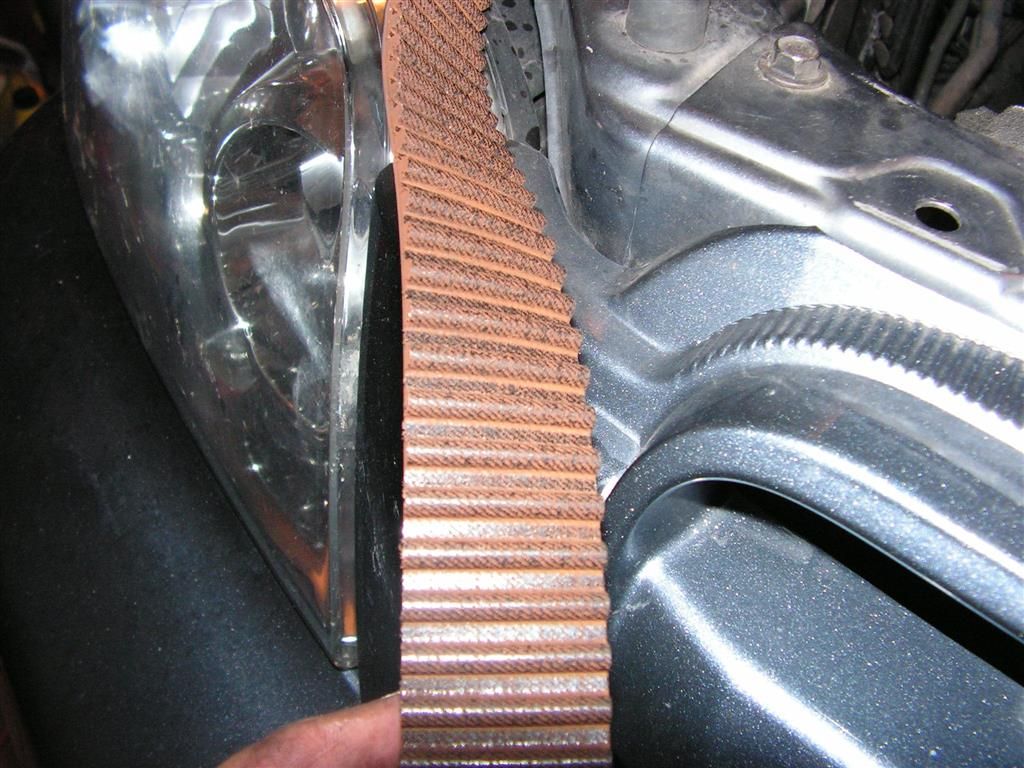
The timing belt didn't look all bad, but since we're replacing the water pump, it's just good insurance.
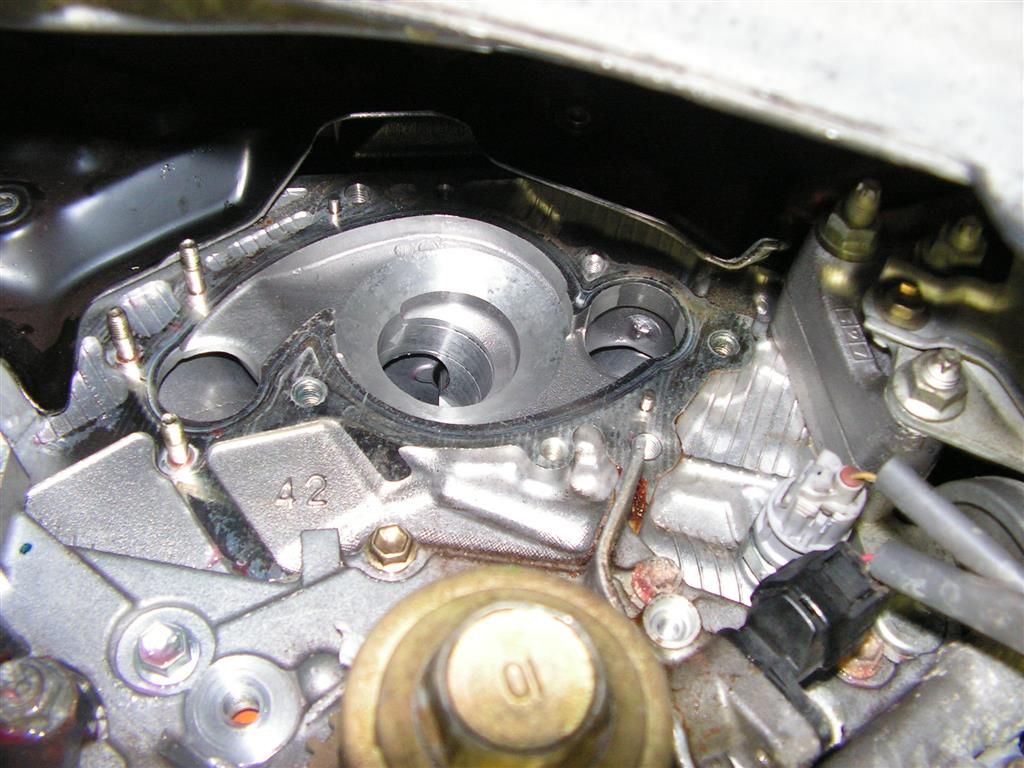
Now with the water pump exposed, the 10mm nuts and bolts can be removed.
The pump is slightly wedged under the rear timing belt housing and this make removal tricky. I've found that taking a prybar and slightly bending the housing outward will offer enough clearance for the pump to be freed form it's spot.
Once the old pump is free, remove the old gasket and install a new one, and install the new pump -- again using the prybar to gently push the rear timing belt housing outward so that the upper lip of the new pump can slide underneath it. No big deal -- this part took only a few minutes.
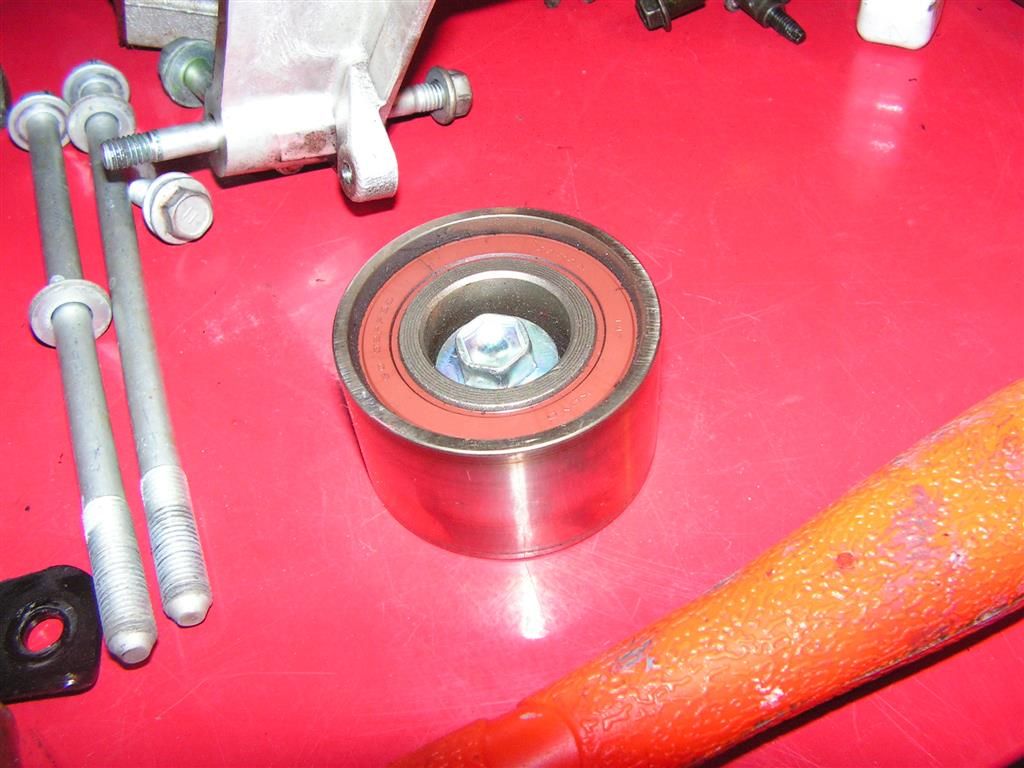
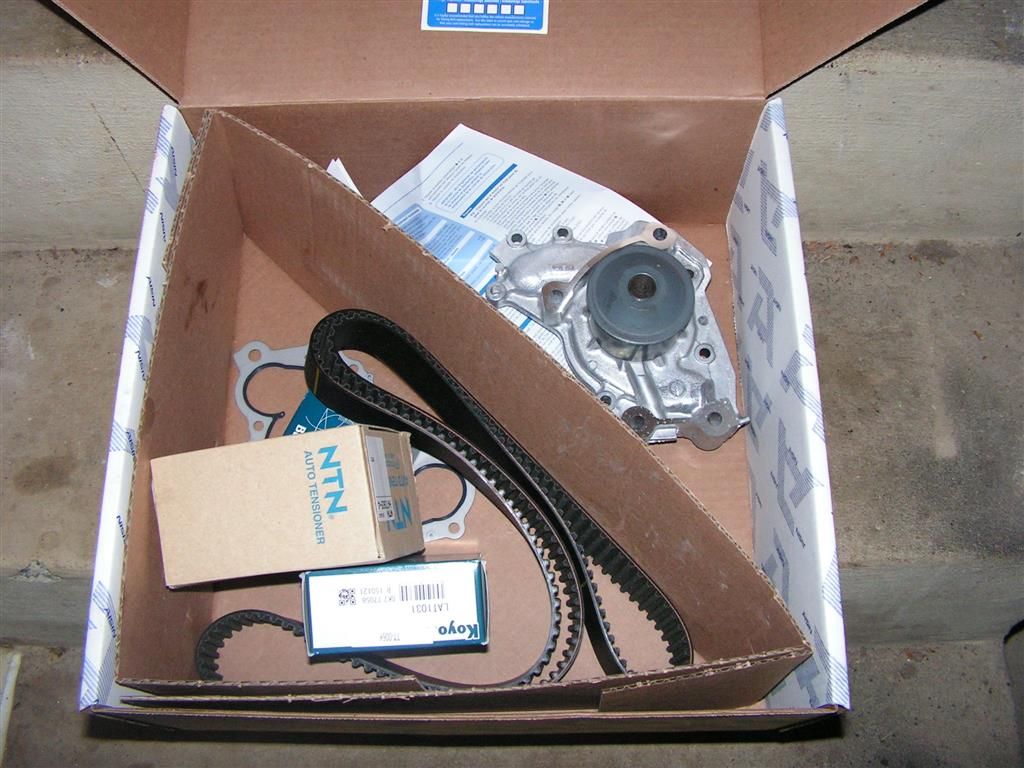
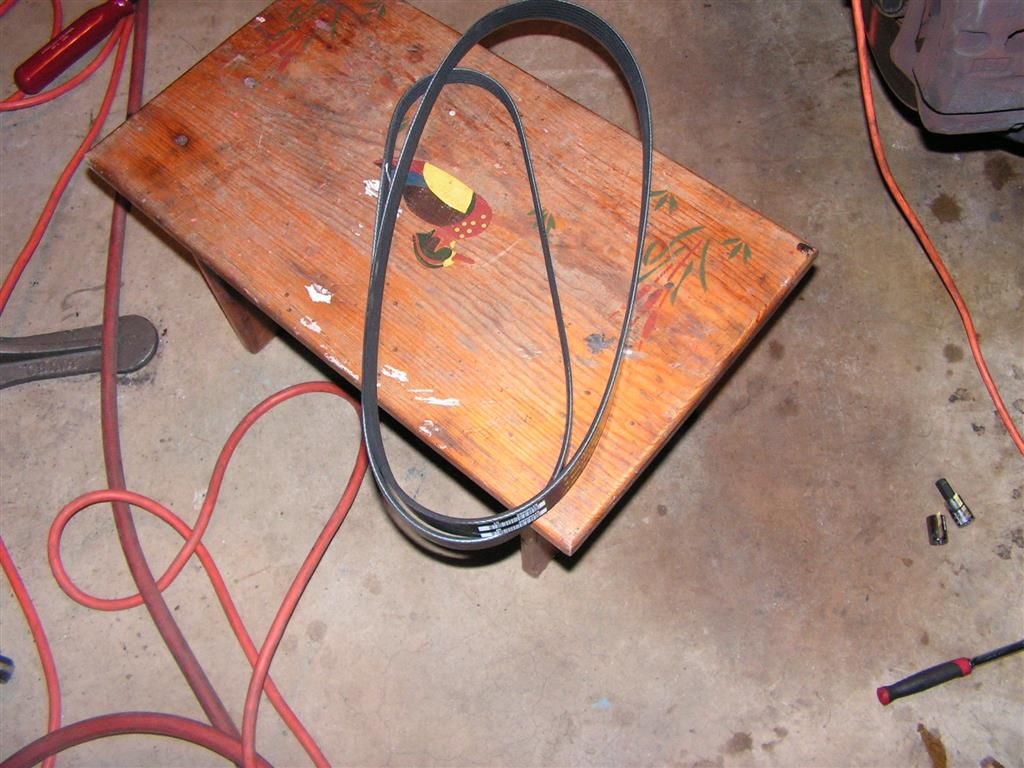
This is the kit I purchased -- Aisin brand. It's OEM Toyota and is the only way to go on these cars. The kit was $154 from Rock Auto and includes all the items needed -- Timing belt, idler, tensioner, tension idler, water pump. I purchased the accessory belts seperately -- AC/Alternator and Power Steering.

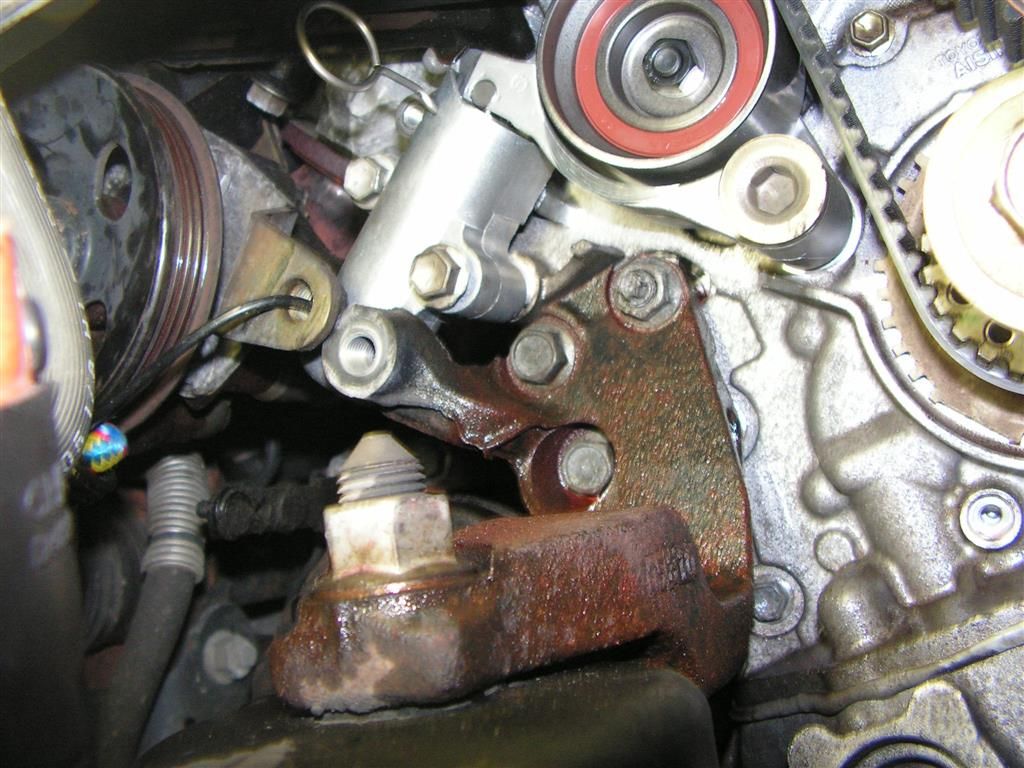
Now lastly, it's time to get rid of the tensioner and the tensioner idler. By removing the Power steering pump adjustment bracket I had plenty of room to work.
The tensioner idler has a washer in the back. This need to be installed -- leaving it out will cause the tensioner to fail.
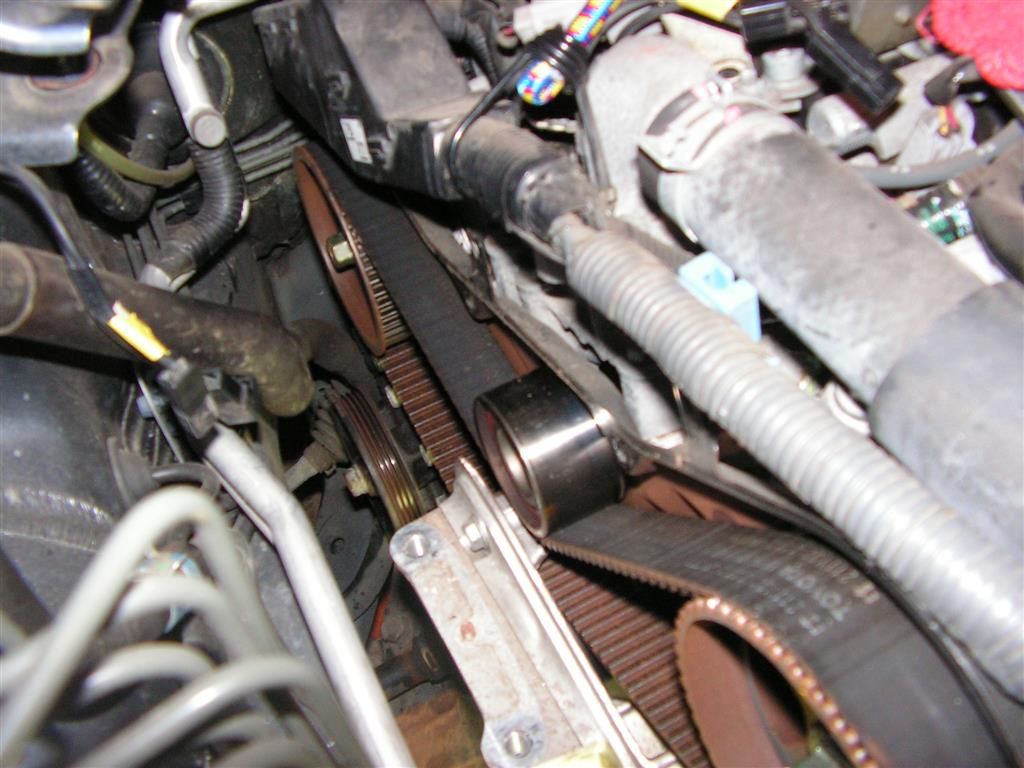
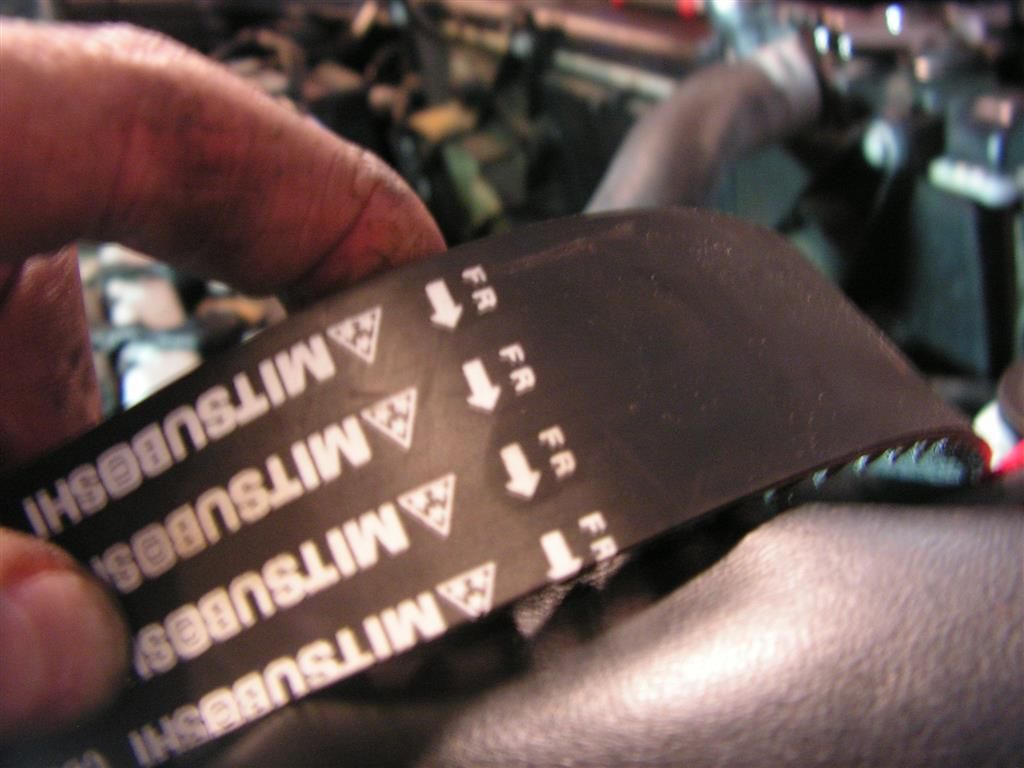
The timing belt is marked with the FR (Front facing) side and it also has three yellow alignment marks (two solid and one dotted). The solid lines must align with the camsprocket marks, while the yellow dotted line must align with yellow marker on the cranksprocket. I start with the rear camsprocket working outward to the front. Once I have my marks aligned I use some heavy clamps to hold the belts on the sprockets -- they can't move.
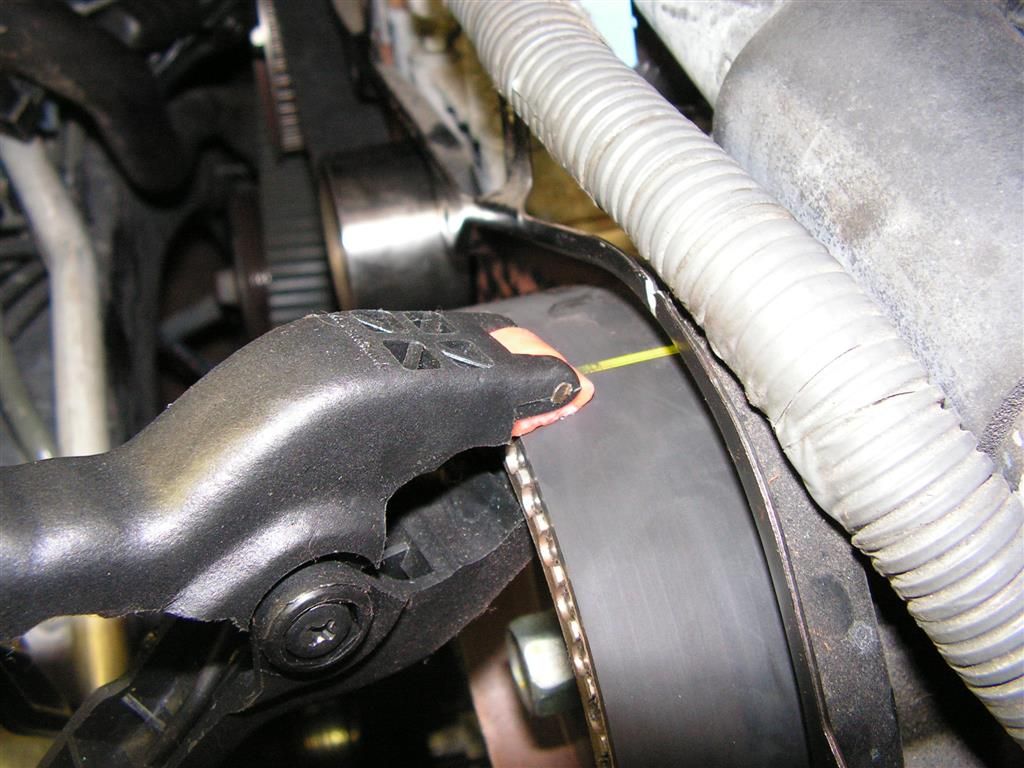
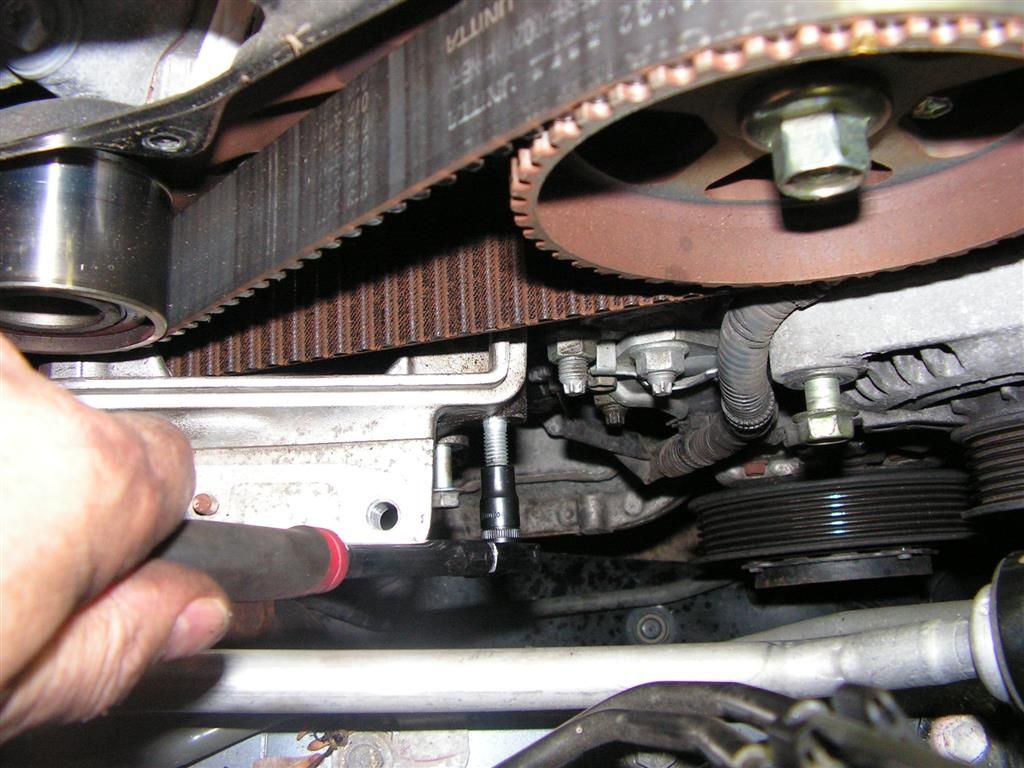
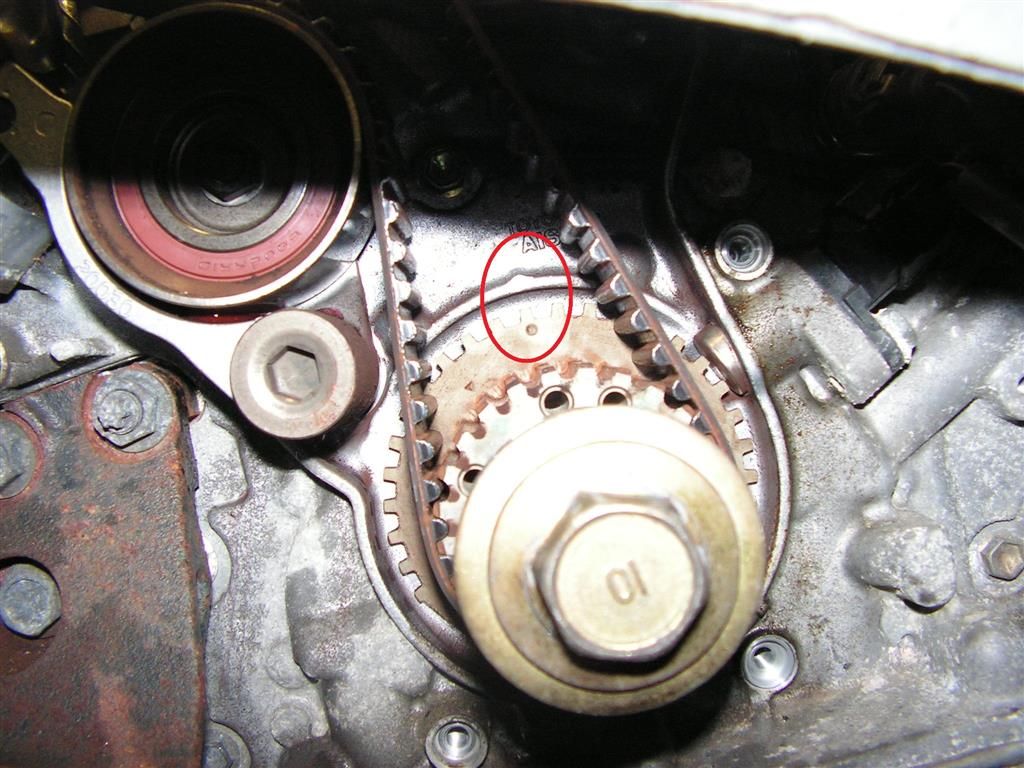
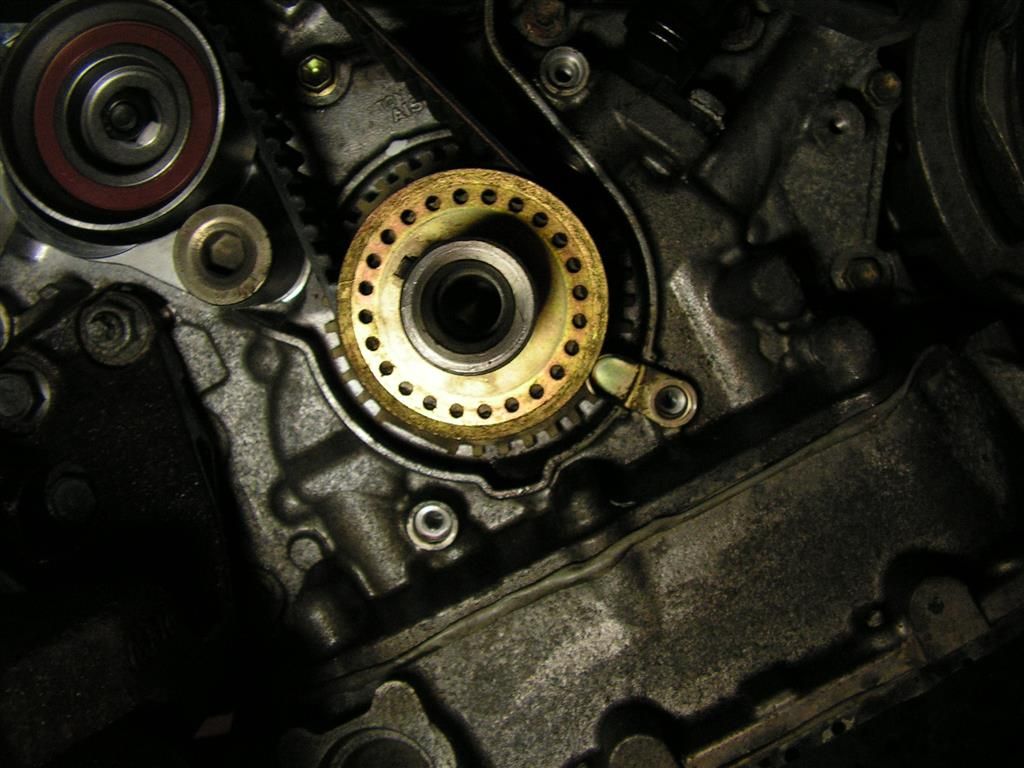
Although you can't see the dotted yellow line of the Timing belt, it is exactly aligned with the yellow marker dot on the cranksprocket -- at about 2 o'clock (where the blade of the screwdriver is pointing).
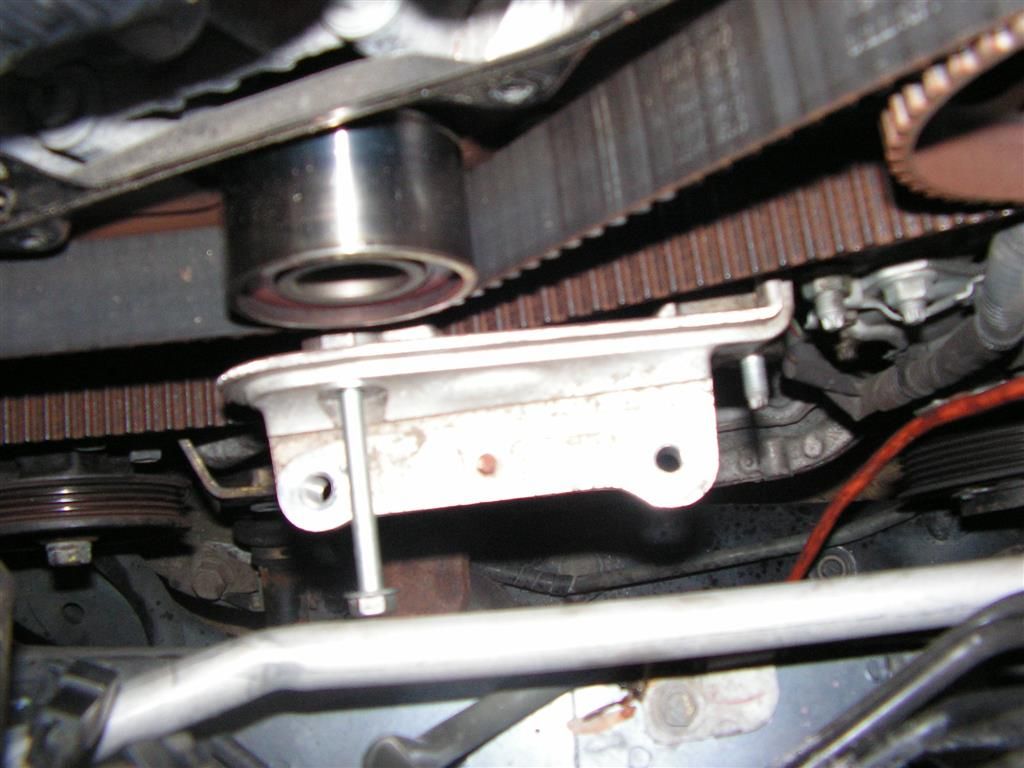
Having aligned all three marks, it's time to install the tensioner and the tensioner idler (don't forget the thick washer on the back of the tensioneridler bolt) . Once I'm sure all the idlers and timing narks are OK, I pull the grenade pin from the tensioner and the belt is installed.
Now the belt guard and keeper is reinstalled along with the lower timing chain cover and finally the crank pulley is reinstalled on the crankshaft.
At this point it's advisable to manually rotate the engine two full revolutions (720 degrees) to seat the belt and then to check the timing marks again. If all checks out then it's time to button this thing up.
On the other hand, if you feel any significant (hard) resistance while rotating the engine (besides the springy resistance feel of a normal compression stroke), then stop and reverse direction to your original starting position and recheck the timing marks to make sure the belt didn't slip at some point. This is an interference engine, hence the valve timing is critical and failure to align the belt and timing marks accurately will result in a trashed cylinder head and possibly damaged pistons at startup.
The new power steering belt comes next -- once the belt is installed, the adjusting bracket is reinstalled and belt tension set, the pivot bolt on the pump is tightened last. Also the ac/Alternator belt is installed loosely. I didn't take any pics of this because it's very straightforward to install these accessory belts.
Now the lower dogbone mount is reinstalled using the E-8 Torx socket. As in the removal process described before, the two bolts and two studs are positioned in the mount to clear the subframe.
The large support bracket and alternator support bracket come next.
The Crank cover shieldand tire are re-reinstalled
The dogbone and upper brackets are installed, along with the two electrical connectors, and the wiring harness is repositioned on it's stab mounts.
When all the brackets are installed, the final task is to tighten the alternator belt and secure the alternator pivot bolt and pinch bolt
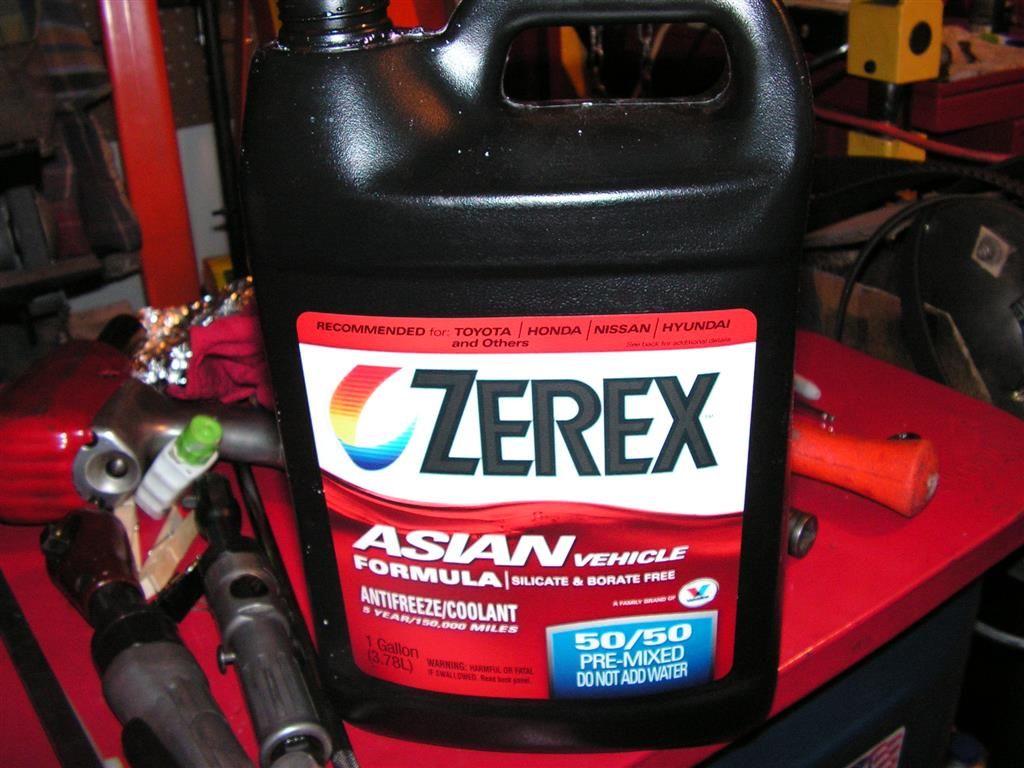
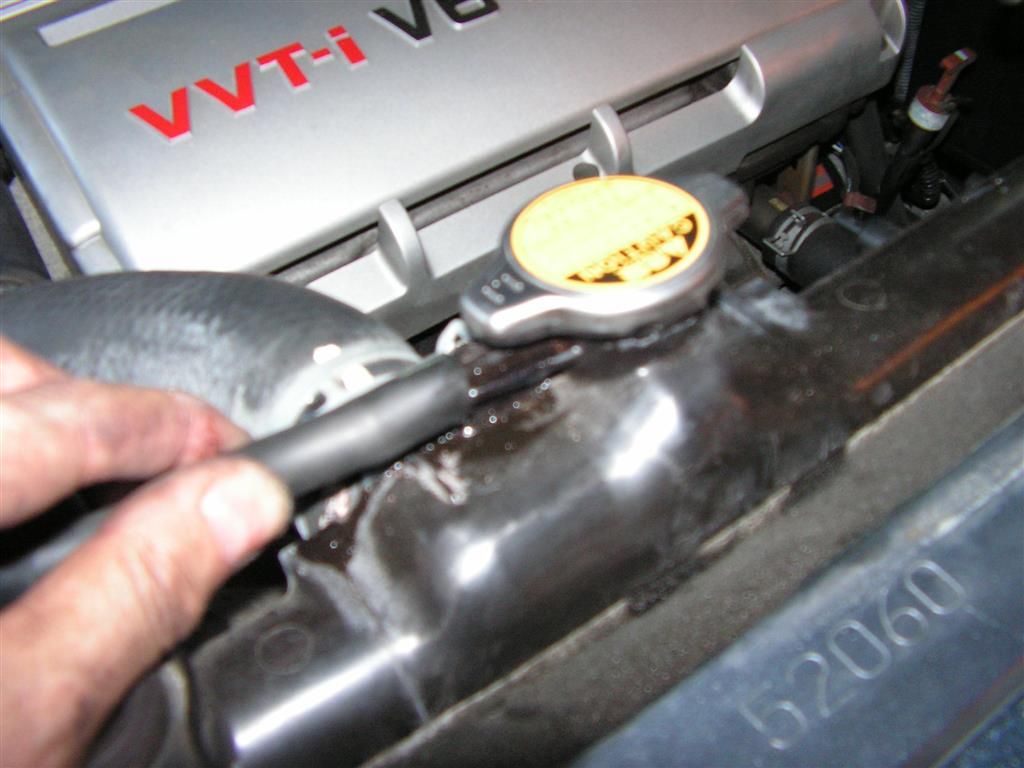
One last check on all the belts and to see if there are any parts left over -- LOL then it time to close the radiator drain and refill with Asian compatible (pink) coolant.
The shell is put back on the engine, the overflow tank hose is reinstalled, and we're good for startup
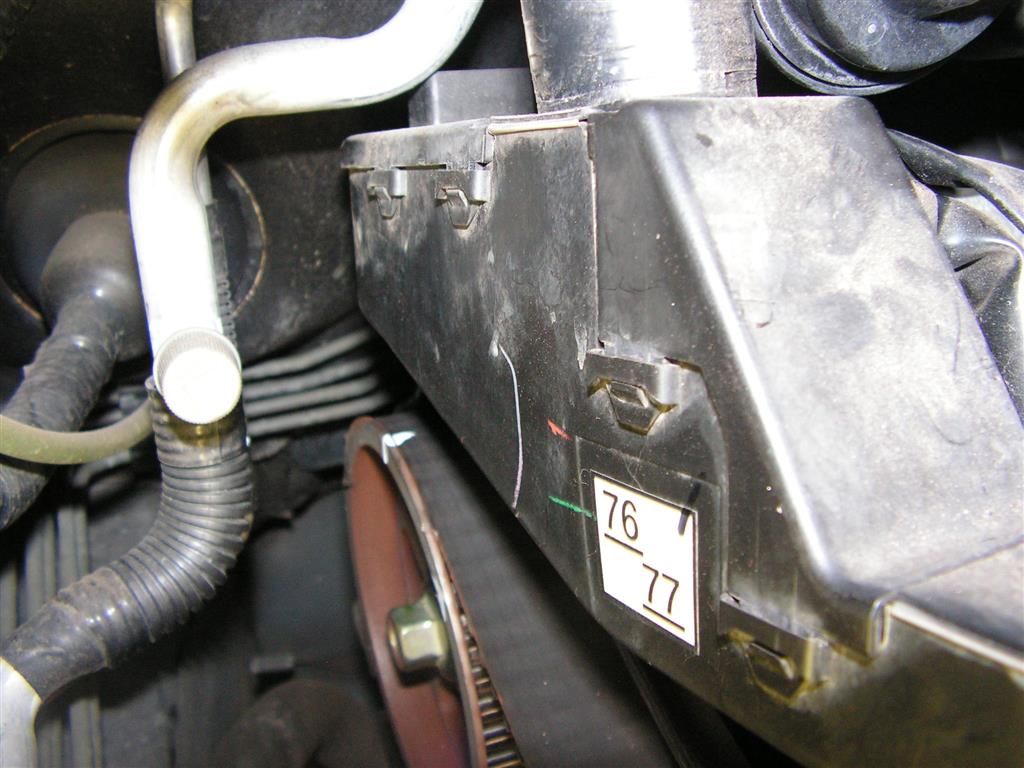
The Asin sticker is attached to denote the timing belt change -- and the engine started. It works!!Now for a test drive to see if there are any leaks or problems.
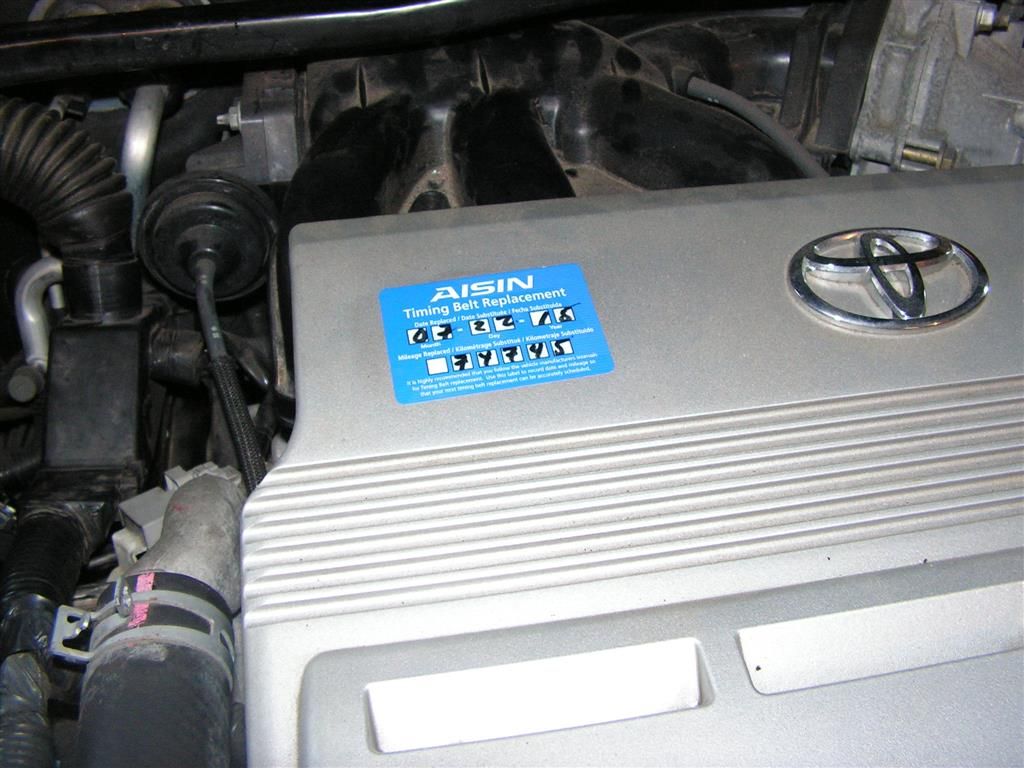
good to go!


