Might as well post this since it may be of help to someone in the future. A few days ago I was on travel and while I was out of town, Mrs. GF reported that the RF power door lock on her '05 Highlander wasn't working. She had been quoted $630 to install an new actuator from a local dealer. Well, today I had a chance to take a look myself. It seems that the actuator does work intermittently, but only locks positively every five or six tries.
So today I had a chance to take a quick look. Toyota door panel fasteners and clips are notorious for being flimsy and complex, so a gentle touch is required. I figured I'd document the procedure in case someone needs to dig into their door at some point.
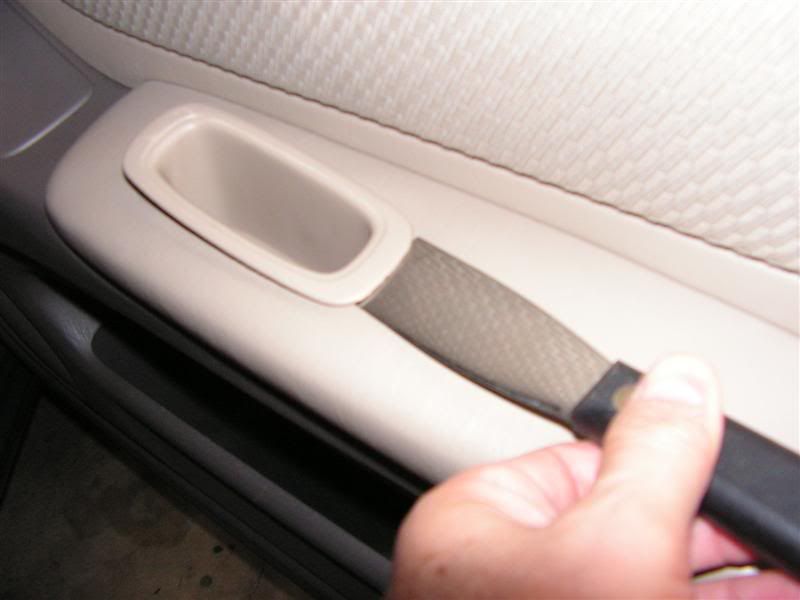
First the armrest door grip - there are two clips on each end, and by pushing a thin blade under the end to compress the lip, the grip just pops out to reveal a single Phillips screw.
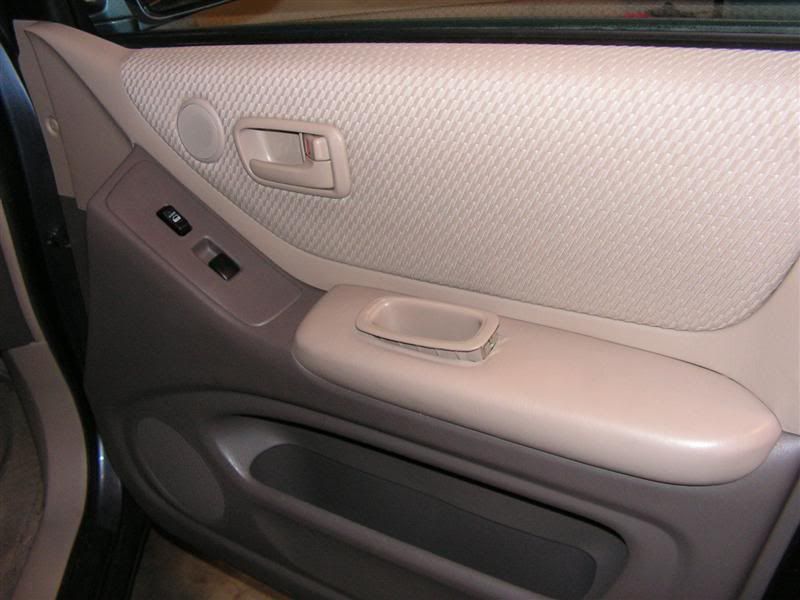
Next there's a single "pop" clip towards the end of the door panel. I used a small screwdriver to push the inner locking tab slightly inward, and then was able to use a wide blade screwdriver underneath the outer lip to pry is loose.
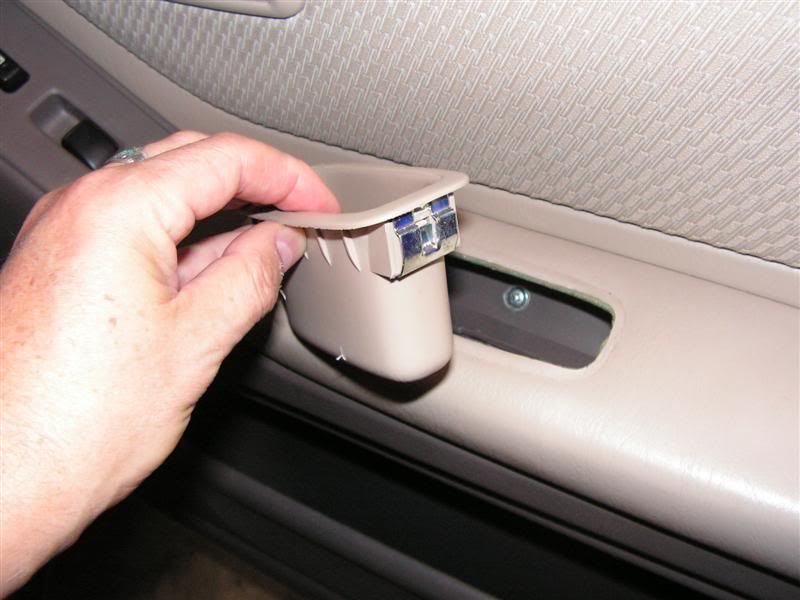
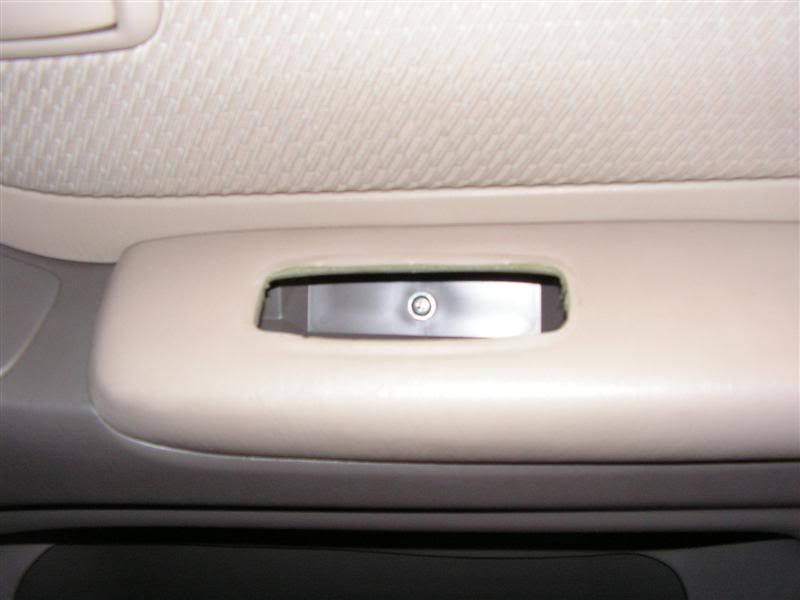
Next the door handle surround is held on by a single Phillips screw under a cosmetic tab.
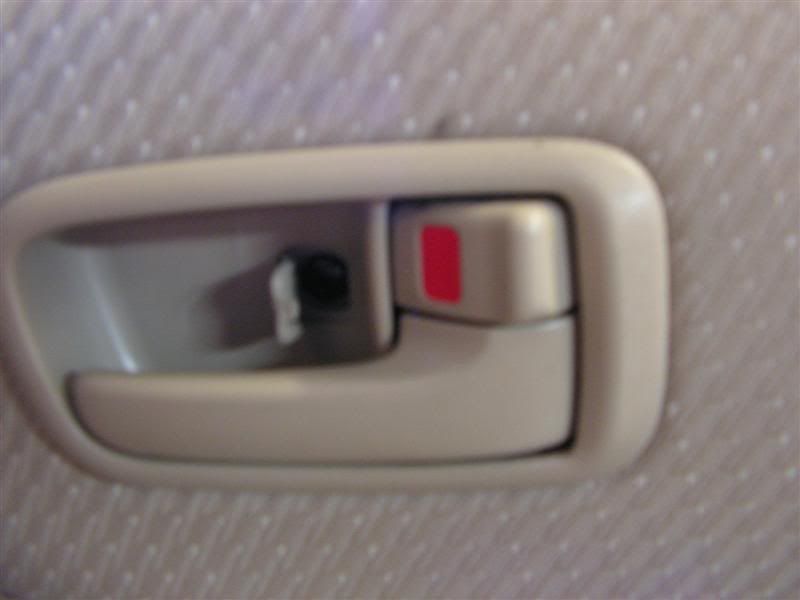
Then the surround can be gently pried loose by inserting a small screwdriver in the upper portion (above the door lock button) and the pulling out and backward to release the clips.
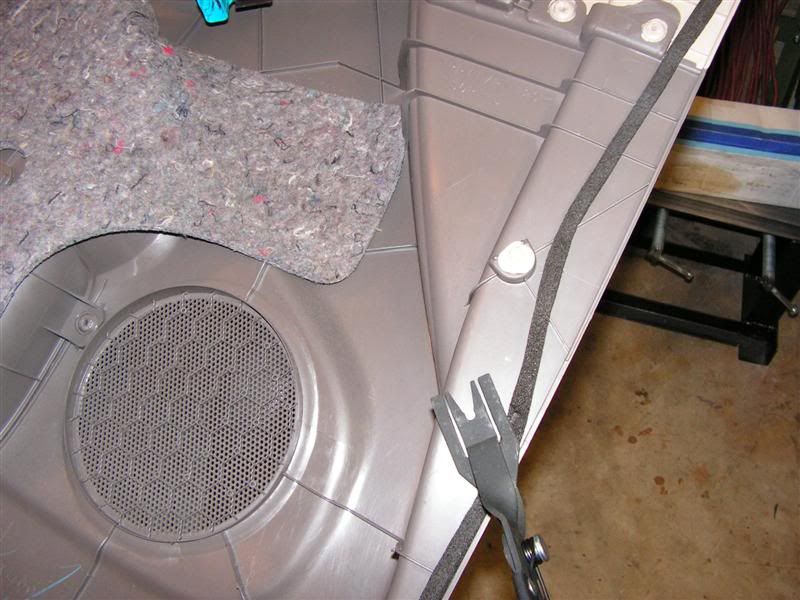
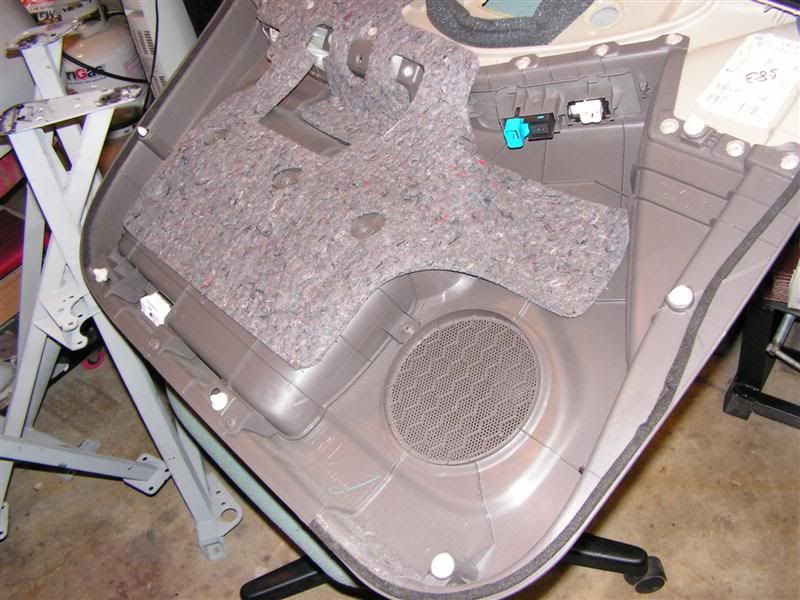
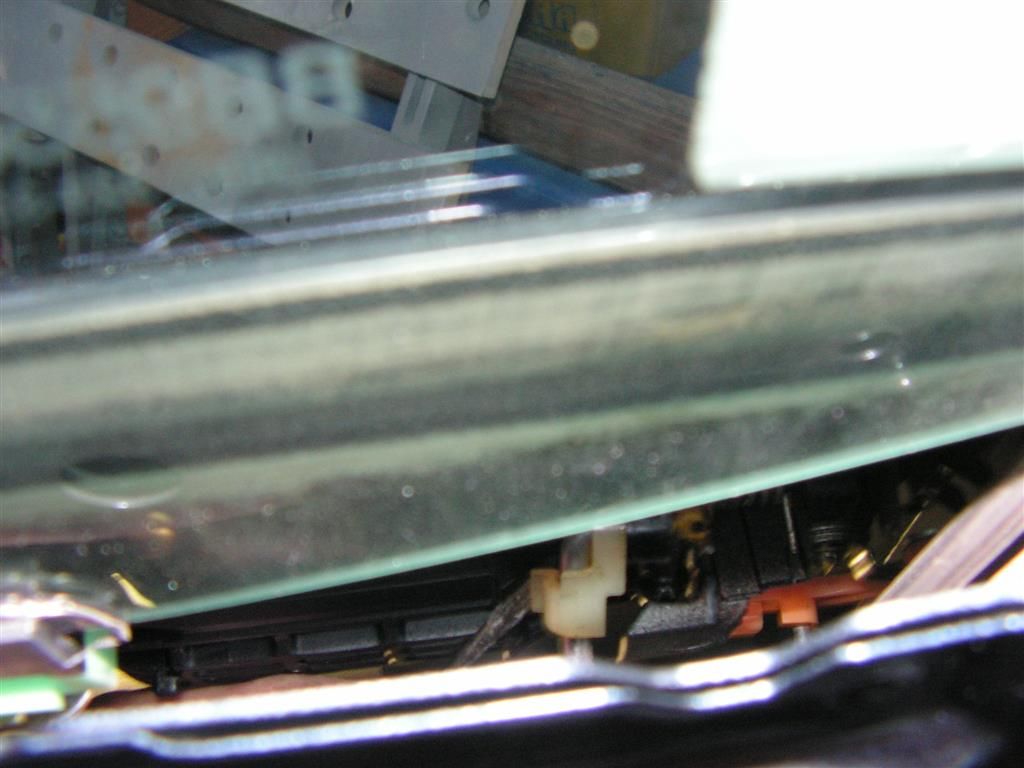
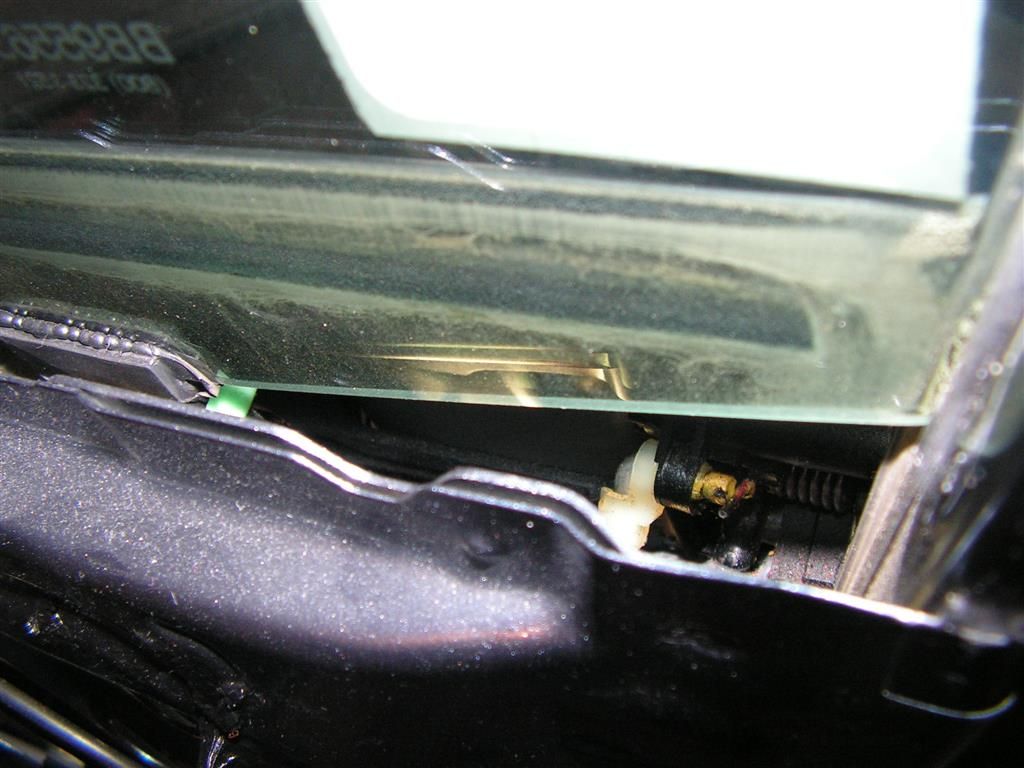
Next, the entire door panel is released by popping the outer panel clips using a thing flat paint scraper or a panel clip tool. There are only eight such clips and they release very easily. Then the entire panel can be grabbed from the rear and pulled upward -- it should release very easily from the door.
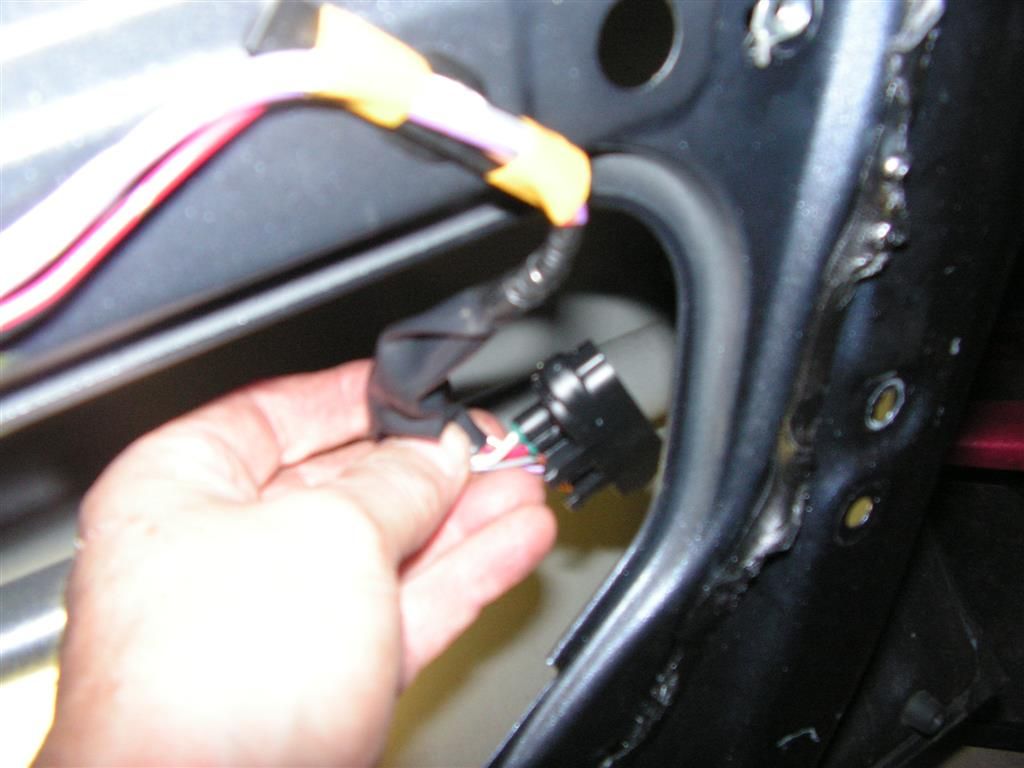
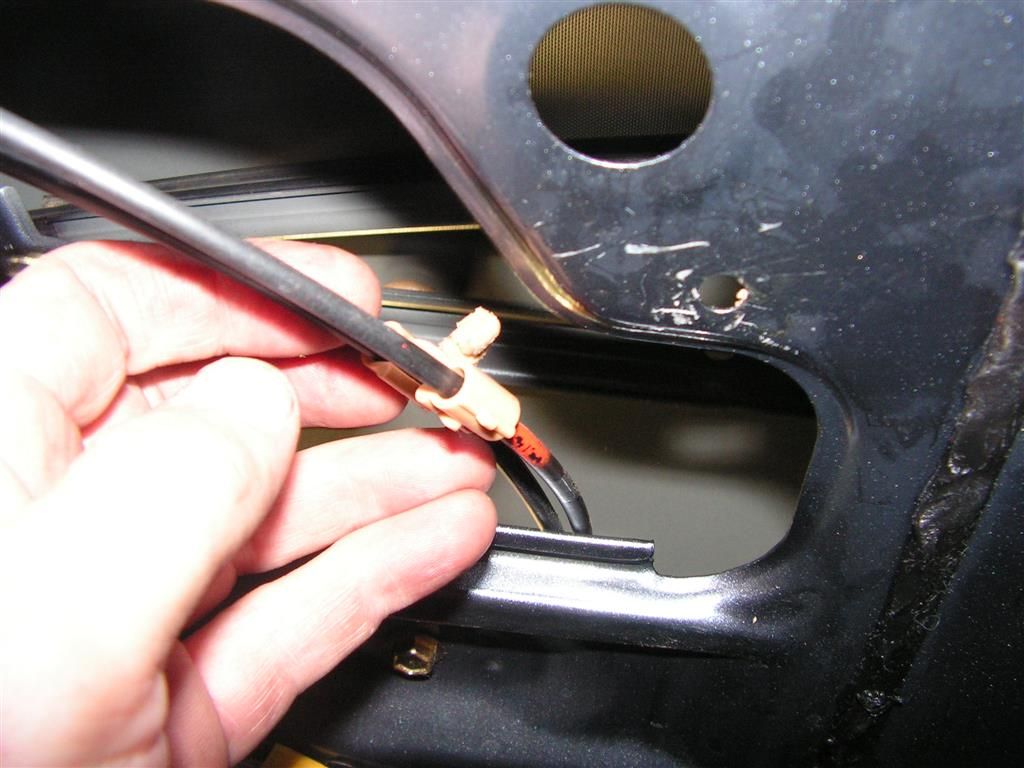
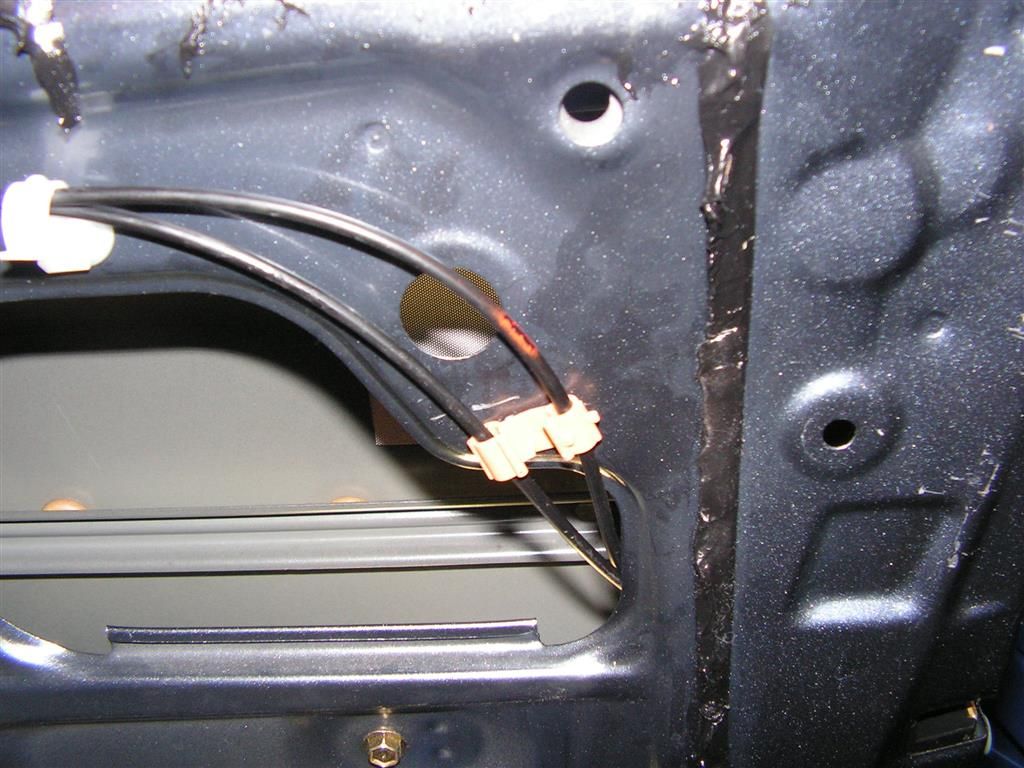
Caution, there is a very fine flimsy electrical connection to the lower door courtesy light and that can be easily broken. The only other connections are the window and door lock connectors. On all these connectors simply squeeze the locking tabs and the plugs will pop loose.
The courtesy light connection is the only thing to be careful of here -
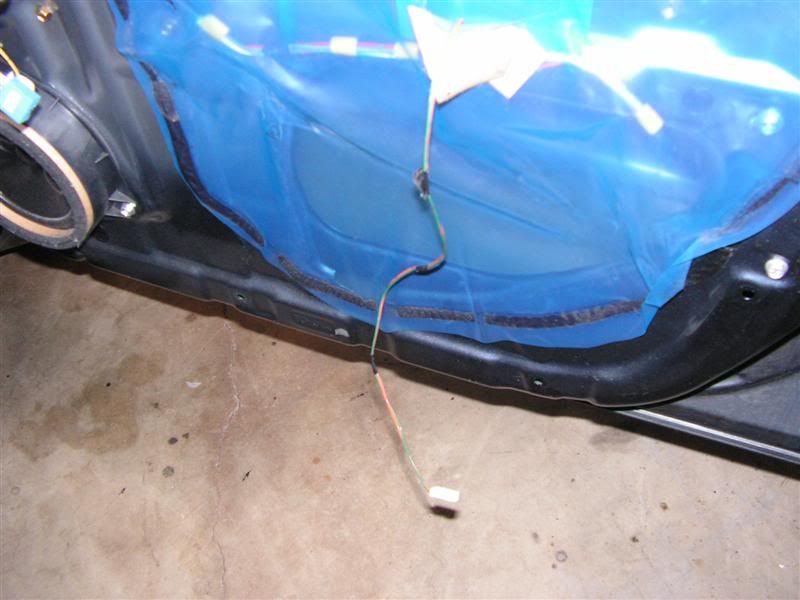
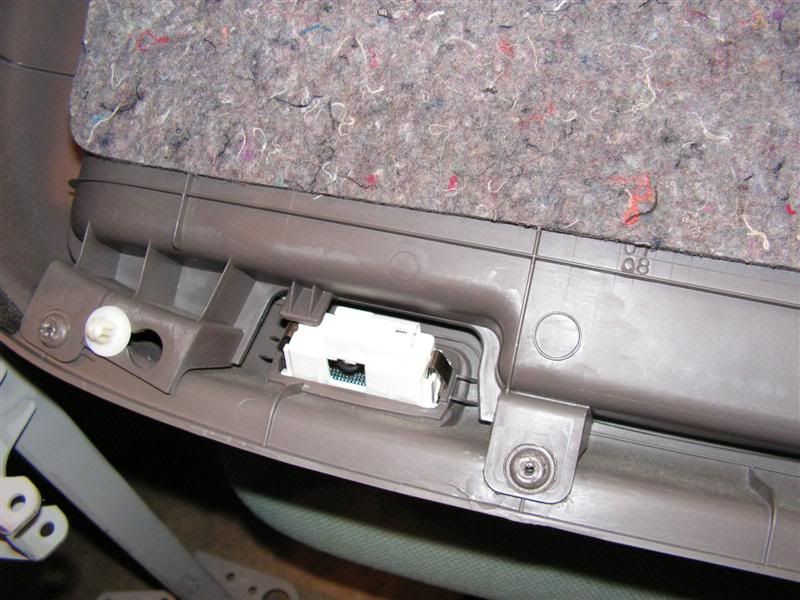
Door lock and power window connectors
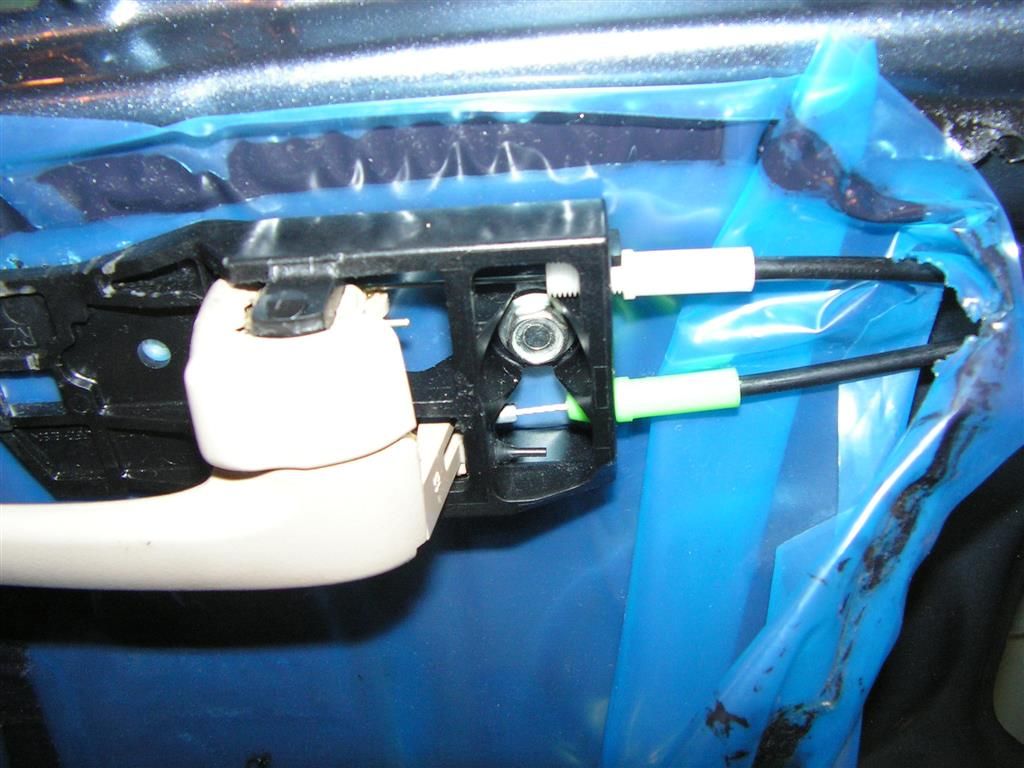
At this point I was ready to pull the actuator itself, but decided to check everything one more time. I peeled back the moisture barrier and I immediately noticed that the door handle itself was quite loose in the door, and after looking further, the orange clip that holds the actuator rod to the door handle mechanism was also loose. Once these two items were tightened up, I reconnected the battery and cycled the locks -- SURPRISE! the RF actuator released and locked the door several times. After 15 minutes of cycling all the locks and trying to repeat the original problem, I decided that the loose lock and clip were the problem.
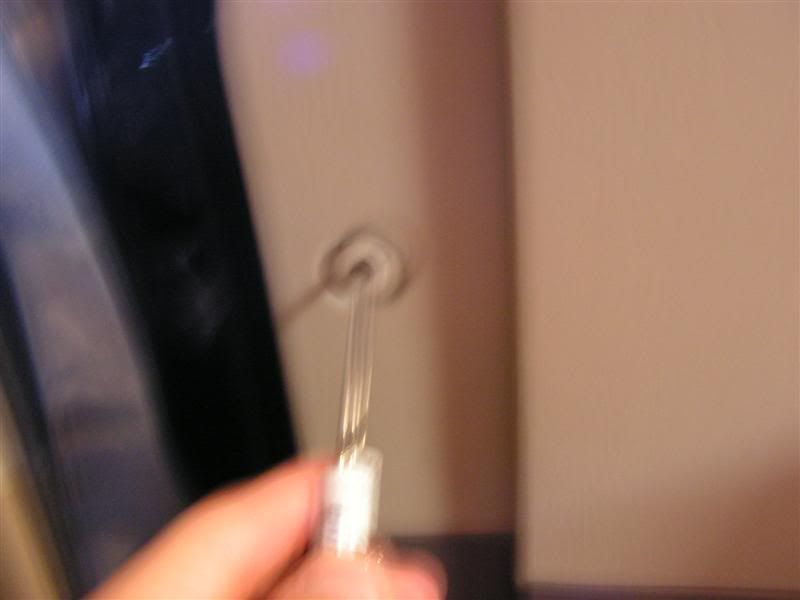
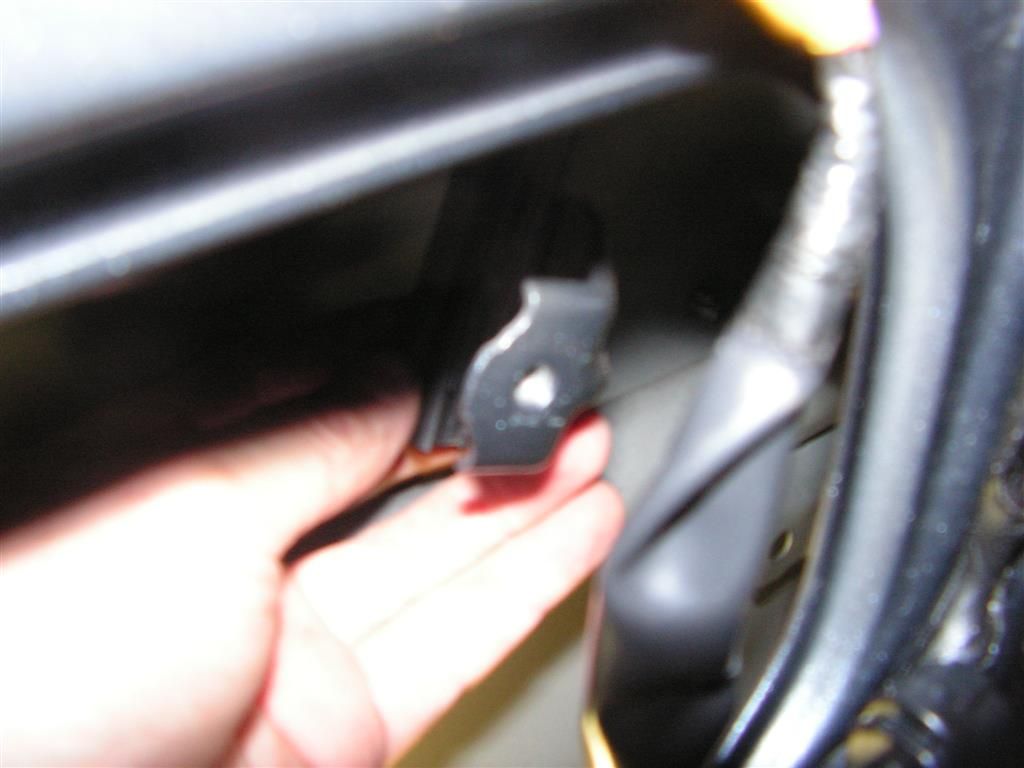
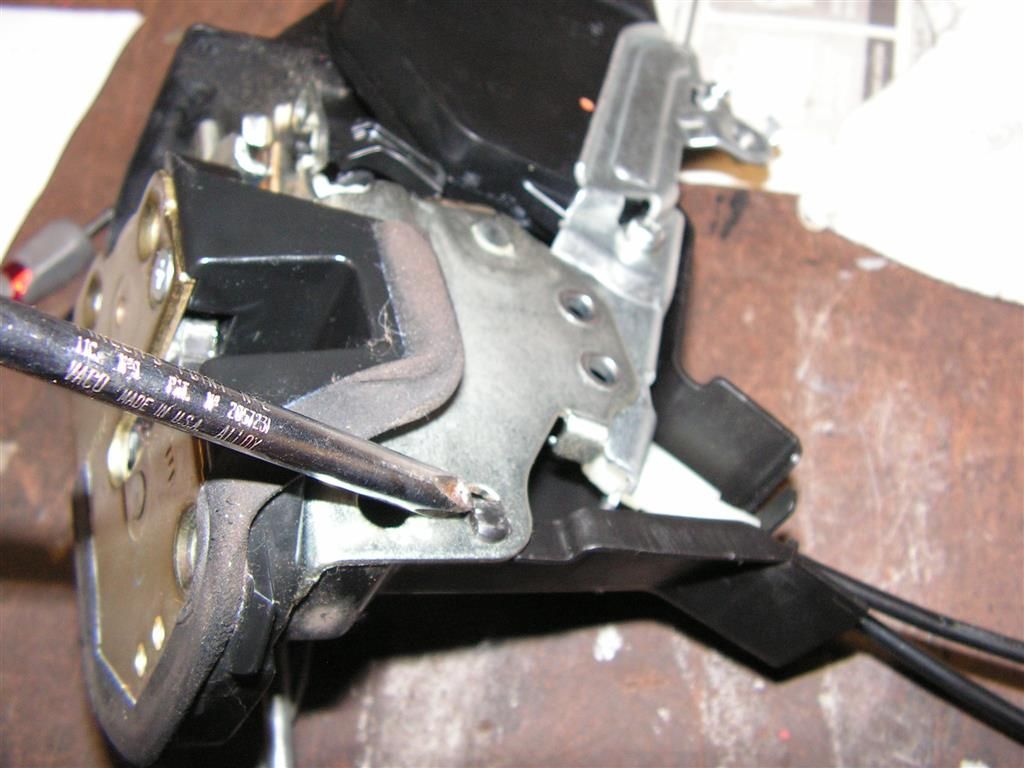
Here you can barely see the orange clip that locks the actuator rod to the door handle in the upper right corner of the pic. In the pic I've released it completely from the actuator rod while tightening the door handle, but somehow it had worked itself "loose enough" to make the actuator motor bind on the upward and downward stroke.
I'm hoping this is a good fix, but if the actuator motor does need replacement in the near future, I'm ready to take this door panel off again to finish the job.
UPDATED 8-5-2013 The fix that I posted above only lasted a few months. Last week the actuator gave out -- nothing, nada, zip!! Time to replace the actuator.
Same procedure as above to remove the inner door trim and panel. The next step was to release the door locking rods from the door handle (there are two rods, one for the actuator and one for the door handle itself).
The white and orange clips are standard rod clips that first need to be released from the stem and then the rods can be slid out sideways
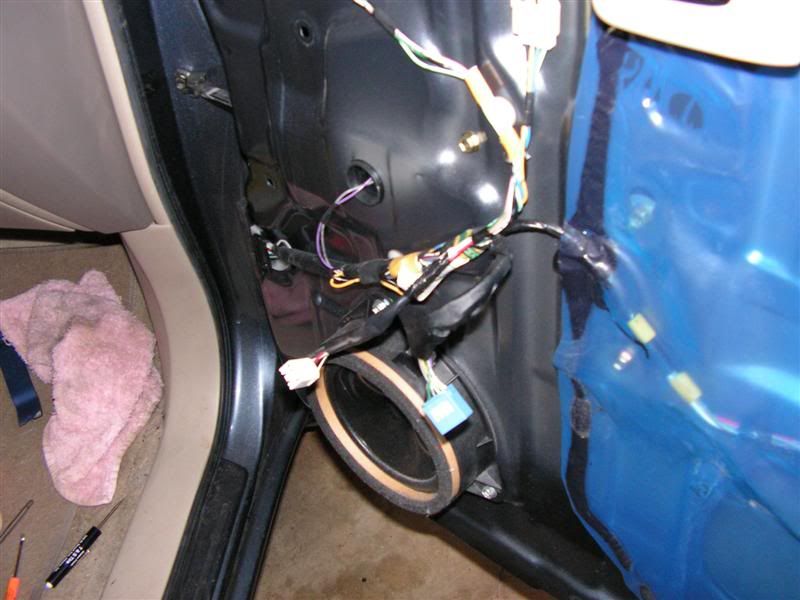
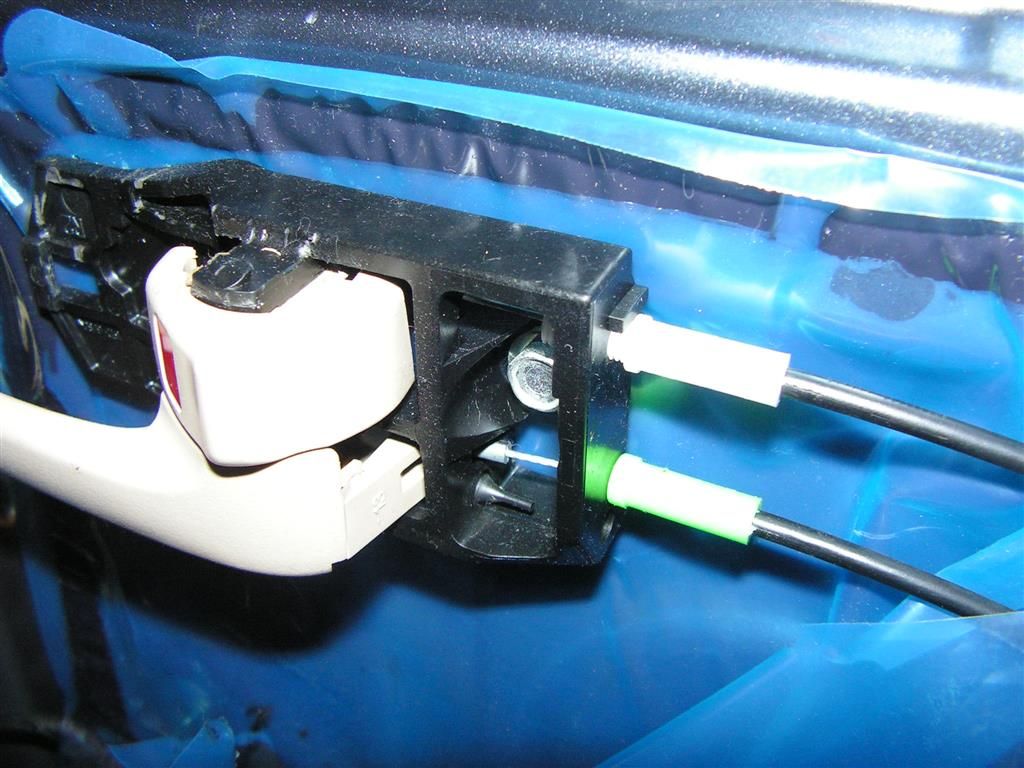
Next reach in under the actuator and pull the electrical connector
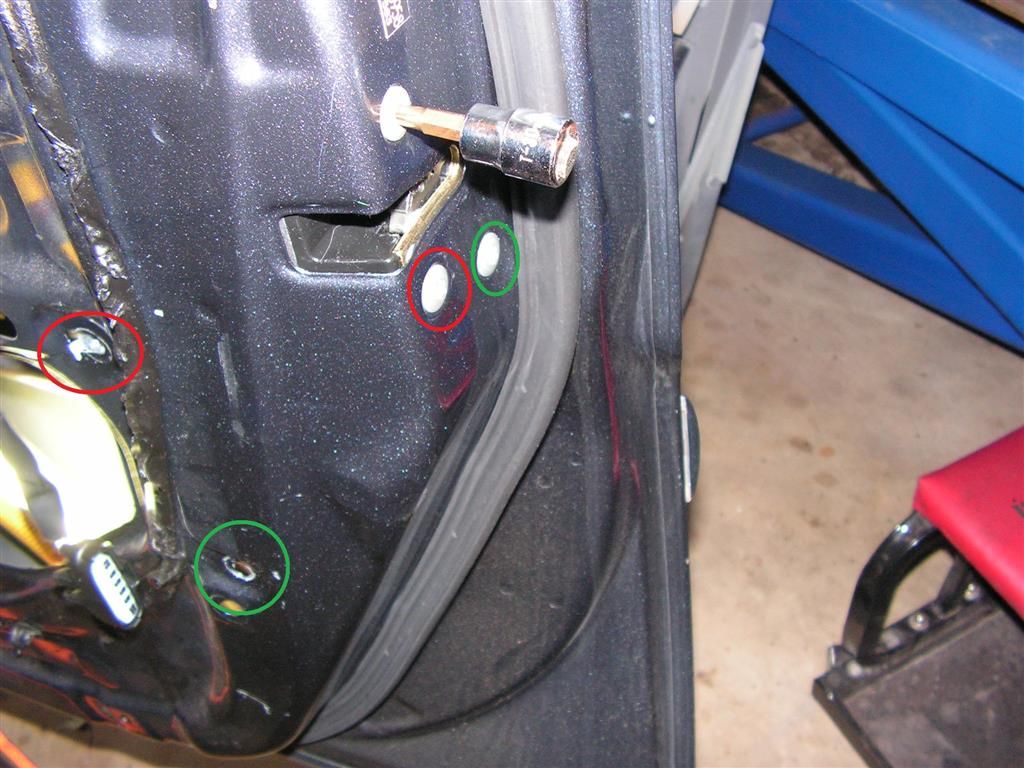
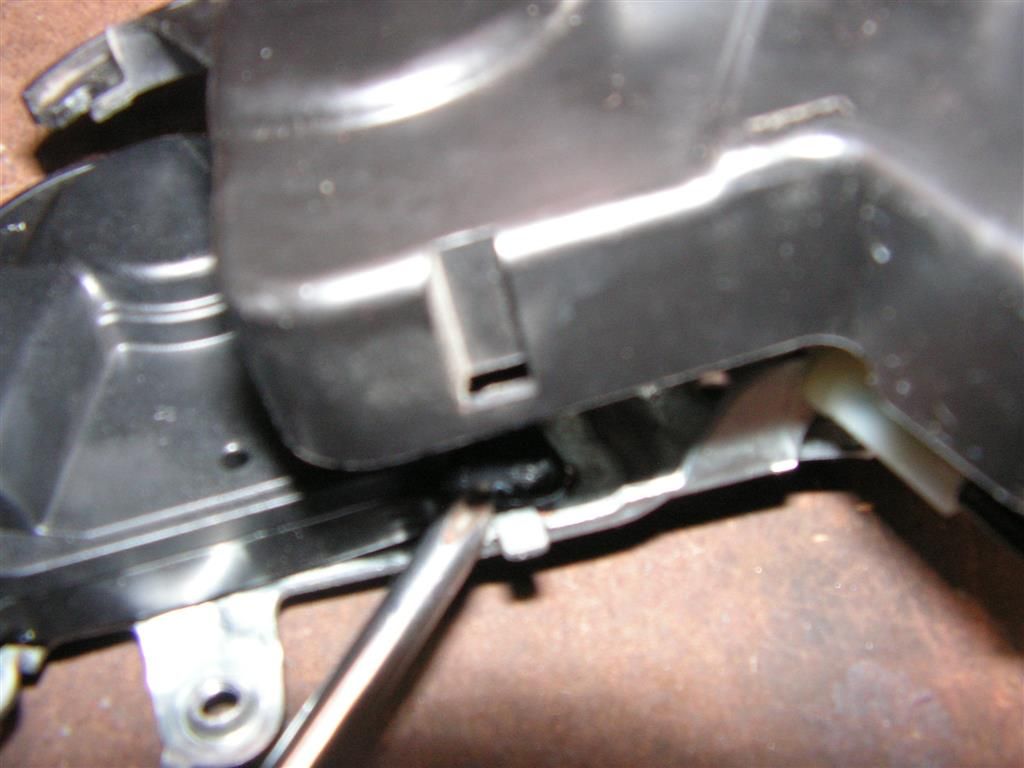
Next release the window channel -- a 10mm screw through the side of the door. In the following pic it's indicated by the lower left green circle. The other circles indicate the actuator and door latch Torx drive hold down bolts which also need to be removed
The window channel -- it's flexible so it can move out of the way to get the actuator out
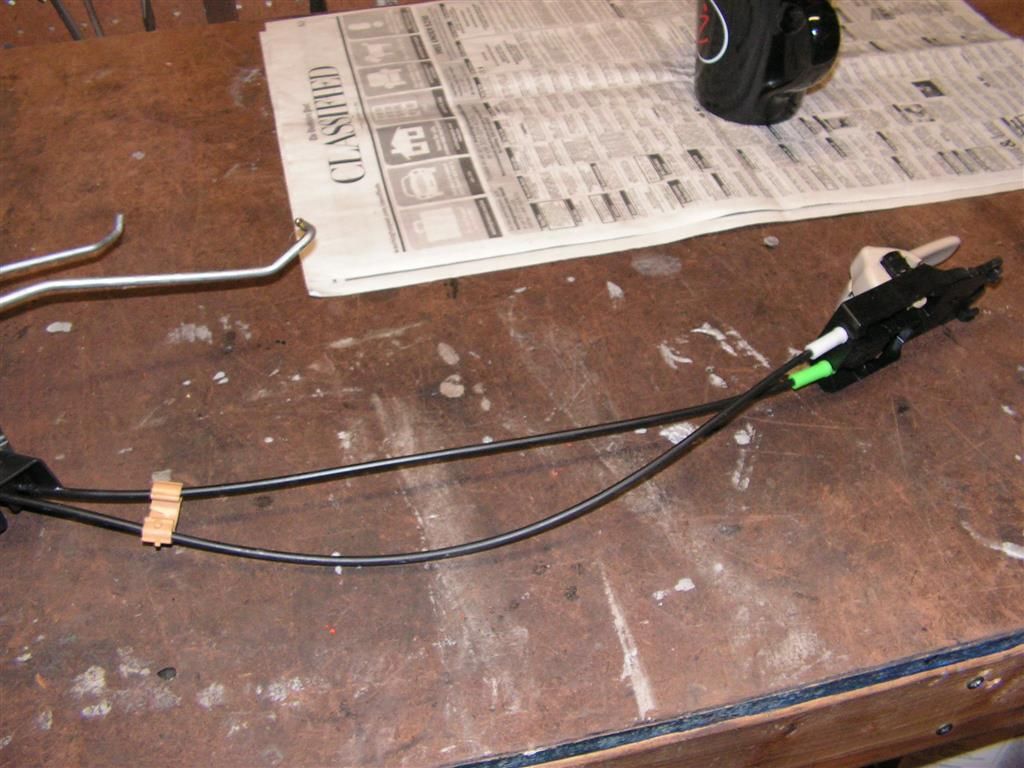
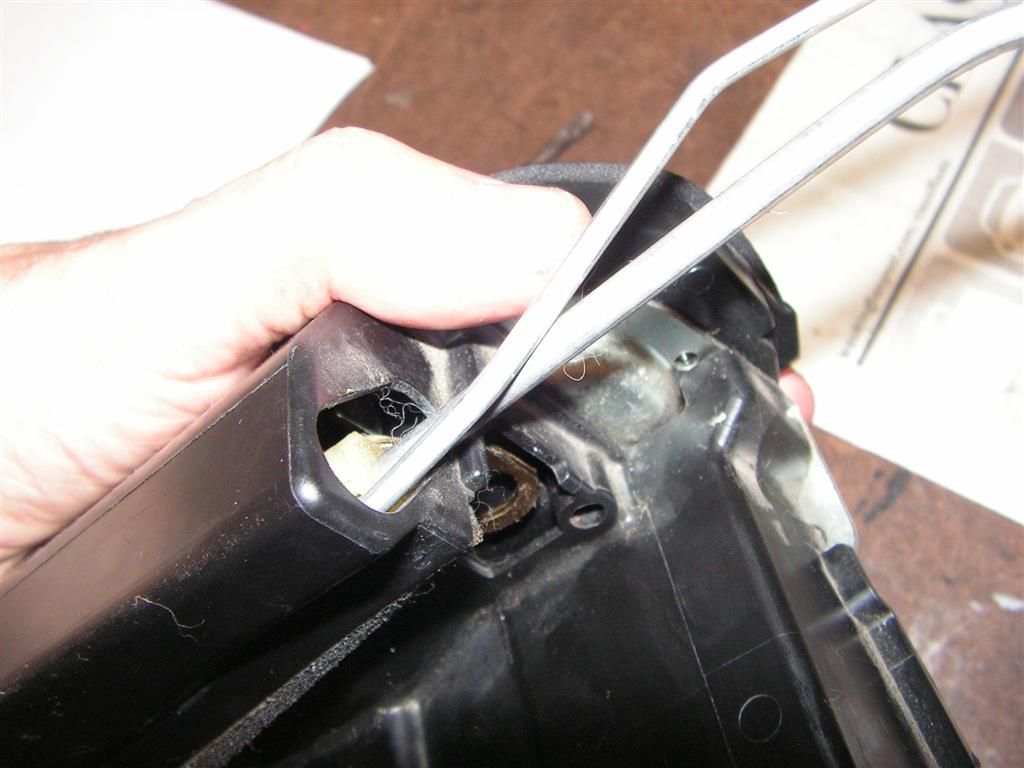
Next up is the door latch cable clip and the handle --
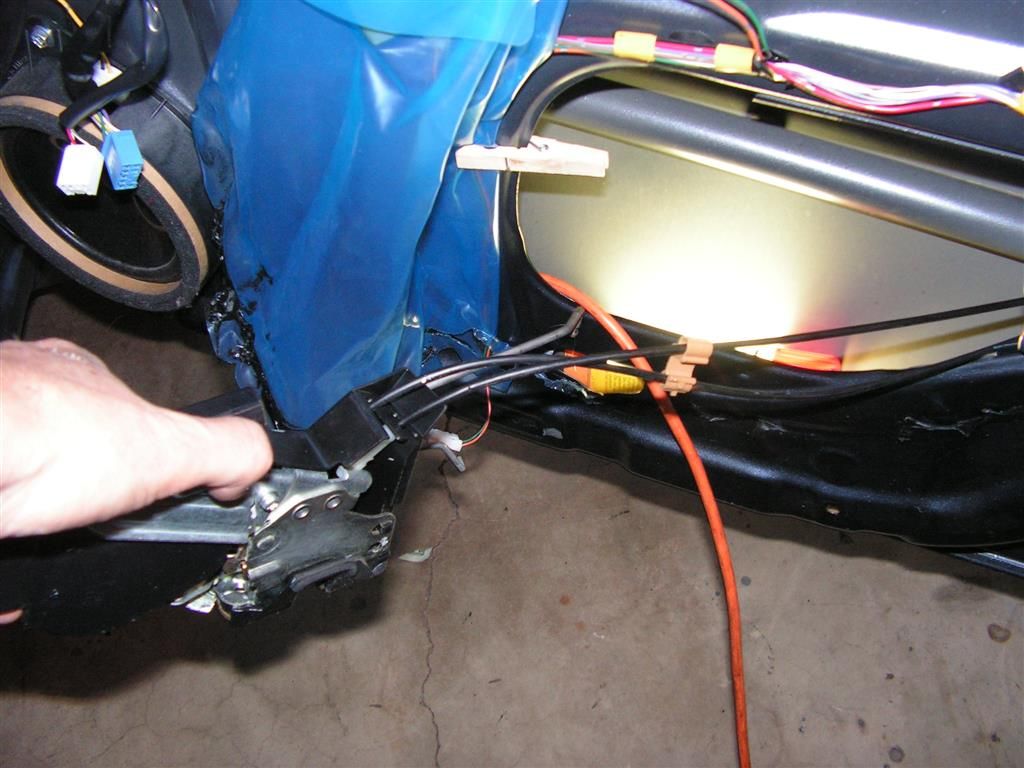
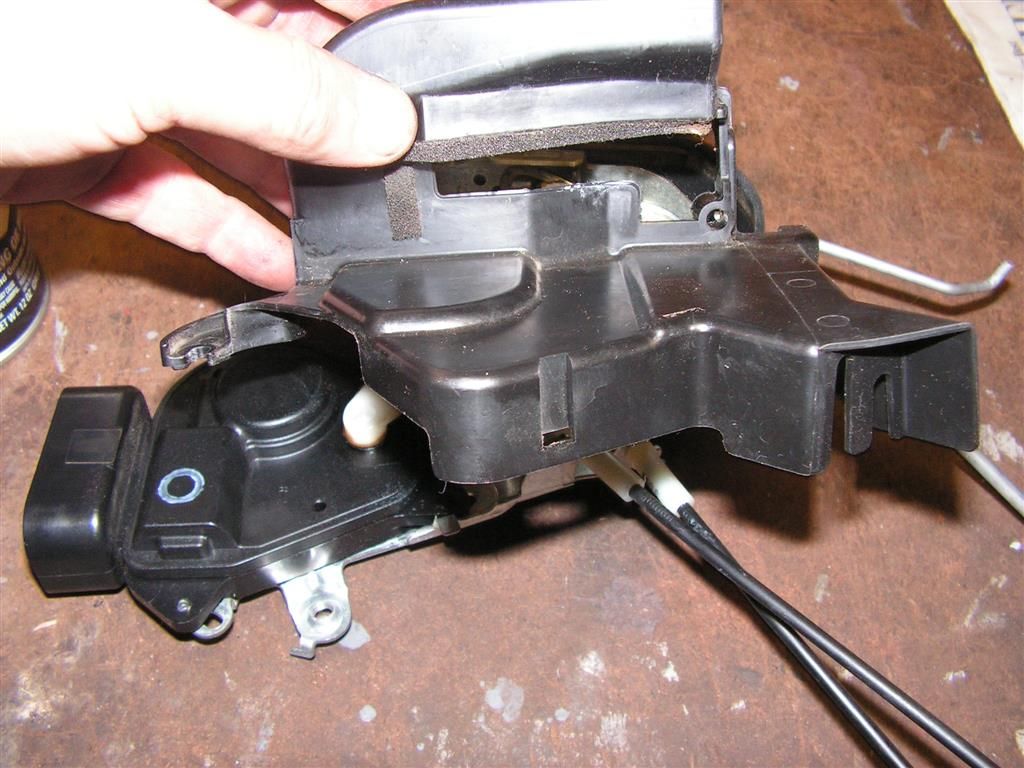
Now the entire unit can be fished out of the large bottom opening
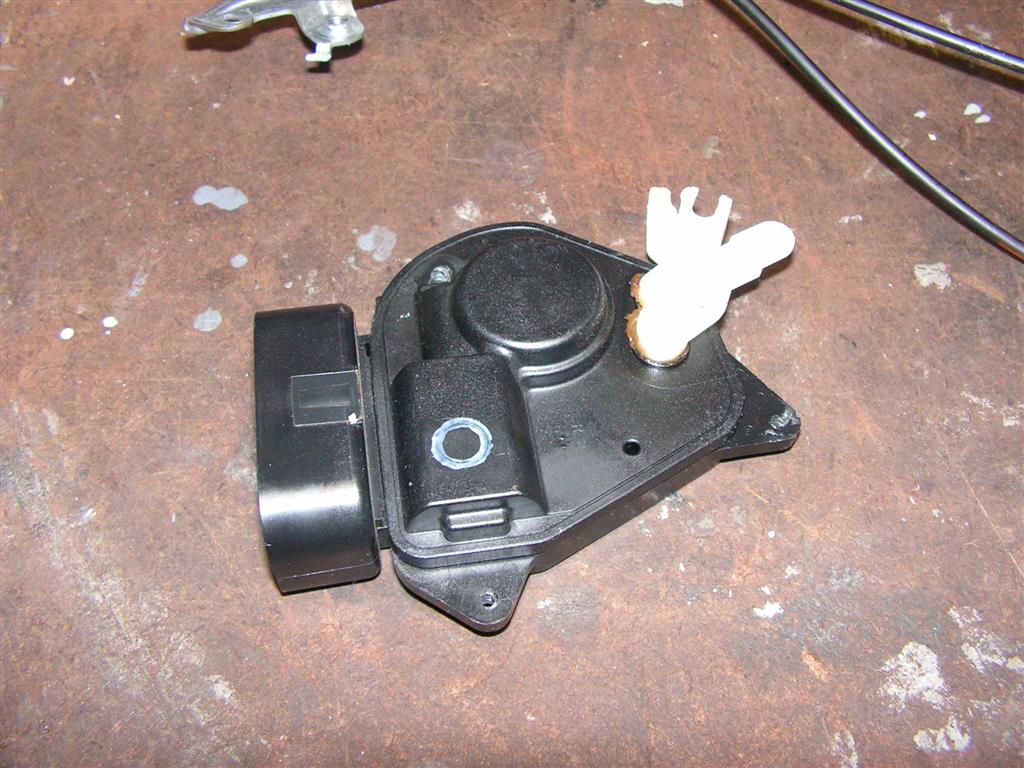
This is the entire assembly -- make a note (or take pics) of all the connections because here comes the kicker. TOYOTA uses the same actuator in the Highlander as in the RAV-4. But the Highlander unit is $250 more than the RAV-4 because Toyota will ONLY sell the entire lock assembly for replacement on Highlanders.
I didn't realize that until I tore this thing apart. I saw that the actual actuator unit was a cheap motor that was available at Advance Auto because I installed one in my SIL's car just a year ago. So the damn thing looked familiar.
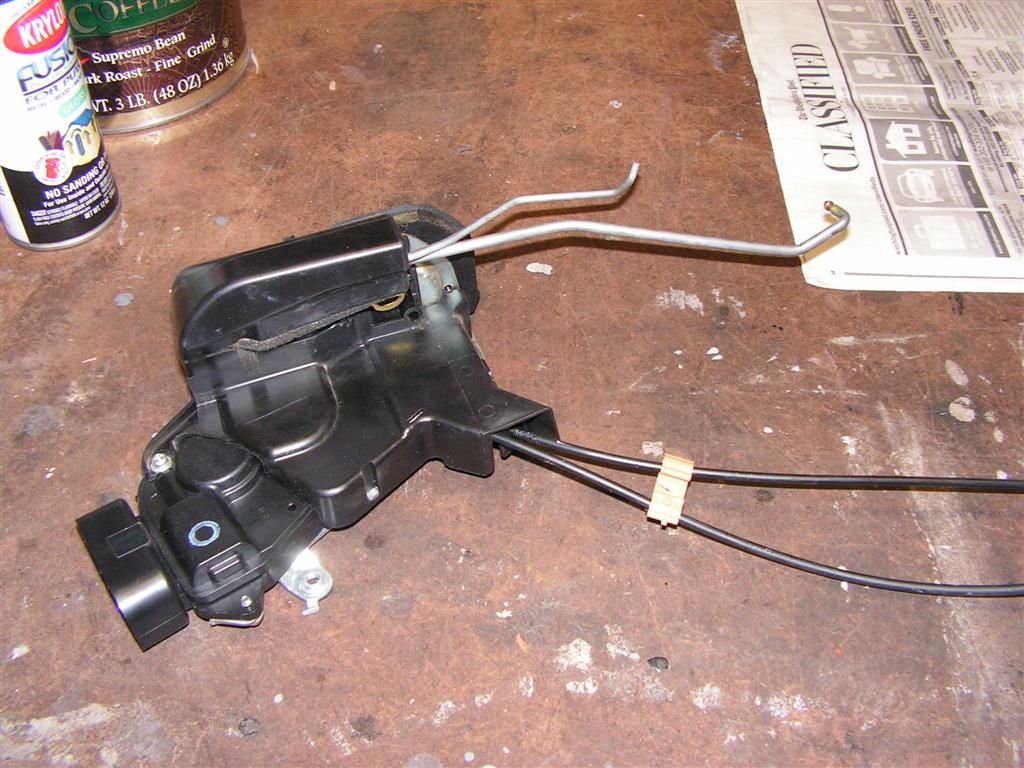
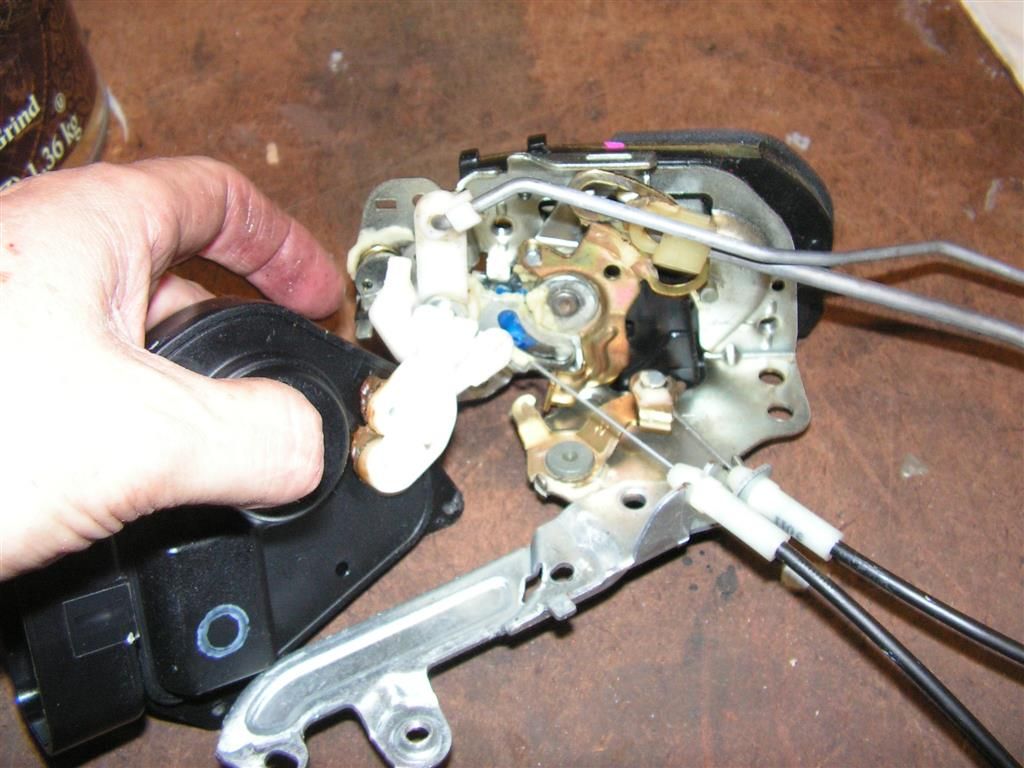
So if you want to save yourself $200+ dollars, carefully take this assembly apart and note ALL the connections and clips
Note especially how the actuator unit slips into the cables and also the release mechanism
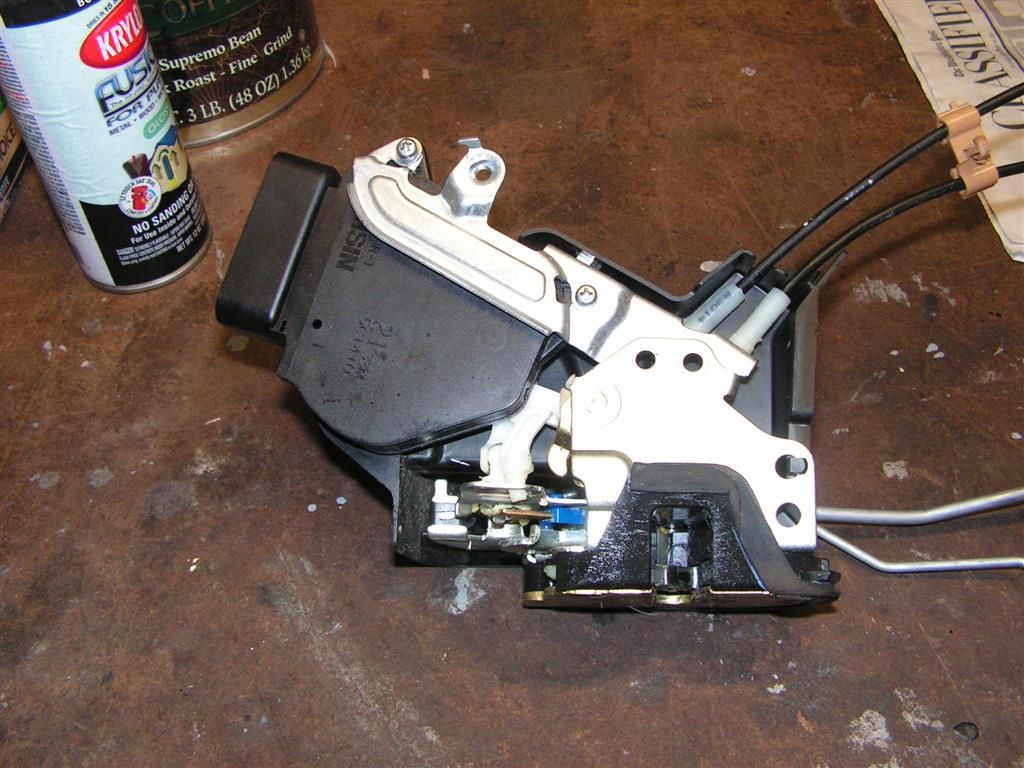
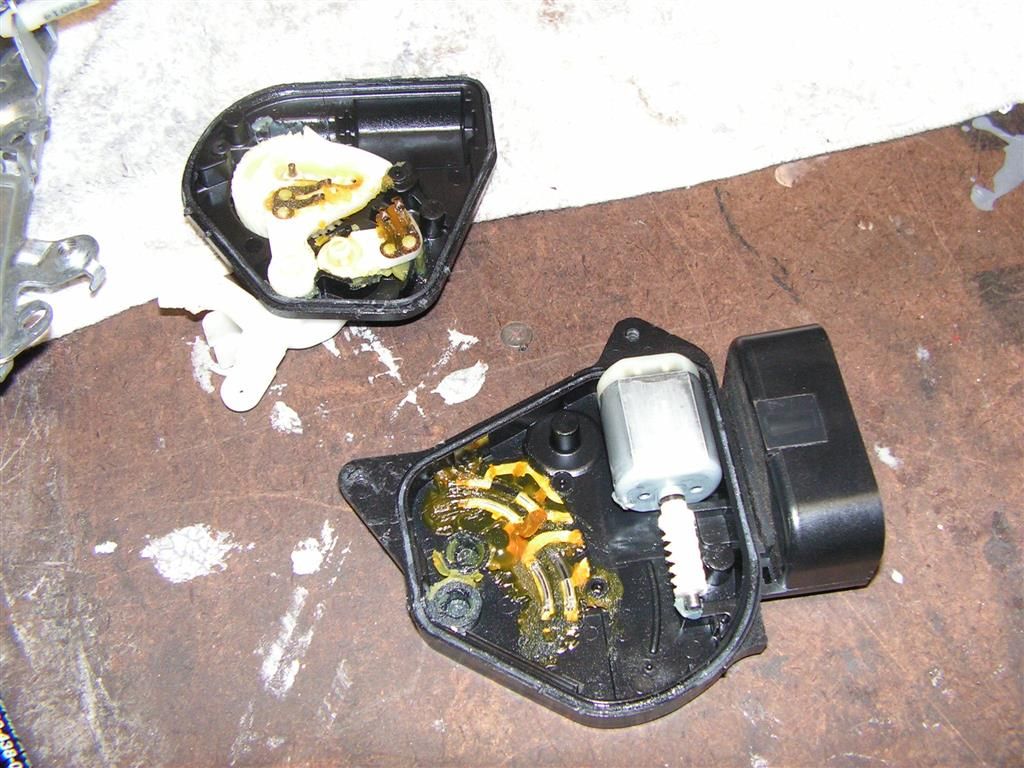
What you wind up with is this actuator unit that can be purchased separately anywhere from $95-$140 dollars; if you shop around. I actually went to the local Toyota dealer and got it for $130 because I couldn't wait a day or two for other places to get one shipped in.
Taking the old unit apart and testing the cheap motor showed that the motor itself was gone. If you looked around you probably can rebuild this actuator with a generic motor that probably would only cost $5 -- on ebay -- these things are that simple and cheap.
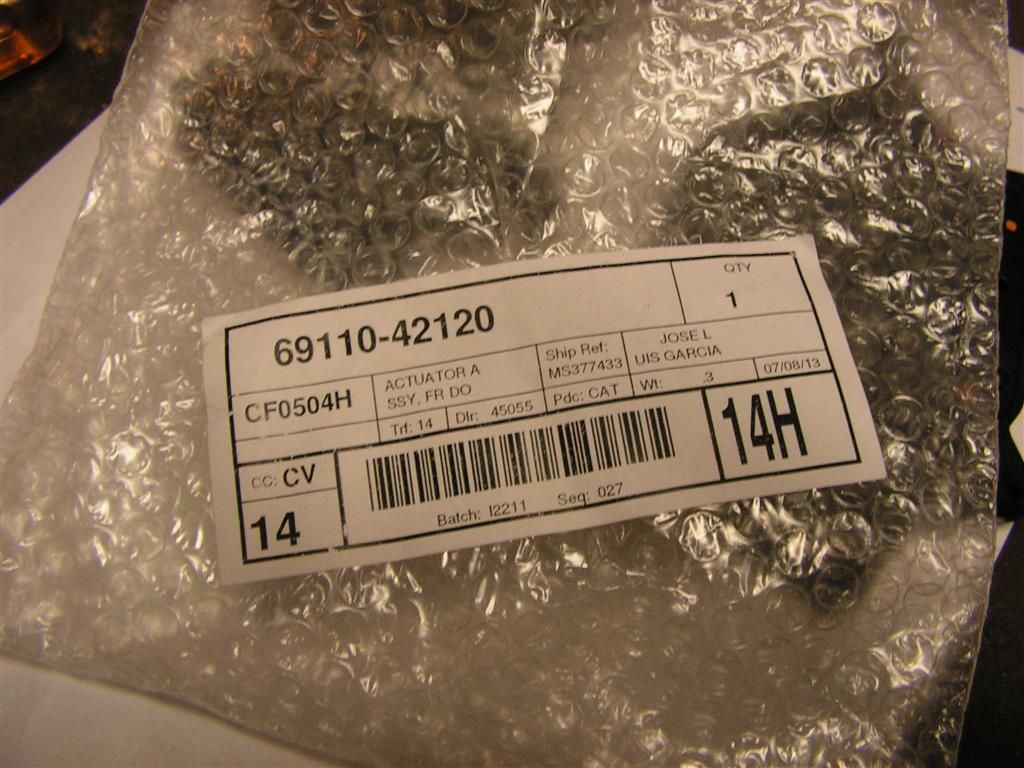
I ran to the dealer picked up the new unit and reassembled it on the bench -- here is the Toyota RAV-4 part number for a passenger (RH) door
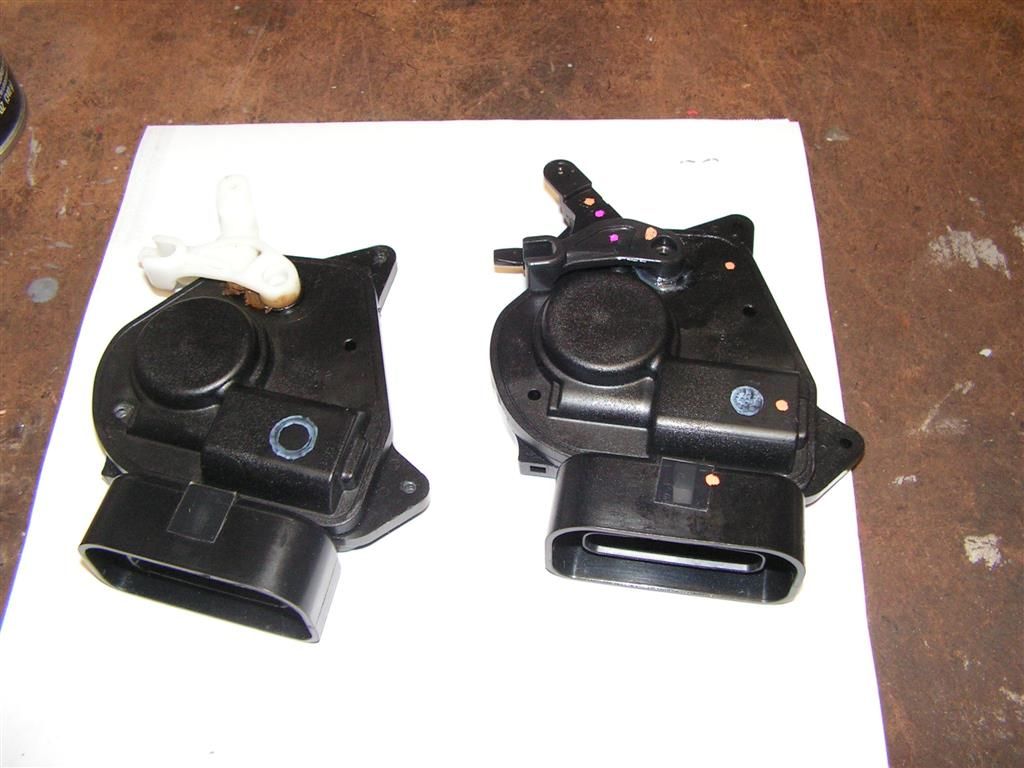
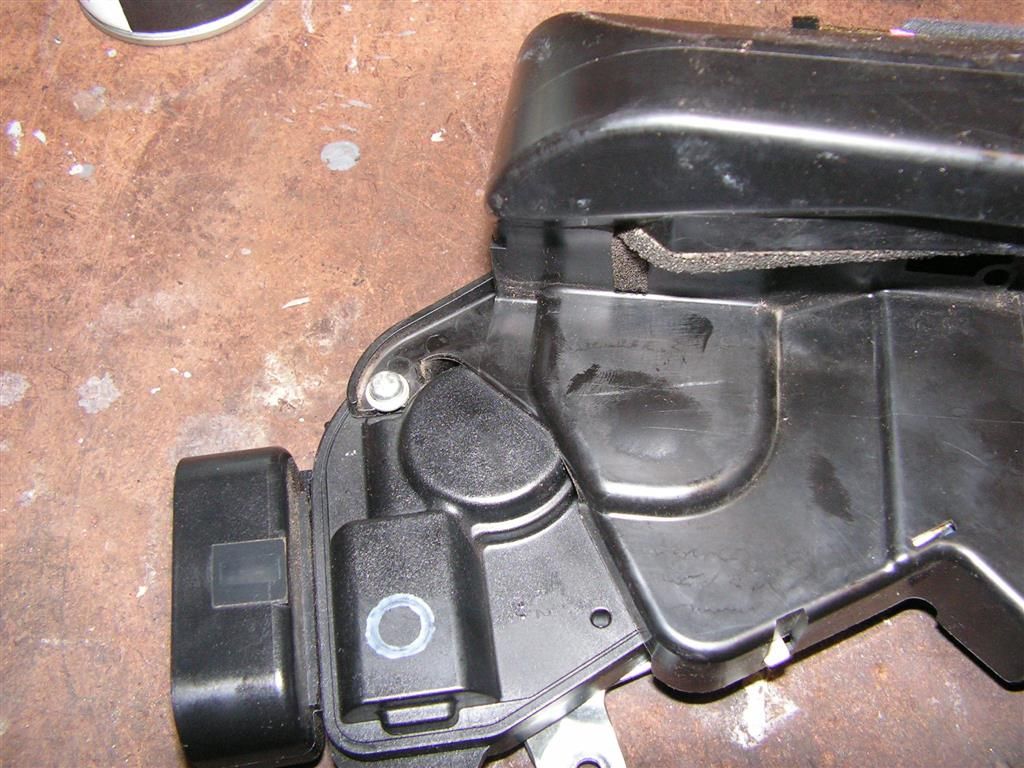
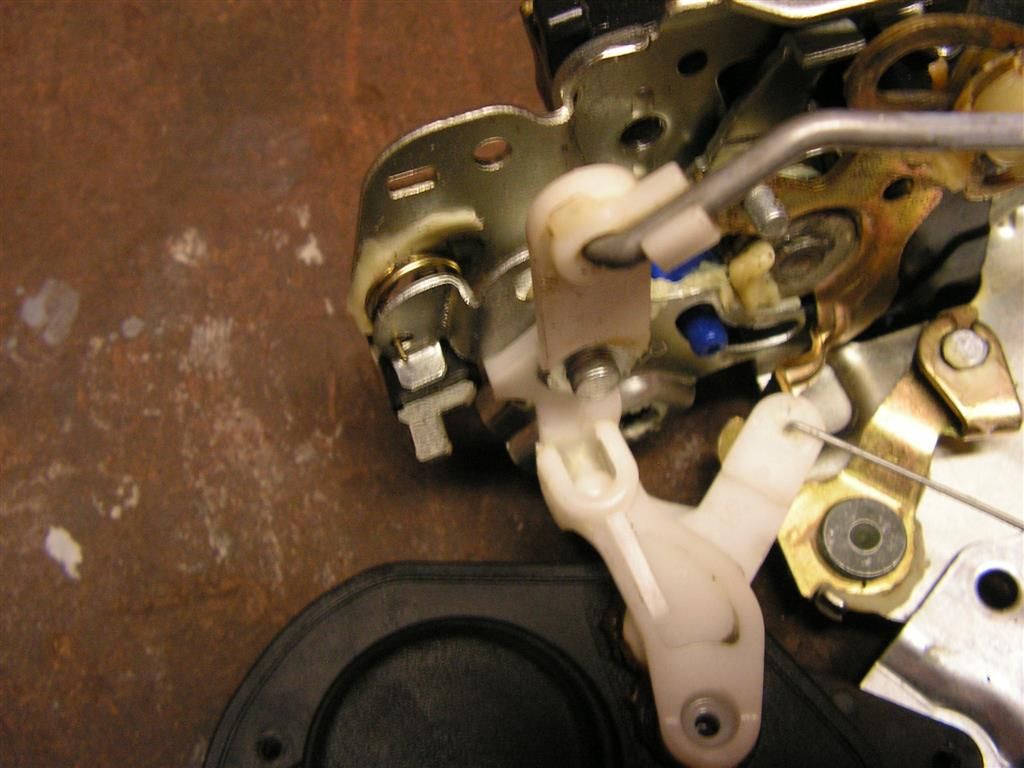
Making sure all the tabs and connections are correct during reassembly --
Now fish it back through the door and install the actuator in reverse order of disassembly -- starting with the latch mechanism Torx bolts
Attach the door latch, and finally the white and orange door latch clips back onto the actuator rods
That's pretty much it -- you're done. Install and reconnect the switches and door courtesy light and the trim and that's it.
You just saved yourself approx. $250 -- cheers.


