The timing belt replacement procedure on SOHC Japanese V6 engines is pretty much the same for most makes. Typically, since there is a lot of work involved in removing the timing belt, the common consensus is that the water pump and idler pulleys be replaced at the same time as a precautionary measure. The reasoning is that since the standard interval for the timing belt is anywhere between 65k and 85k miles, the water pump and pulleys are most likely to warrant replacement as well. Needless to say, if you go this far, then the AC, PS, and Alternator belts might as well get replaced as well.
With that explanation out of the way, here is a detailed procedure for replacing these components on a 1995 Rodeo 4x4 with a standard SOHC V6 configuration. Contrary to many internet postings, these early Isuzu engines were NOT an "Interference" design, hence the valves would not get trashed in the case of a timing belt failure. That said, other Japanese V6 designs are definitely "Interference" designs, so timing belt replacement is a much more critical issue.
First thing is to unhook and remove the battery and make more room in the engine compartment. In the case of the Rodeo, the easiest thing to do is to drain and pull the radiator. The top fan shroud is held in place by four clips and a bracket, and is easily removed.
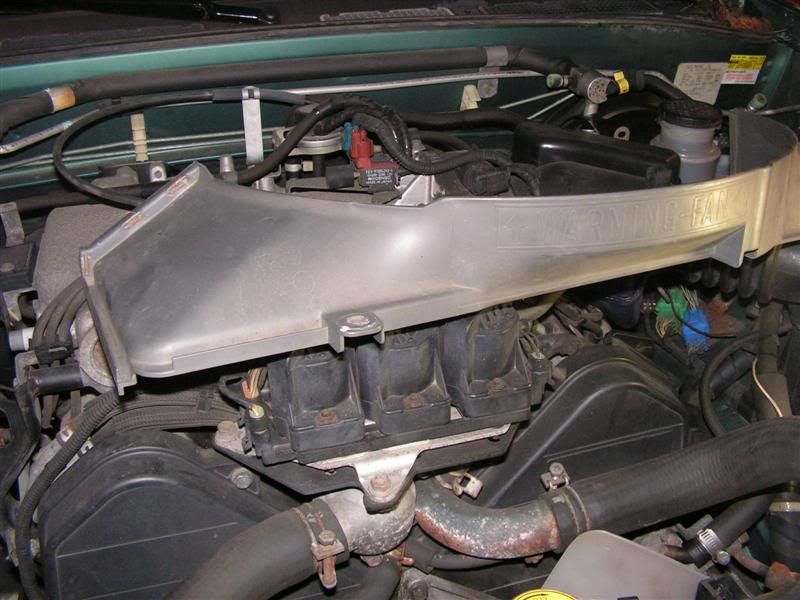
Next, the fan is removed by loosening four nuts, followed by the lower fan shroud. Both simply slide out
of the way for more complete access to the engine.
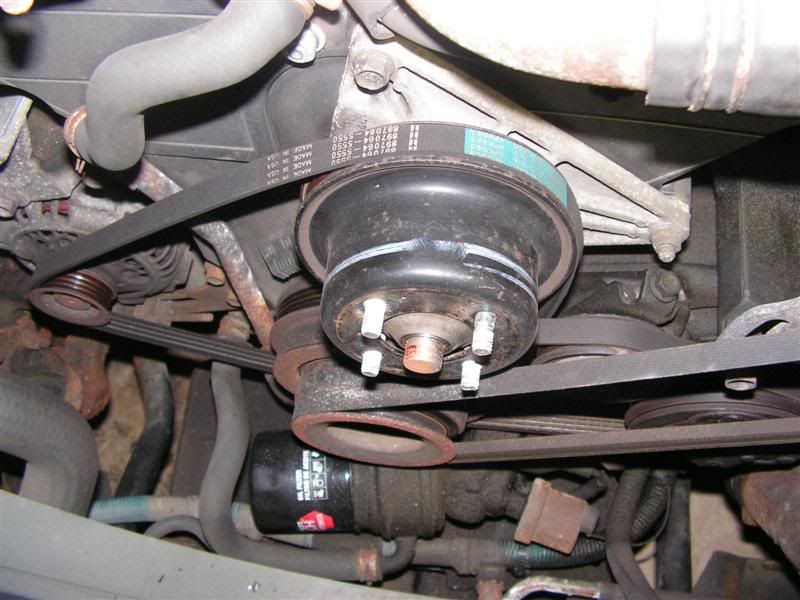
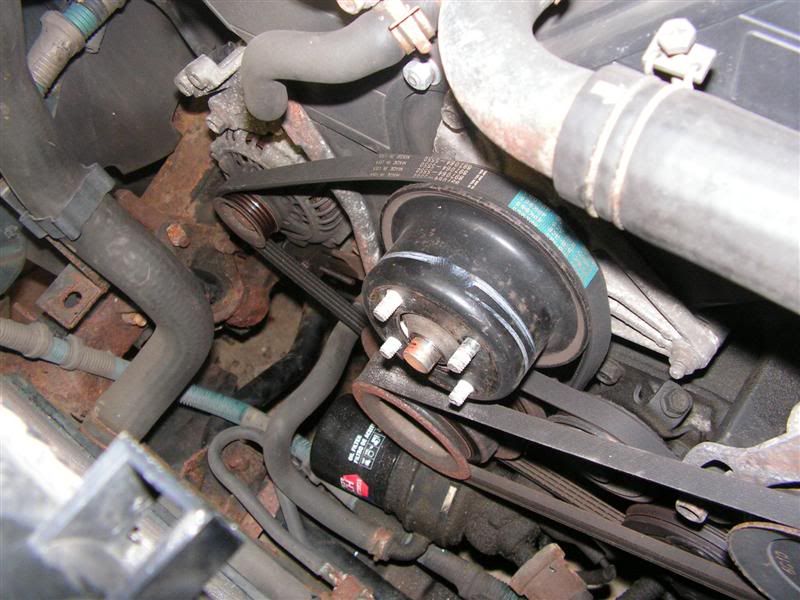
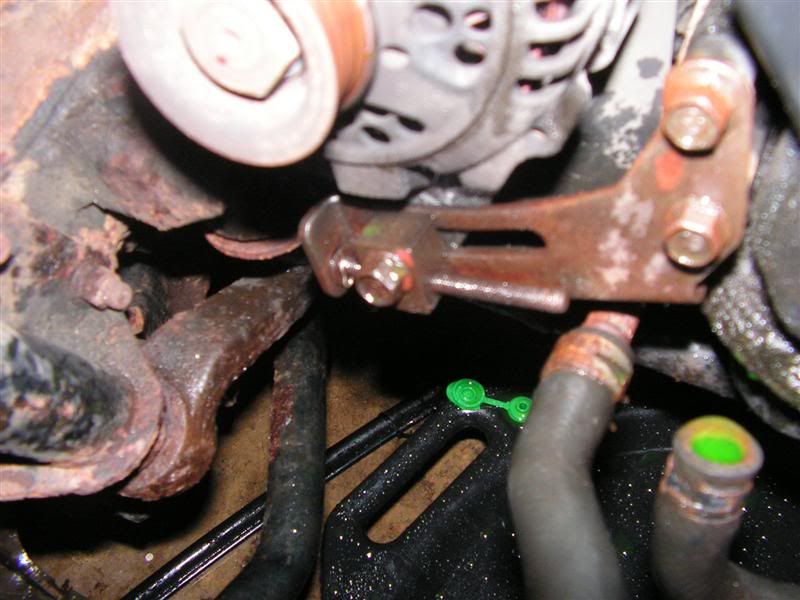
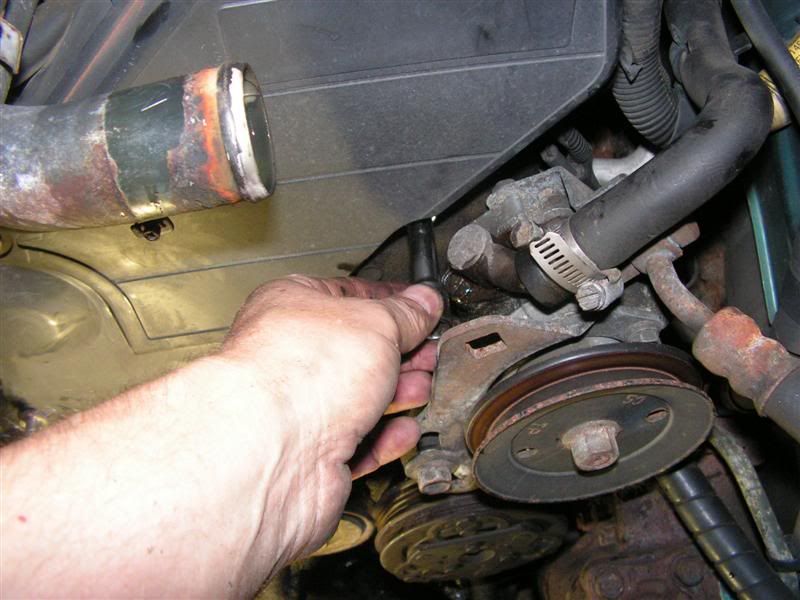
Next loosen the power steering pump bracket bolt and swing the pump inward to loosen the belt.
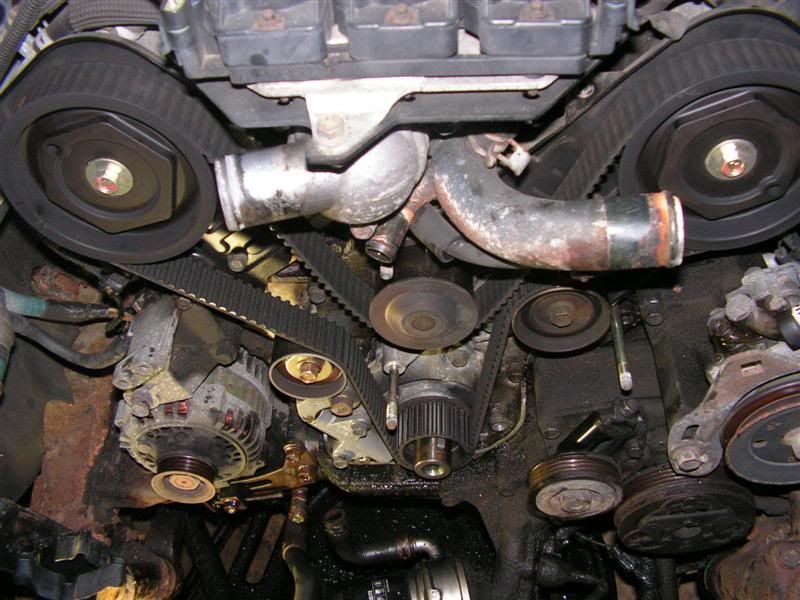
This is followed by the AC compressor belt which has a very tricky mount. The large idler pulley nut must first be loosened in the center with a 21mm socket. Once loose, the height adjust screw can be loosened to move the idler downward and take slack off the belt.
Taking off the cooling fan will release the center fan pulley so that the alternator belt itself can be removed from its grooves. So loosening the alternator bracket is not necessary at this juncture.
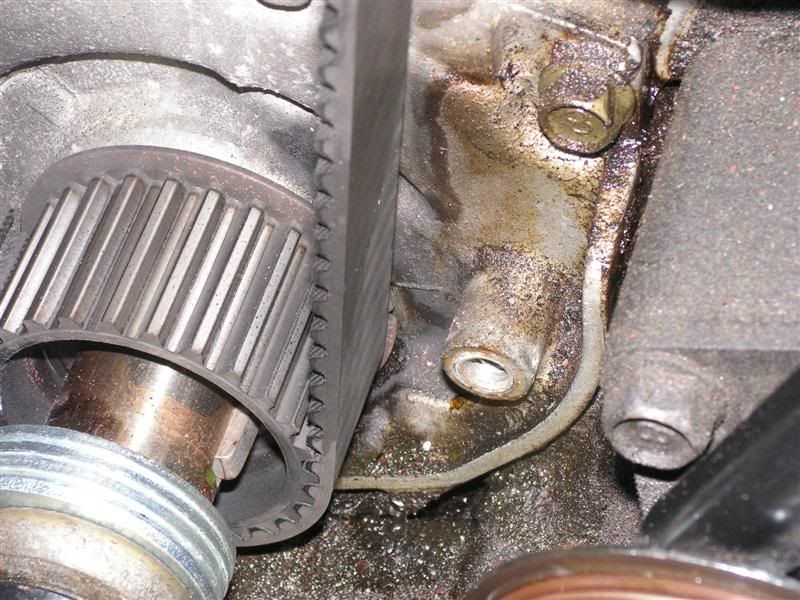
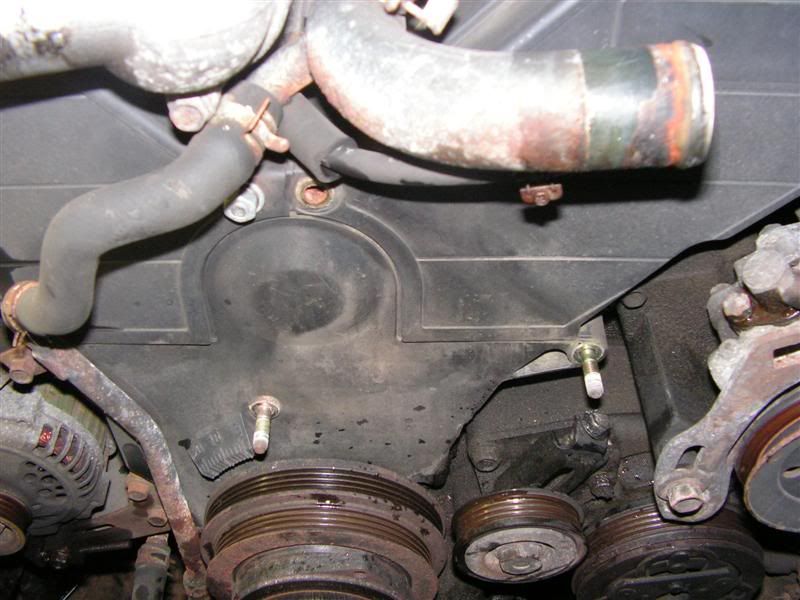
Next, the cooling hoses to the oil filter housing and the engine top end can be removed.
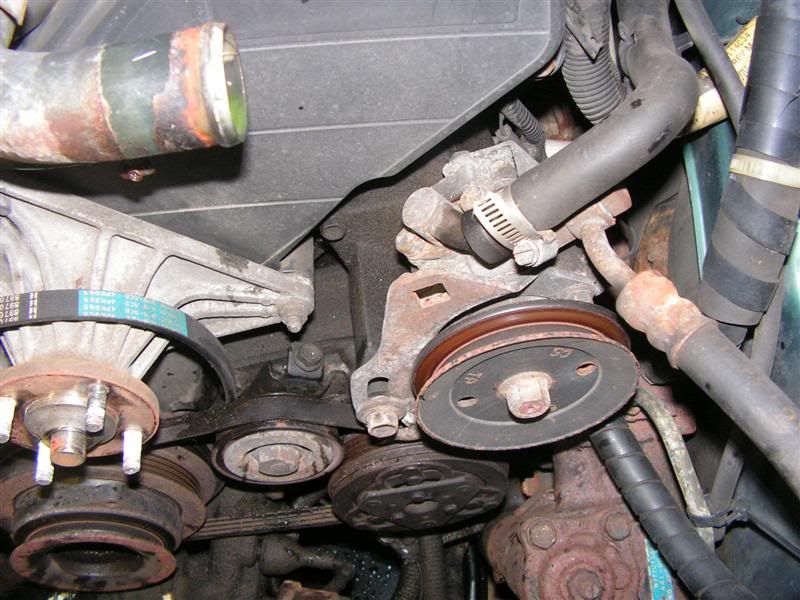
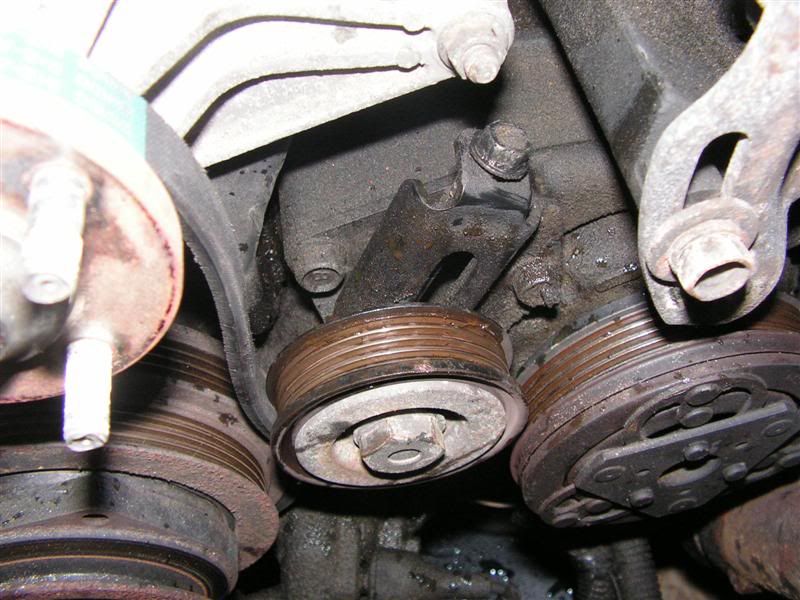
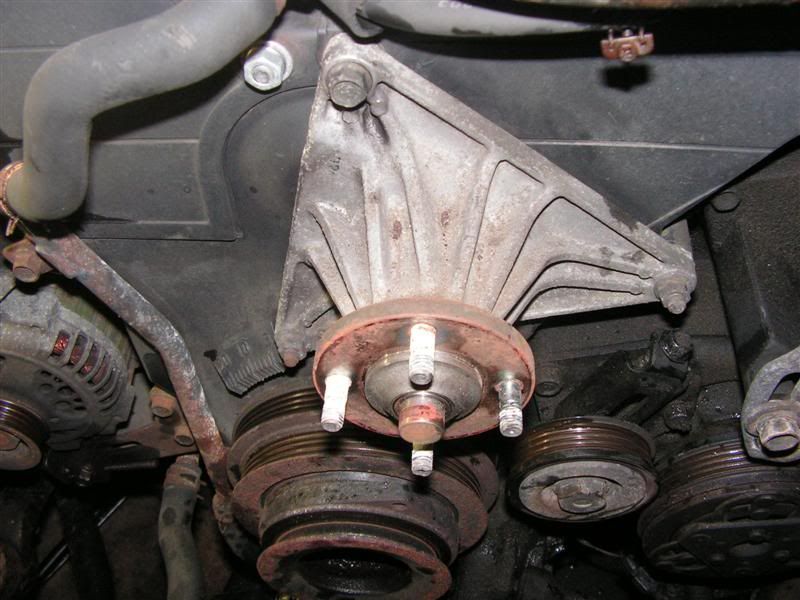
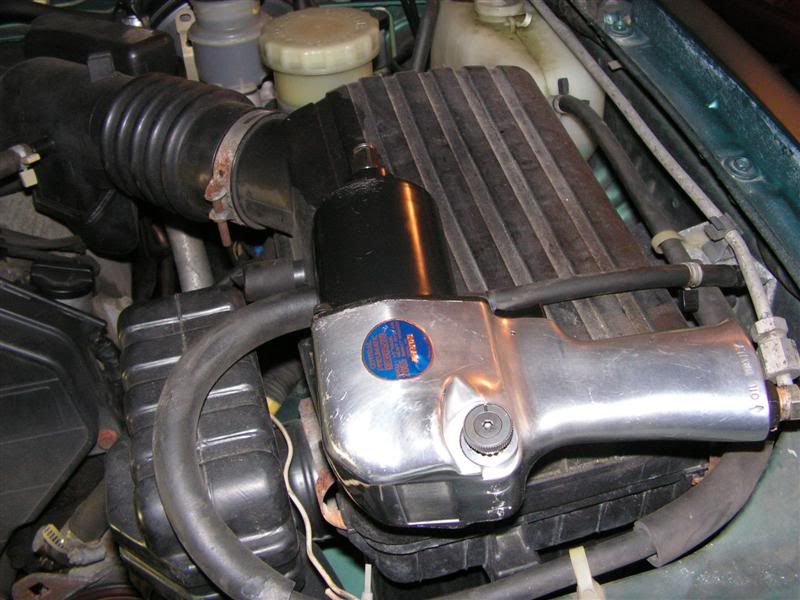
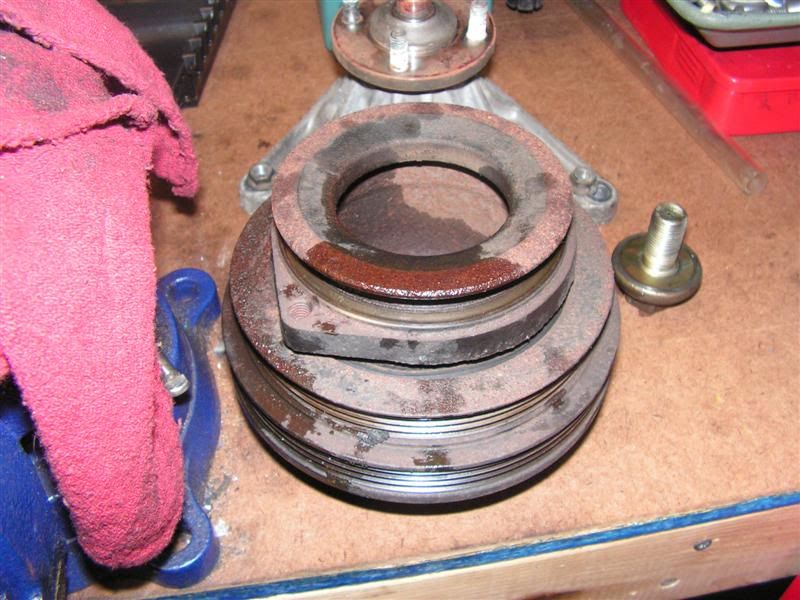
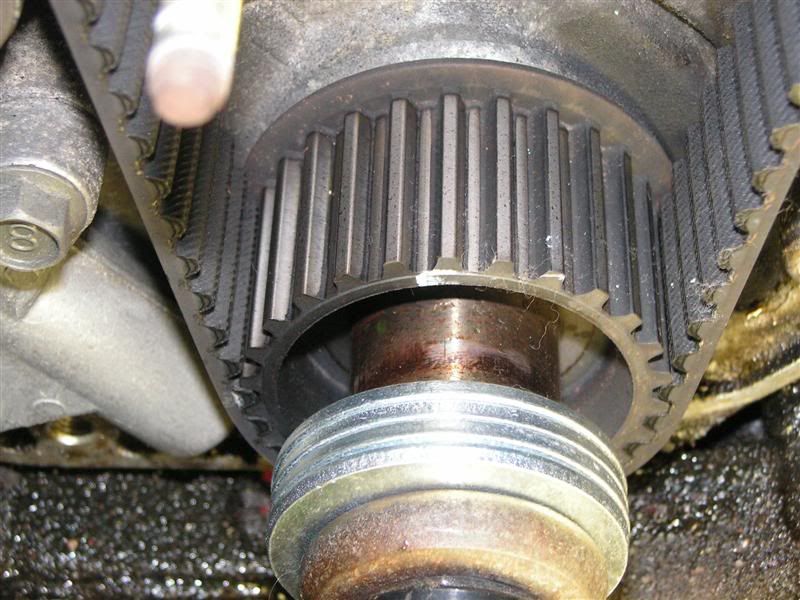
It's at this juncture that the crankshaft pulley needs to be removed. There are many procedure for doing this; including large breaker bars and all sorts of leveraged contraptions to keep the motor from spinning while taking off the center nut. However, the most efficient way is to put the car in gear and with a good 450 ft/lb 1/2" impact wrench take the nut off. Getting that radiator out of the way made enough space to allow for an impact wrench to be used in that space. I sprayed the nut with Kroil and it spun off without much effort.
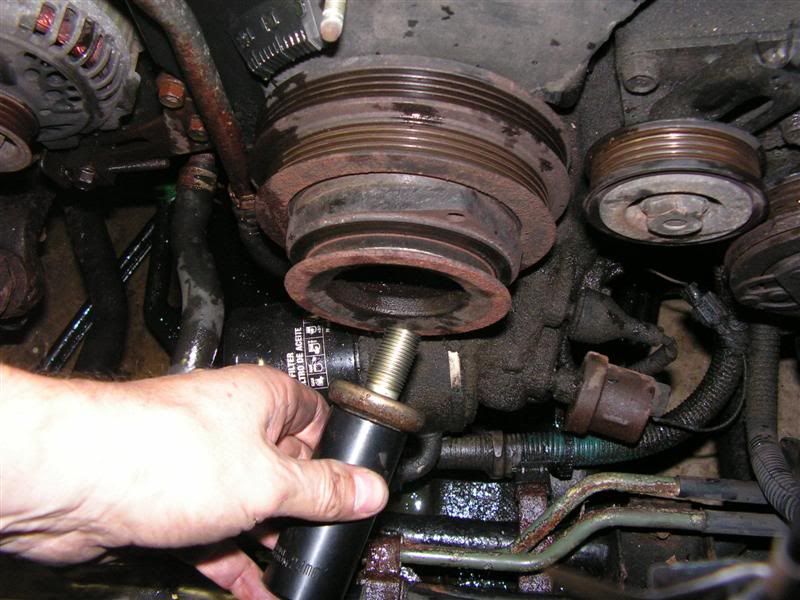
The center pulley assembly came off very easy once the nut was removed.
Now the alternator bracket is very accessible and the alternator can be readily swung inward to facilitate belt tightening later on.
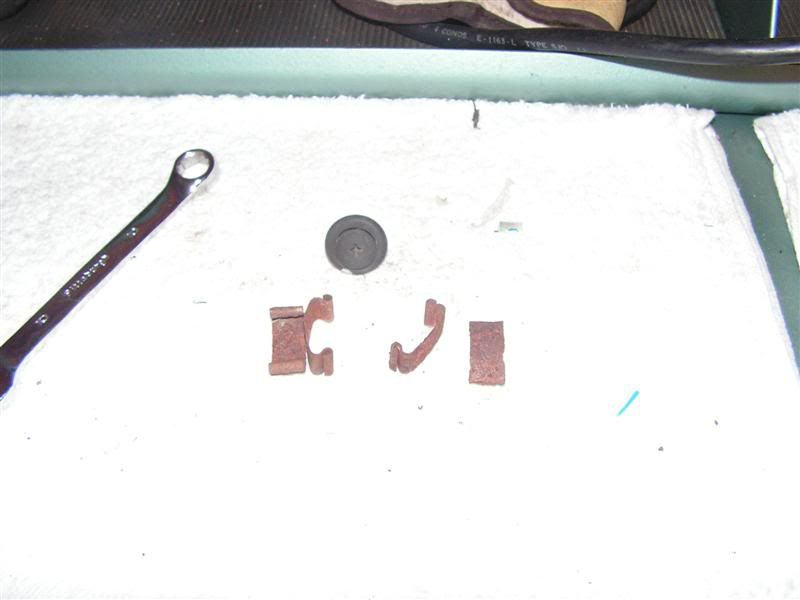
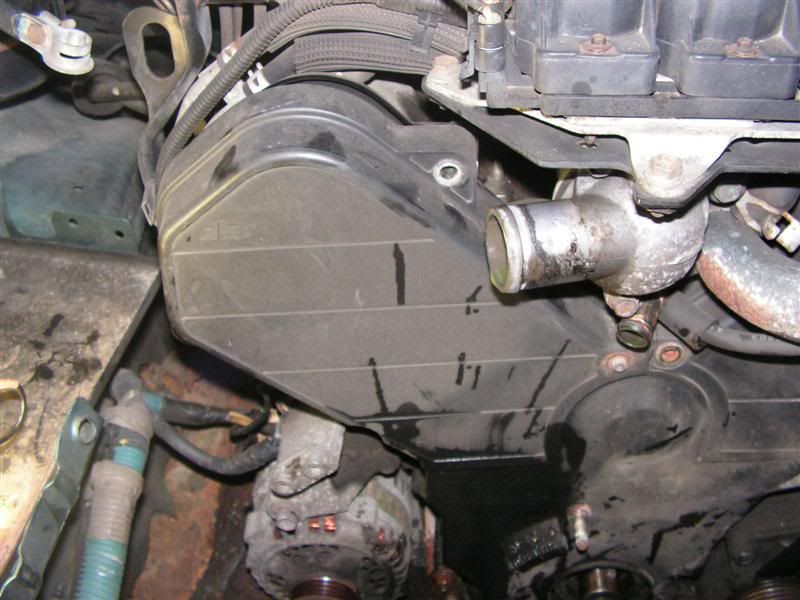
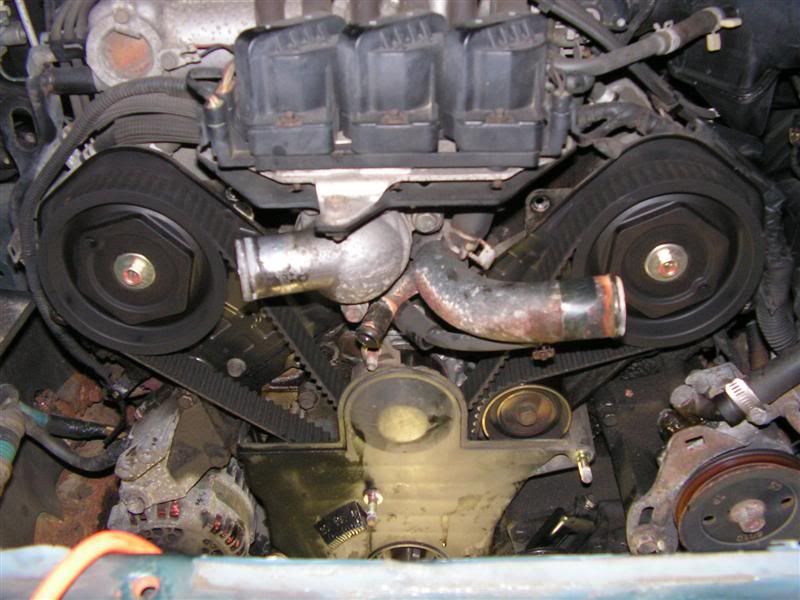
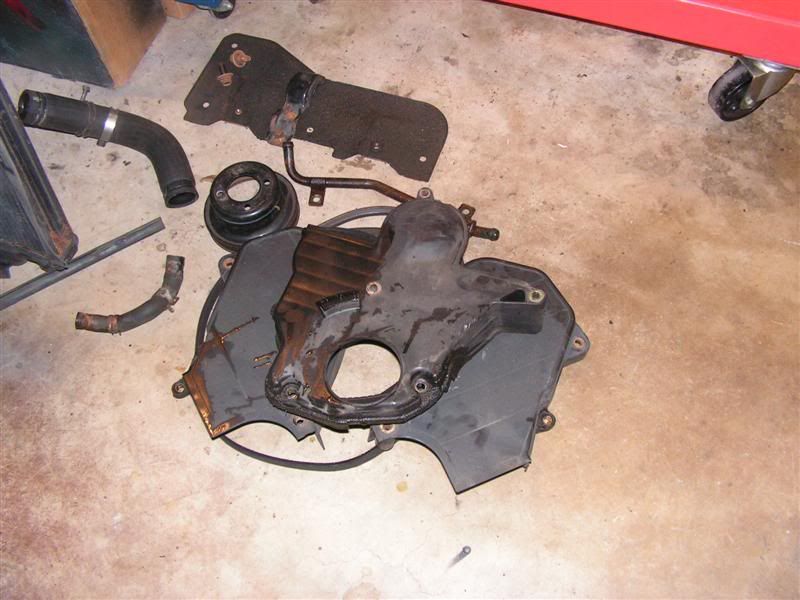
To expose the timing belt, three shrouds must be removed -- two on top covering each camshaft pulley, and one on the bottom of the engine that covers the crankshaft sprocket. There are many hidden bolts, so attention to detail is required --
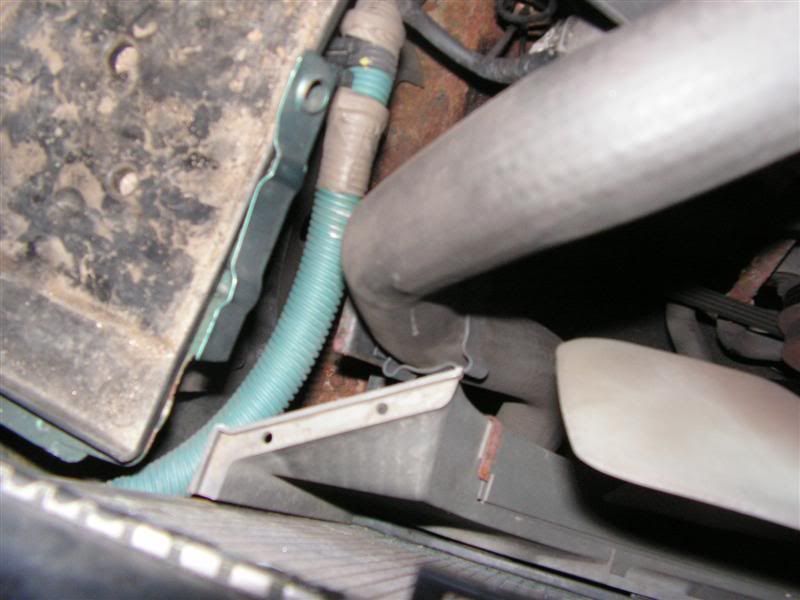
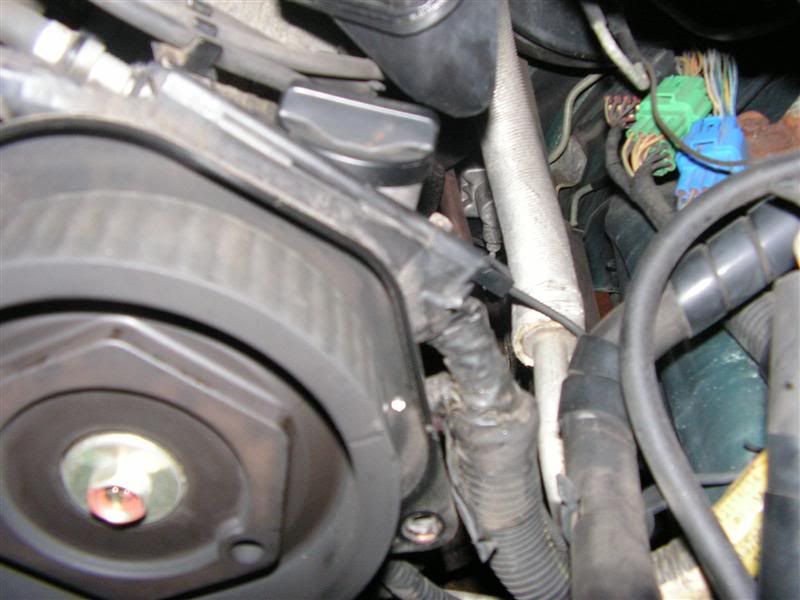
At this point, I put a shield over the AC condenser to keep it from getting damaged while working on the front of the engine.
In order to align the timing marks on the engine, I need to rotate the engine. So the center nut is reinstalled in the crankshaft, but with a few large washer added to keep it from bottoming out in the front of the crankshaft and making removal more difficult later on.


Now a large ratchet is used to rotate the crank clockwise (from my point of view) while aligning the timing marks on the cams and the crank.
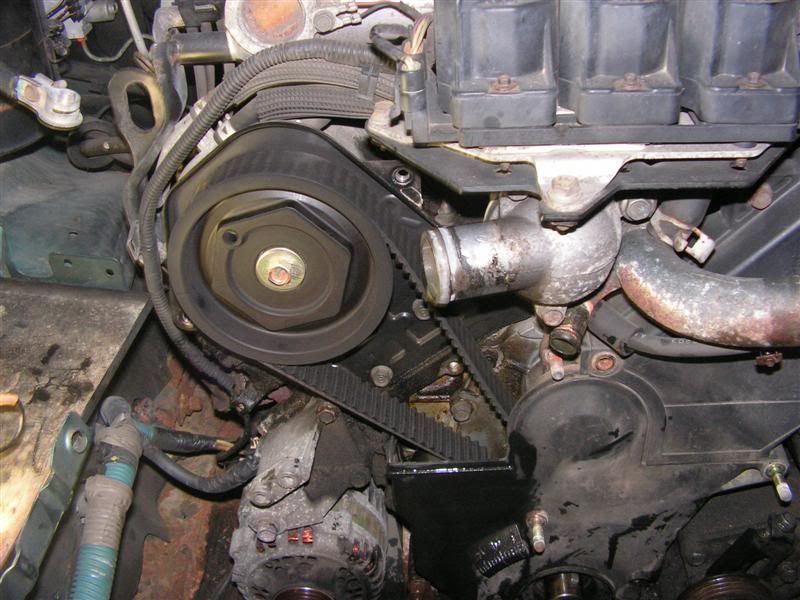
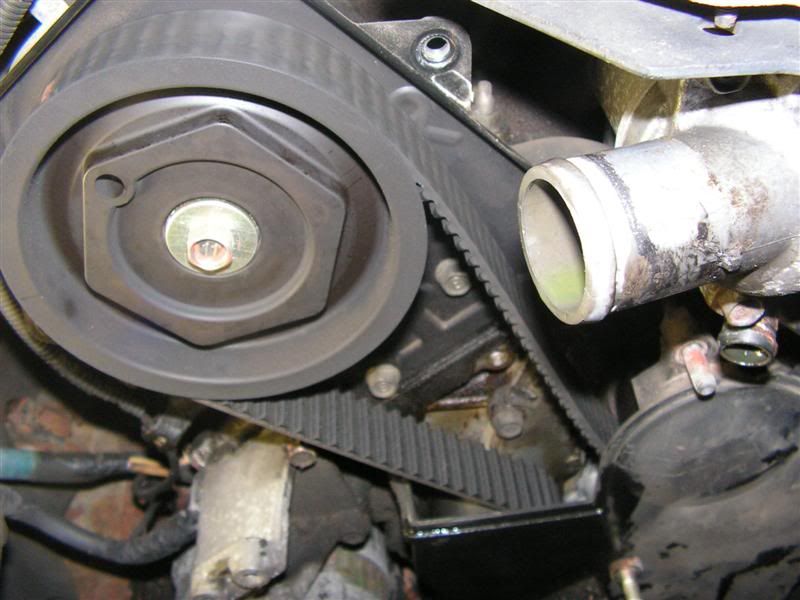
Each cam has a corresponding mark on the pulley and the rear of the shroud. There are also two marks on the crankshaft sprocket. The idea is to rotate the engine until all the marks align (cams and crank).
There is a line on the front of each cam sprocket that must align with a corresponding mark on the back of the shroud.
Also, if this were a factory installation the alignment marks on the cam sprocket, shroud, and crank sprocket would also be aligned with corresponding lines on the timing belt itself. However, many shops omit the alignment of belt marks because it's just too much wasted time. The following picture illustrates that fact. The belt mark doesn't align with the mark on the rear of the shroud. No big deal, since only the cam sprocket marks and the shroud marks are of relevance.
This is the lower crank sprocket mark that must align at the 9 o'clock position while the cam sprocket marks must align with their corresponding shroud marks.
Finally there is a fourth mark that will act as a "failsafe" to make sure all marks are properly aligned before the timing belt can be removed. This small indent mark on the rear of the crank sprocket must be aligned at 3 o'clock to match the outer crank sprocket mark that must align at 9 o'clock, AND the cam sprocket marks must align with their shroud marks.