Author Topic: Toyota Highlander quarterpanel repair -  (Read 3875 times)

Offline goodfellow

  • Global Moderator
  • Hero Member
  • *****
  • Posts: 4340
Toyota Highlander quarterpanel repair -
« on: August 14, 2018, 10:26:22 AM »
Five years ago this was what kept me busy for almost two weeks --


It couldn't have hit on a worse spot because the primary bodyline of the car was totally damages and pushed out of shape. The tape along the bodyline shows the damage.


Not only that, but the area above the bodyline had been stretched and bulged out by the impact; so that will have to be straightened as well.

First things first, the area is feathered with 80 grit on a DA and then the smaller section is tacked with a series of studs from a stud welder. I'd love to get behind that dent, but I checked that area and it's a double wall filled with insulation, so the only way to get at it is from the front. Slow pulls on the studs with a stud slide hammer get the job done -- but boy does it take time.


I managed to get most of the large dents out and roughed in the panel. Next I cut the existing studs and installed new studs on the numerous small low spots. After a good hour of pulling and hammering the bodyline edge begins to reappear -- slightly.


The stretched area above the bodyline is hammered and flattened with a spoon. That forces the bodyline back down and into a relative consistent geometry again.


That's how it went most of the afternoon. Grind the low spot and pull them up, cut the studs, grind to reveal newer smaller low spots, and weld in new studs to get at the smaller spots. Eventually, the thing took back it's form.


You can see the bodyline take shape -- and this is where I decided to stop and reach for the filler. I wasn't about to obsess over some small ripples. I metal finished a few sections and moved on to plastic.


By the time this plastic was spread on, it was getting too dark and I decided to call it a day. My week is pretty much decided as to what needs to be done -- LOL

Onward.
« Last Edit: August 14, 2018, 10:35:26 AM by goodfellow »

Offline goodfellow

  • Global Moderator
  • Hero Member
  • *****
  • Posts: 4340
Re: Highlander quarterpanel -
« Reply #1 on: August 14, 2018, 10:26:48 AM »
Today I was able to get the final bodywork contoured and sanded to accept the first of three primer coats. 

I used masking tape as a guide to approximate the body line and then sanded the filler with 80 grit, 120 grit, and finally 220 grit to get it nice and smooth and ready for primer.


I like the Eastwood polyester primer/filler so well that I decided to spray it on this job. The build is so good that after three coasts it should be fairly easy to backtape the body contour lines and sand them into nice crisp edges. I decided to give my 2.5mm HVLP gun one more try by thinning the polyester primer with three ounces of lacquer thinner. It was better than my previous experience with my Jaguar E-Type body, but I still don't like it as much as my 25 year old high pressure primer gun. It's just not as smooth and even --


Three coats of polyester primer later, and the body line is nicely covered with a high build layer of material. It's not perfect yet, but through some careful taping and sanding, that line will come in sharp and straight.  I'm pretty satisfied with this stuff.


This stuff dries slowly and tacky, so I'll let it cure for a day before I finish sand it and get it ready for the base-coat/clear-coat. Tomorrow I'll get the paint and supplies from a local jobber.

Offline goodfellow

  • Global Moderator
  • Hero Member
  • *****
  • Posts: 4340
Re: Highlander quarterpanel -
« Reply #2 on: August 14, 2018, 10:27:22 AM »
Today I block sanded the rough primer with 220 grit. I must say that this Eastwood polyester stuff is quickly becoming one of my favorite coatings. It sands well and doesn't clog the paper. A quick burst of compressed air cleans buildup on the sandpaper in short order. The most likeable aspect of this stuff is that it feathers better than any primer surfacer I've used.

After all the low and high spots were sanded smooth, I tackled the bodyline. It was roughed in while doing the bodywork, but to get it nice and crisp it needs to be sanded with tape as a guide. I used a strong 3M yellow painters tape. It will hold up to some sanding scuffs and not come loose. First the top edge was exposed by masking the lower edge.


At this point I used 400 grit paper to block sand the entire upper section right down to tape. Slowly the imperfections disappeared and the initial edge revealed itself. The primer sanded as smooth as talcum powder.


I kept sanding at 45 degree angles away from the tape line. That set the edge - NICE!!


Now the tape is reversed and the lower section of the panel is block sanded with 400 grit


Remove the tape and the edges should be fairly crisp. Although, not perfect; there are one or two spot that need more sanding. My finder is pointing to a slightly darker shade in the primer. This is a low spot, so the area is taped on the bottom edge and the sanding starts again to set that edge as crisp as possible.


The block is set at 45 degrees and the strokes are away from the tapeline. This will set the edge. If you stroke towards the edge of the tape, it will bunch up and ruin the line.


Once the edge is set, I take a loose piece of 400 grit and just run it down ever so slightly at a perpendicular angle to the top of the edge. This cuts and rounds the edge a bit to match the OEM bodyline. Toyota didn't put a sharp edge on these corners, they are a little bit blunted.


Last thing to do is wash the entire car. This quarter panel is ready for some paint. As luck would have it, it started to rain and get damp, so i'll wait for a nice sunny warm day next week to shoot the three color and three clear coats.


Offline goodfellow

  • Global Moderator
  • Hero Member
  • *****
  • Posts: 4340
Re: Highlander quarterpanel -
« Reply #3 on: August 14, 2018, 10:27:45 AM »
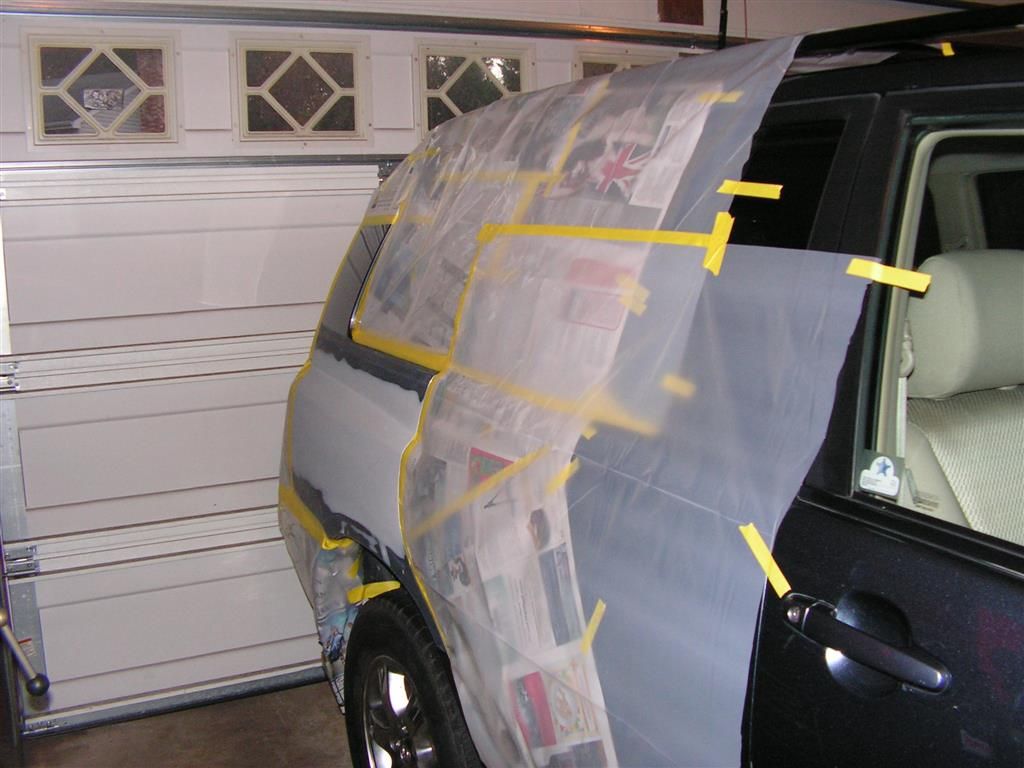
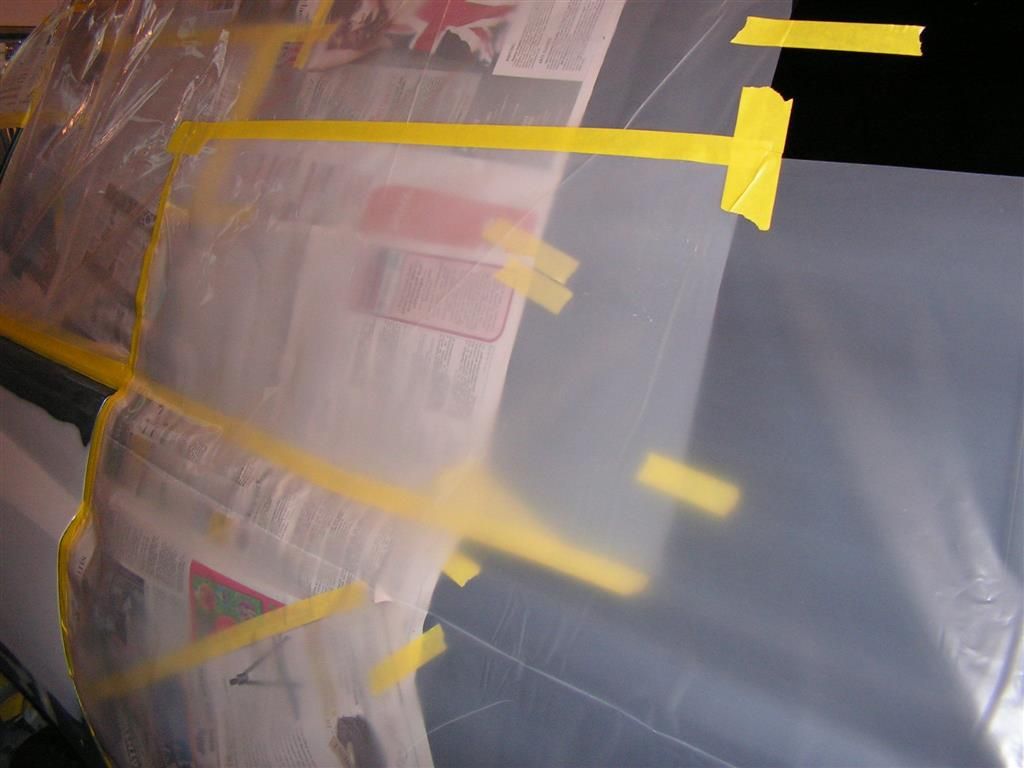
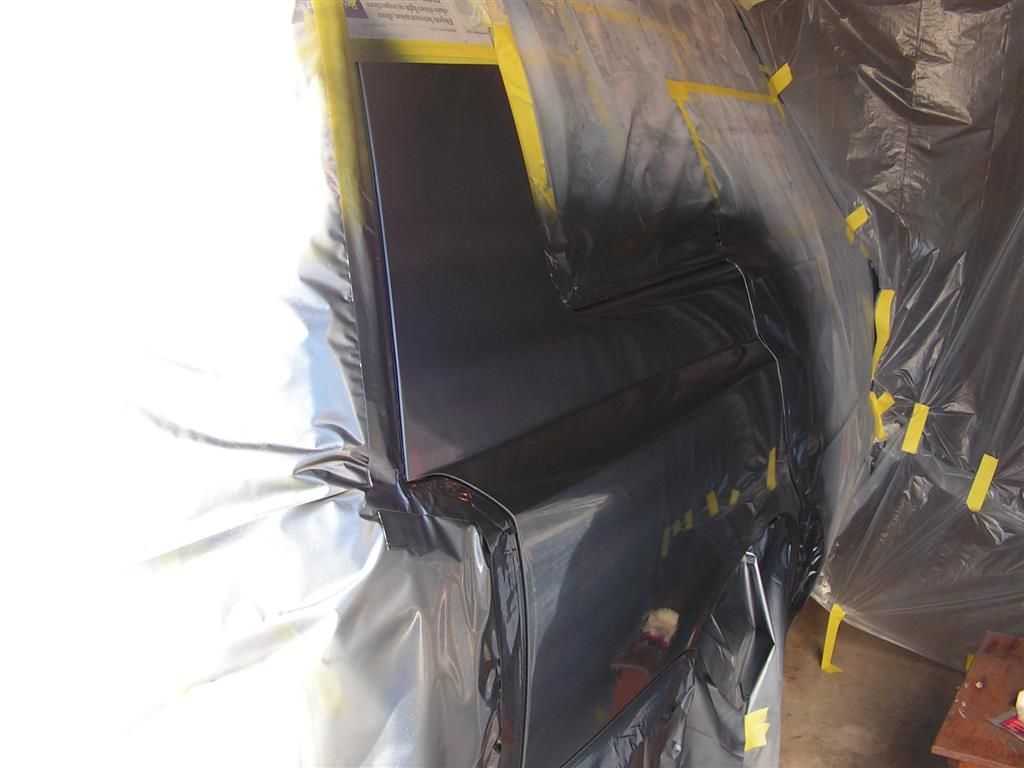
Today was finally warm and dry enough to shoot this Highlander. Last night I masked off all the panel edges with 3M automotive masking tape.

NOTE: If you try to use cheap white masking tape, then the solvents in modern 2 stage paints will ruin your paint job and bleed right underneath it. I then taped all the exposed panels with newspaper, and on top of the newspaper sheets I put 3mil. plastic sheeting. Can't stress enough that the plastic sheeting is a MUST when doing your own paint work.


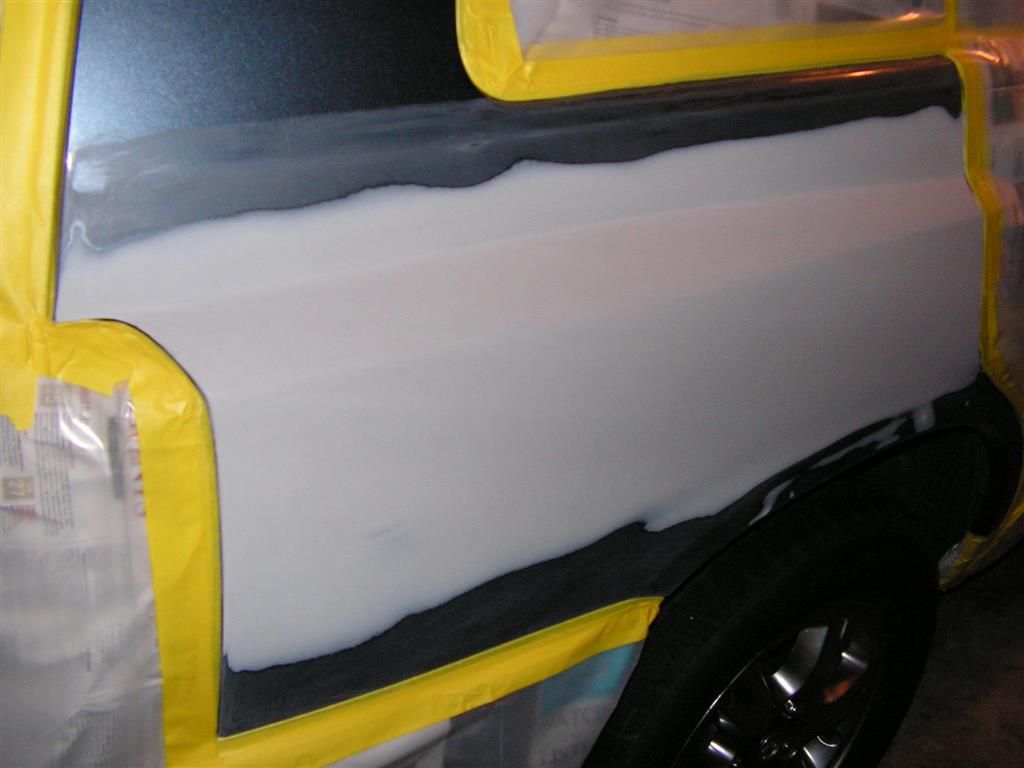
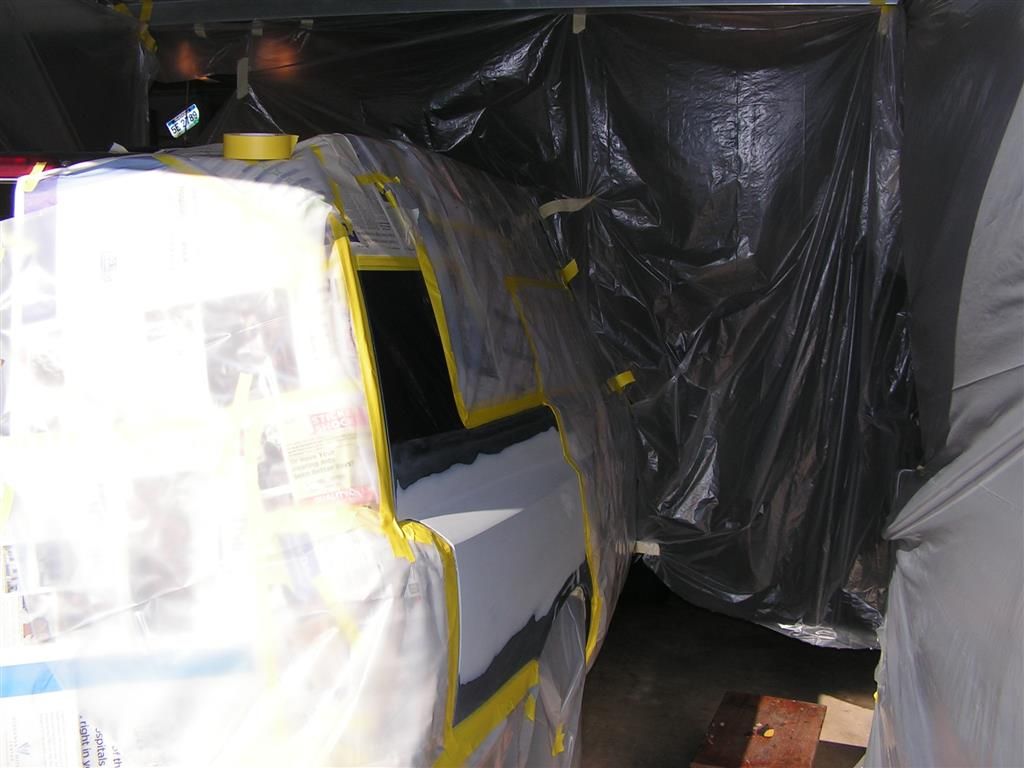
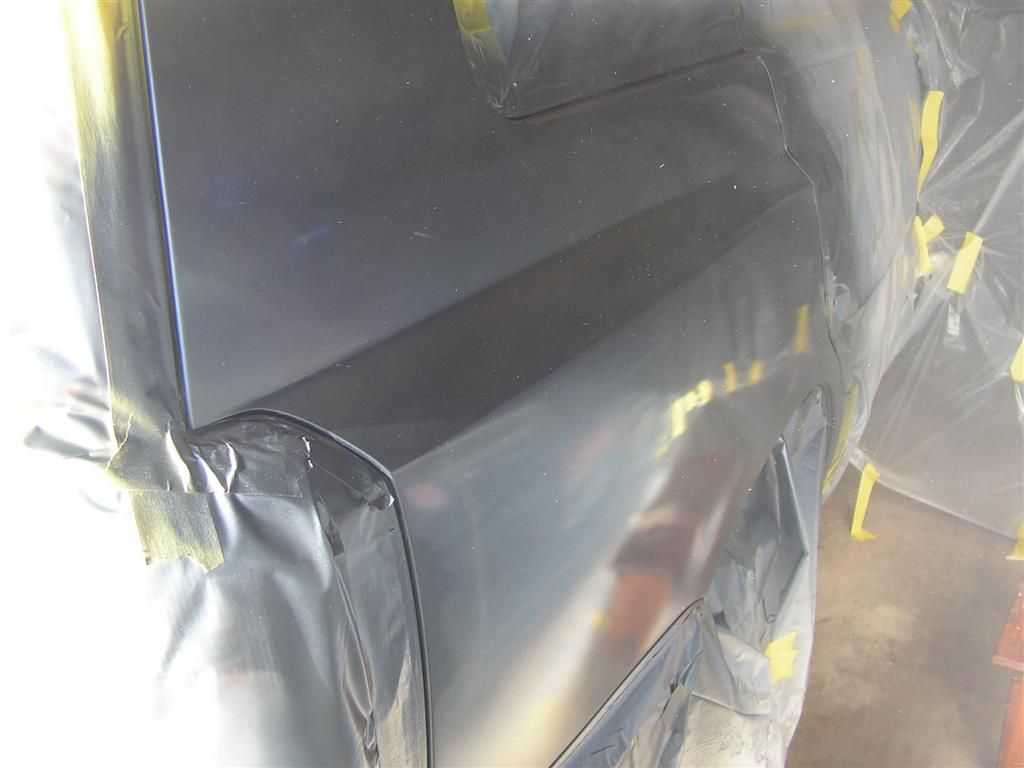
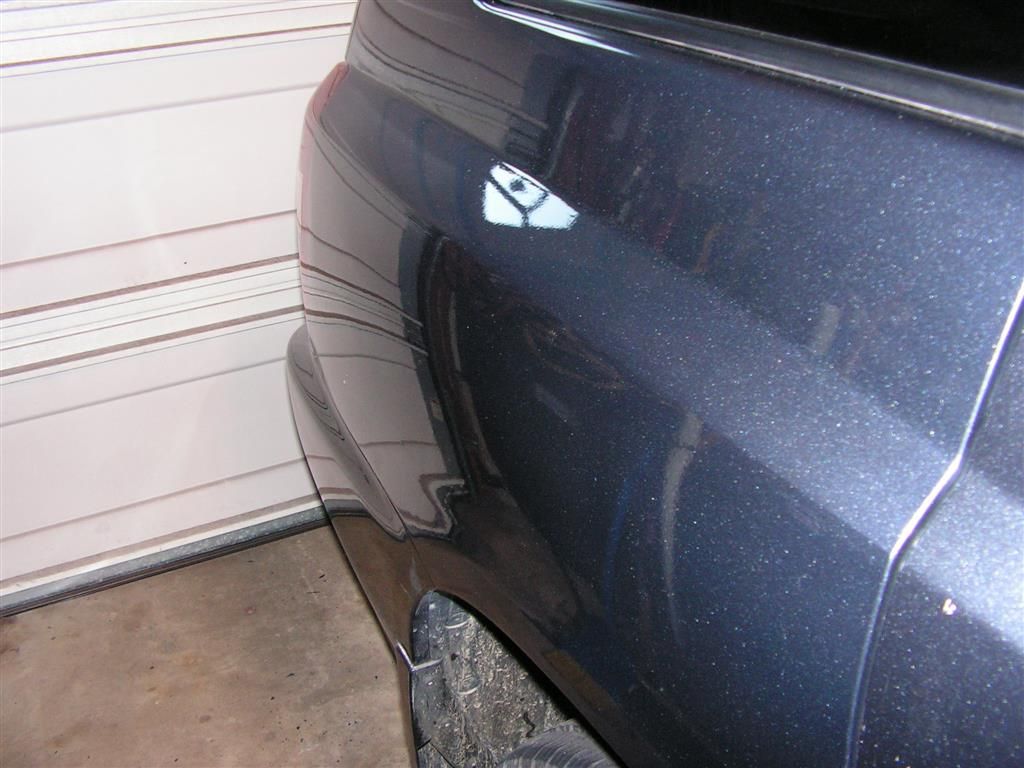
The blend lines are defined --


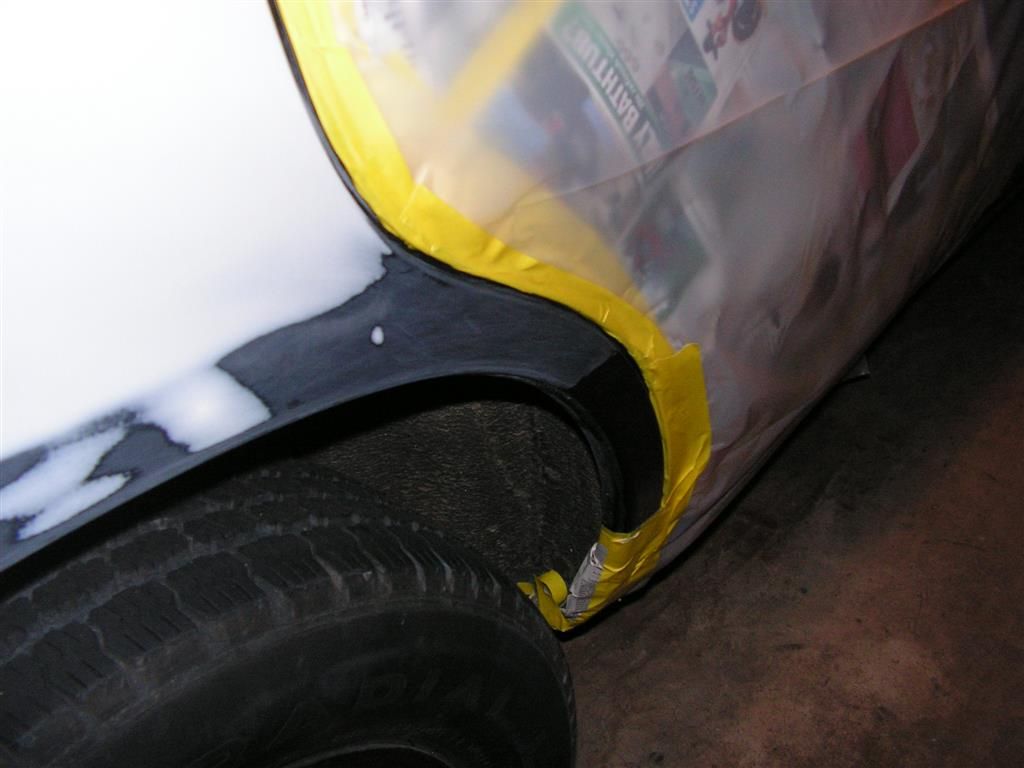
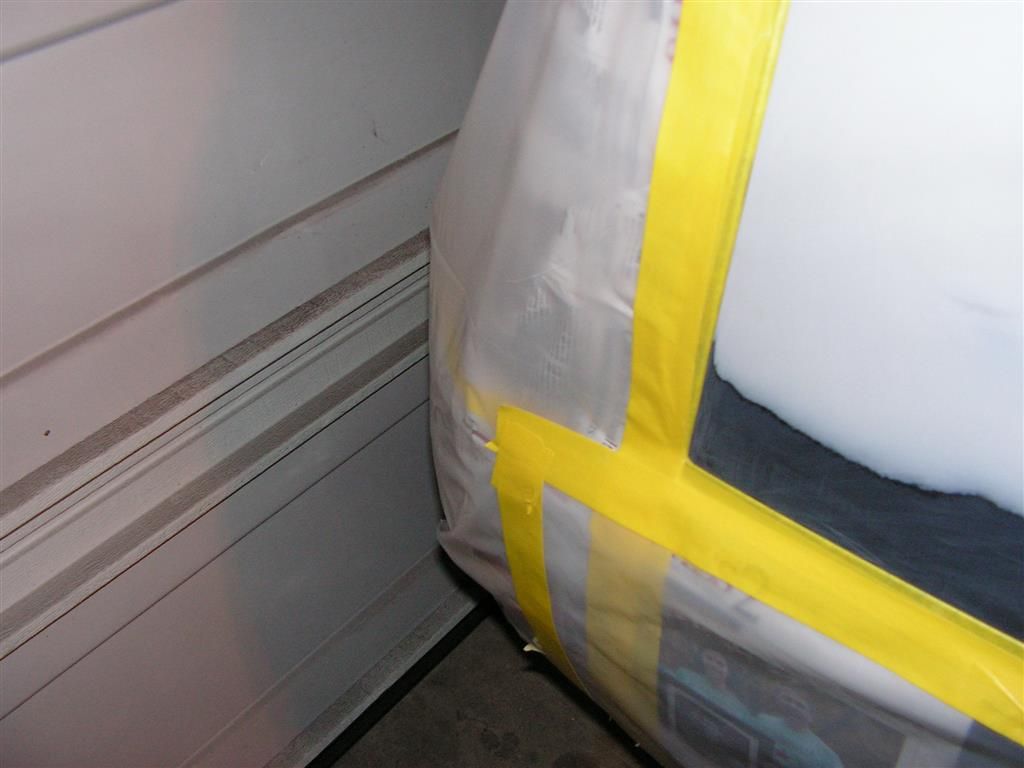
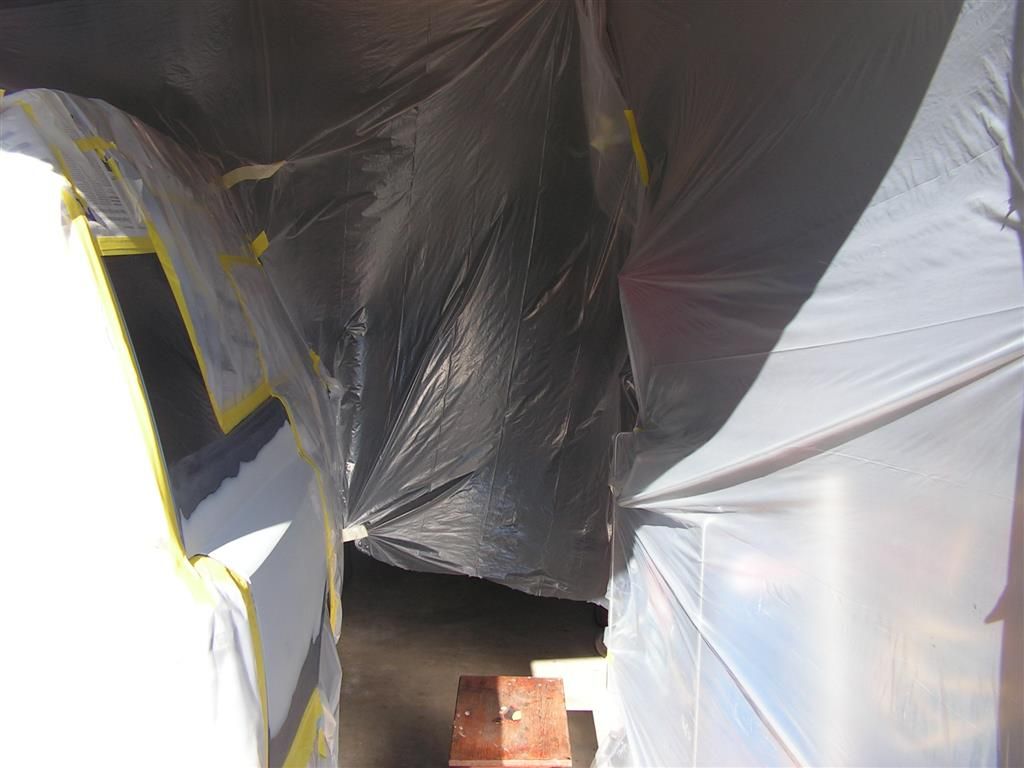
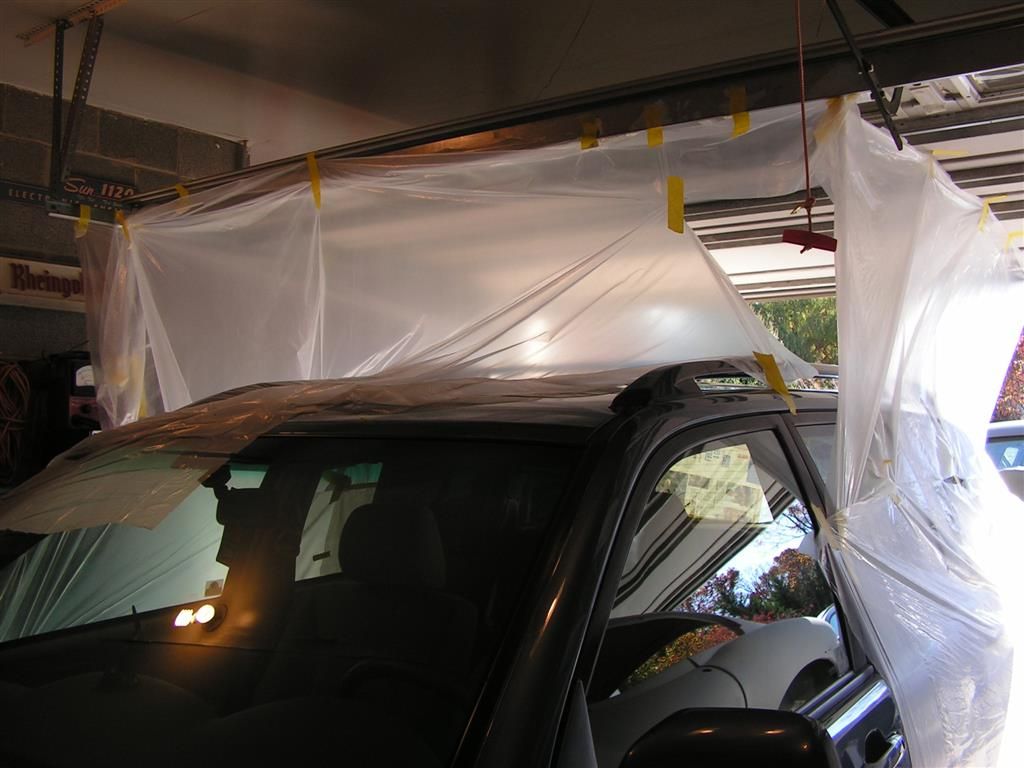
Then everything is nicely taped and secured.


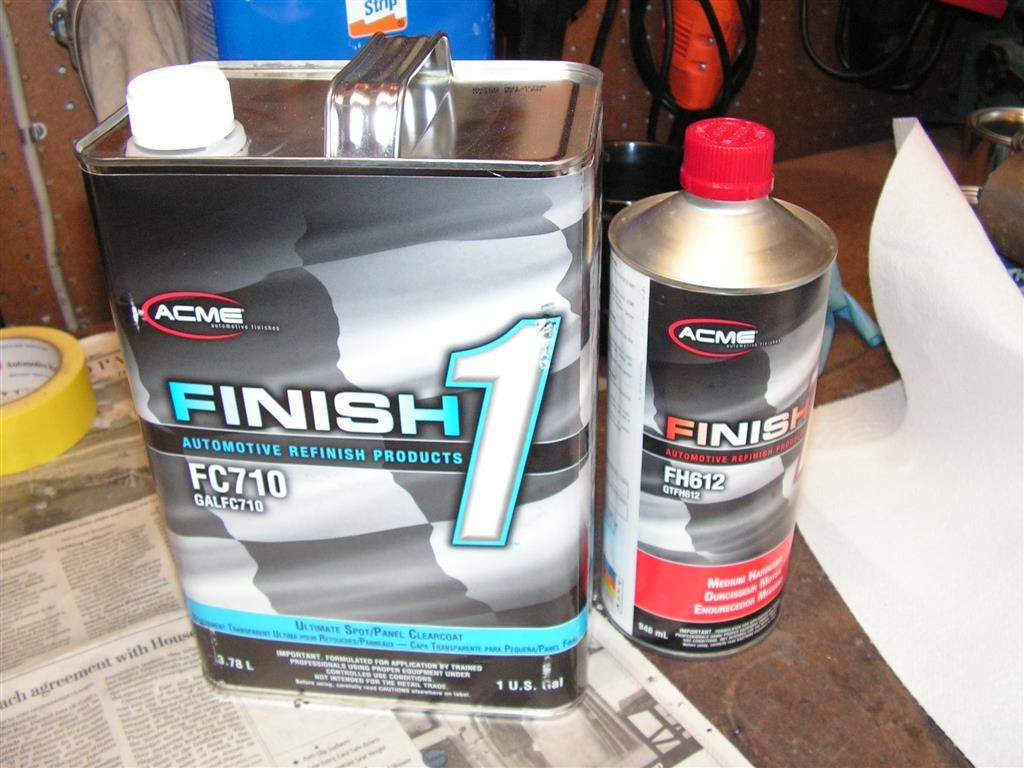
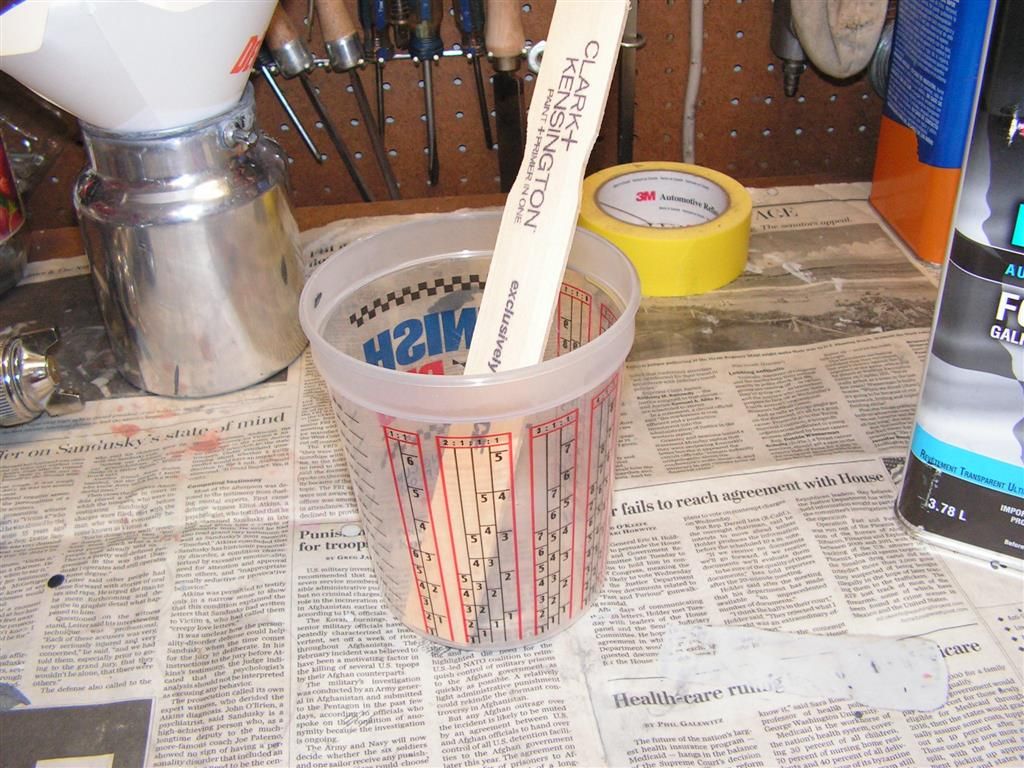
This morning is got all the materials together -- I'm using Sherwin Williams Ultra 7000 paint and ACME brand clear coat -- also from Sherwin Williams. I like Sherwin Williams paint because I believe that it blends better when doing final finish sanding with 2500 grit paper.


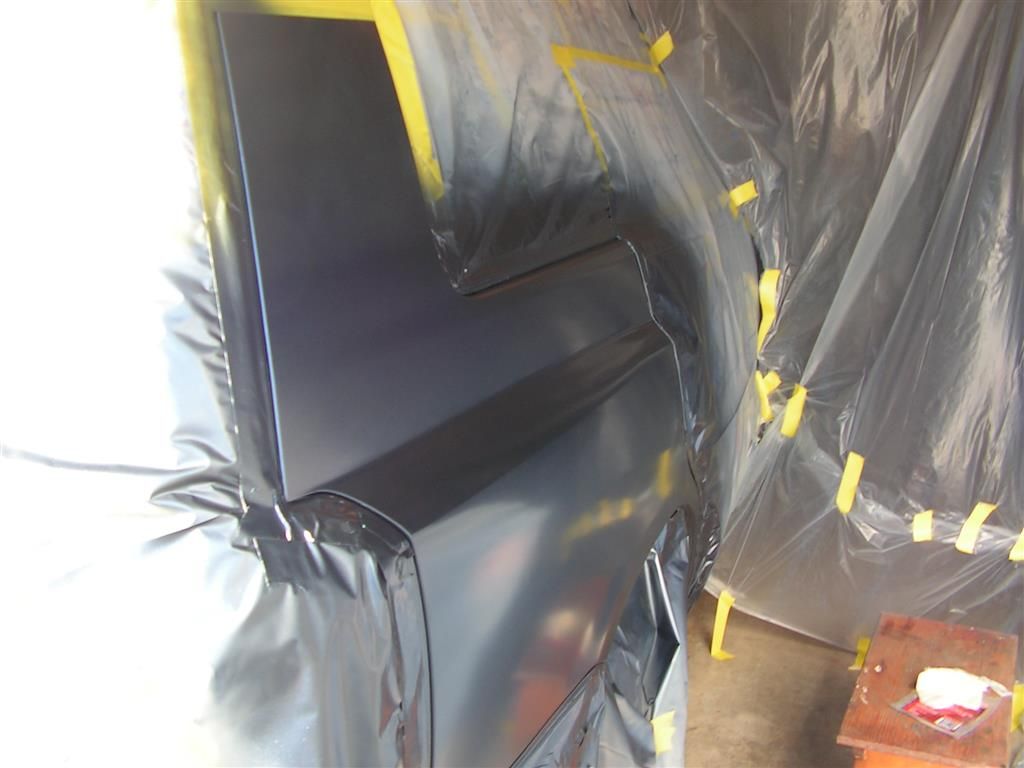
I built a mini-spray booth around the right side of the car using .7 mil plastic sheeting. This stuff is great, and it helps in containing airborne contaminants because when you peel the sheeting apart, the plastic sheets become statically charged and will attract huge amounts of dust and overspray. When i was finished with the spraying, the plastic sheets had captured an enormous amount of dirt that could otherwise have ended up in my paint.


Finally I wiped everything down with degreaser and used a tack rag to get the last residue. Then I shot a first tack coat that was just wet enough to cover the light colored primer. Then comes the hard part -- WAITING! I waited 15 minutes between coats and that gave each coat plenty of time to dry in this weather.

The hardest part about painting is having the discipline to walk away and wait -- "shoot it, and resists the temptation to f#%k with it" is the recipe for a good finish.


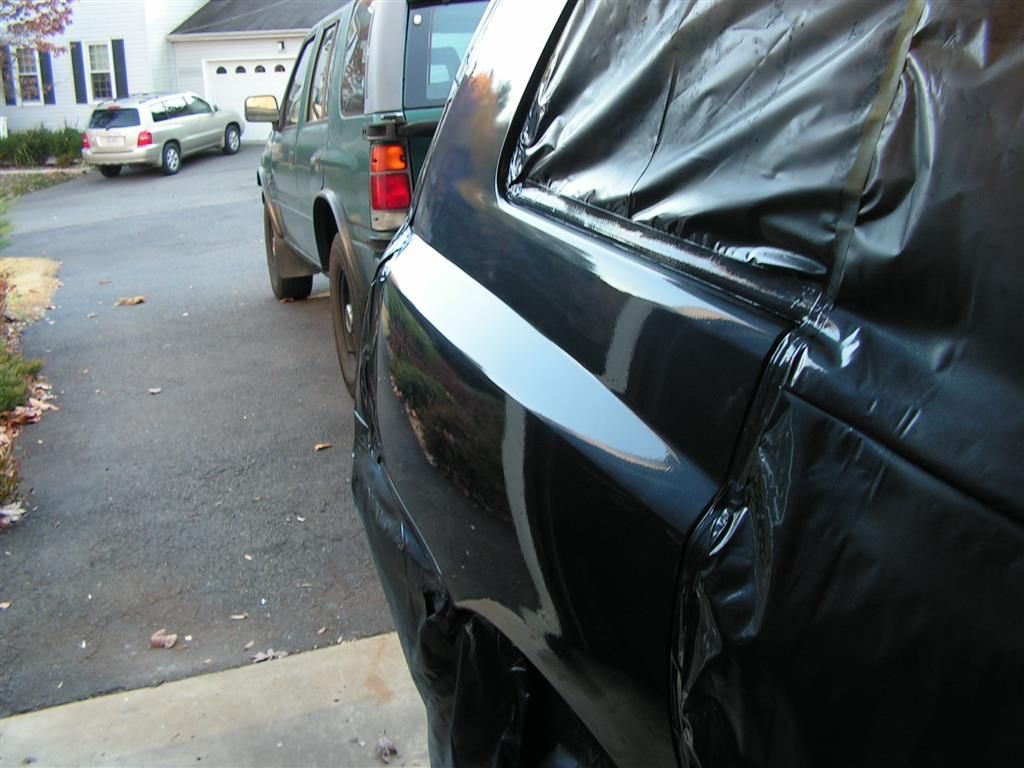
I shot a total of five coats -- the last being the most wet.


After the final color coat, I waited 30 minutes and started on three coats of clear-- all were shot wet.


Here's the last of the three coats -- now it's time to blend the top and bottom areas. To do that I mix a small amount of mixed clear with 60-70% reducer. Then I spray the transition area with that mix -- one shot is enough to burn that coat into the existing clear coat. It's not perfect and will have to get sanded and polished, but this way, it takes a lot less effort to make it blend.

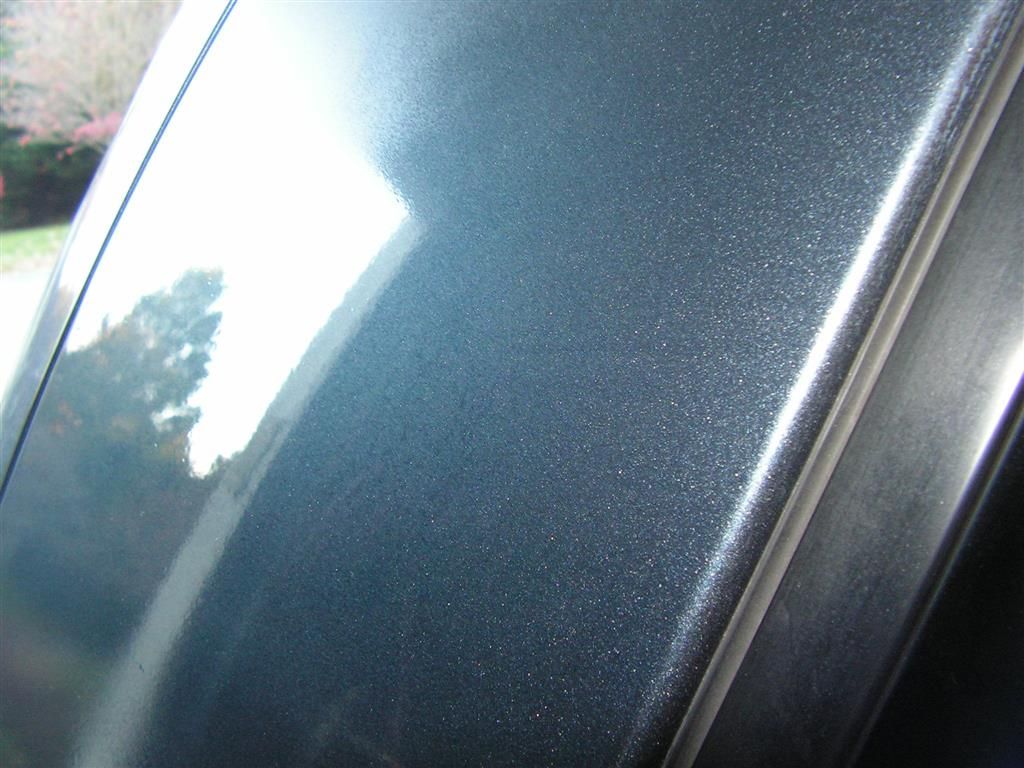
I'll have to wait a few days for this stuff to harden before I can sand it with 2500 grit and do the final polish.


The blend area that was shot with the reduced clear ---


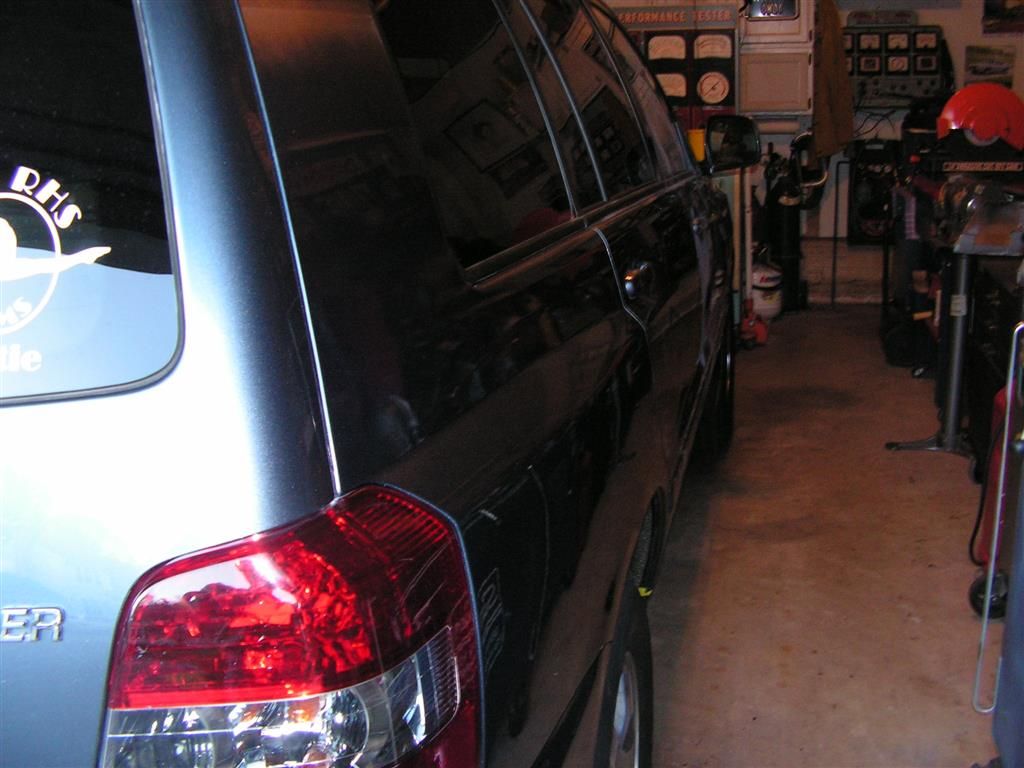
Done --- two weeks later and she's as good as new.


Now maybe I can get back to my own projects -- LOL


Offline goodfellow

  • Global Moderator
  • Hero Member
  • *****
  • Posts: 4340
Re: Highlander quarterpanel -
« Reply #4 on: August 14, 2018, 10:28:06 AM »
Two years later someone rammed the car in a parking lot while the wife and daughter were shopping. No note or claim of responsibility -- time to do a lot of this quarterpanel work over again --- Oh well!! nothing like practice to make you better -- LOL


95 degrees outside and I have to address this issue. Somebody ran into the RR quarter while parked in a lot. It cracked the body work that I did on this panel three years ago, and added two more dents into the existing panel. I worked out the dents and proceeded to begin the filler and sanding process once more. Doing putty work in this heat is torture, but the filler hardens in minutes and it can be worked almost instantly after being applied.


After bumping the new dents -


First coat of primer -- needs some more spot filler to get rid of the pin holes and reset the body lines.


Second coat -- pin holes filled, and I have let this coat set hard to get the body lines sanded straight tomorrow.


Ordered the paint this morning and hopefully can paint this thing on Monday.

Onward -- despite the heat.  ;)
« Last Edit: August 14, 2018, 07:59:26 PM by goodfellow »

Offline goodfellow

  • Global Moderator
  • Hero Member
  • *****
  • Posts: 4340
Re: Highlander quarterpanel -
« Reply #5 on: August 14, 2018, 10:28:33 AM »
Figured I could finish this thing up if I started early to beat the heat -- wrong!! Started at 8:00AM and just finished up around 4:00PM. The heat is in the high 90's and the humidity off the charts. Oh well -- I managed to change my T-shirts five times this afternoon.

This morning I set the tape line to get the correct edge profile back. A few rounds of sanding and it was well within reason.


Sanded the entire panel with 220, then 320 wet, and called it a day.


I then washed the entire car and started to make my temporary booth out of 7mil plastic sheeting. A quick compressed air blow-off and a few swipes with the tack rag and it was ready to go. I used a 3:1:1 (paint, hardener, slow reducer) mix to make sure that it flowed out in this oppressive heat


Three coats base ...


... and three coats clear


In this heat it only took 45 minutes to lay down all six coats.

Done!!


The blend spot on top was shot with a highly reduced (3:1:3) clear, hardener, reducer mix to burn it into the existing paint job.


The rest of the clear coat was tacky and glossy in under a minute -- glad I used a very slow reducer.


After a clean up and a cold shower, it's time for a cold beer (or three).