Time for " Phase II"
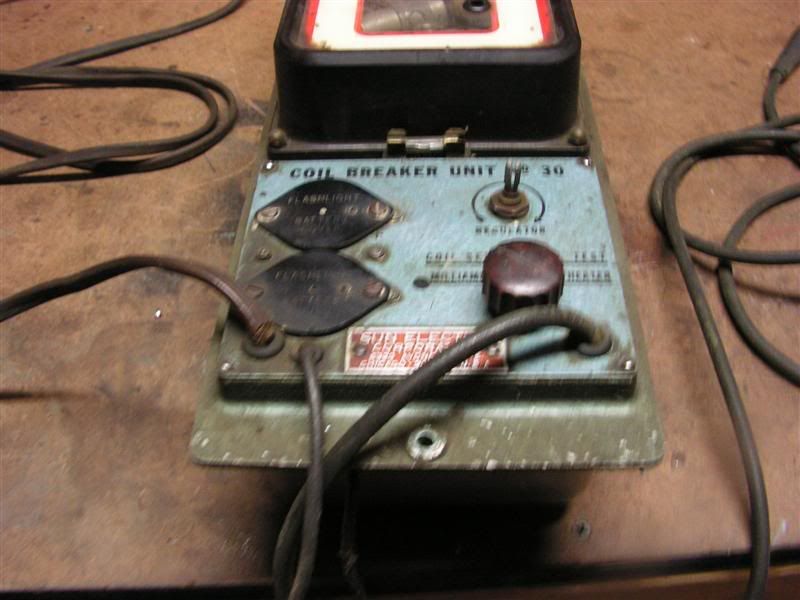
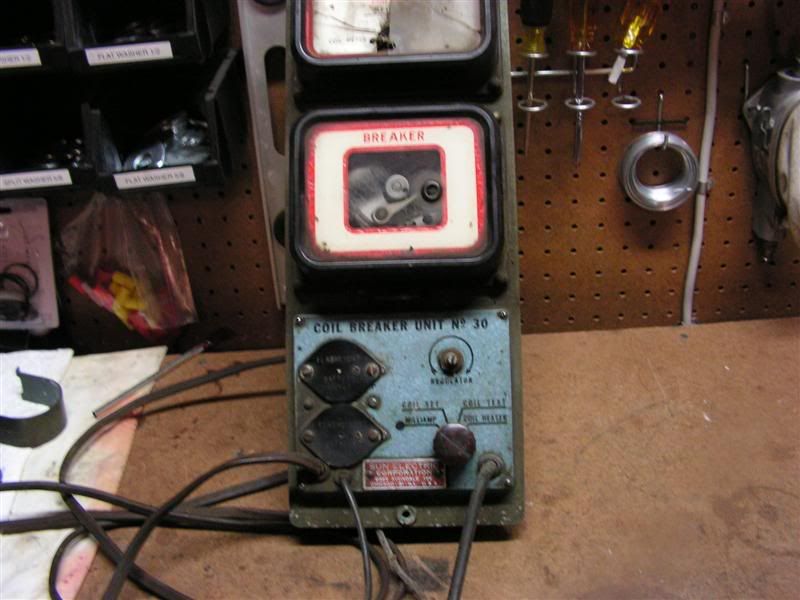
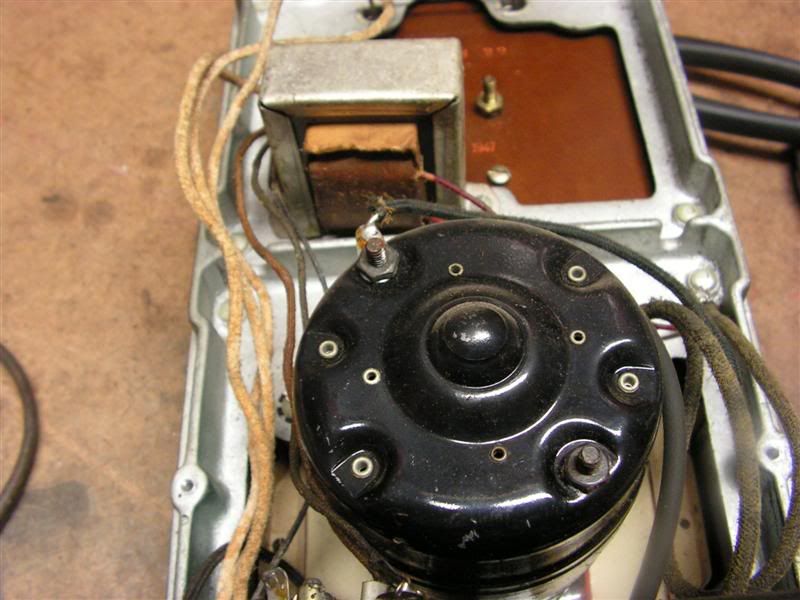
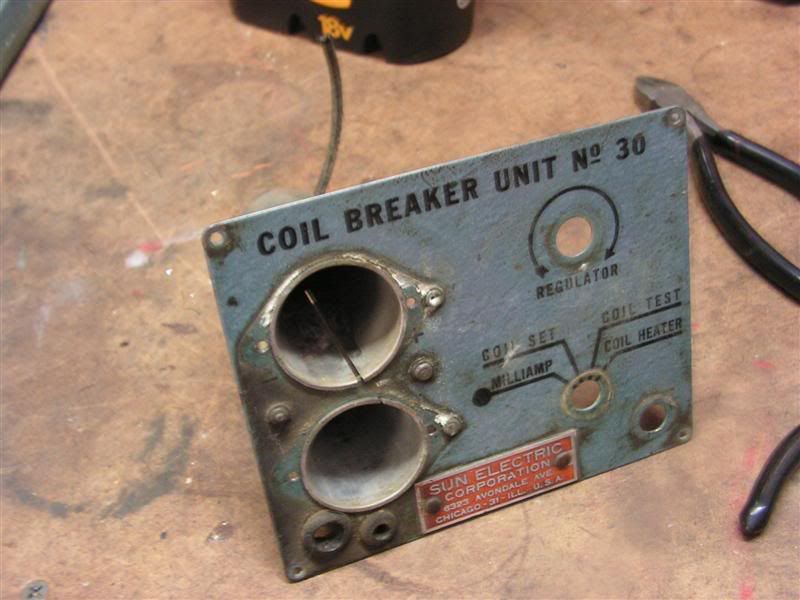
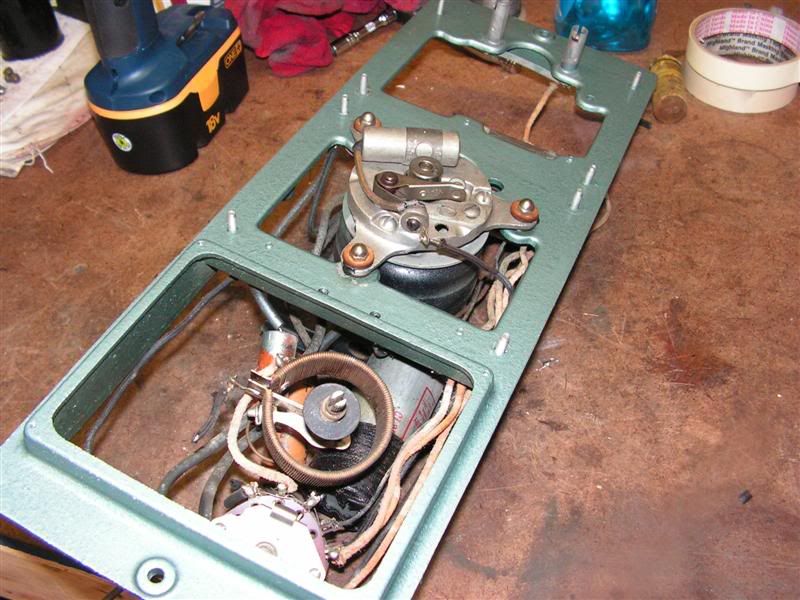
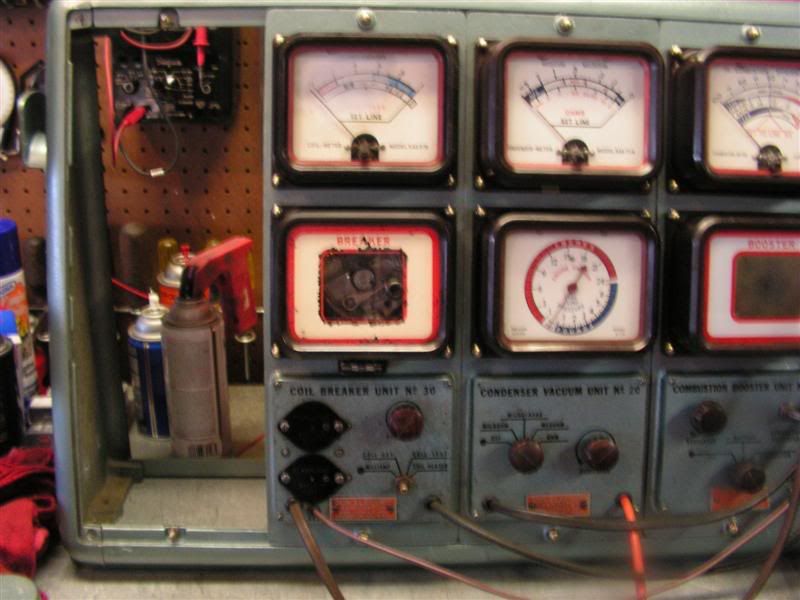
The next module was "a bear" -- the broken coil testing module. This thing was banged up pretty good, and a lot of dirt and corrosion managed to accumulate in the meter housing. To make matters worse, all the wires and leads were shot -- so I'll have to replace and do a heck of a lot of soldering
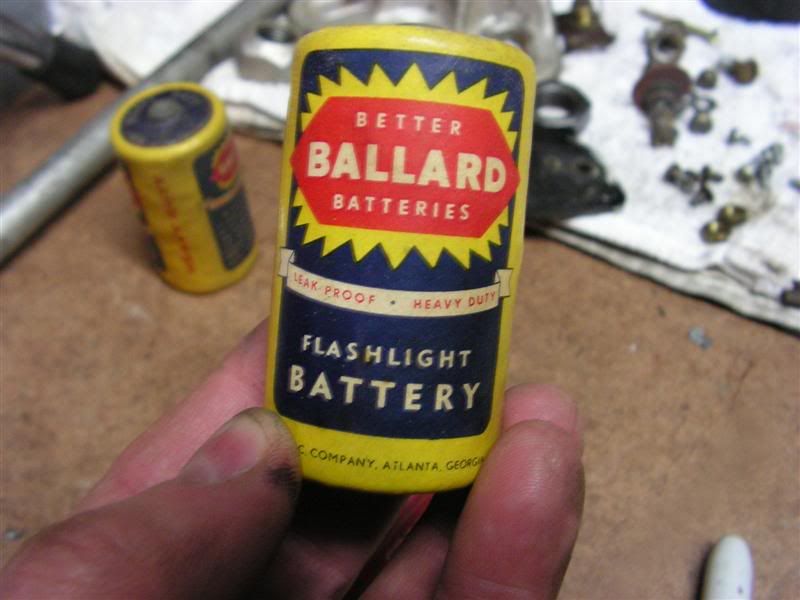
This was a pleasant surprise. The battery compartments still had batteries in them. They have to be at least 50 years old, because I haven't seen a Ballard battery since that time. What's amazing, is that the darn things didn't leak -- way too cool
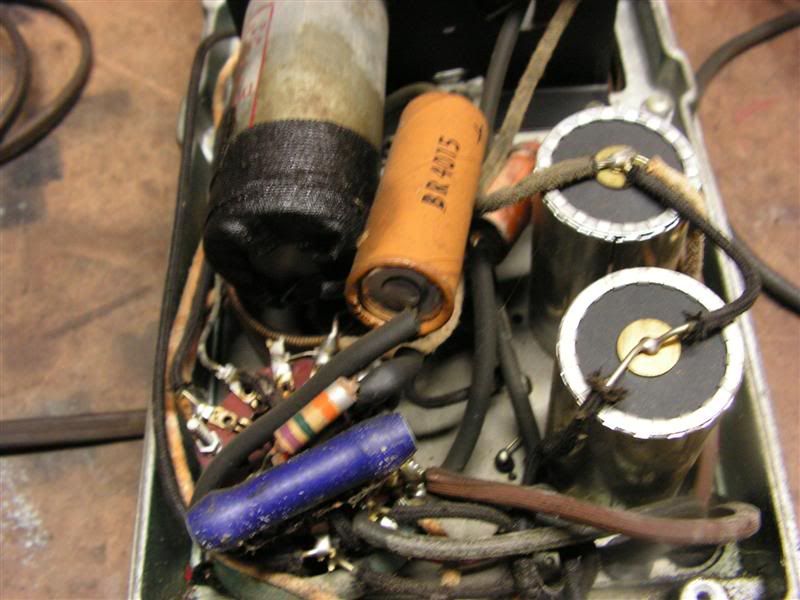
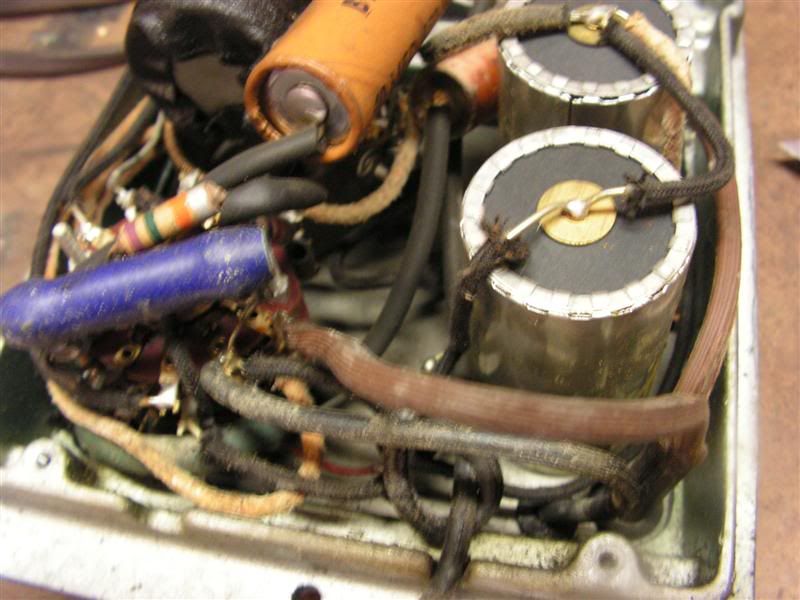
I tested the large caps and they still were OK - surprised myself.
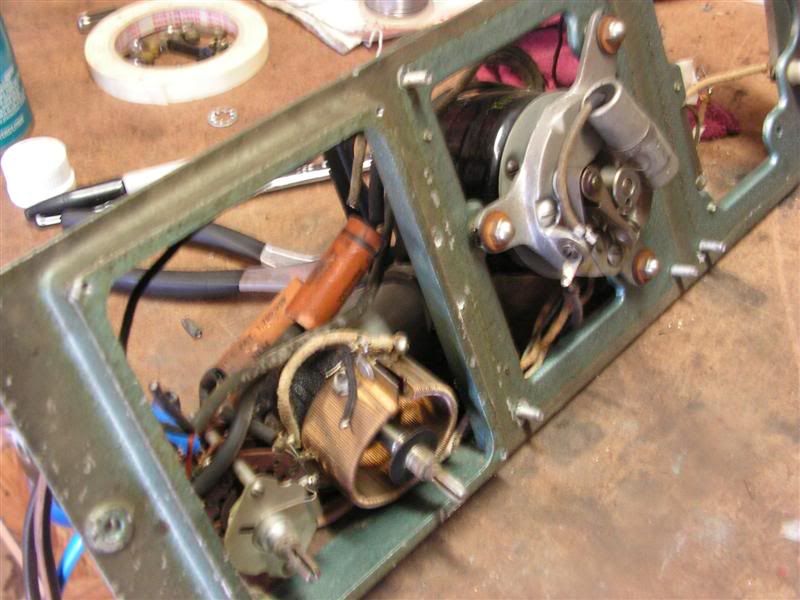
The bid "hump" is the coil breaker motor -- (nothing more than a condenser and a set of breaker points that are electrically driven by that motor). This tests the coil output to see if its output is within specs.
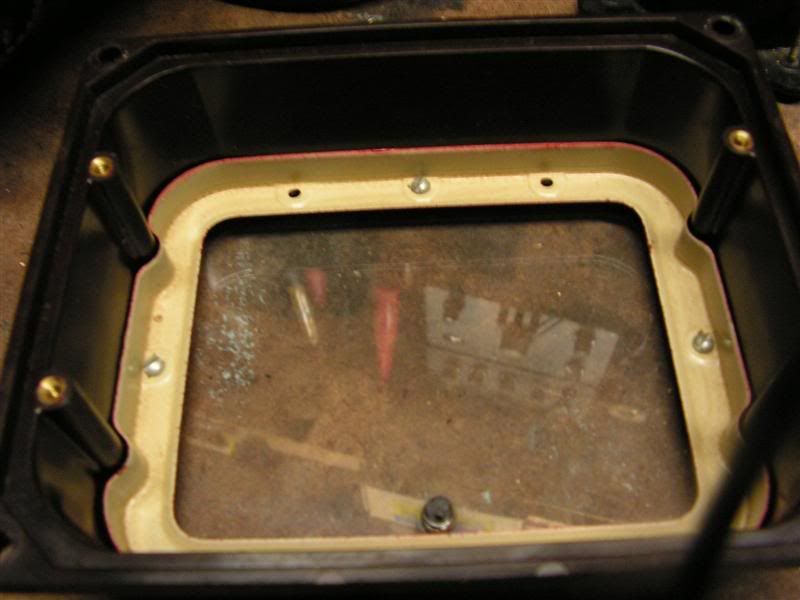
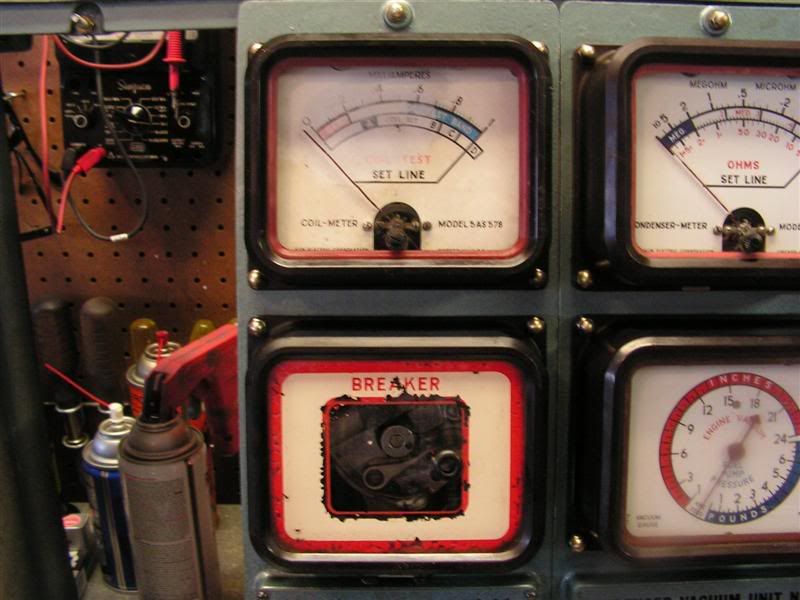
Well, the meter is shot and so is the glass.
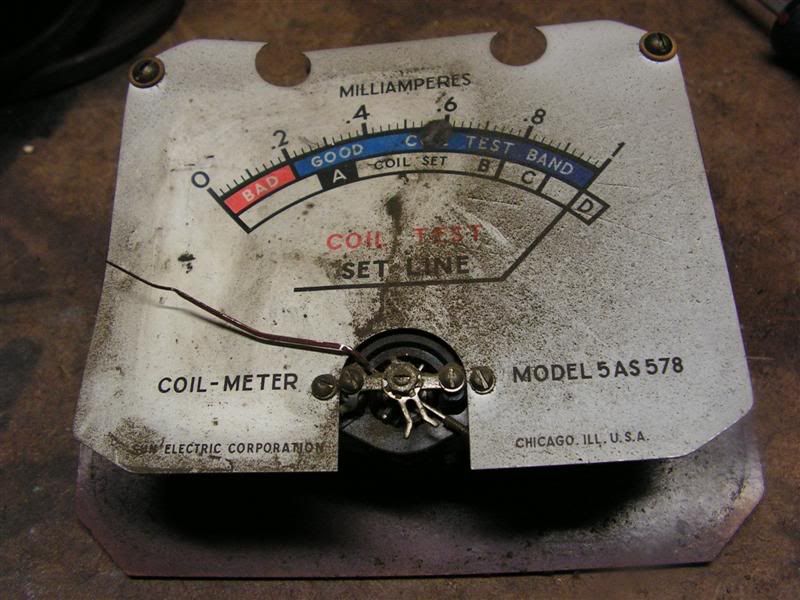
What happened next is amazing. The meter bezel was exposed to the elements for so long, when I tried to clean it with some Windex, the oxidized paint just flaked off. This is the first time that's happened while cleaning a bezel. It's a shame, but I know a guy that has some spares -- so it's not a lost cause.
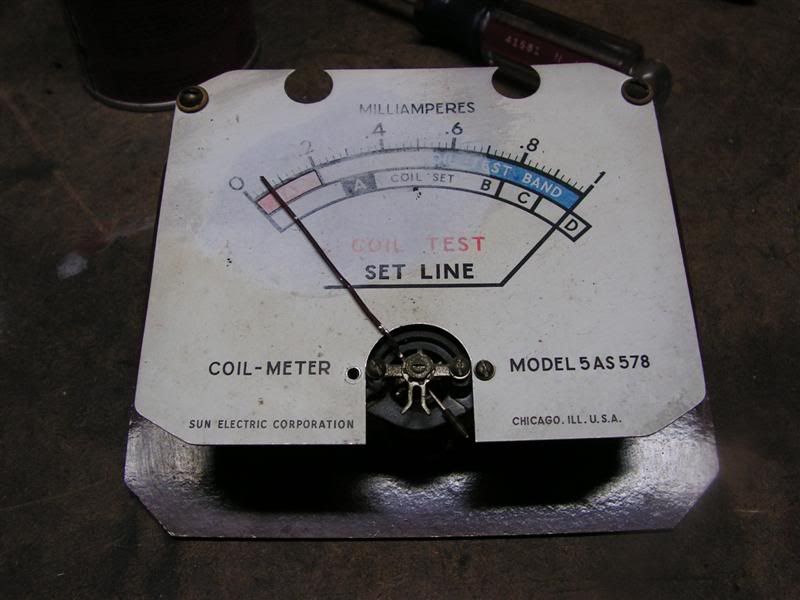
The meter "zero" adjuster was broken, so I scavanged another from an old Simpson gauge in the junk drawer. I was also able to readjust the movemnt and bend the needle straight so that the meter is working again -- that was a chore.

Done!!
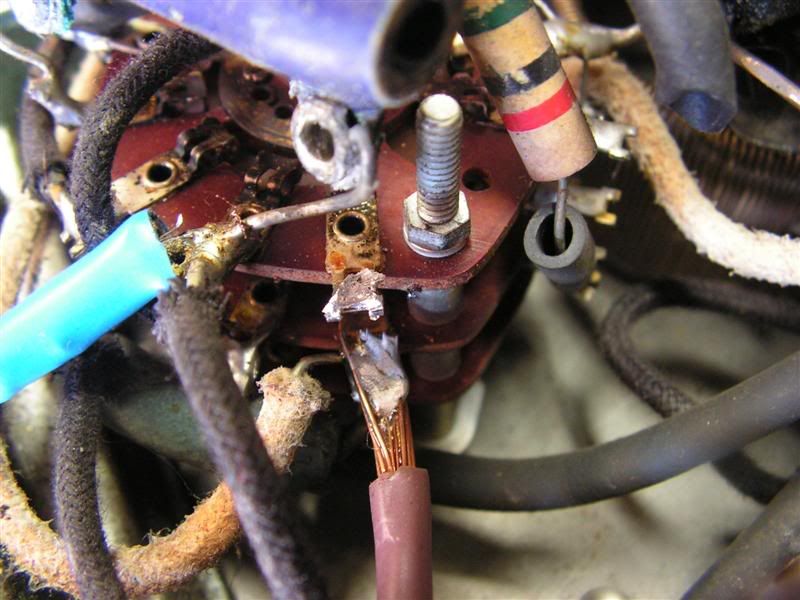
Next I turnned my attention to new leads. Just a whole lot of de-soldering and re-soldering -- for over two hours (boring!!!)
I try to use shrink tubing when ever possible on these projects since the solder joints are so close together and could short.
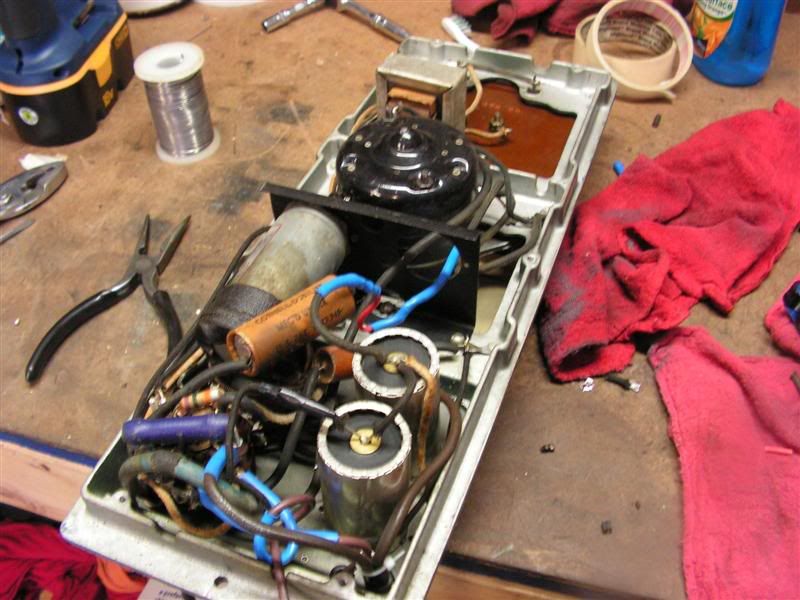
Next, I gutted the frame and checked the rest of the electronics --
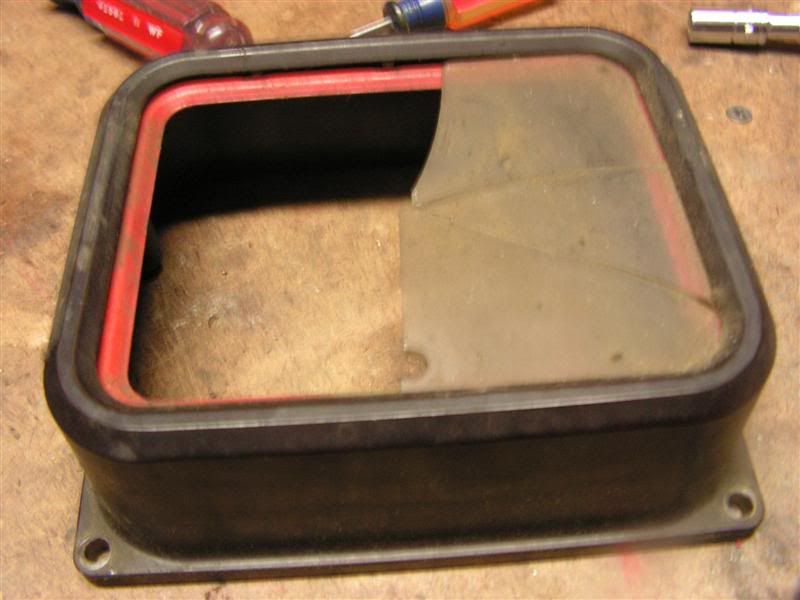
The cover plate was pretty bad, but it came out nice with some cleaning and elbow grease (before/after)

When she's all gutted, it's easier to check for bad capacitors -- this one was shot!!!
I didn't post any pics from painting the frame -- it's pretty much the same porcedure as all the previous modules
This old wax capacitor is a "monster" -- it's totally toast!!!
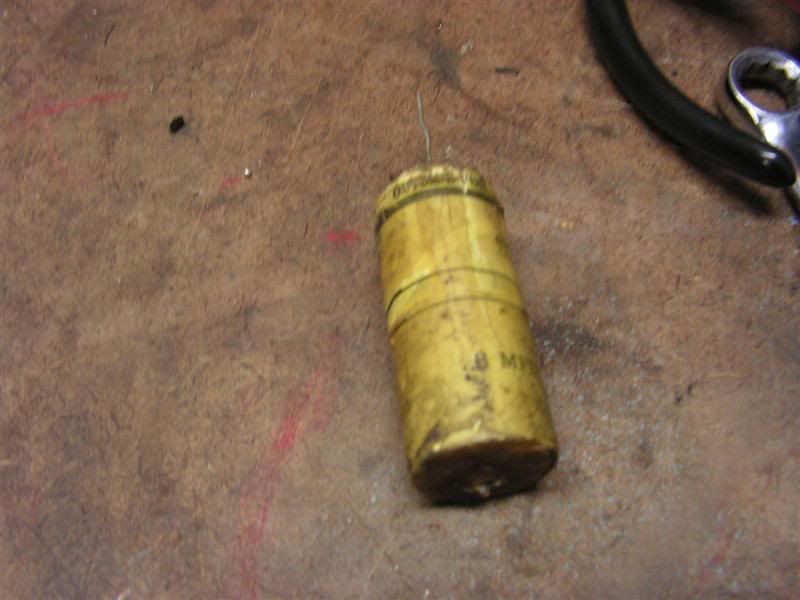
Sun used the best components of the time -- all caps are Cornell-Dubilier
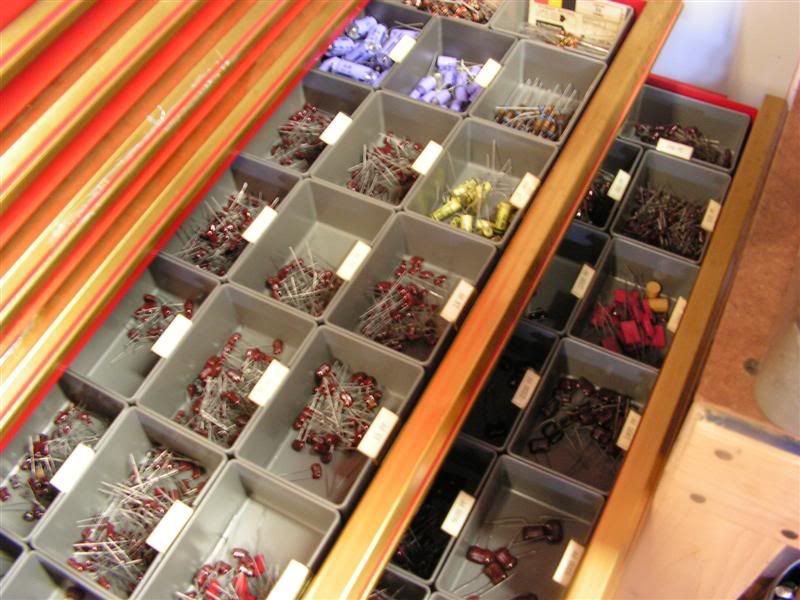
It helps to have a good stash of capacitors and resistors on hand -- LOL
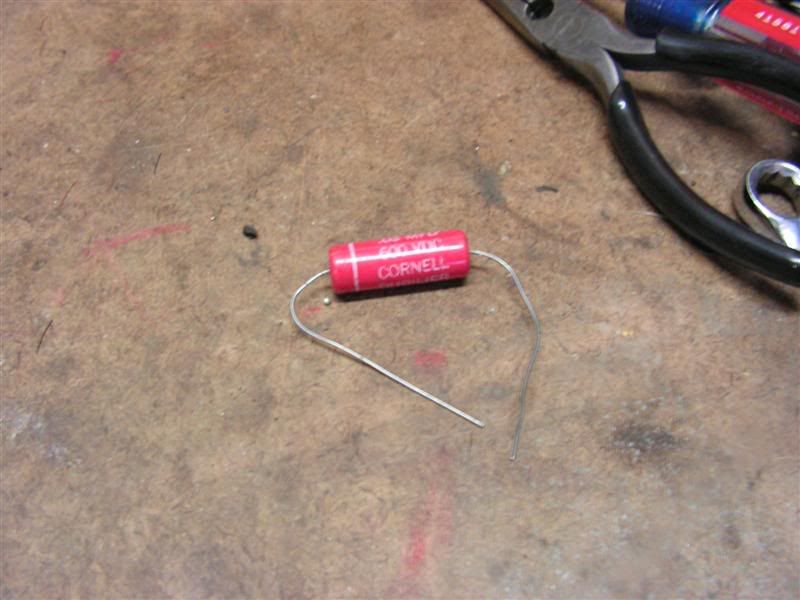
A more modern replacement -- about the 1/3 the size of that 1940's monster and also Cornell-Dubilier
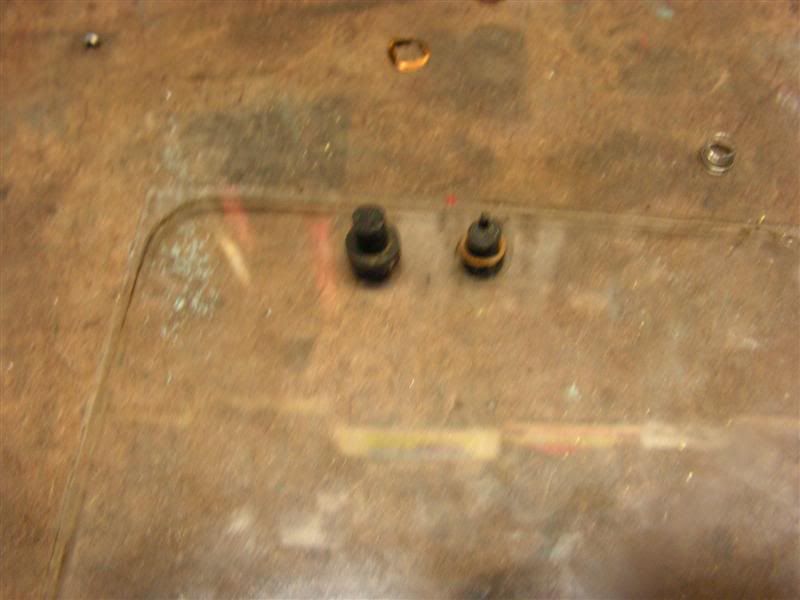
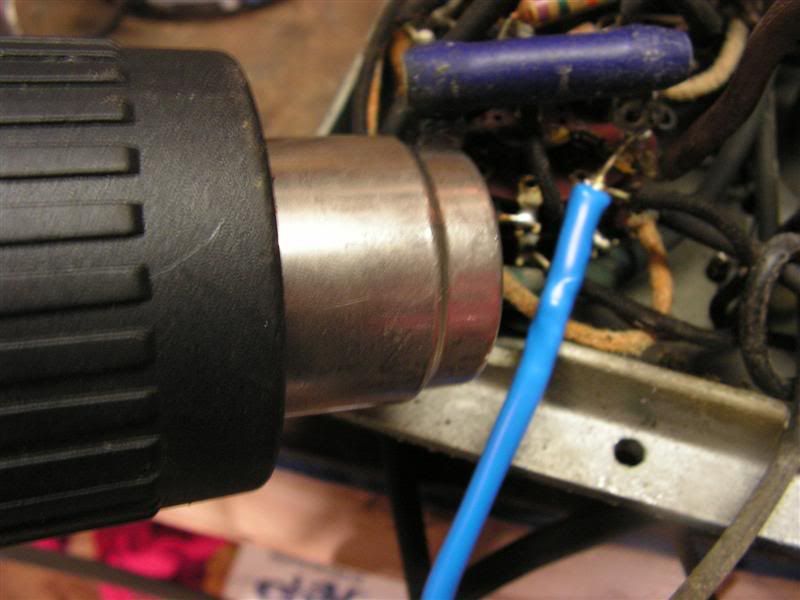
Here's a tip when installing grommets in tight openings. Take the heat gun to it (or immerse in hot water for a minute) and the stiff grommet will become nice and pliable for about 30 seconds -- this makes installation of tight grommets a breeze

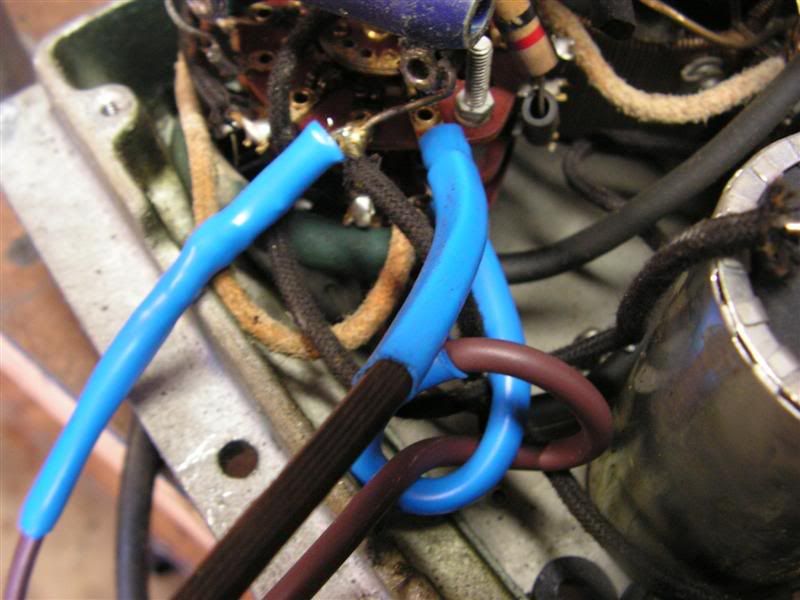
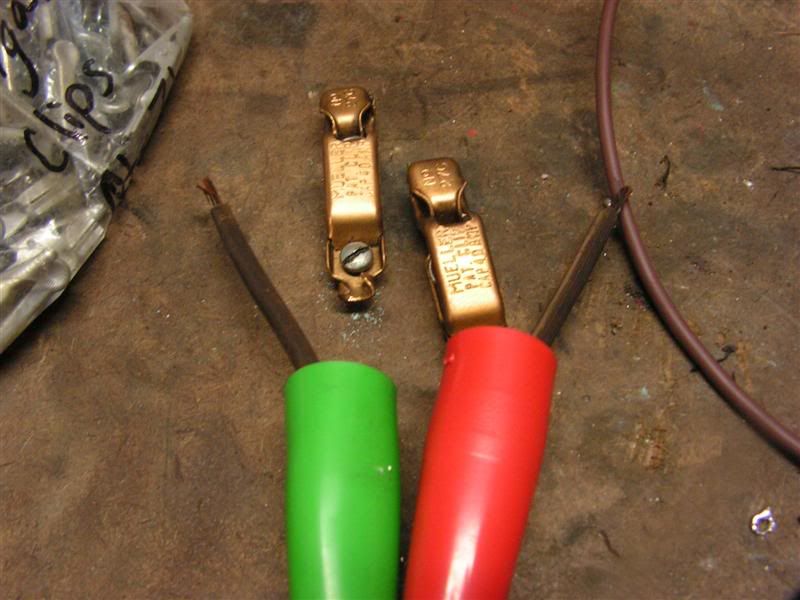
All new leads, wires, grommets, test clips and boots installed --
Here is the completed module back in the frame
It looks good, but hopefully I can replace the faded bezel soon.


