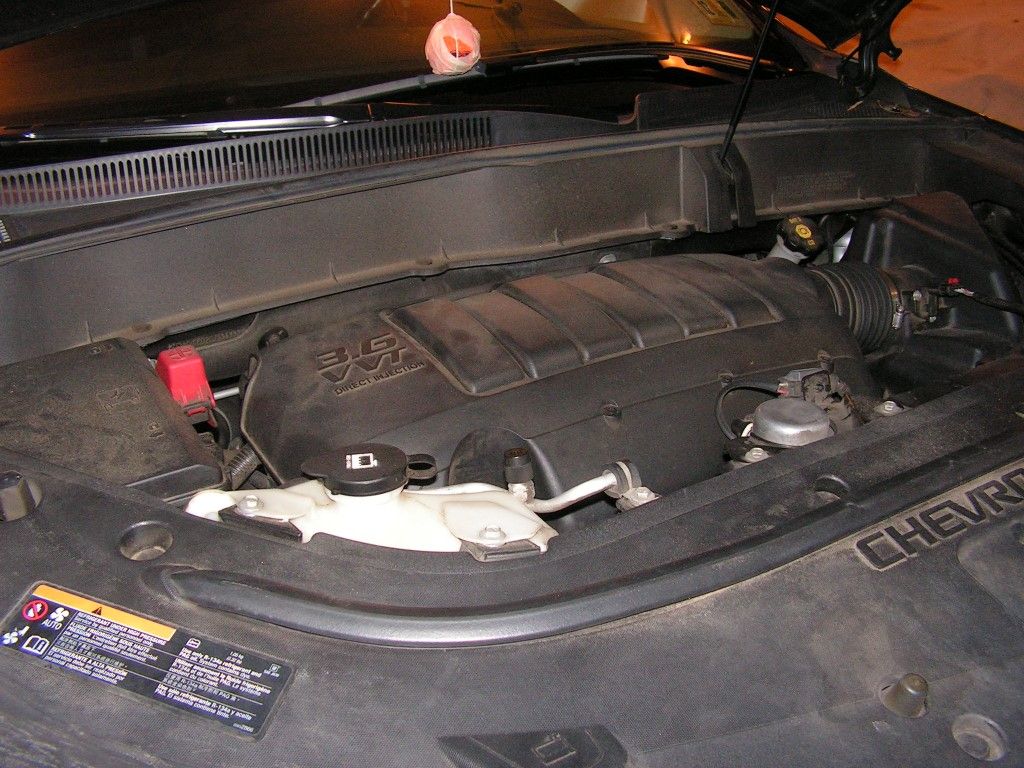
Well, no time like the present. This job took me a bit to complete because they're never as easy as we think they are -- LOL. Struts/Mount assemblies were installed, and new front brakes pads and hardware were also replaced. Getting to the to strut bolts on a Traverse isn't easy because they are hidden under the rear engine compartment cowl. They are a bit of a pain to remove, BUT what's really a pain are the wiper arms that need to be removed before the cowl can be removed.
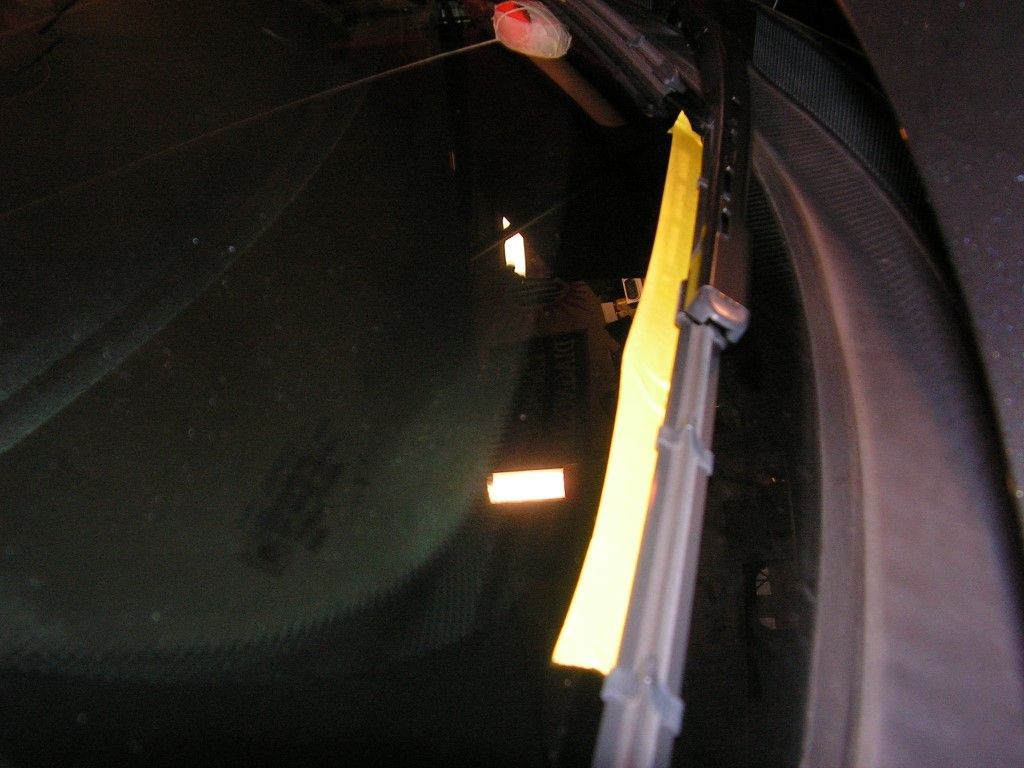
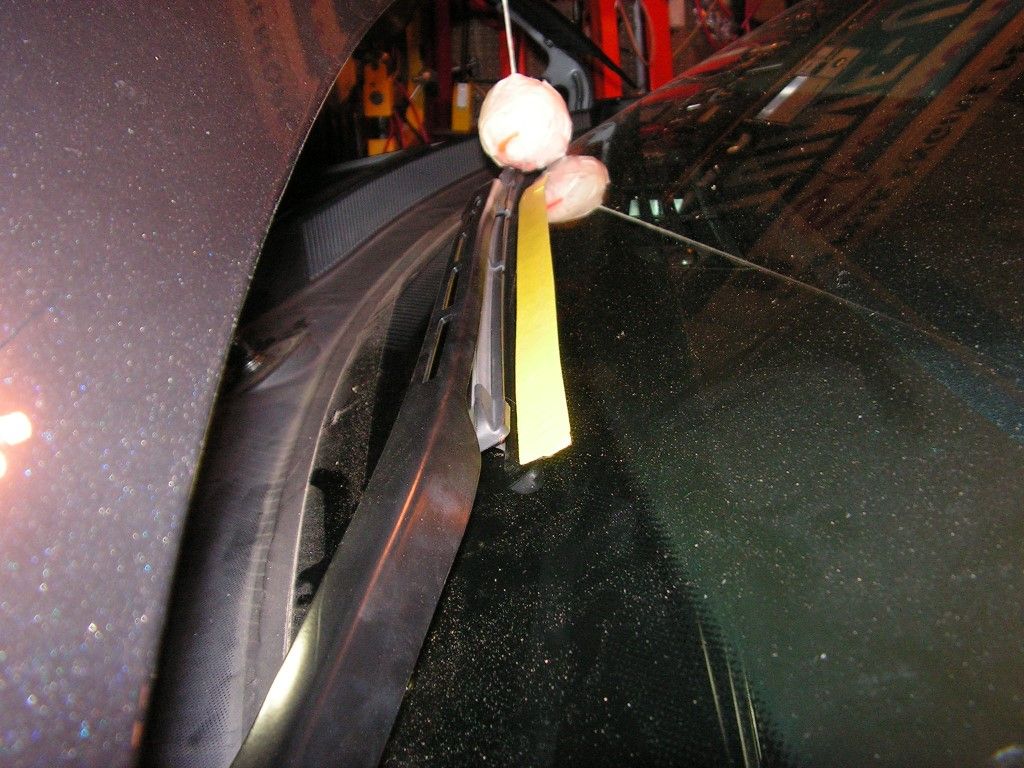
First thing's first -- to make sure the wiper arms stay aligned, I put tape marks on the windshield to help in keeping the things in line.
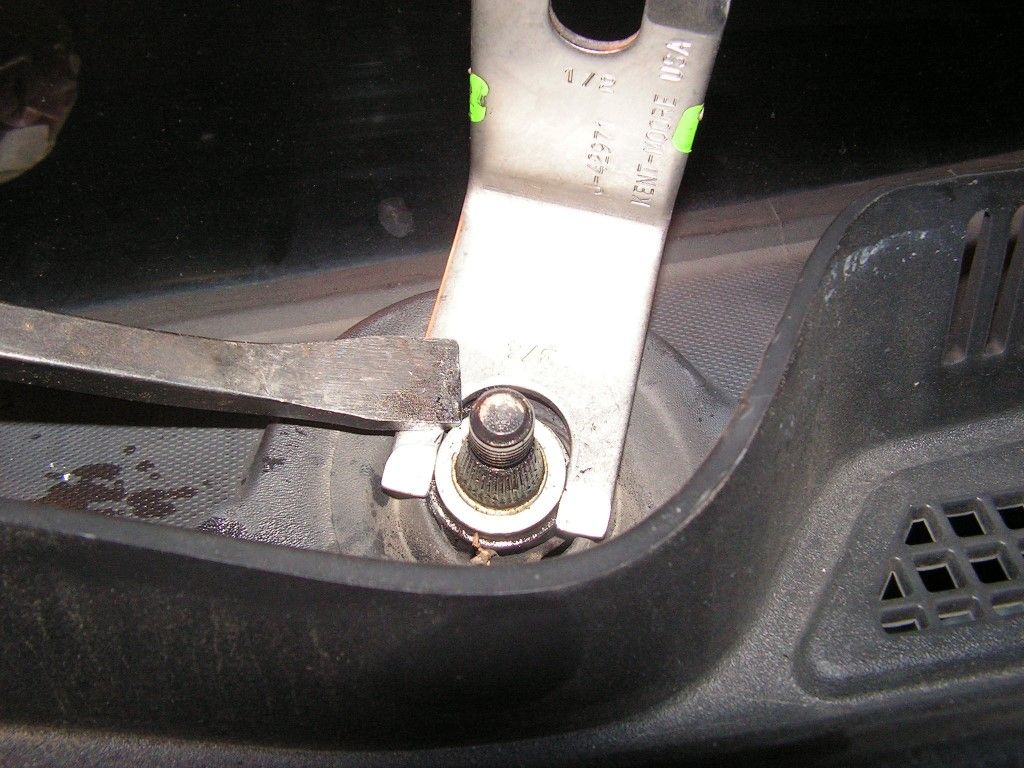
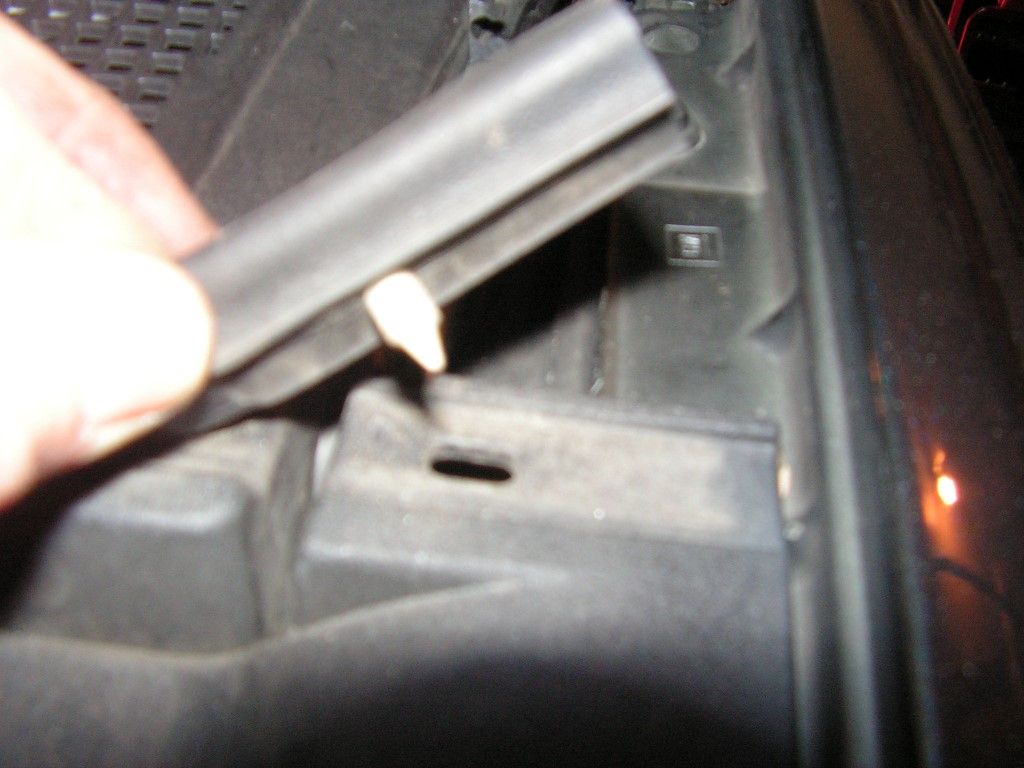
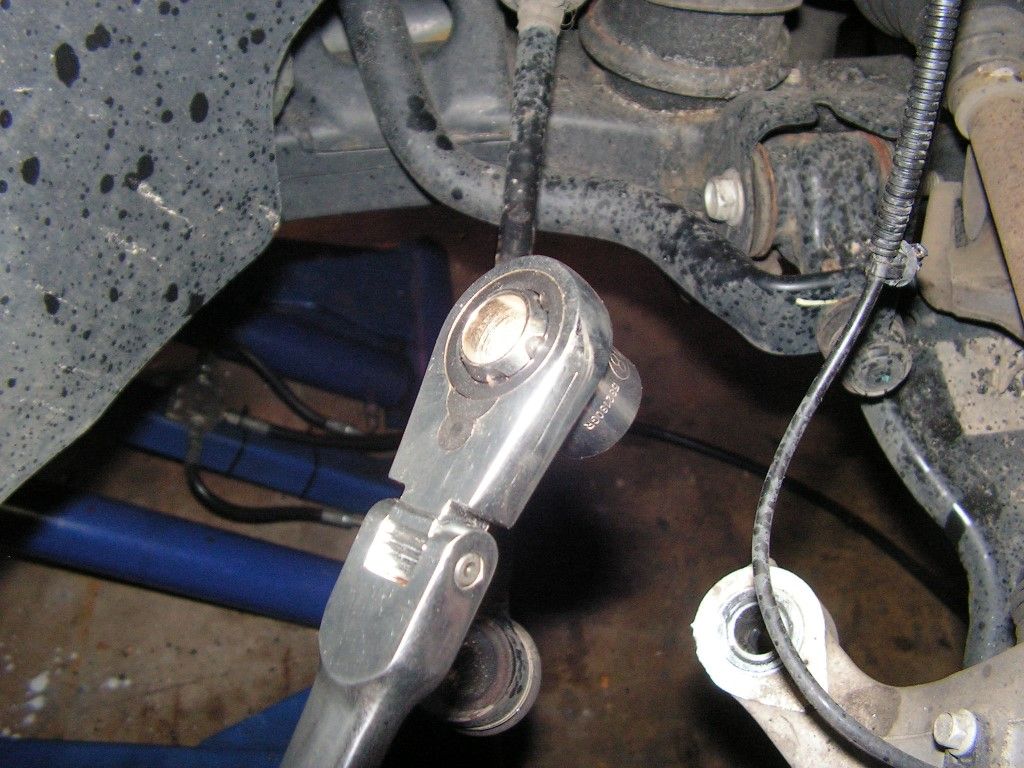
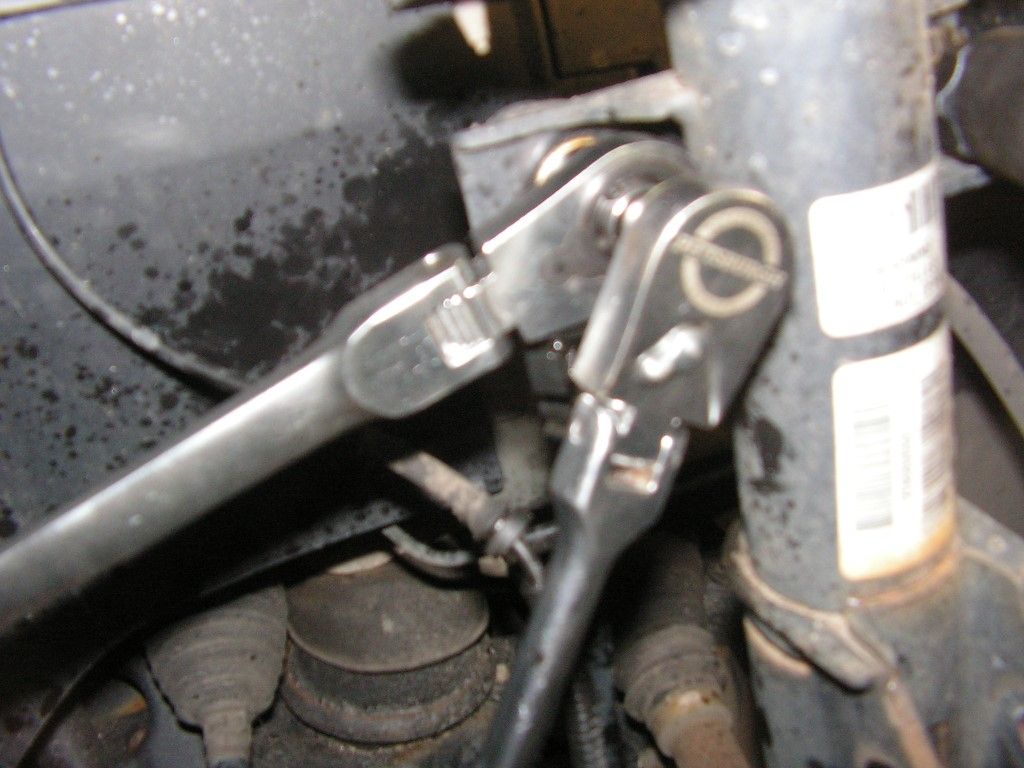
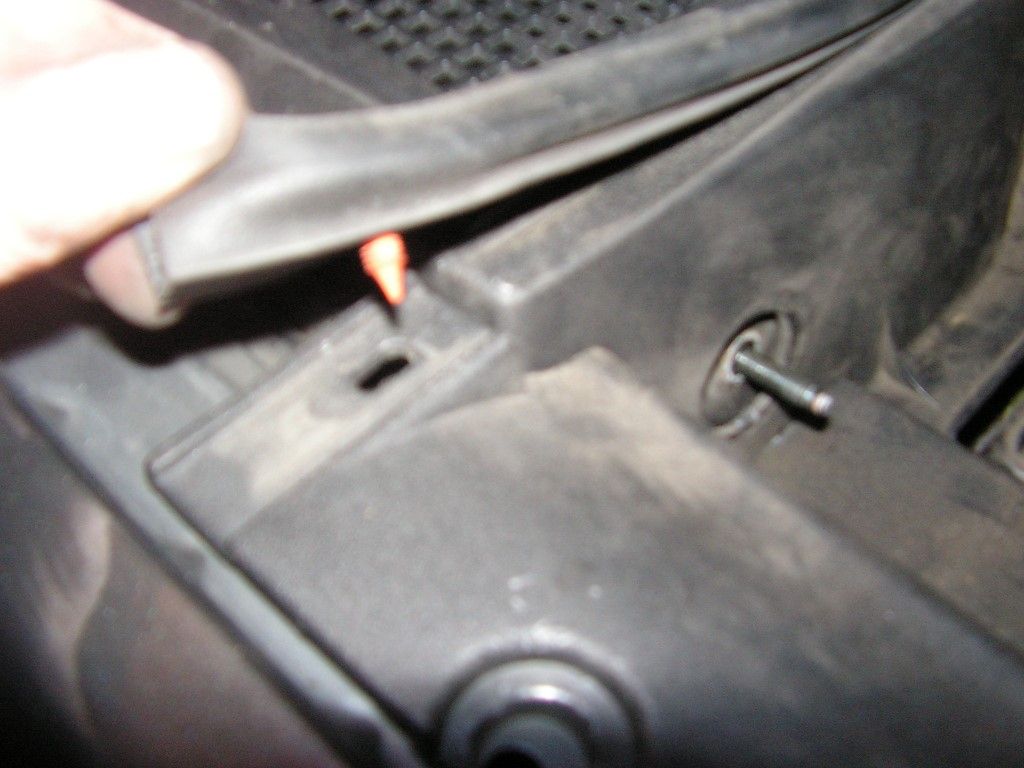
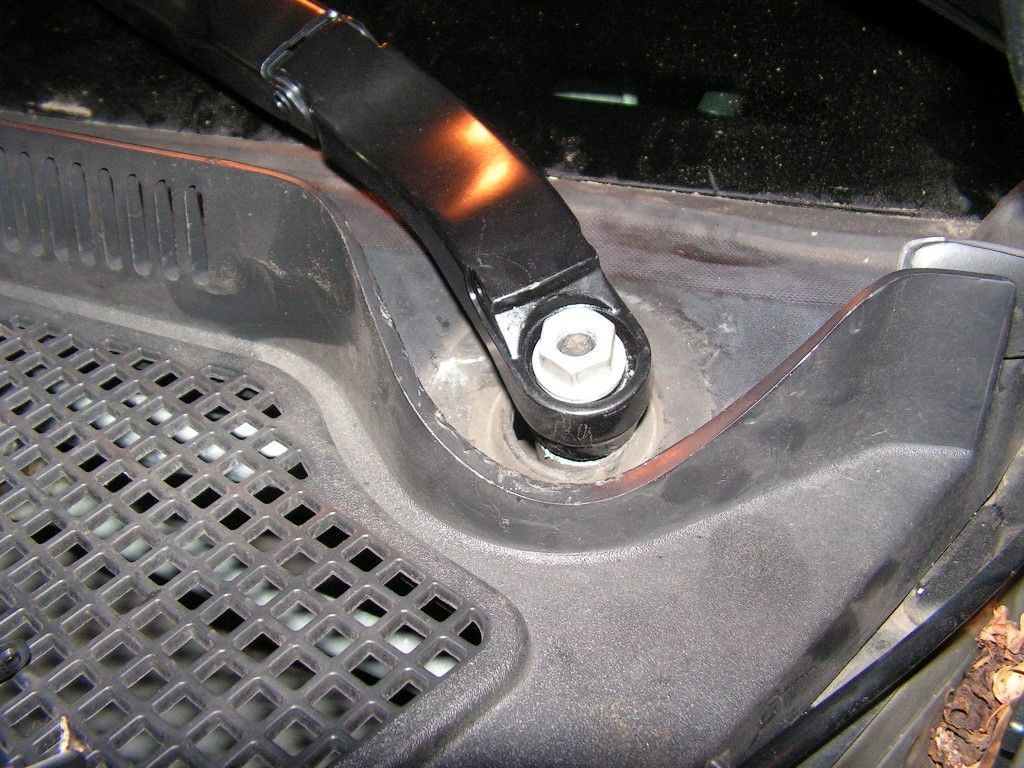
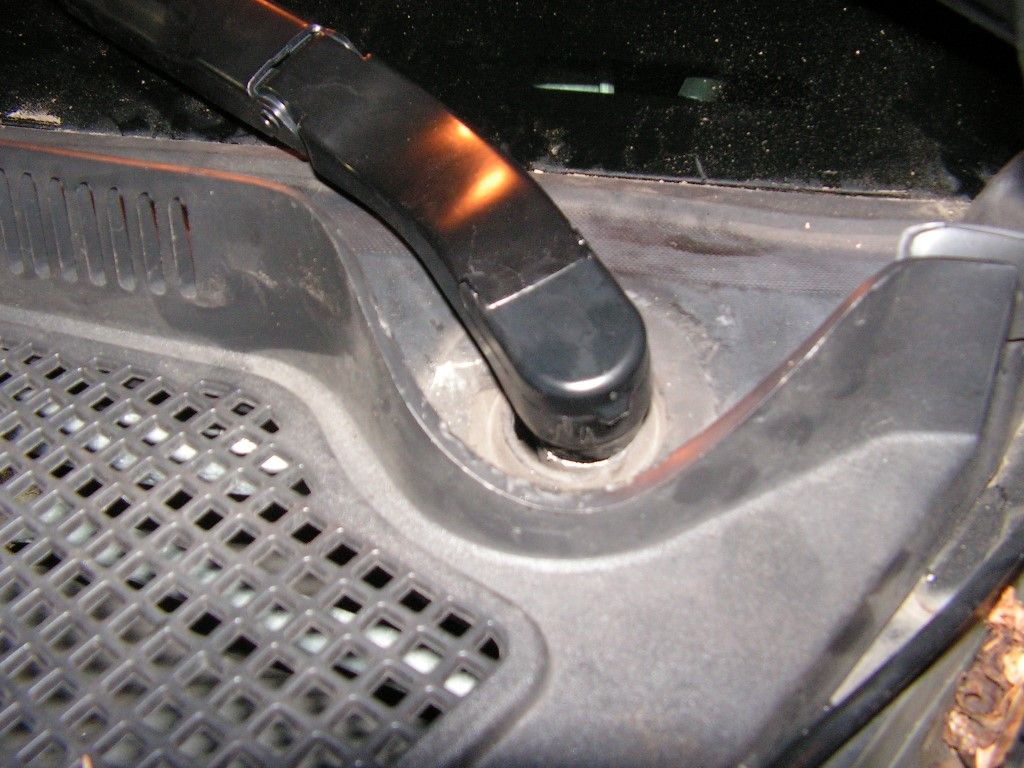
Remove the 15mm nut cover and remove the arm -- easy right? ----- no way!!!!! the bosses are so deeply buried inside the plastic cowl that a traditional wiper arm puller won't get in there. I tried three different types and they all were useless in grabbing the bottom of the arm. After almost an hour I improvised and used a Kent-Moore PS line tool with a 3/4" opening, and slid it under the wiper arm boss. I used this tool as a solid prying base to get a small prybar between the tool and the boss and slowly pried up -- alternating on both sides. Finally it came loose!! The pic shows how the Kent-Moore tool was used as solid base against which I pried.
Next, the clips on the edge of the cowl were removed, and two clips on each side engine compartment side cowl were also removed in order to slip the rear cowl over the side cowl edges.
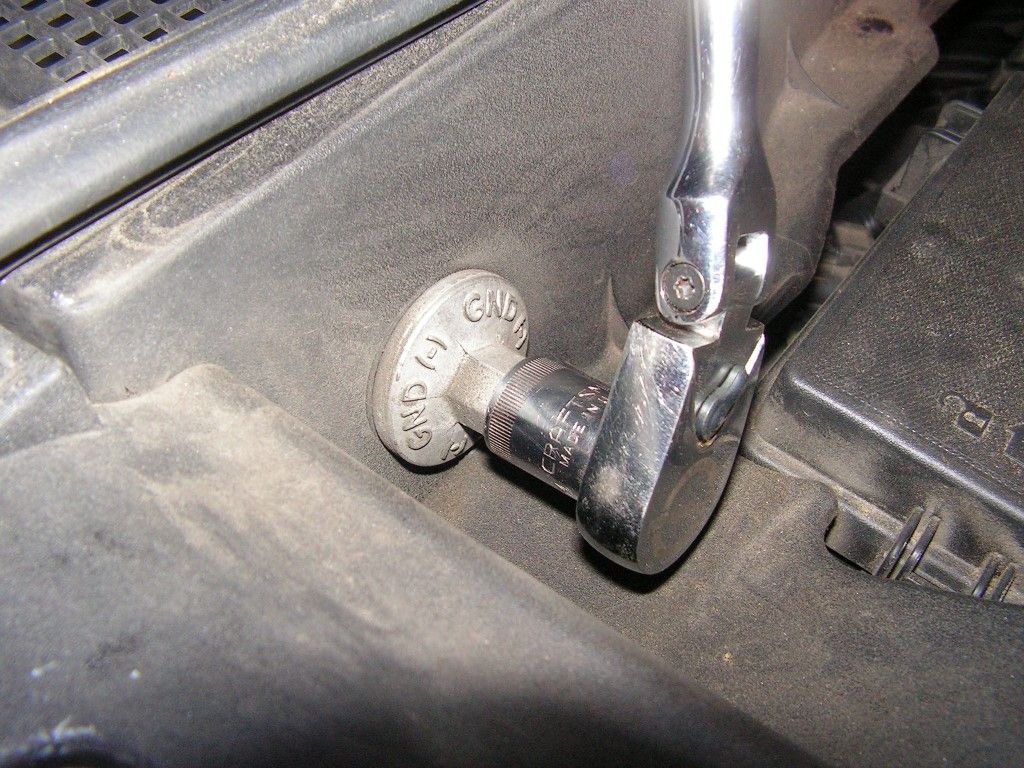
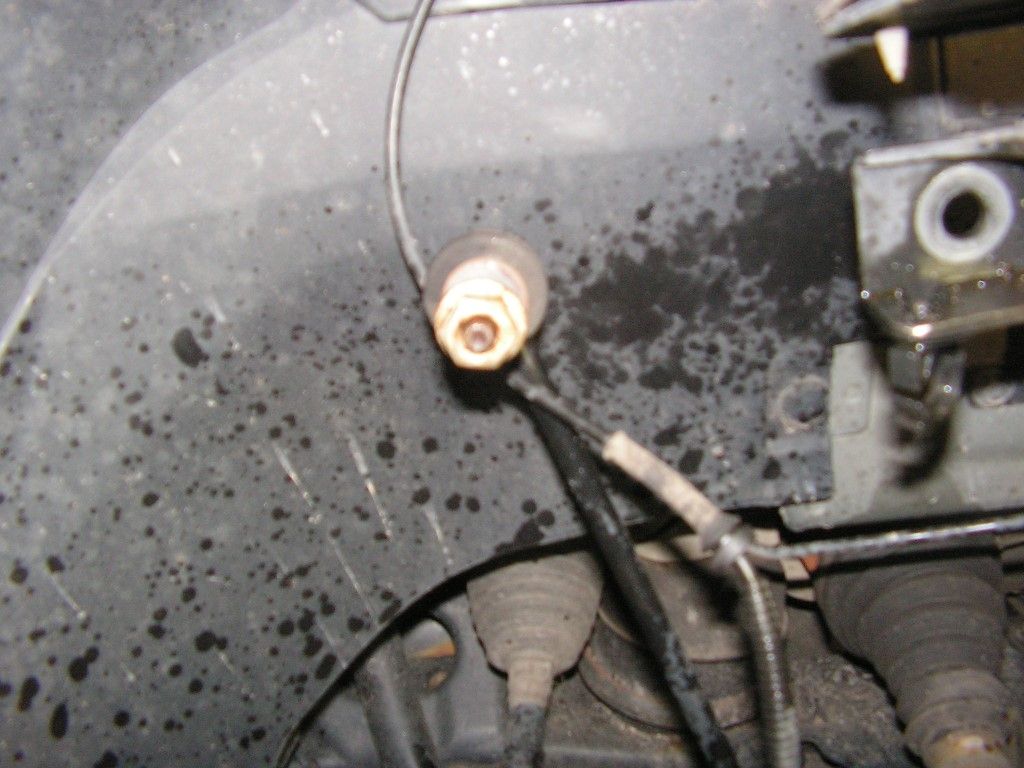
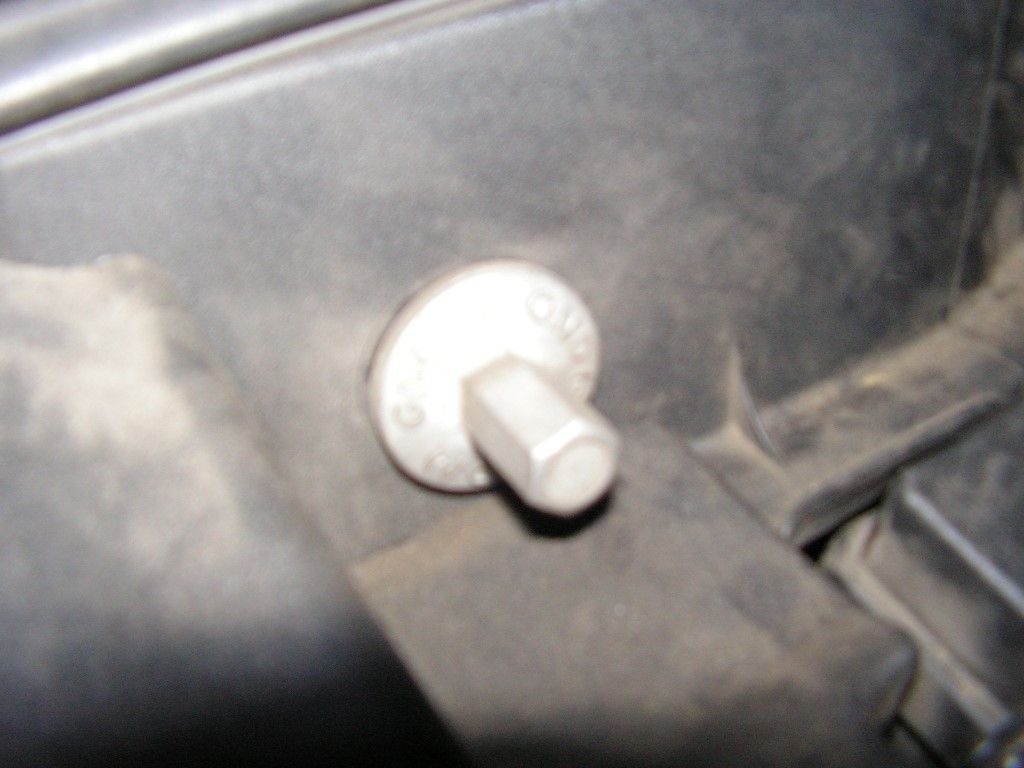
The rubber weather seal was unclipped on each side of the rear cowl, and the water channel guide on the lower edges of the windshield were also loosened on each side. Lastly, the neg. jump start ground post was unscrewed with a 15mm socket.
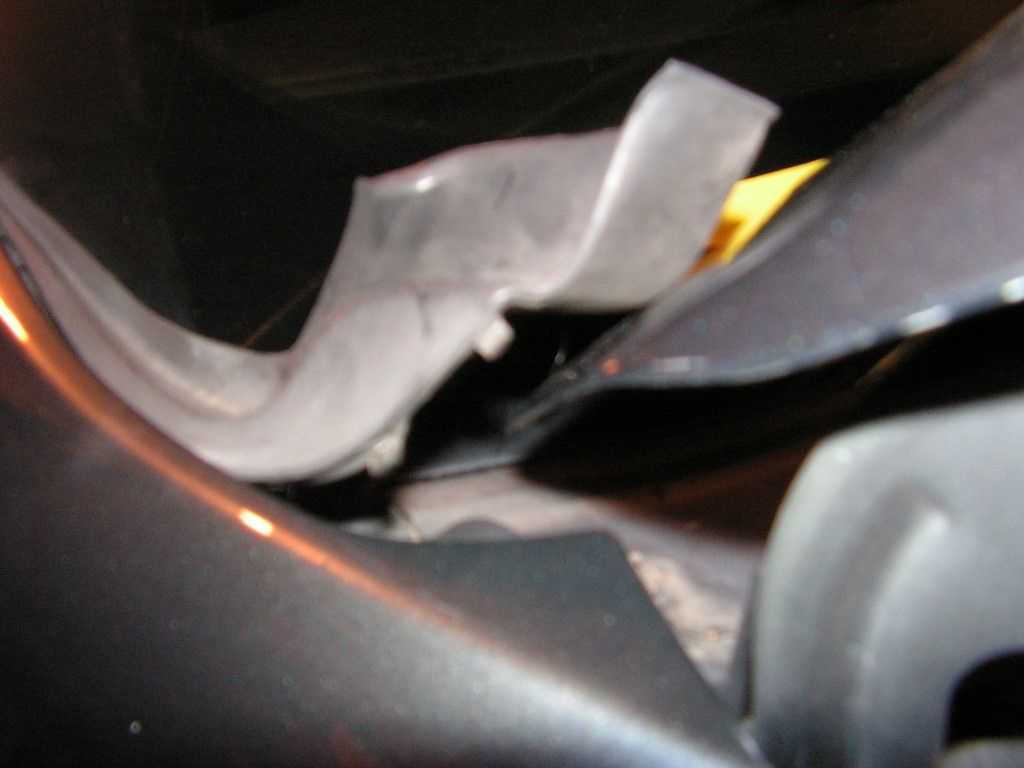
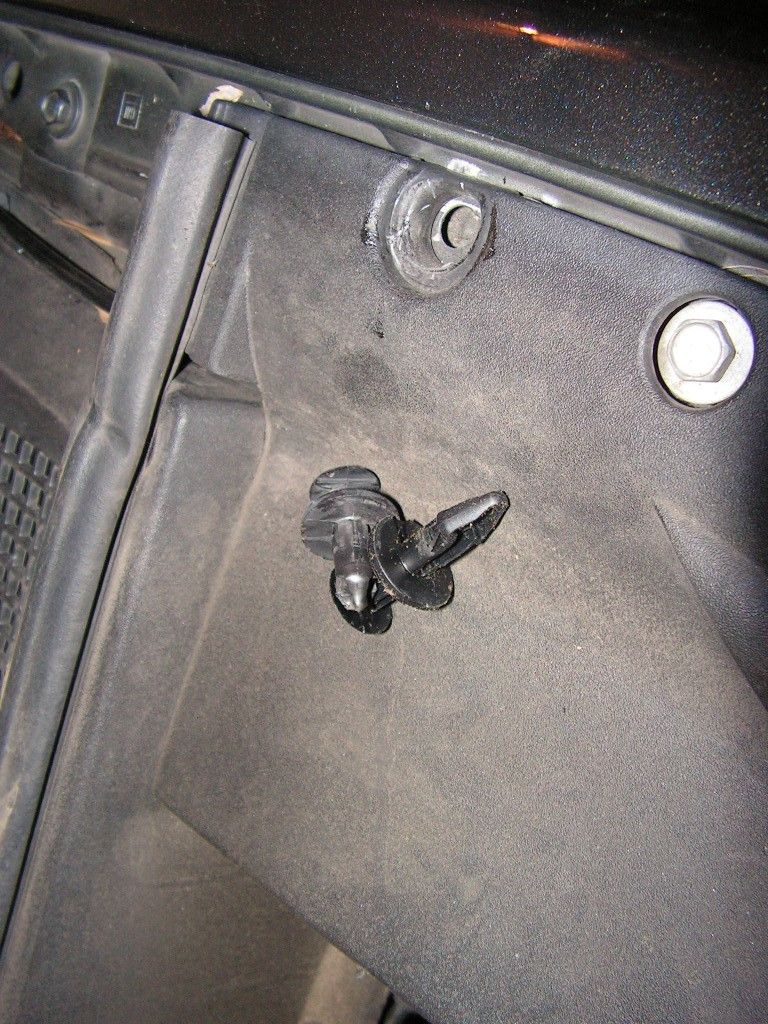
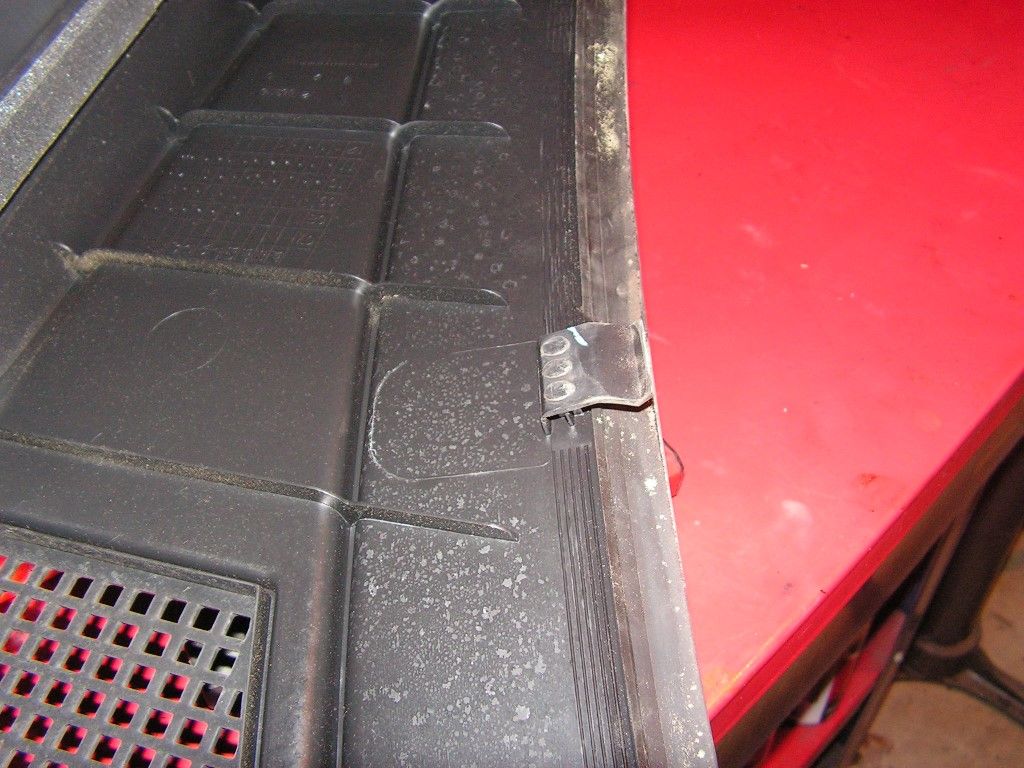
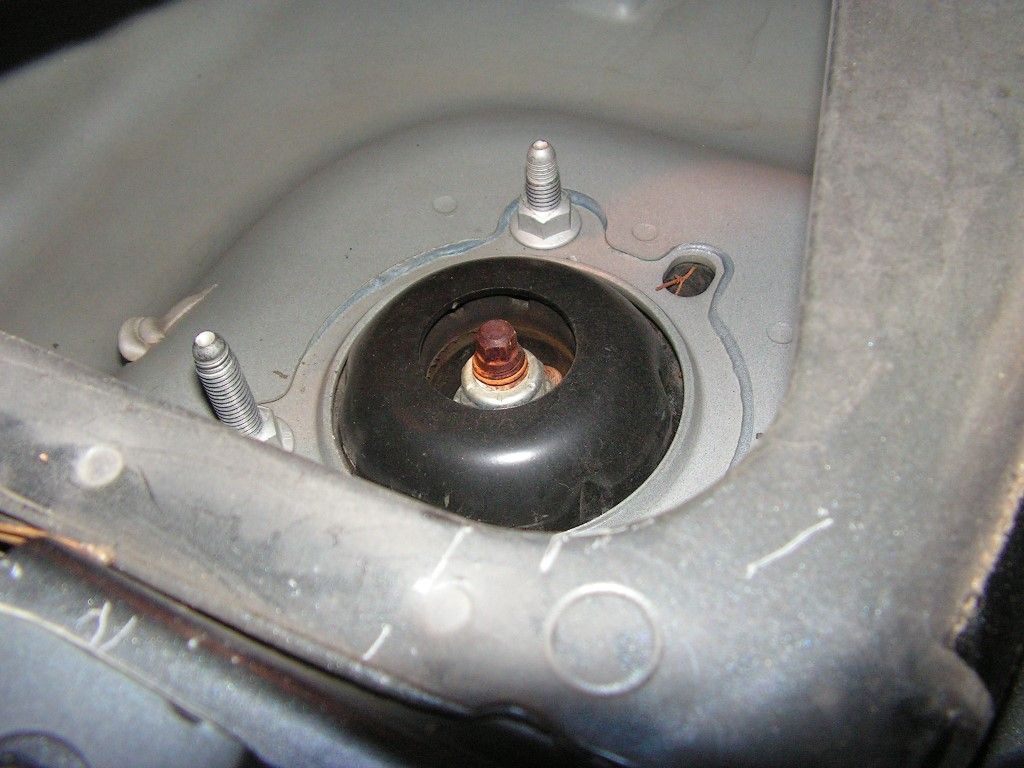
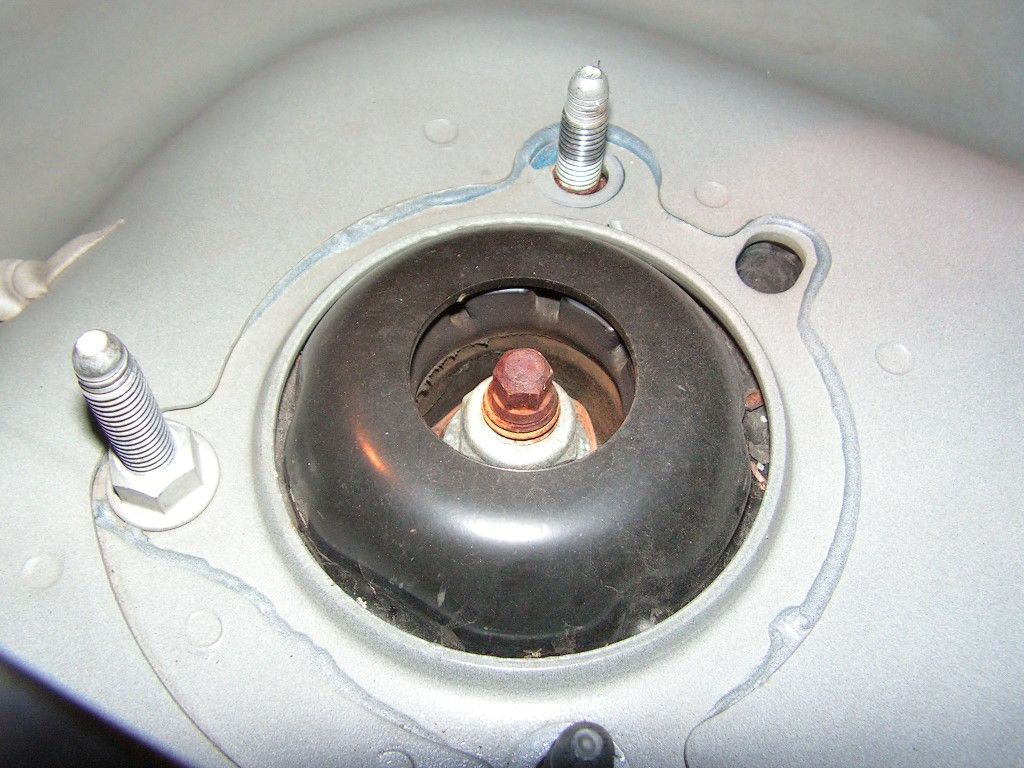
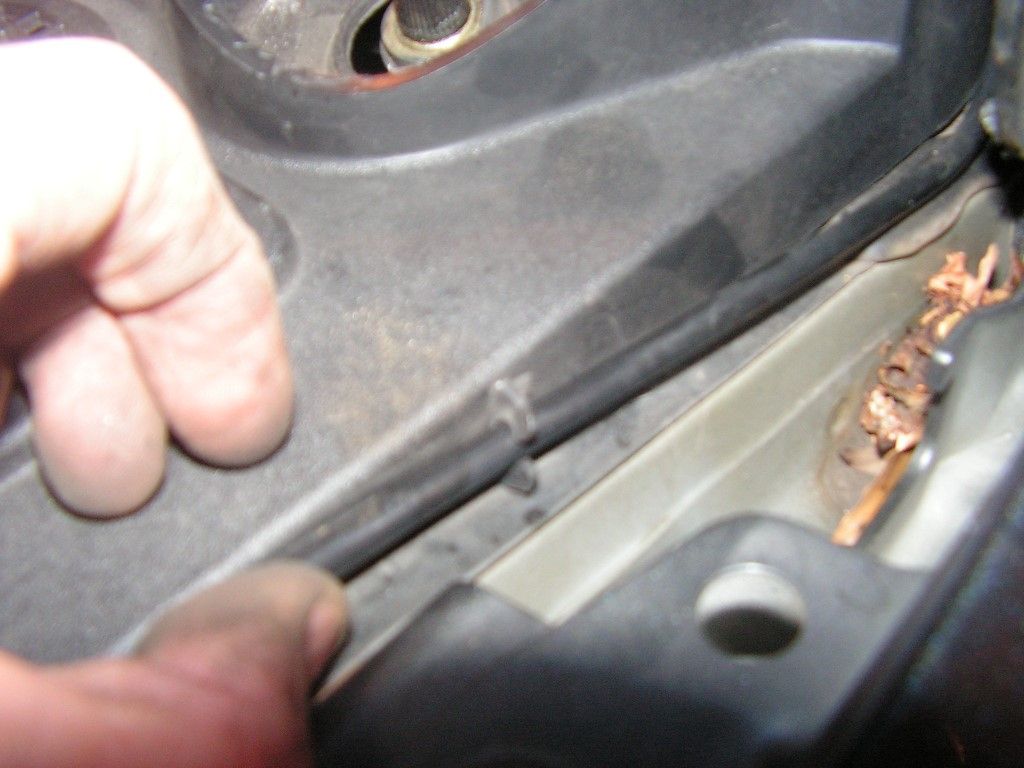
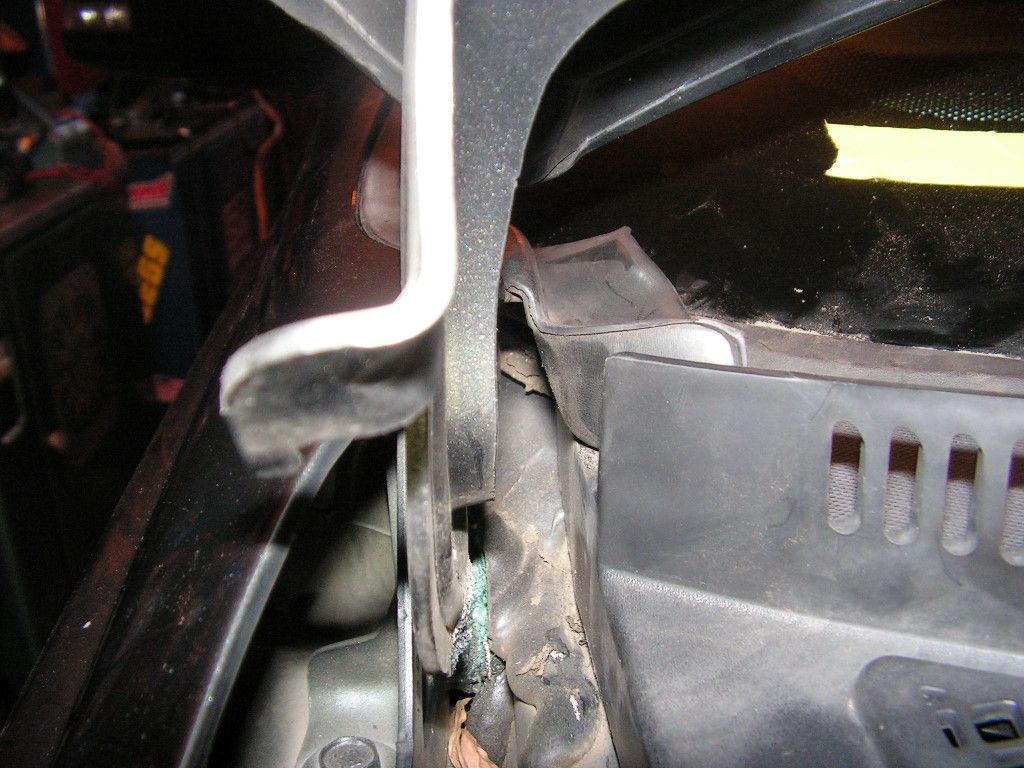
After all that, the rear engine compartment cowl can be pulled forward (hard) to loosen the clips that hold the rear cowl to the lower edge of the windshield. These are the clips in question -- they just slide under the windshield edge. Now the strut tower and strut fasteners are exposed on each side.
Well that was a royal pain in the a$$, and I hadn't even started on the real work yet.
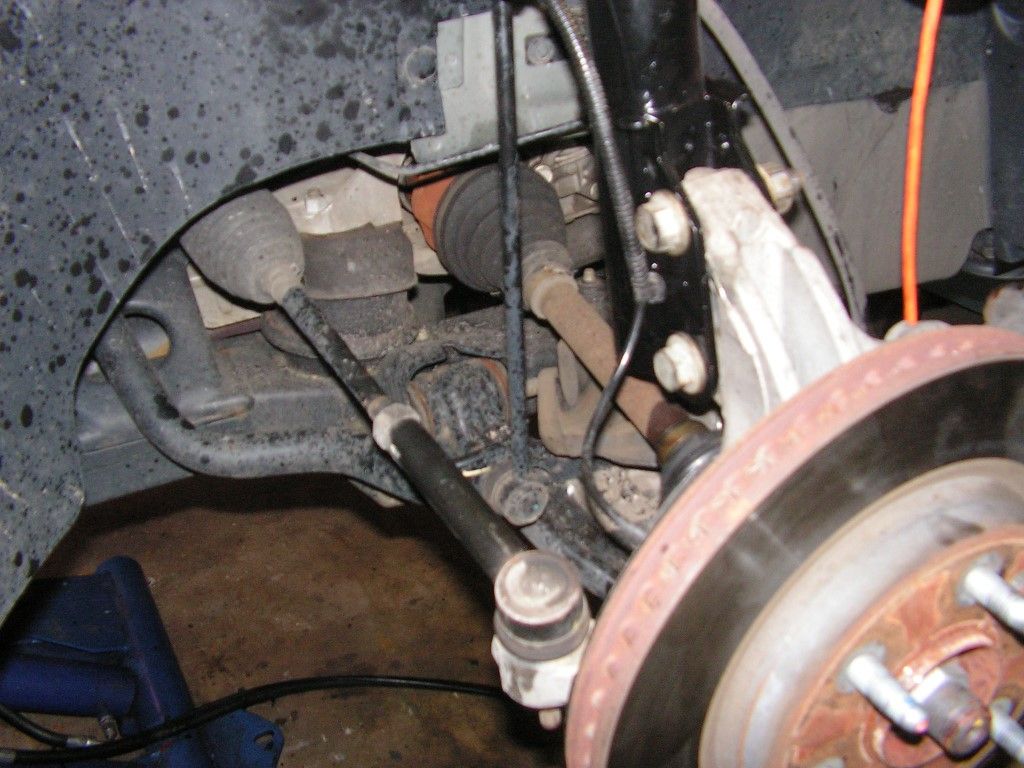
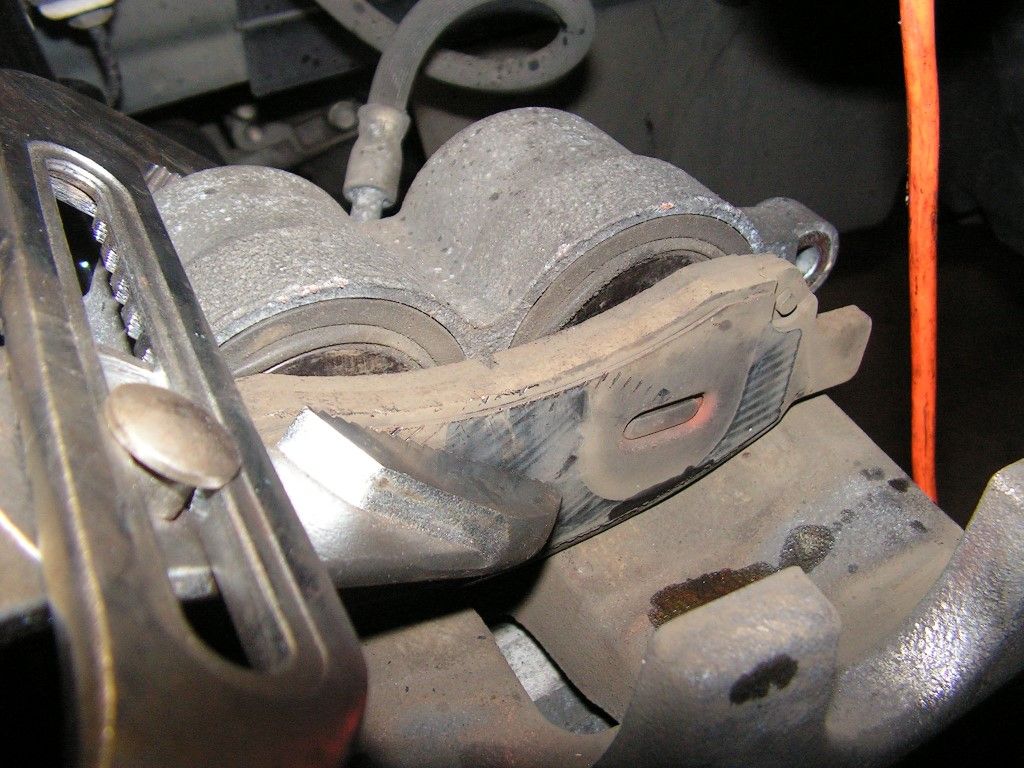
Next up was getting the brake calipers off and releasing the knuckle from the strut.
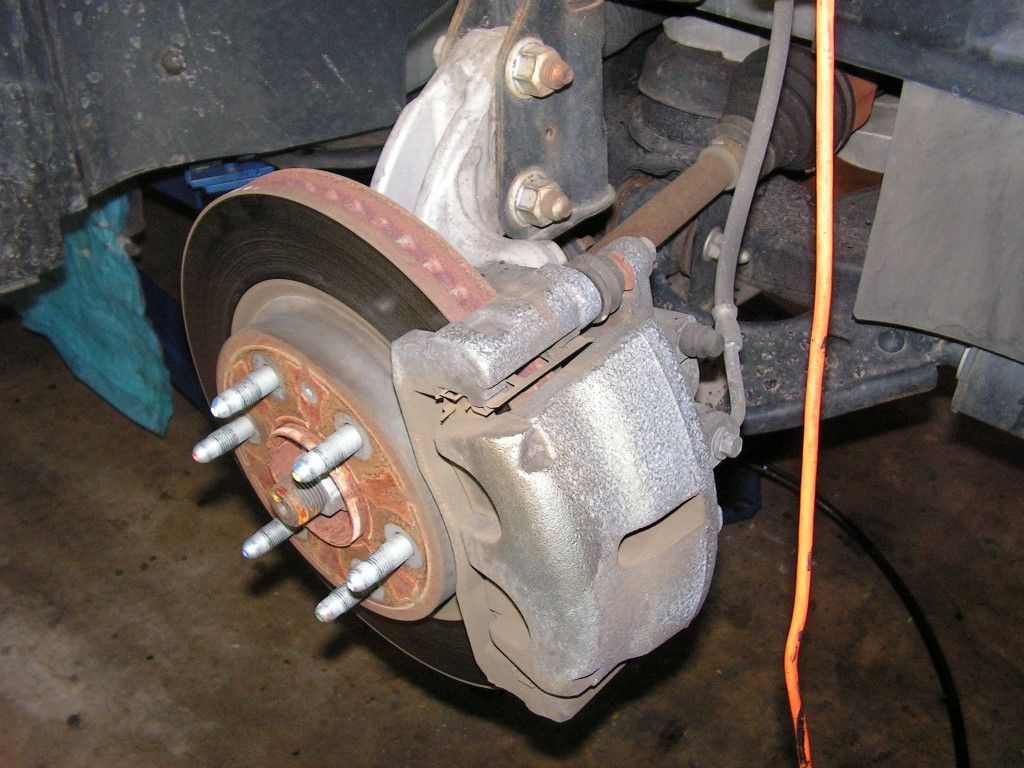
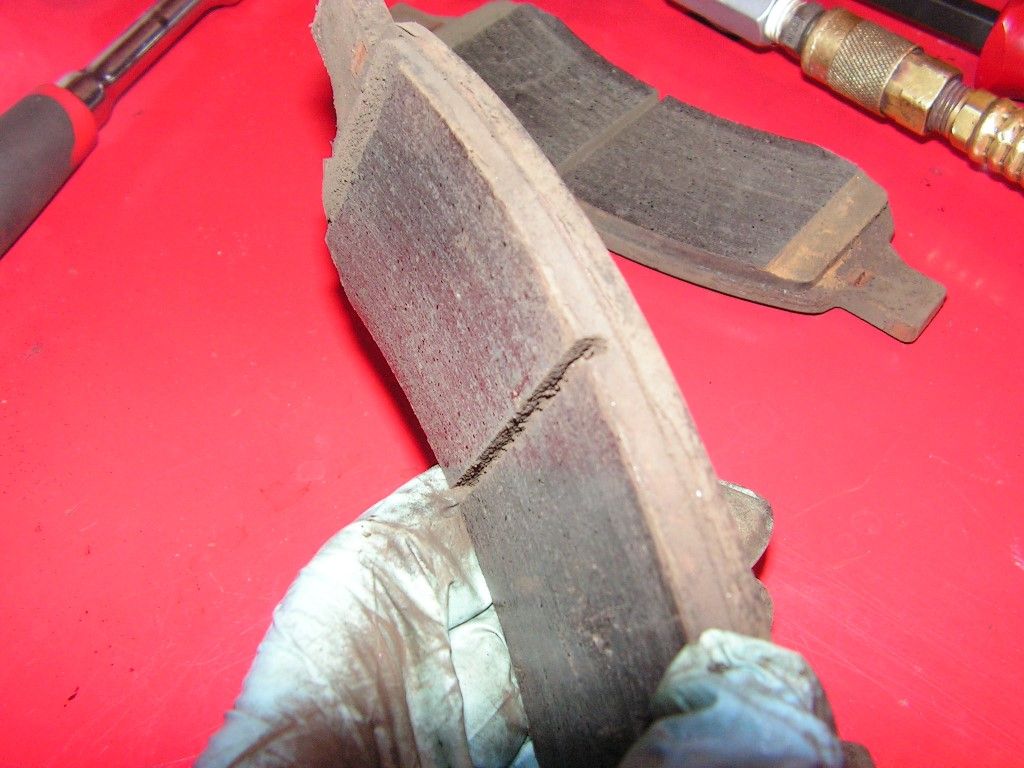
Pads are marginal, but the rotors are in excellent shape -- so I'll just install new pads and hardware.
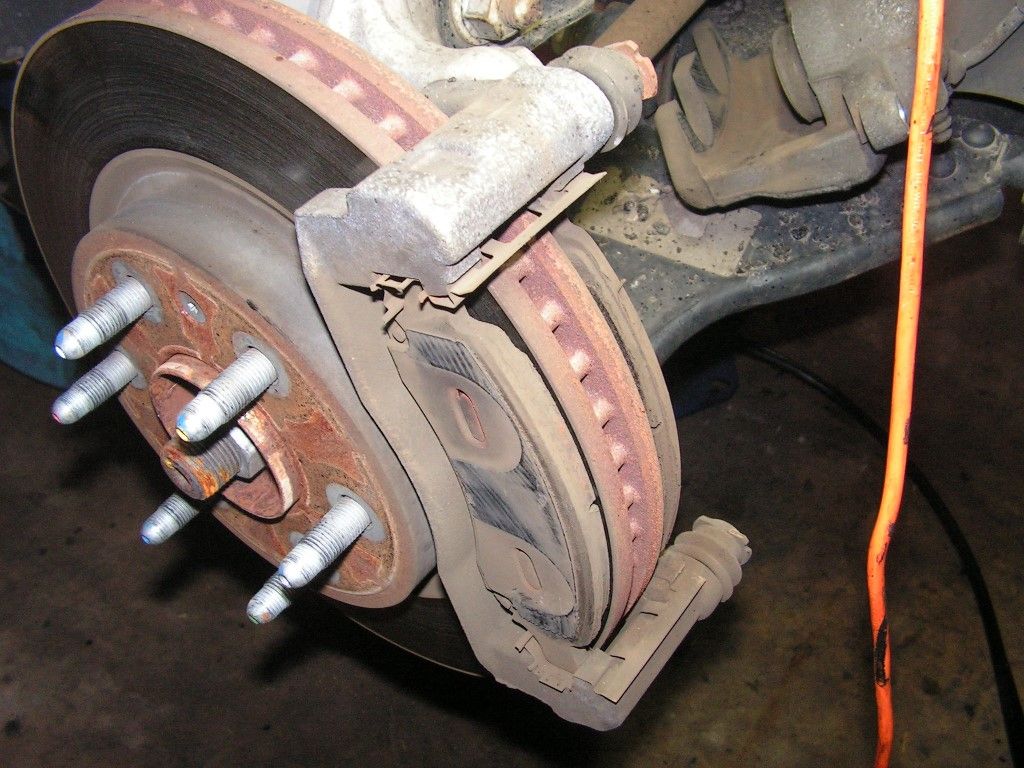
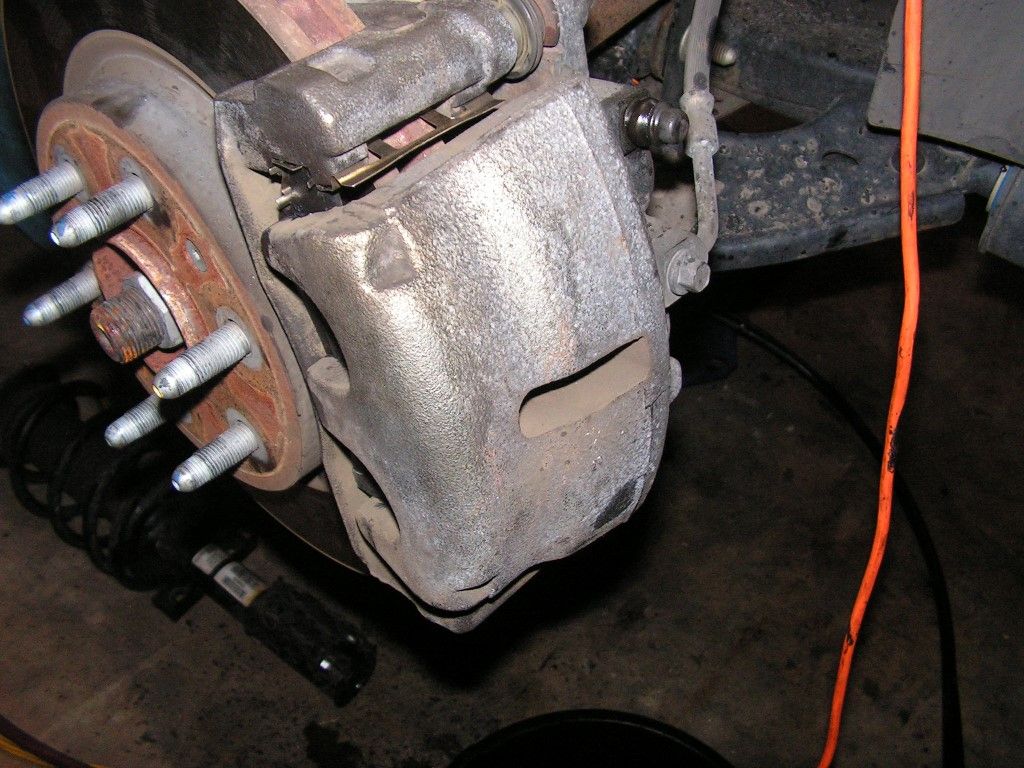
I removed the clips that hold in the ABS sensor wire, and set it to the side.
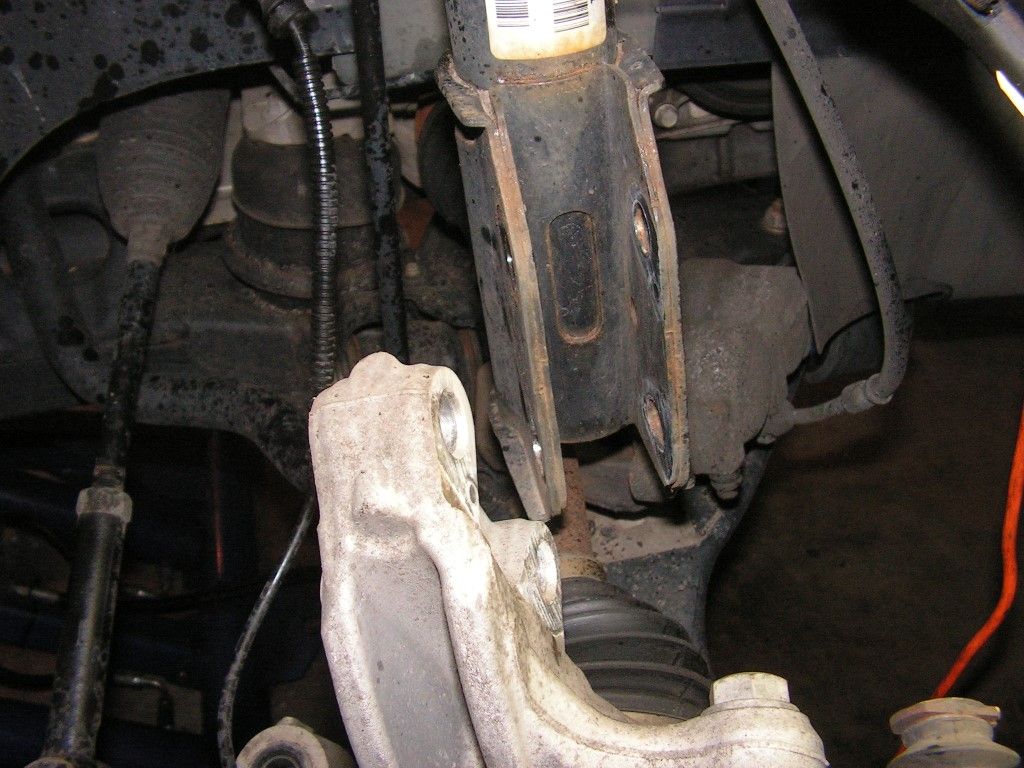
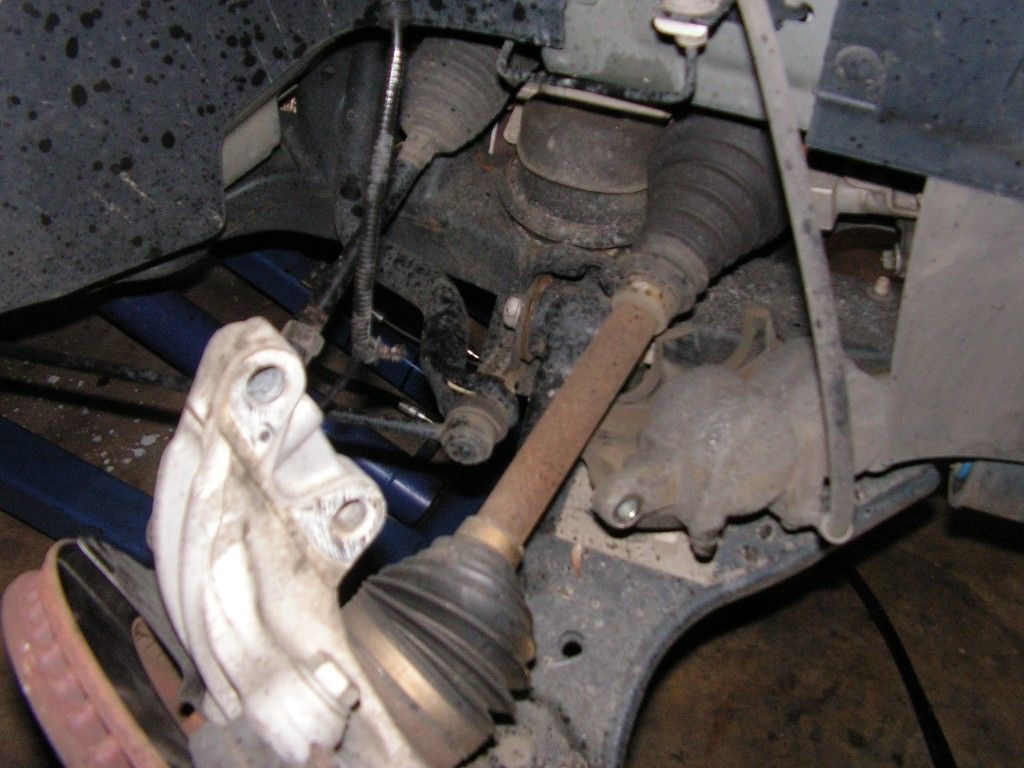
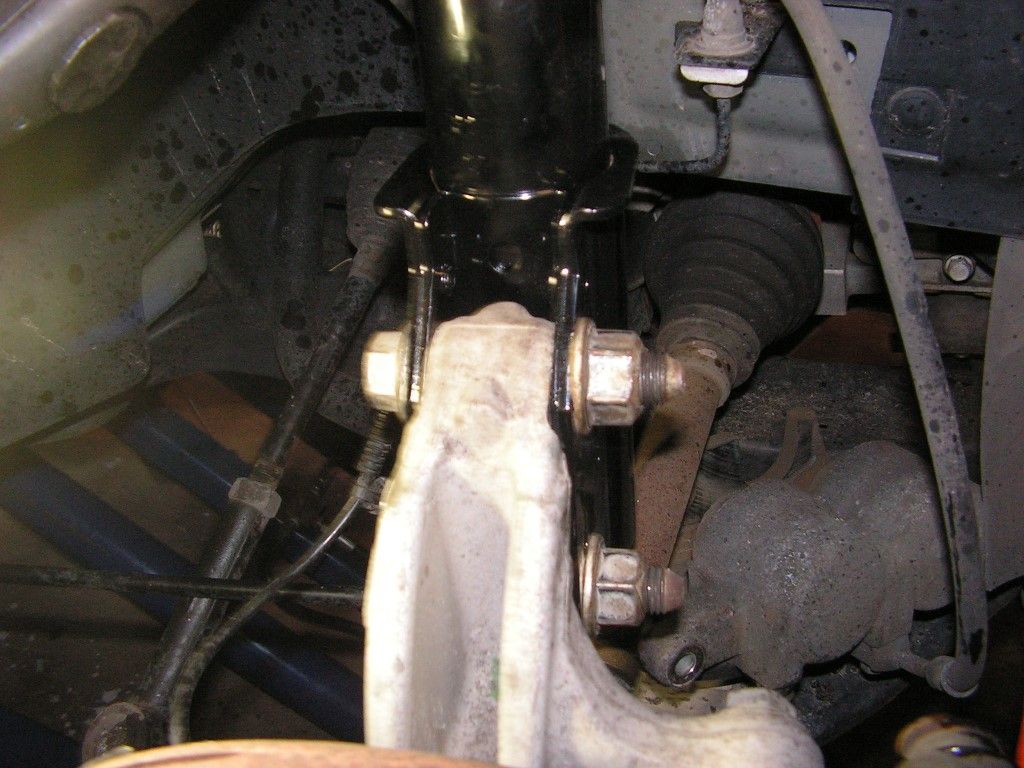
Here comes BIG problem #2 -- the bolts holding the strut to the knuckle came out relatively easy with the aid of an air hammer, but the knuckle would not budge out of the strut housing. No amount of beating, cursing and prying would move it. I desperation I removed the tie rod from the knuckle and proceeded to used a large prybar along with the air hammer in an attempt to spread the strut housing enough to release the knuckle.
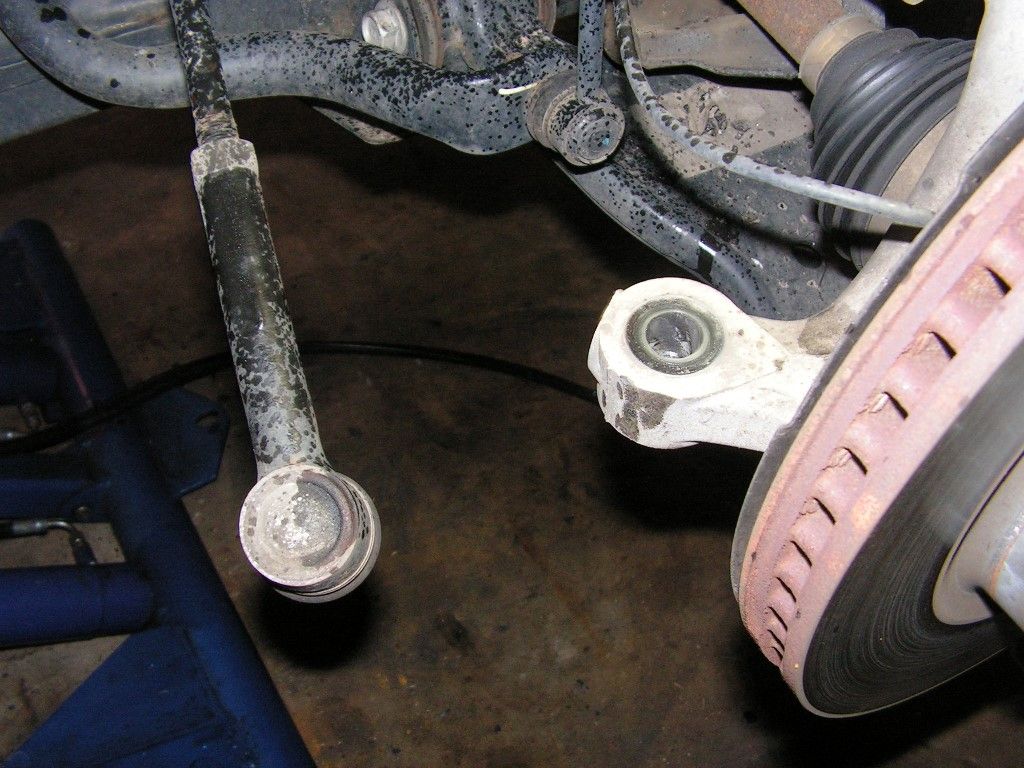
I don't know what caused it to hang up so tight, but it finally came loose after spraying it gobs of Kroil and wailing and prying on it for half an hour -- very frustrating!!!
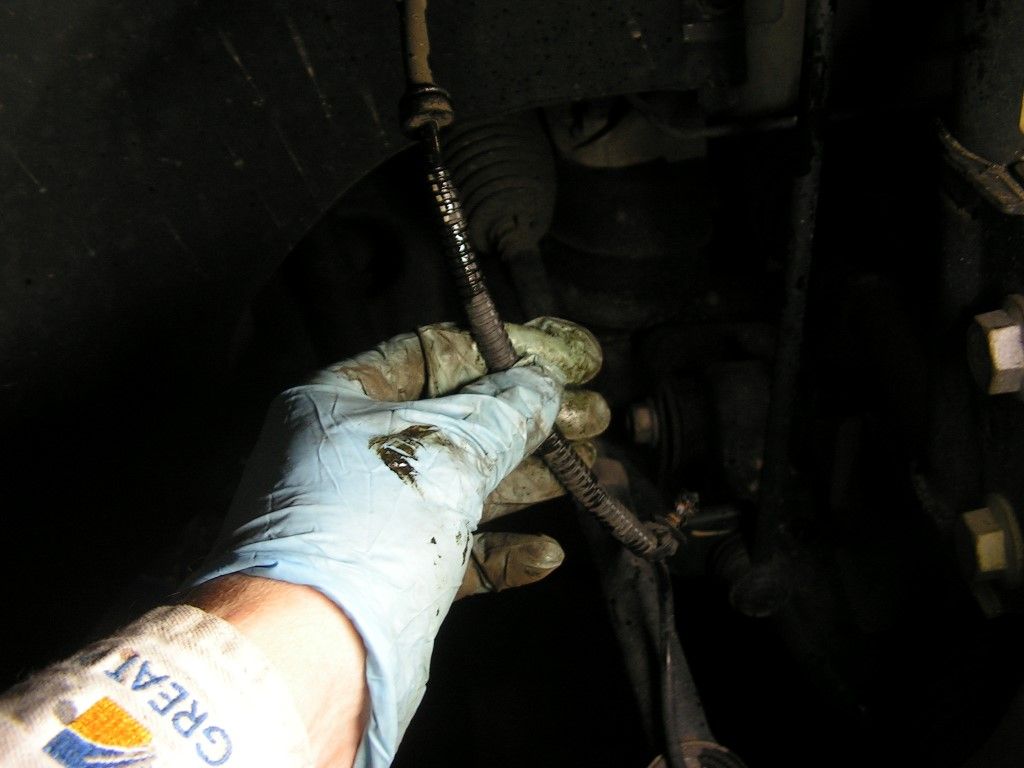
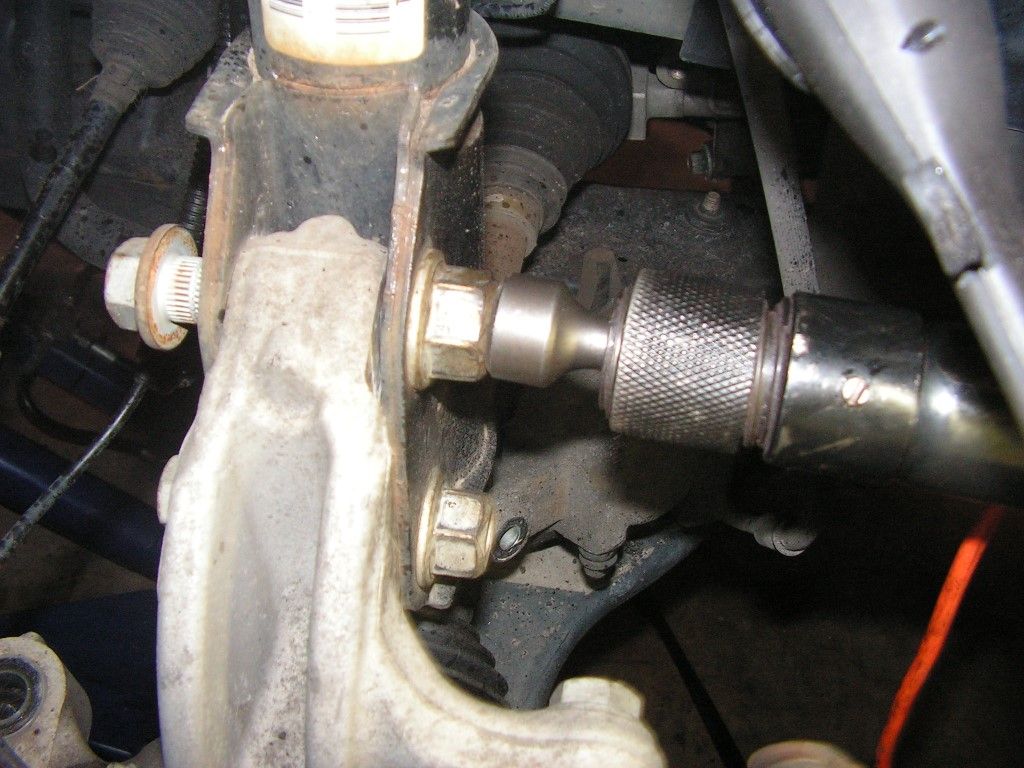
Next up was the notorious swaybar end links -- these usually get rusted in place and trying to get the nut off usually causes the joint to just spin in place. I had soaked them with Kroil earlier and thank goodness GM provides an 8mm hex center boss to hold the joint in place while spinning the nut off. To make the job easier, I used a 18mm KD through-socket that allows access to the center boss with an 8mm 1/4" drive deep socket. This setup was the "cat's a$$" and it spun the nut right off.
Finally I was able to loosen the three 15mm strut nuts and drop the unit out the bottom -- what a relief!!
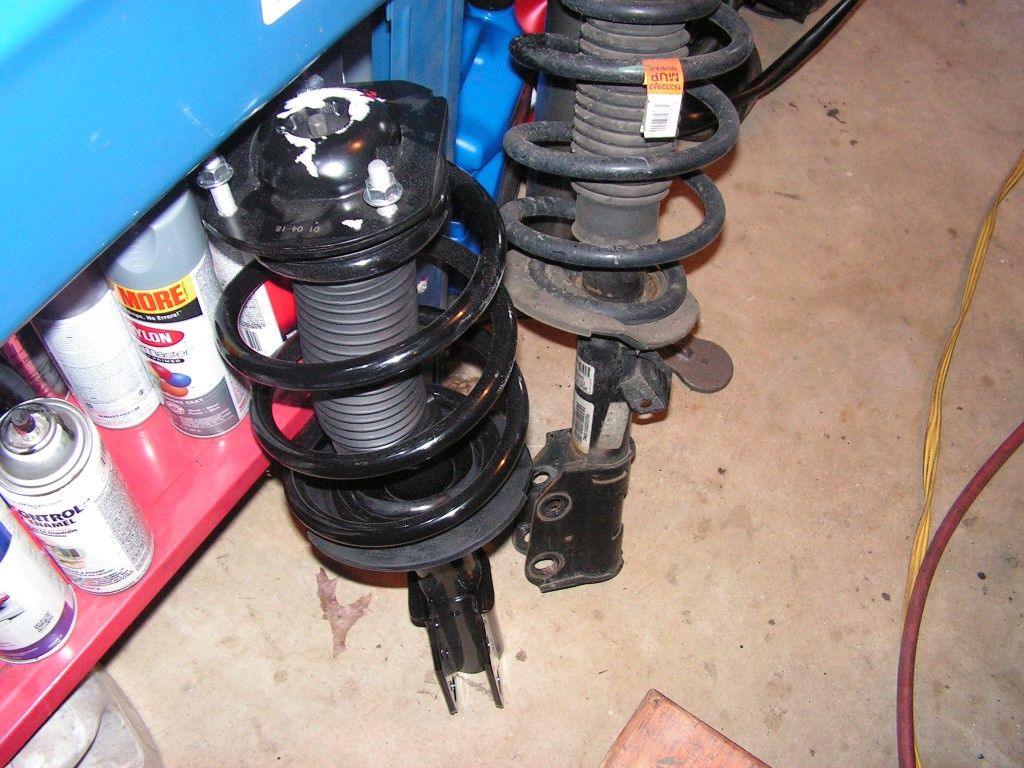
The install was quick and easy -- took just 10 minutes and it was over. The bolts were doused with a drop of blue loctite, and it went back together with ease.
Brakes were easy as well --
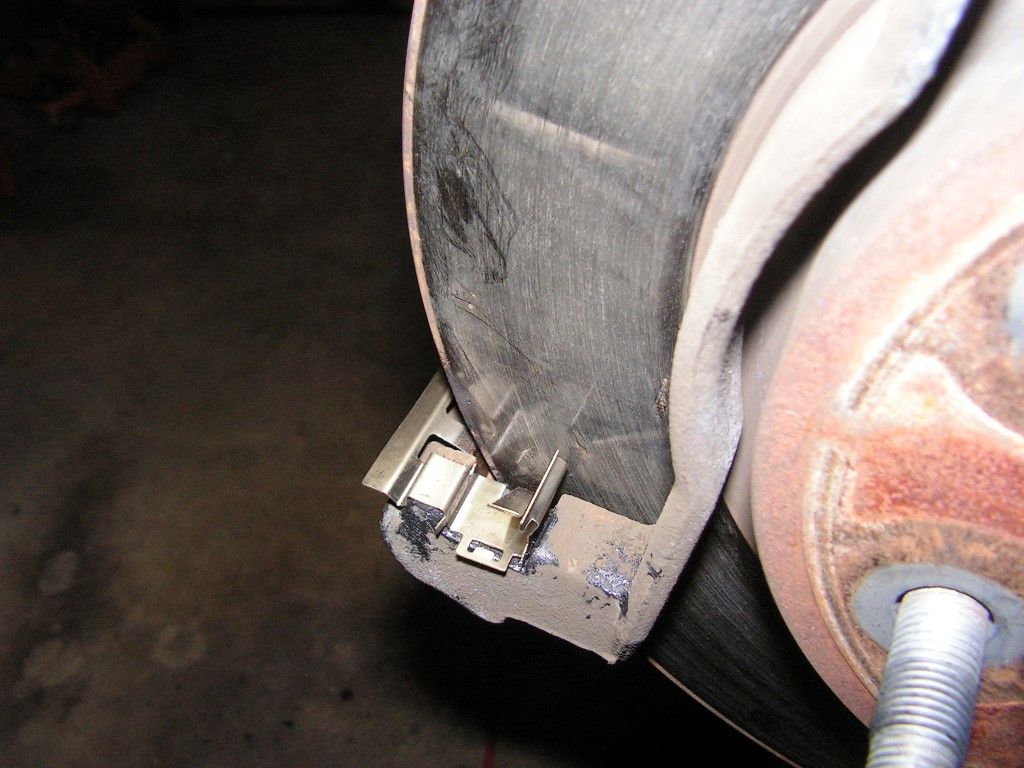
New hardware was installed and the sliders were greased up well -- good to go!
The thing with these new brakes is the hardware. It can be confusing because the stainless brake clips have "spring ears" on the inside to help push the pads away from the rotor in an effort to reduce noise. This is confusing to some because they can be installed with the pads forced to ride on top of the spring ears -- not good!!! That basically locks the pads in place and they can't move. Caution is required when installing this hardware -- if one has never seen this type of clip before.
The pad is literally pushed against the spring ear -- and the pads must be held in place (compressed) when installing the caliper over them.
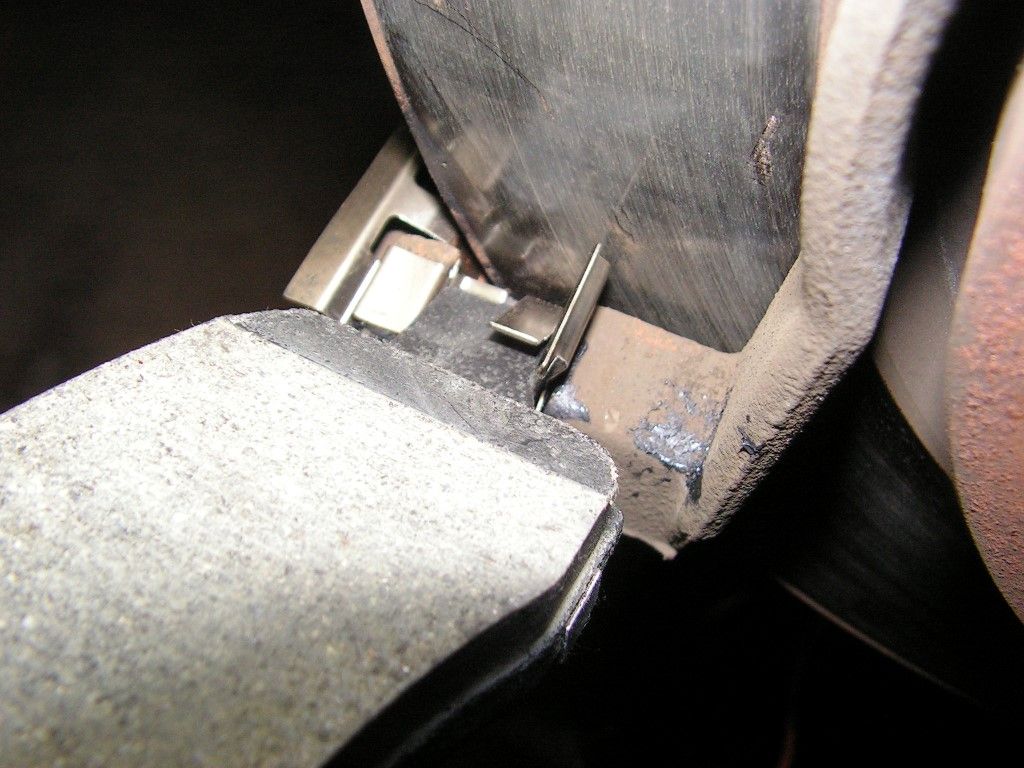
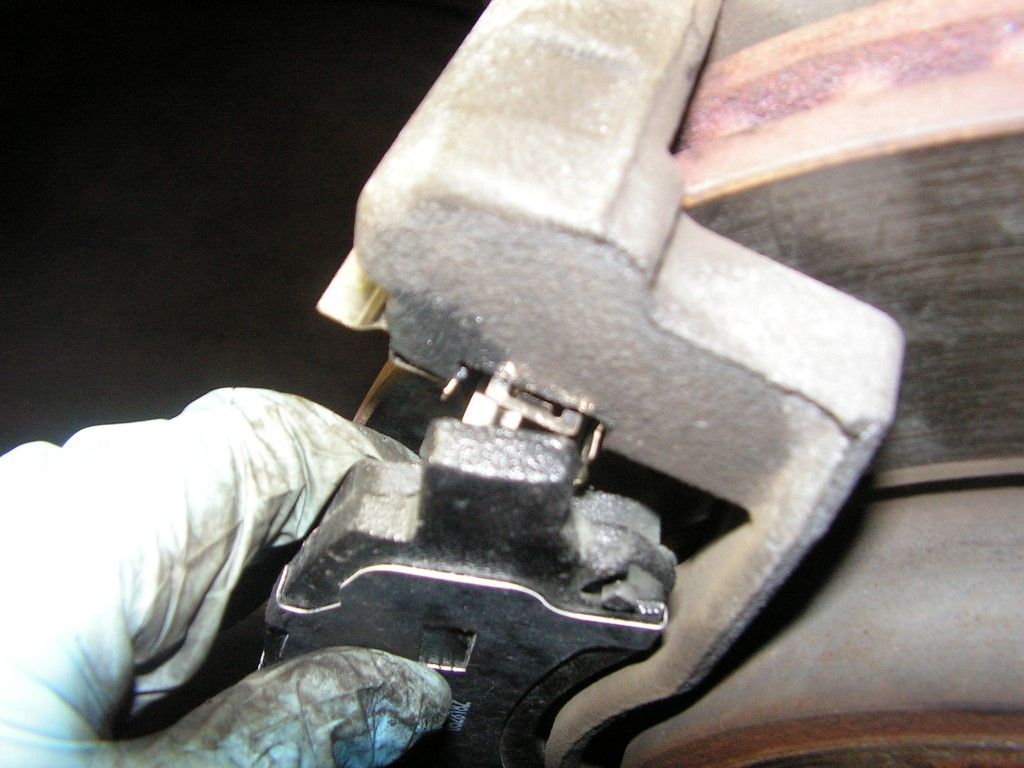
That's the tricky part - the rest is just bolting the caliper back on and reinstalling the end links with the 18mm through socket and the the 8mm 1/4" deep to keep the link joint from spinning.
The ABS wire is hooked back in place on the knuckle and we're good to go. The trim pieces are put back in place with their respective clips, and the wiper arms are indexed loosely to match the tape lines.
The hood release cable is pushed back on rear cowl side slip, and it's a wrap --
The neg. ground jump terminal is reinstalled with a 15mm socket -- and the wiper arms are tightened down with the end caps inserted
Done! -- this one was a pain!!! Glad this will be last time we install struts in this thing. Mrs GF is wanting a smaller Cross-over, and in a few months we'll try and trade this 2012 in for a somewhat smaller and more comfortable ride.


