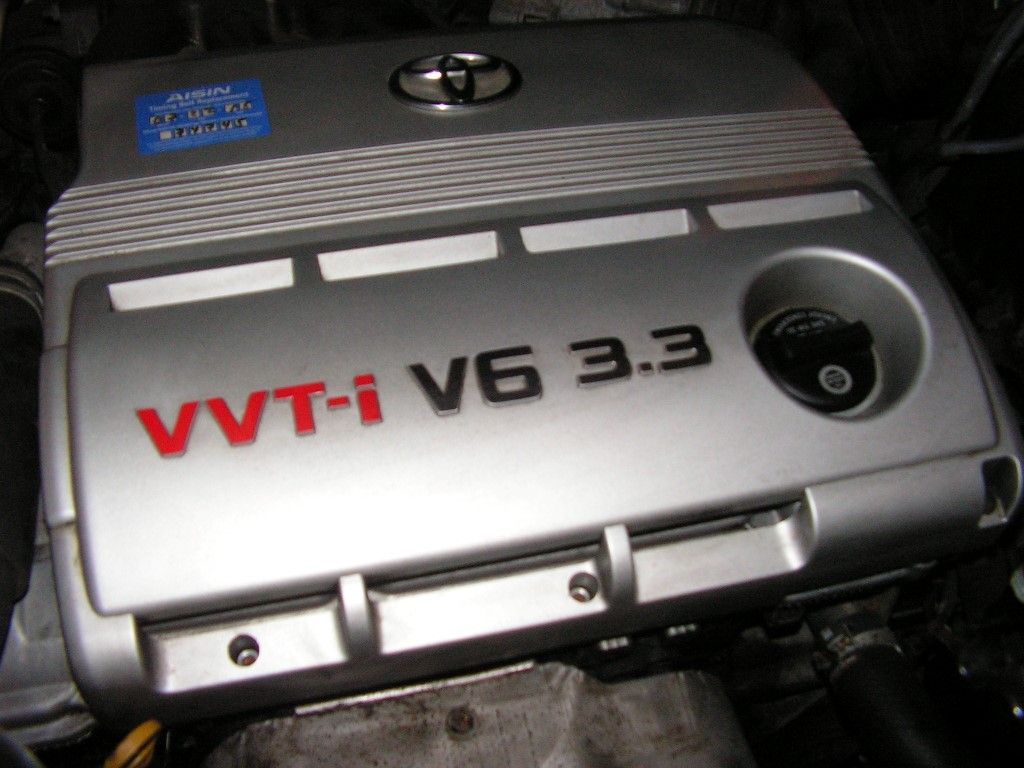
After almost 15 years of continuous duty, I can't complain about this vehicle. It's probably the best car we've ever owned and it owes us nothing. So when the smell of oil in the passenger compartment became very noticeable, and smoke was coming from the engine compartment, it was time to change the valve cover gasket. I used the GG Rock Auto discount and got this APEX valve cover gasket set for less than $8.00 -- and at first was planning to change the front and rear gaskets. Luckily I stuck an inspection camera back on the firewall and noticed that the right hand bank was absolutely dry as a bone. I lucked out -- and decided to take the easy way out and just replace the front (left) bank.
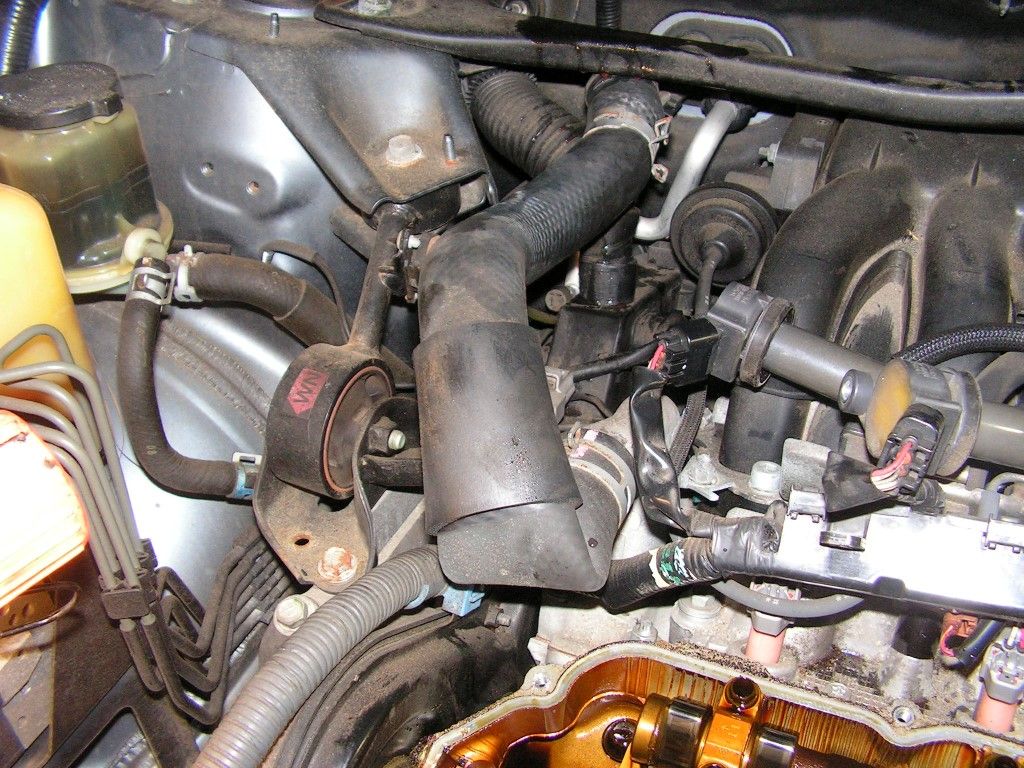
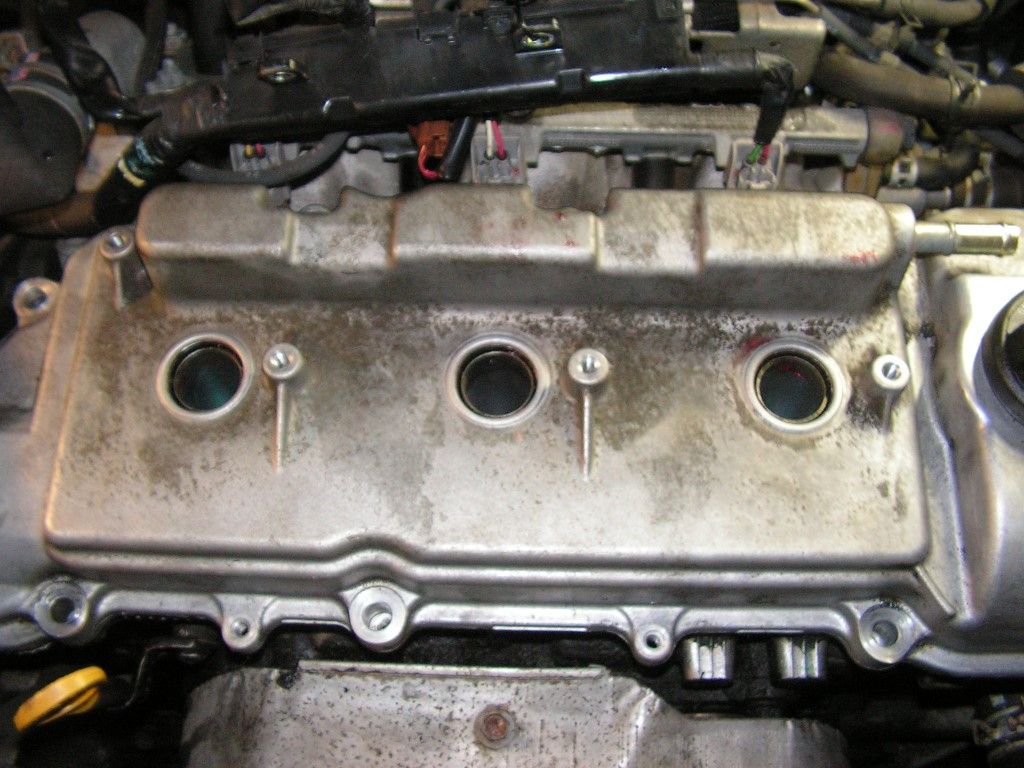
Once I pulled the engine cover, I could see the gunk and oily mess that was accumulating and burning off in clouds of smoke.
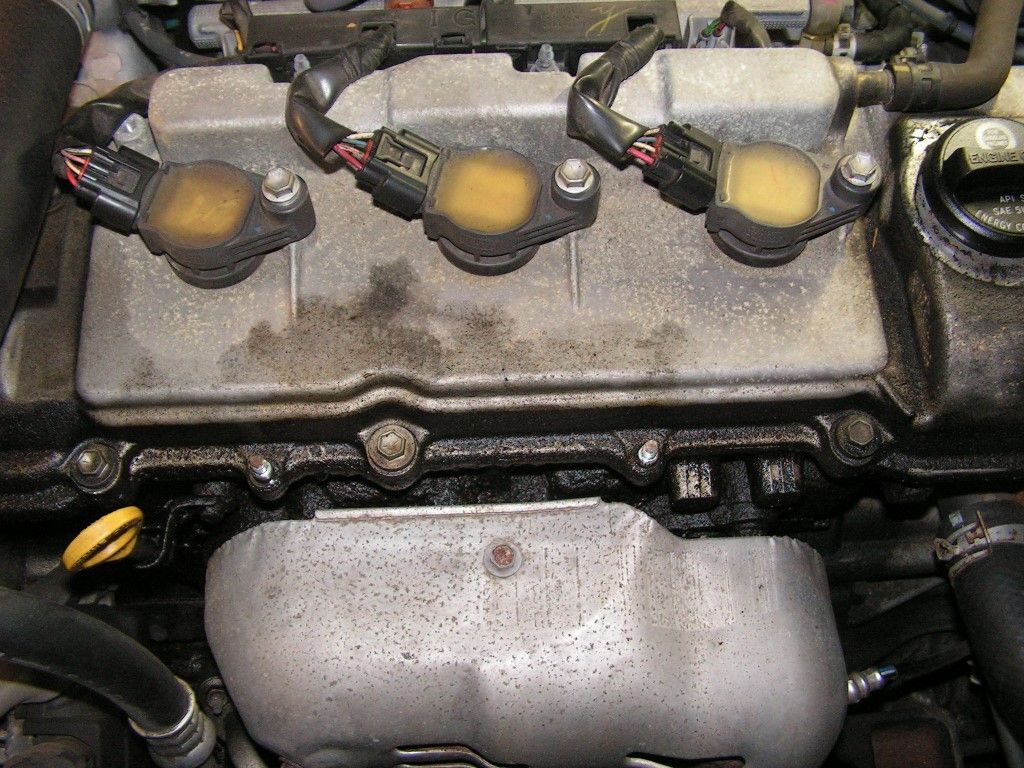
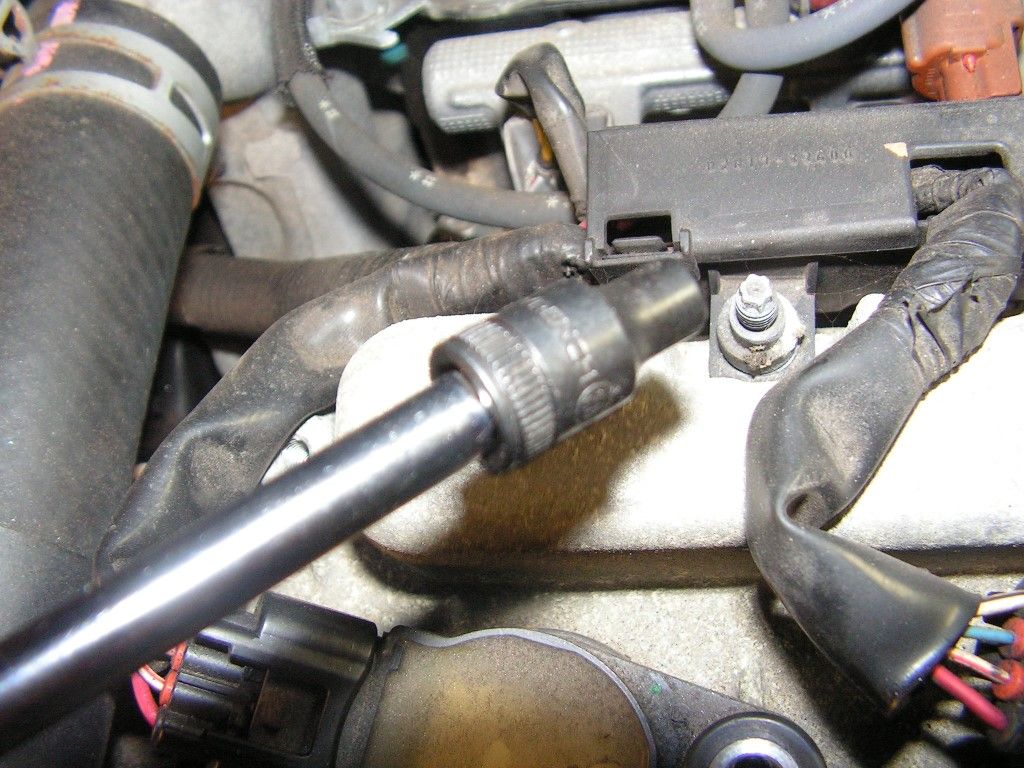
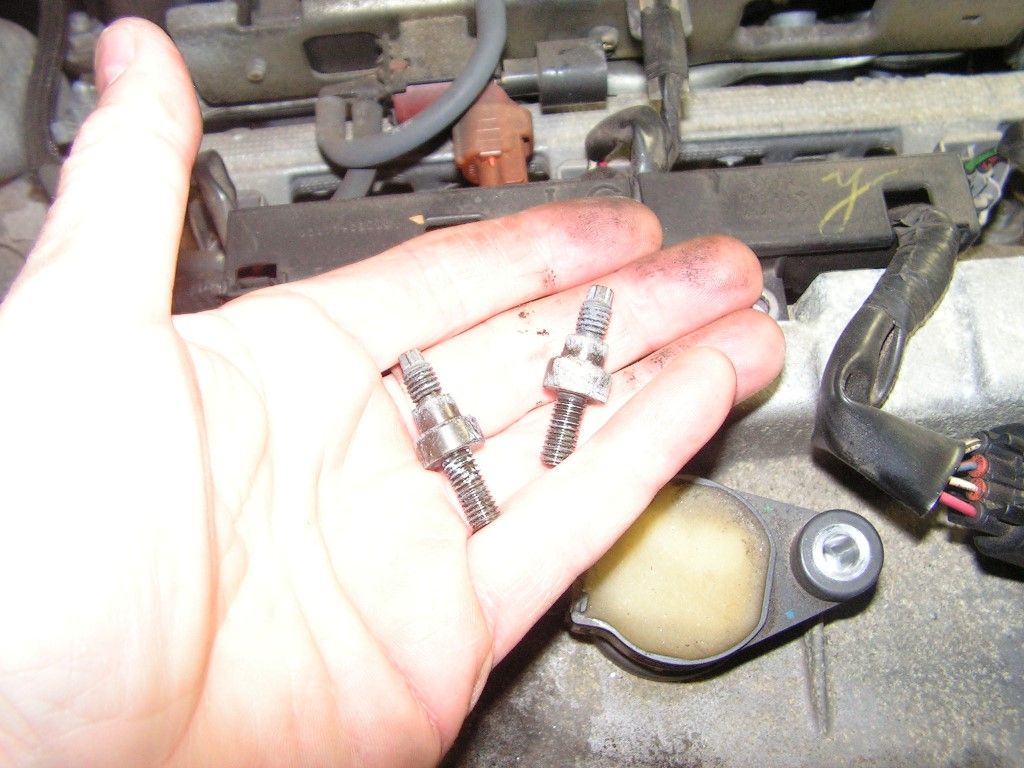
First thing was to pull the front harness retainer (two E-torx studs) -- and the coil pack bolts (10mm) to slide the entire assembly out of the way (coils and all)
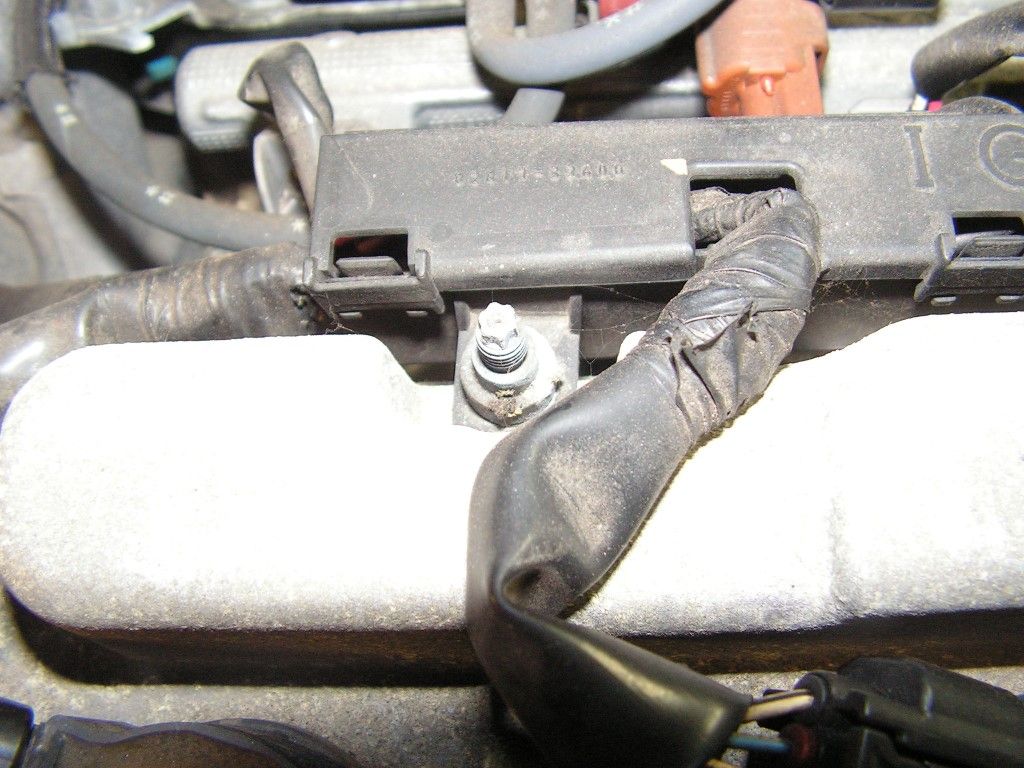
A small bungee cord keeps the mess out of the way
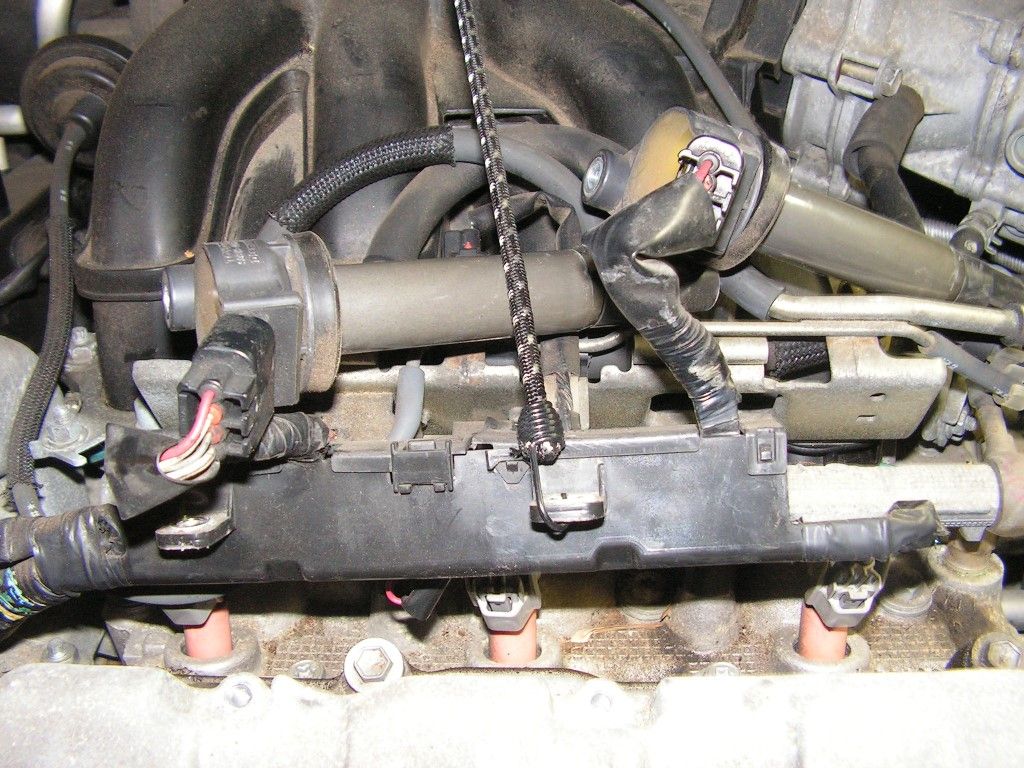
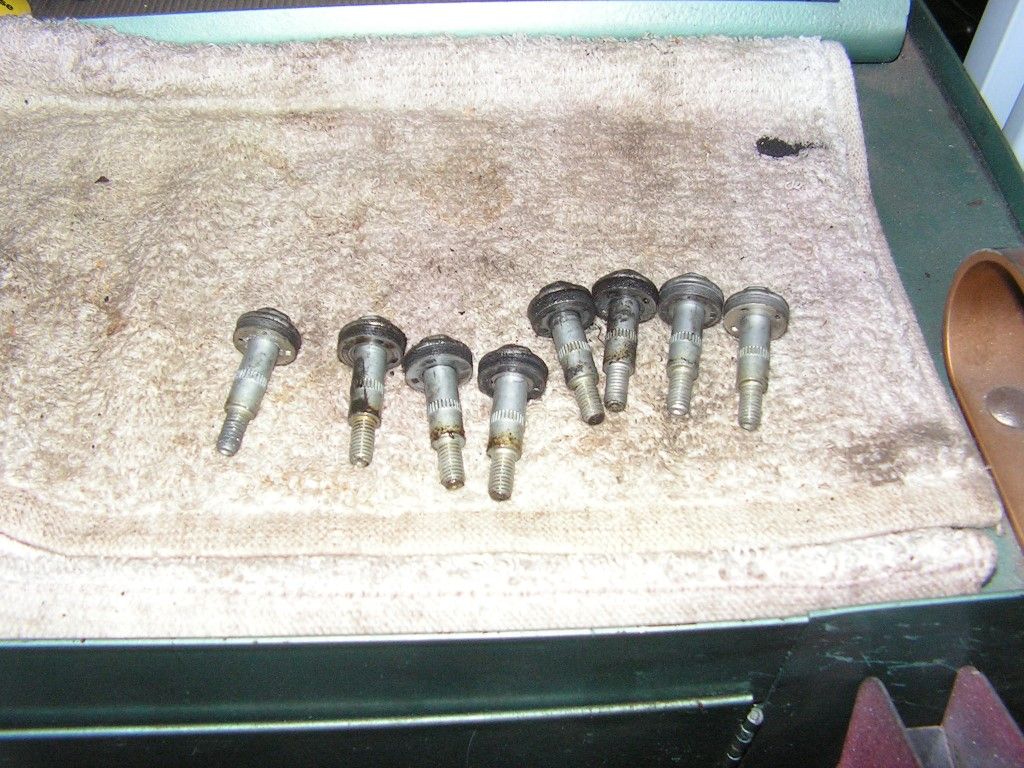
With the harness and coils out of the way, the 10mm valve cover bolts are readily accessible.
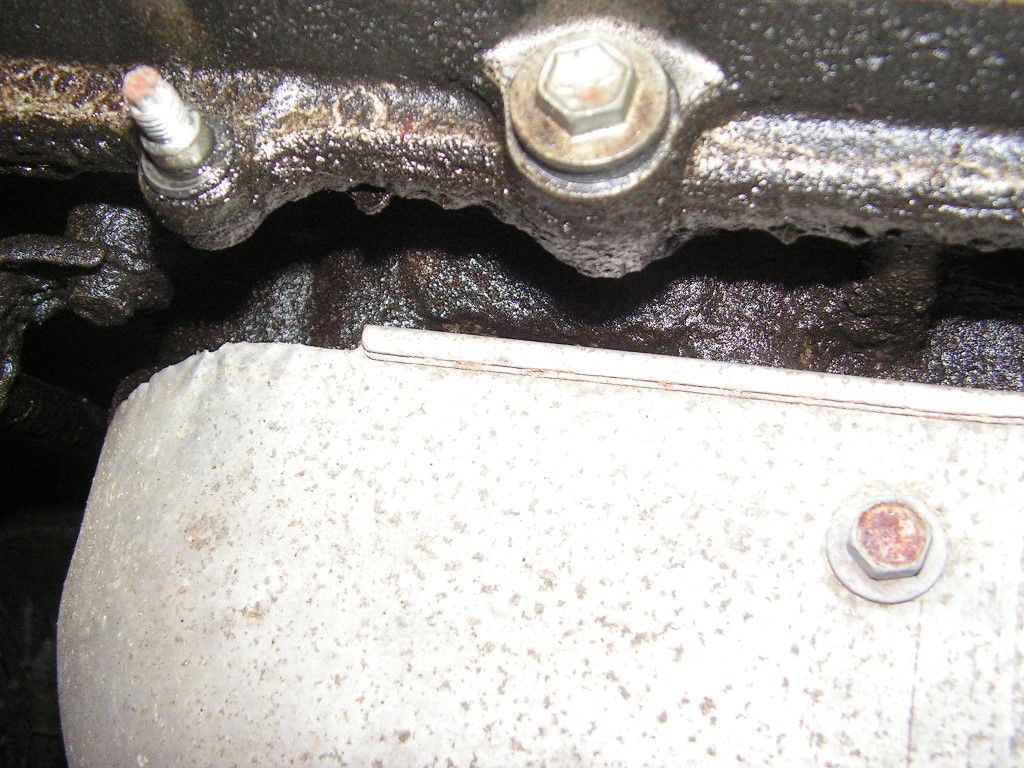
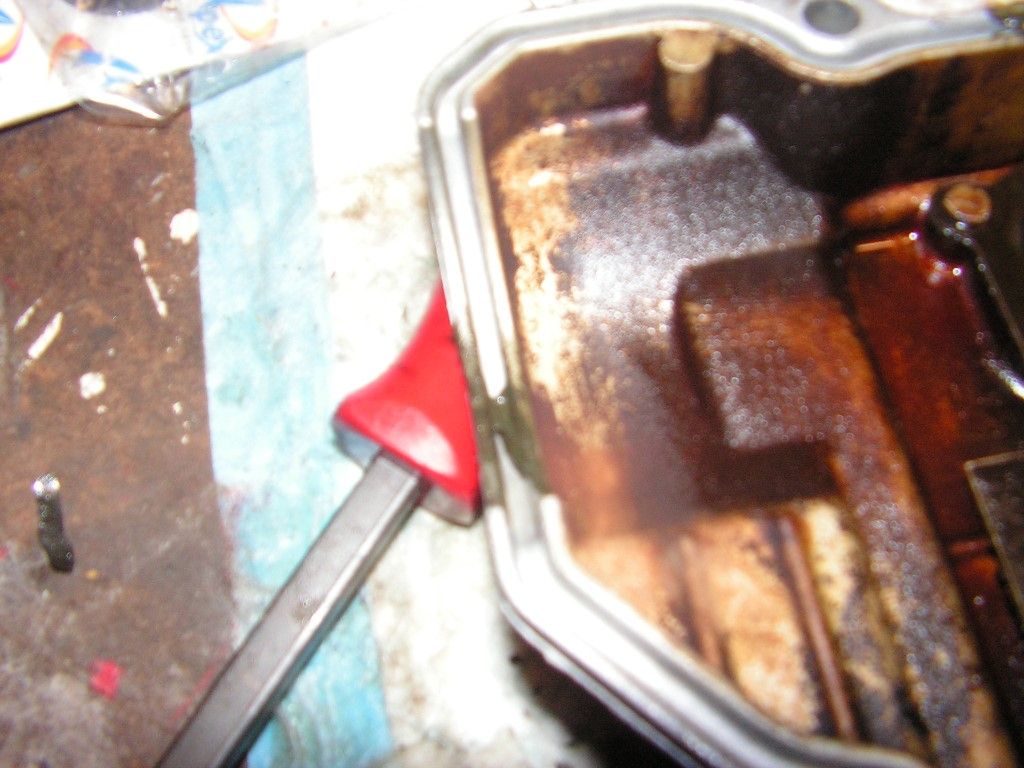
The only other obstructions are a breather hose from the air intake and the top radiator hose -- with those out of the way the cover is easily loosened with a few taps of a plastic hammer and a little prying with a small bar.
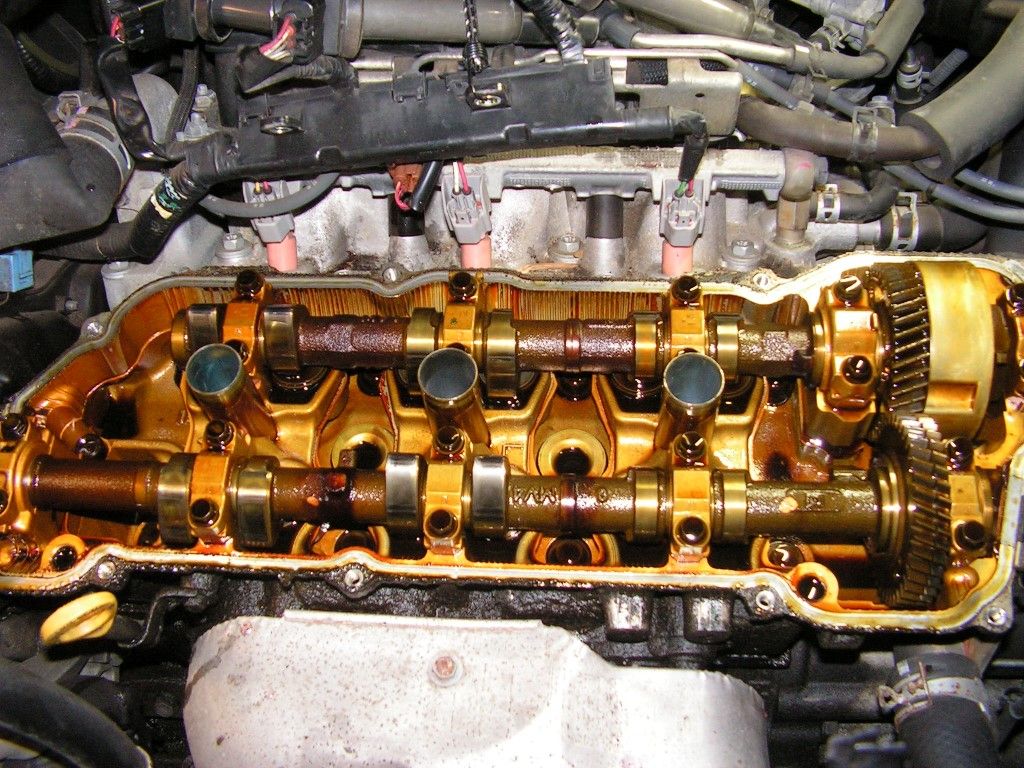
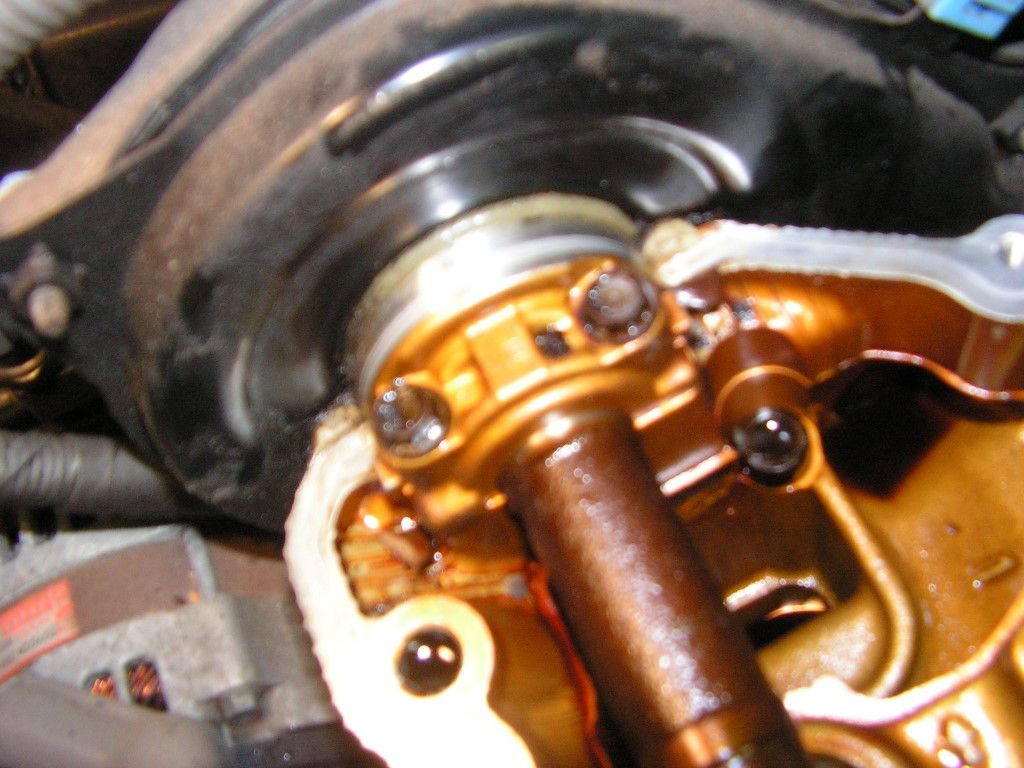
The surface area is cleaned with brake cleaner and two big globs of silicone sealant in the corner crown areas need to be removed with a razor blade.
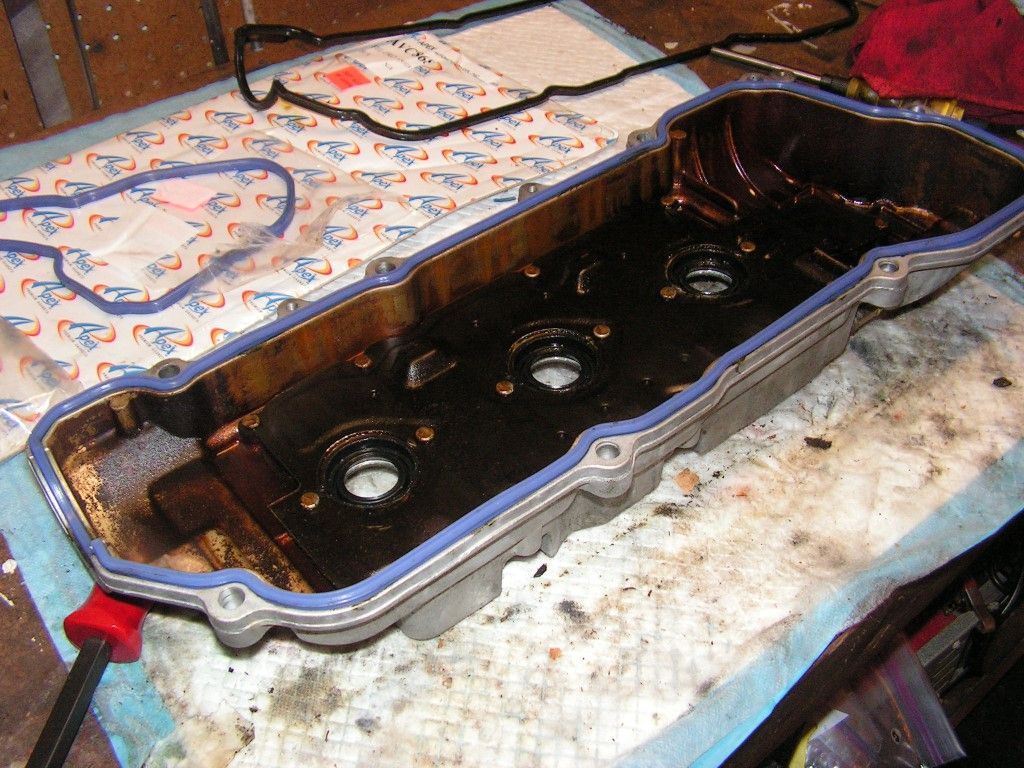
With the cover off, it goes for a bath in the parts cleaner and then gets hosed down thoroughly with brake cleaner and compressed air to make sure there is no trace of oil or silicone residue in the gasket channels.
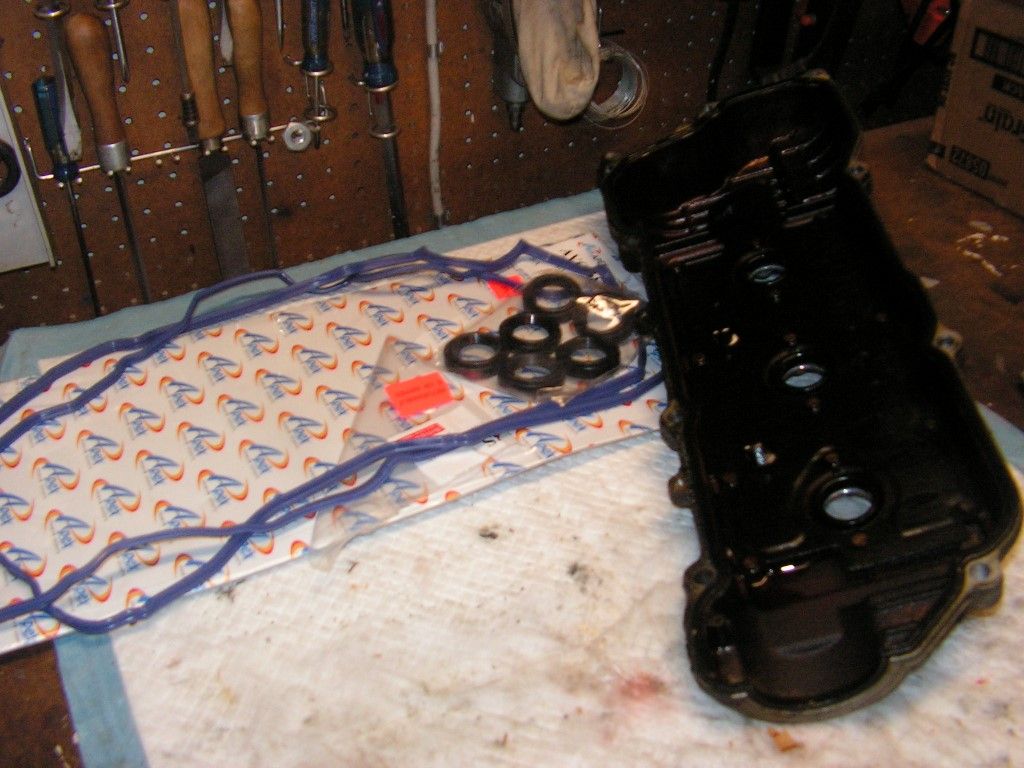
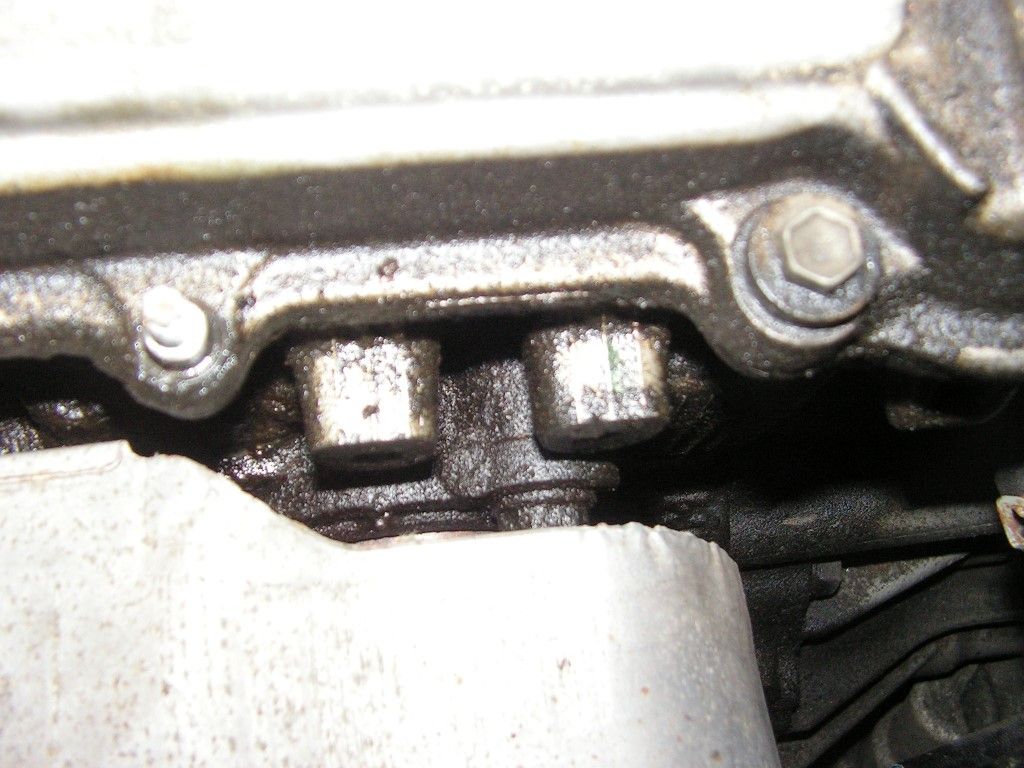
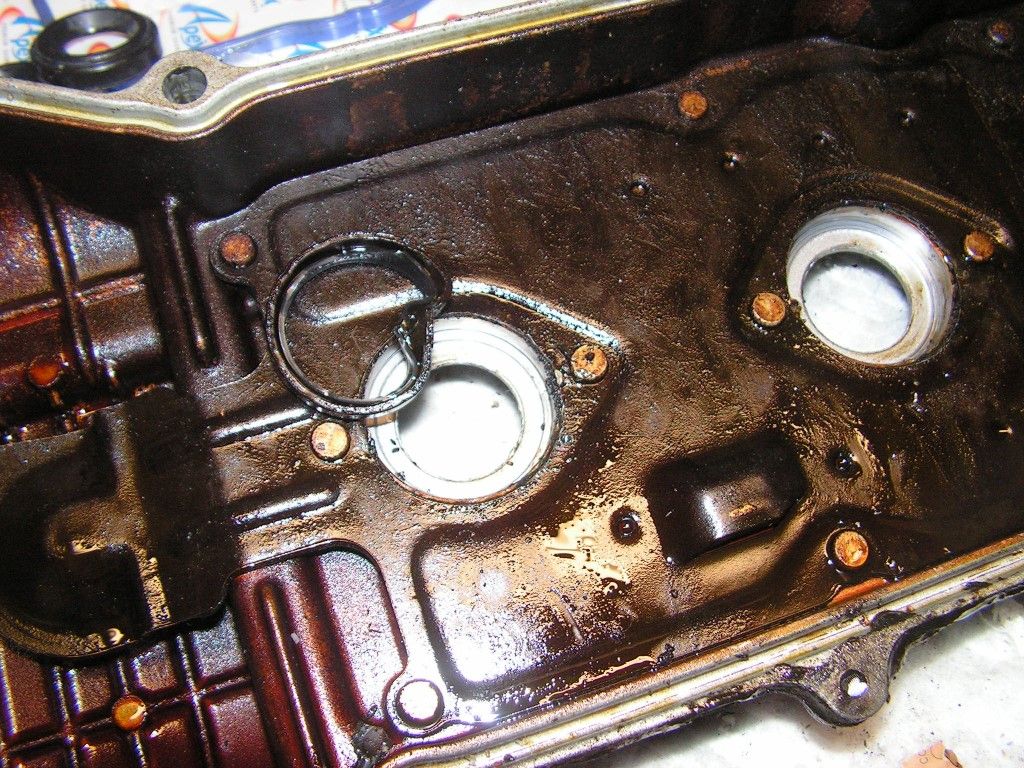
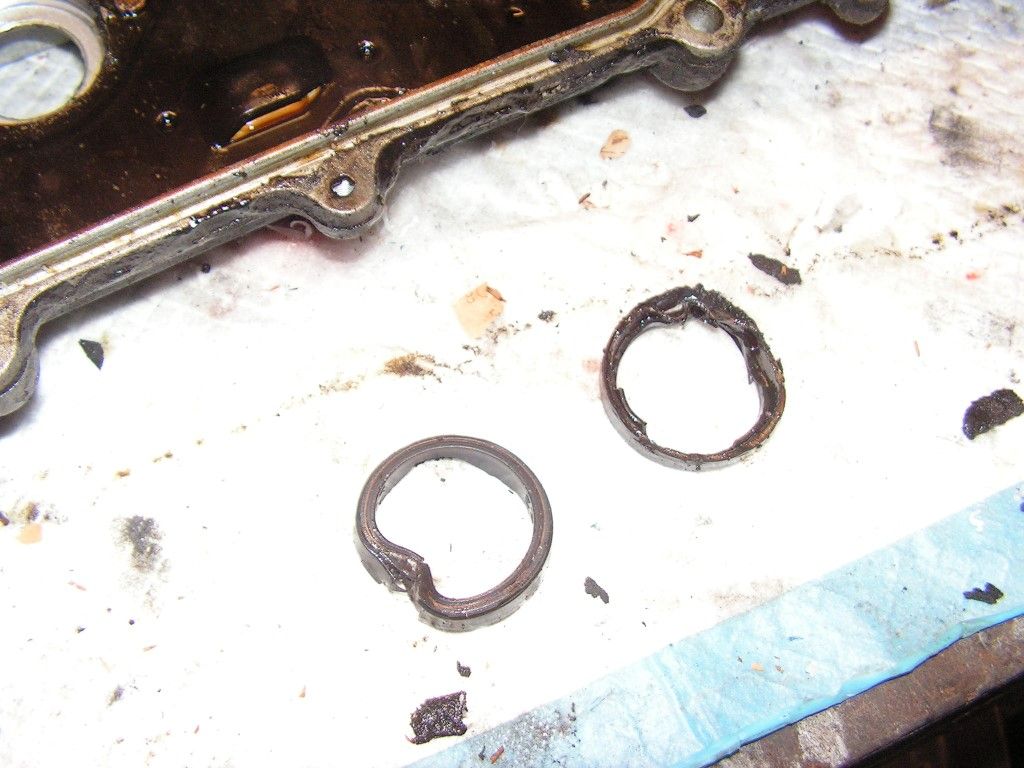
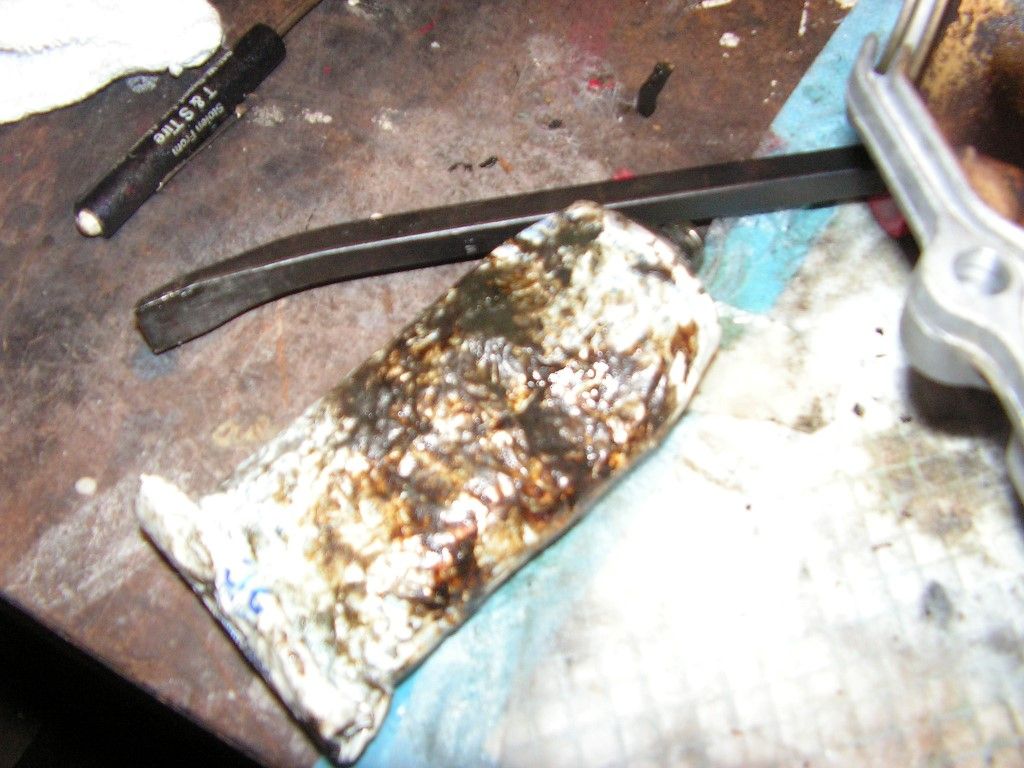
The hardest part of the entire job is removing the extremely hardened tube seals. The old gasket was hard as a rock, but it came loose quite easily, but the old tube seals each broke off in two pieces when trying to push them out with a round flat punch.
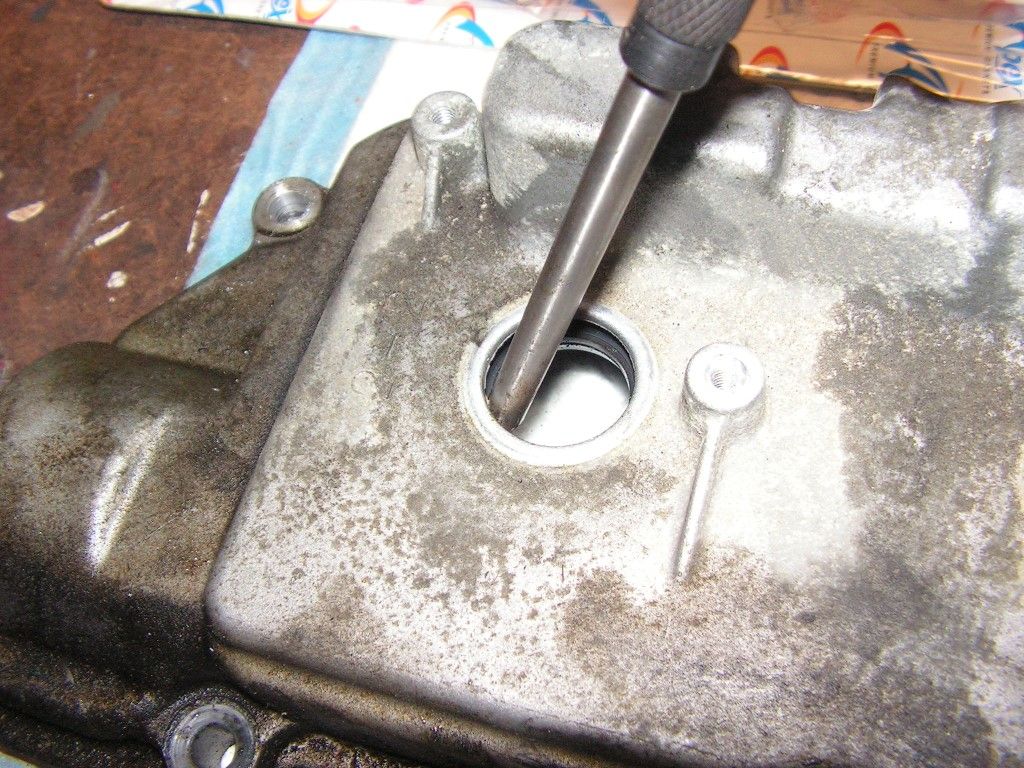

What's left is a solid plastic plug in the underside of the valve cover. It required a flat blade screw driver be driven in between the old seal and the valve cover (trying not to damage the valve cover sealing surfaces in the process) to deform the old seal and then pry it out. -- Easier said than done, but with a little patience the remnants all finally broke free.
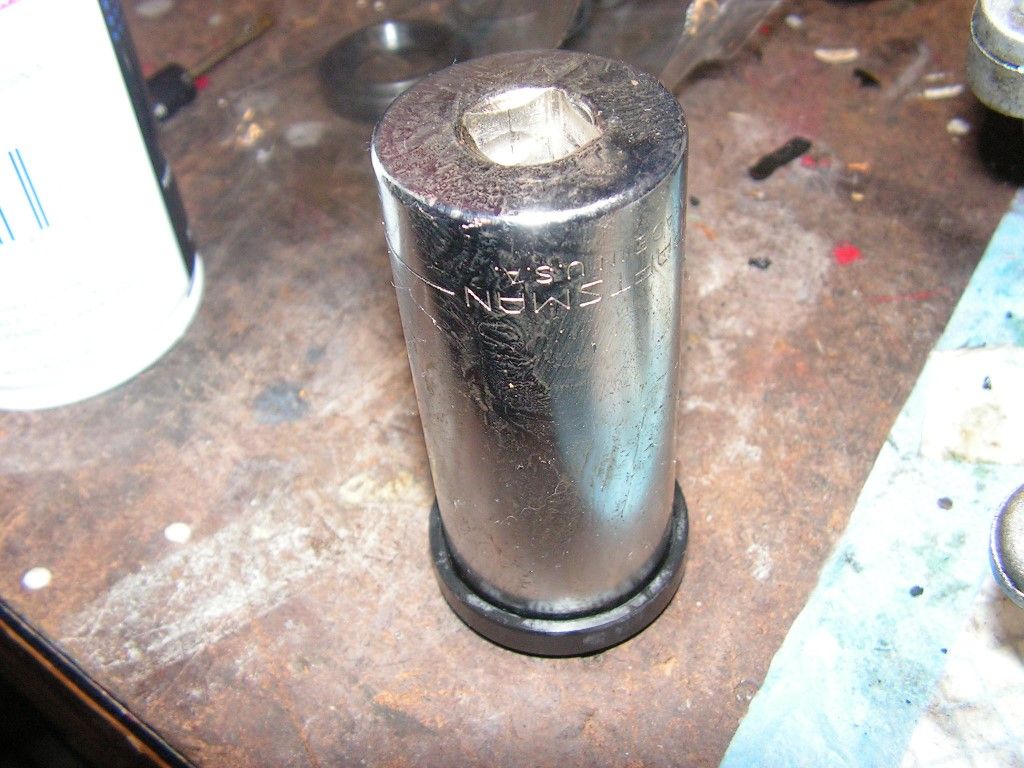
Installing the new seals into the cover I used a 1-1/8 deep socket that fit the inside lip of the seal. I lubed the new seals with a little grease and started them by gently taping them in place with a plastic hammer. Once started, I use the socket to drive them home.

Everyone has their favorite method of dealing with silicone sealing gaskets. Some prefer to install as is, others apply a few dabs of silicone or adhesive to the valve cover channel to hold it in place. I use the old "tried and true" dab method, but with Permatex Form a Gasket #2. The stuff is fantastic -- a few dabs in the corners of the valve cover channel and the gasket is held firmly in place for installation. I also add a dab into the corners of the crown area.
Lastly I lube the tube seal inner surfaces and the tops of the tubes with grease and install the valve cover. A gentle push and a little prodding with a pocket screwdriver gets the tube seal lips to slide over the tubes. Once that's done, the 10mm valve cover bolts are installed and hand tightened. I don't know the torque spec on these, but I just tighten moving from the inside out toward the edges --
Everything is hooked back up; the air breather and top radiator hoses are reinstalled, and the radiator is topped off with Asian car recommended red/orange coolant.
Not a difficult job, but time consuming because those hard as nails tube seals are extremely difficult to remove with out damaging their valve cover seats.


