Author Topic: 1995 Isuzu Rodeo CV joints --  (Read 5321 times)

Offline goodfellow

  • Global Moderator
  • Hero Member
  • *****
  • Posts: 4341
1995 Isuzu Rodeo CV joints --
« on: August 15, 2018, 09:08:54 AM »
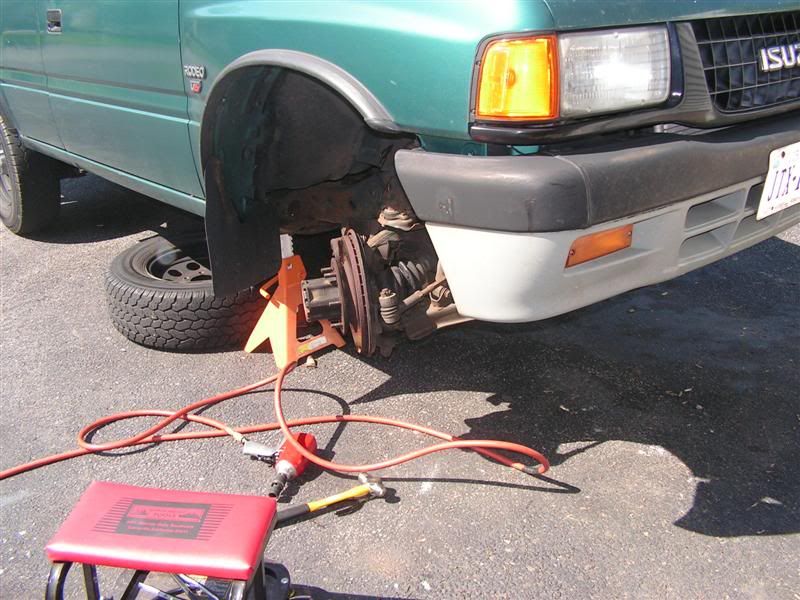
So a few years ago the old "truckster" decided to squeal like a banshee in the front end. A quick look at the CV joints confirmed the obvious. The boots were torn, the shocks were shot, and the lower ball joints were totally trashed. Although the Rodeo is a great reliable car, one of the worst jobs on these 4x4's is the CV joints and half shafts, because unlike many other vehicles of this type, the axle housing will need to be dropped. This is no small feat, and I don't blame many shops for charging around $1200 for this work, because it's downright nasty.

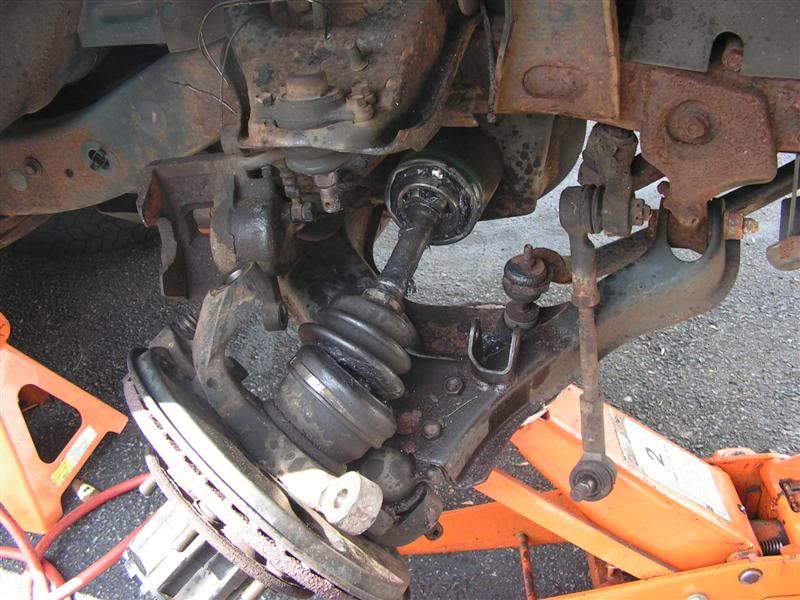
First thing was to get as much out of the way as possible. Although the OEM manual calls for only dropping the steering linkage, it's much better to drop the sway bar, and front skid plate, rear cross member, and lower valance. The hardest part is getting everything that is rusted in place to come loose. Nothing budges without a high torque 1/2" impact gun and lots of Kroil.


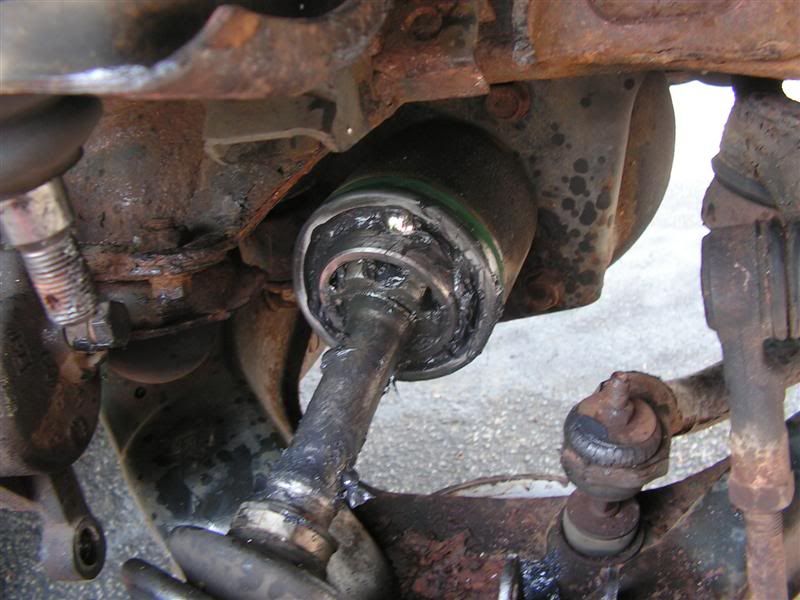
The old inner CV joint snap rings pop pretty easy once I found them under all the grease --


Right front is out --


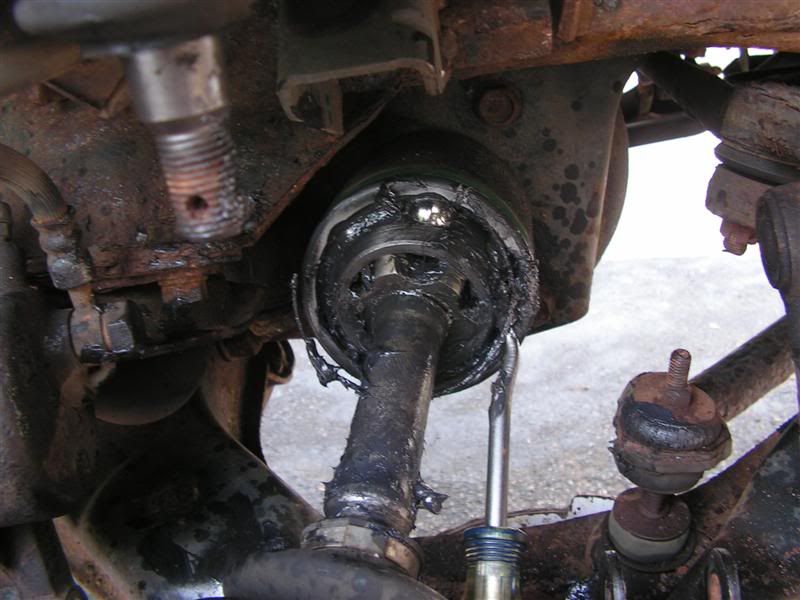
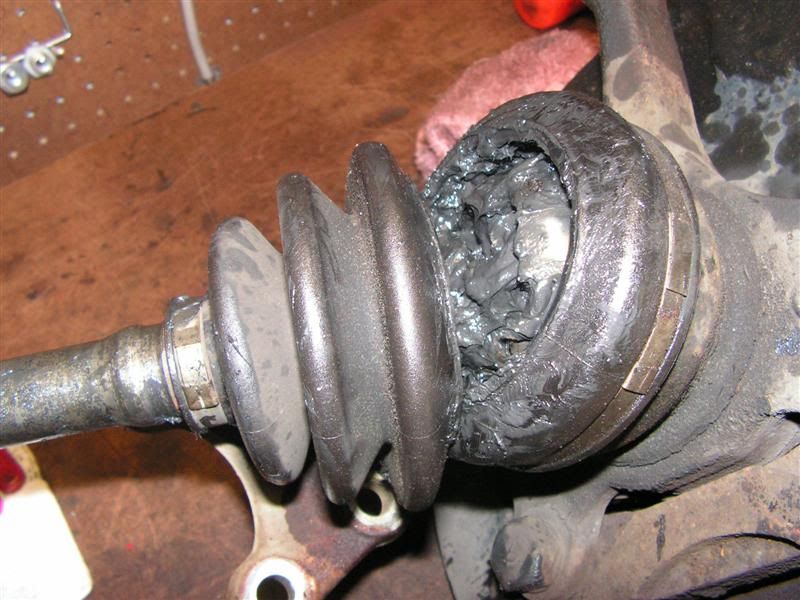
Lots of sand and grit in there. This was the noisy one --


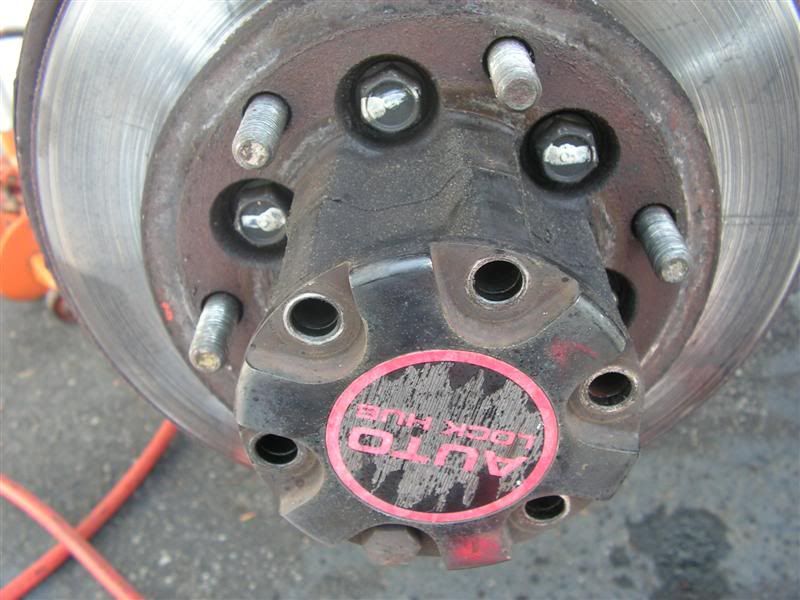
On to the left side. BTW these Rodeo's have auto loking hubs. More on that later --


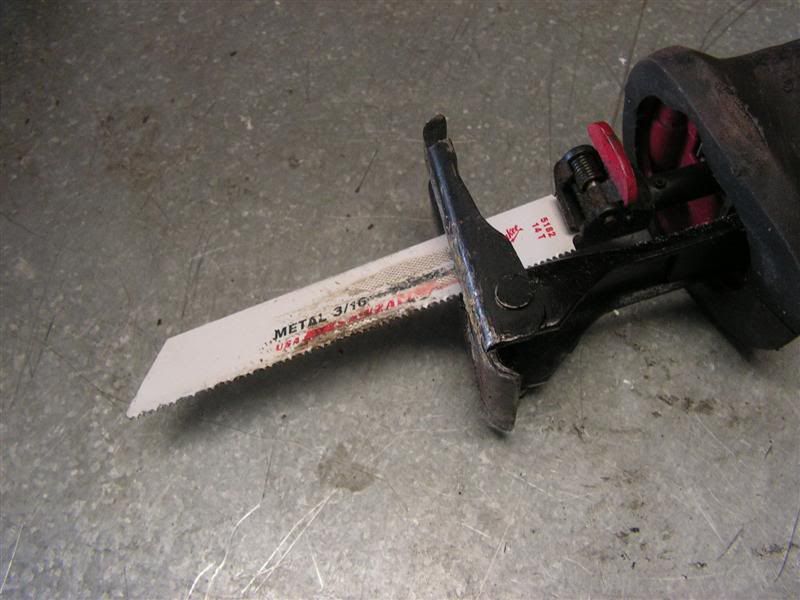
Kudos to these Milwaukee metal blades, they made short work of the top shock absorber nuts. It was easier to cut them than to try to unscrew that mess of rust.


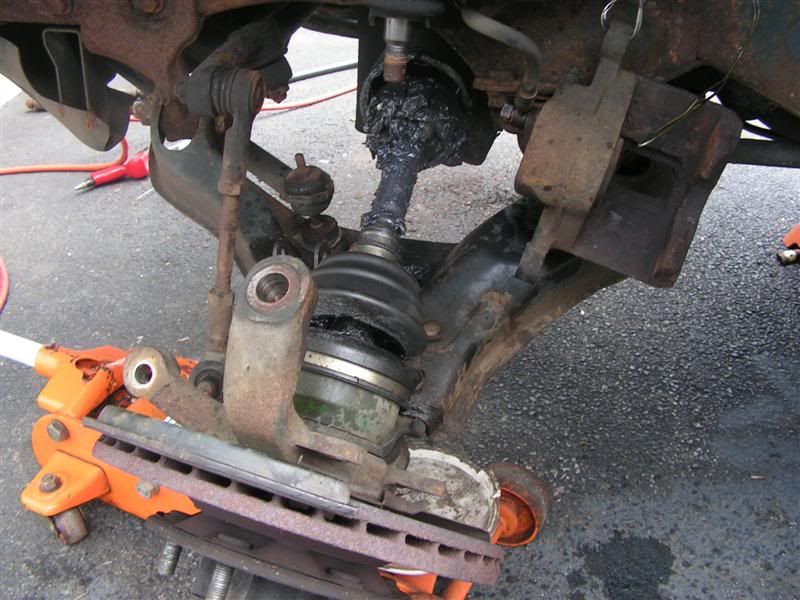
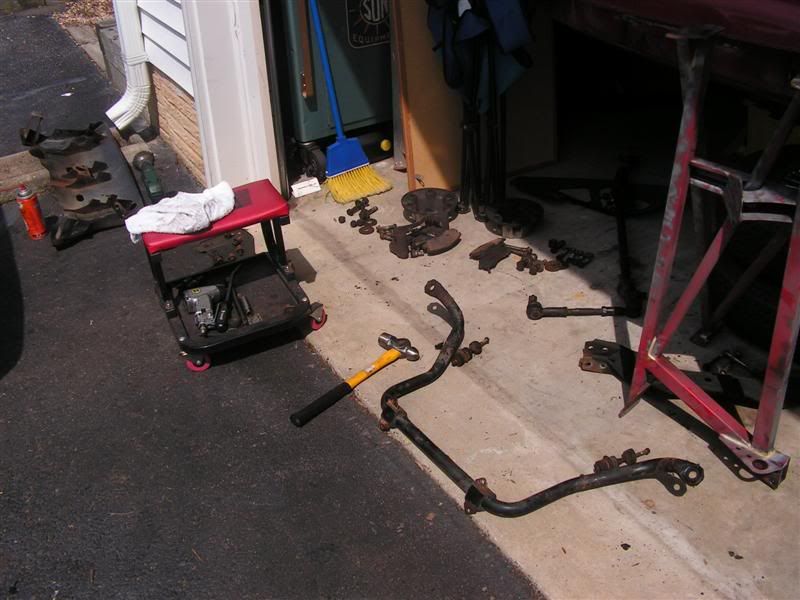
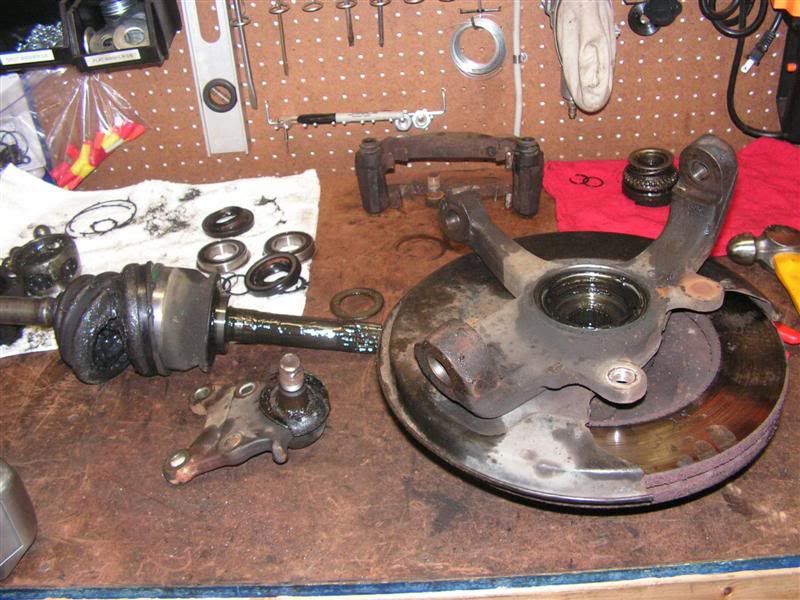
Here are all the parts that need to be removed in order to get the axle housing out -- this took all day yesterday.


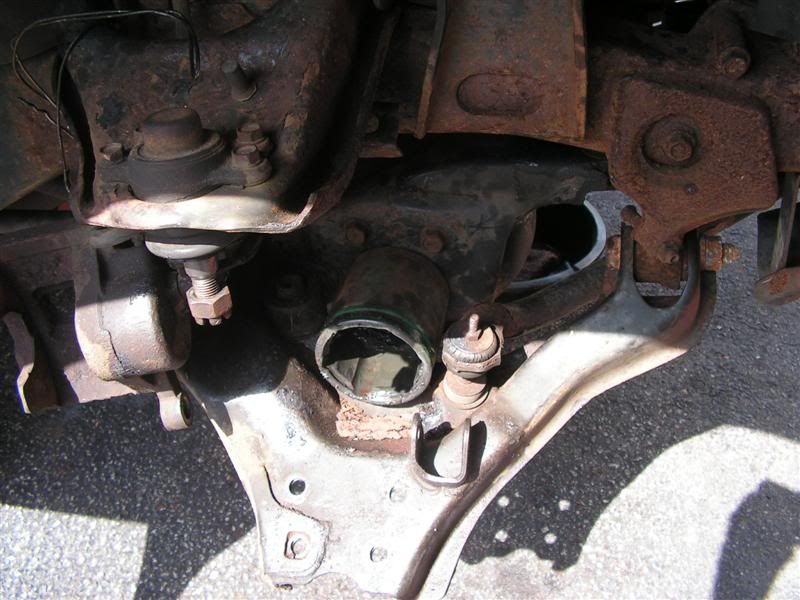
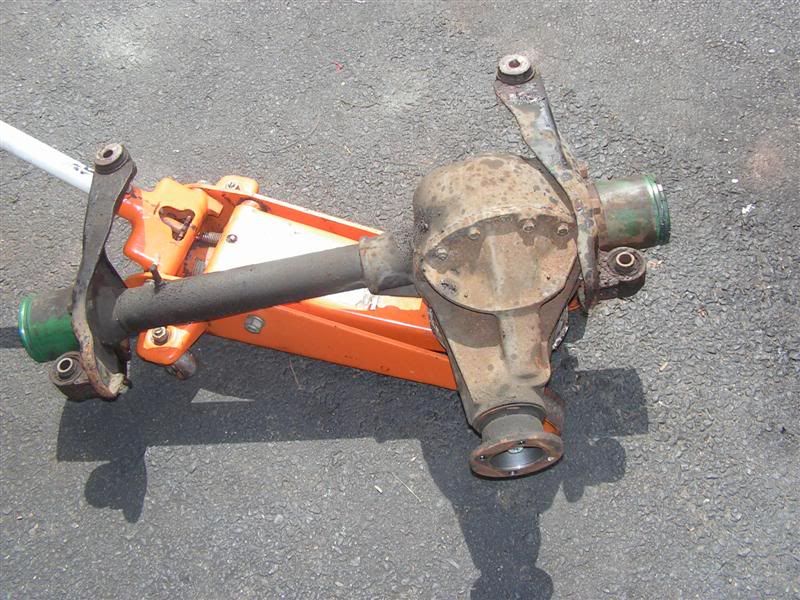
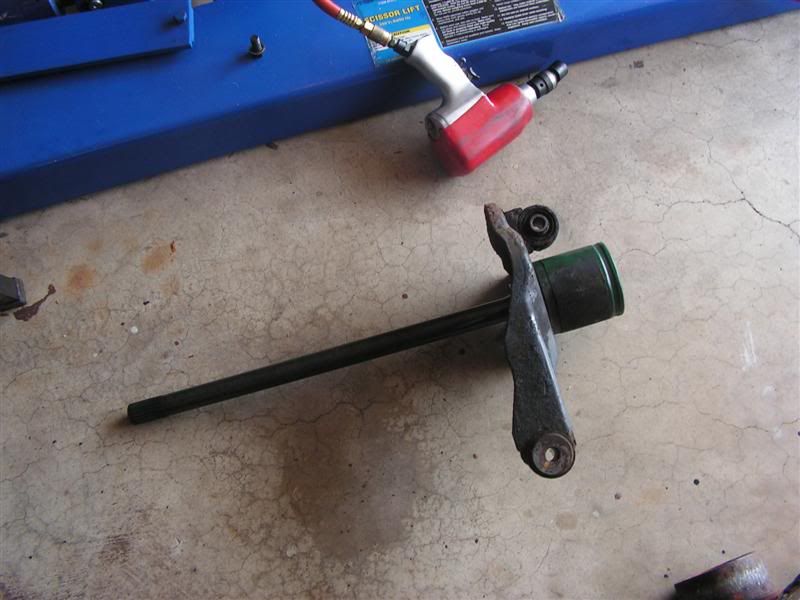
The pitman arm needed to come loose as well; so that the axle housing could drop. Without a good puller, this job is futile on older rusted cars.


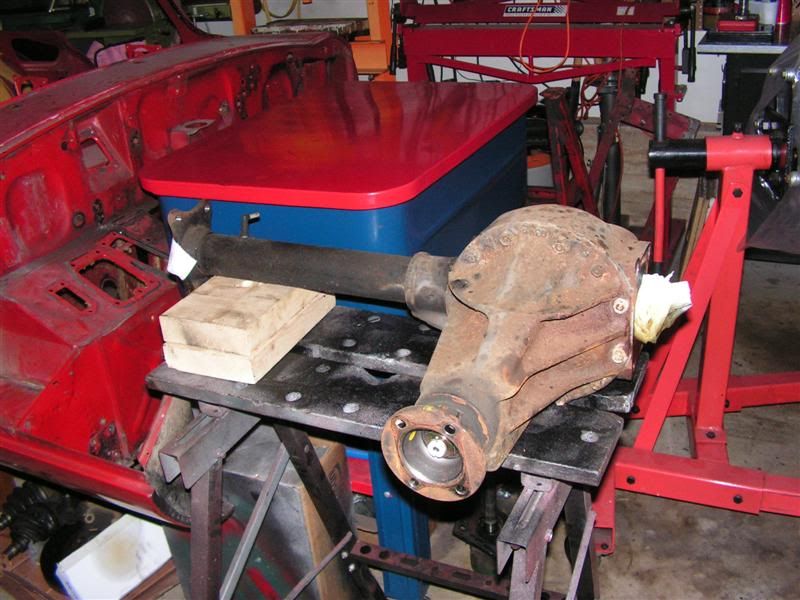
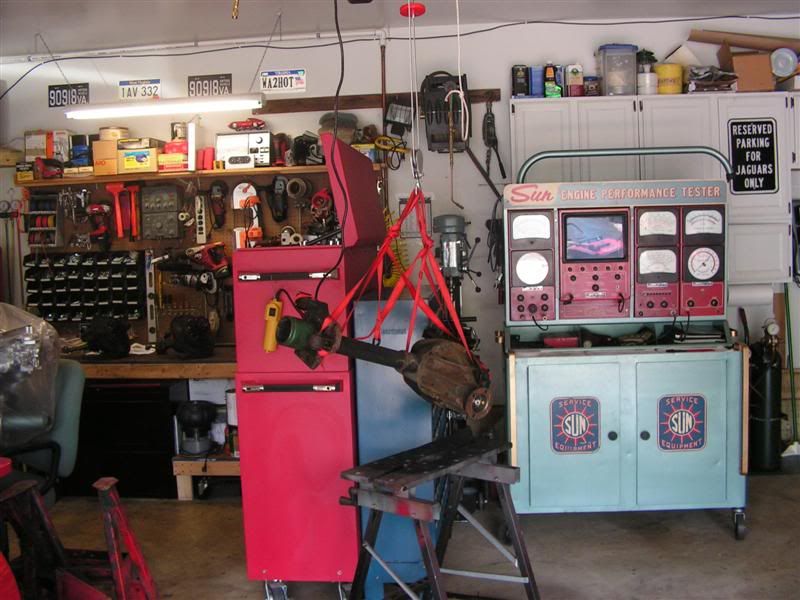
Glad I got that garage hoist, 'cause my back wasn't about to have me lift that housing for service on the workmate.


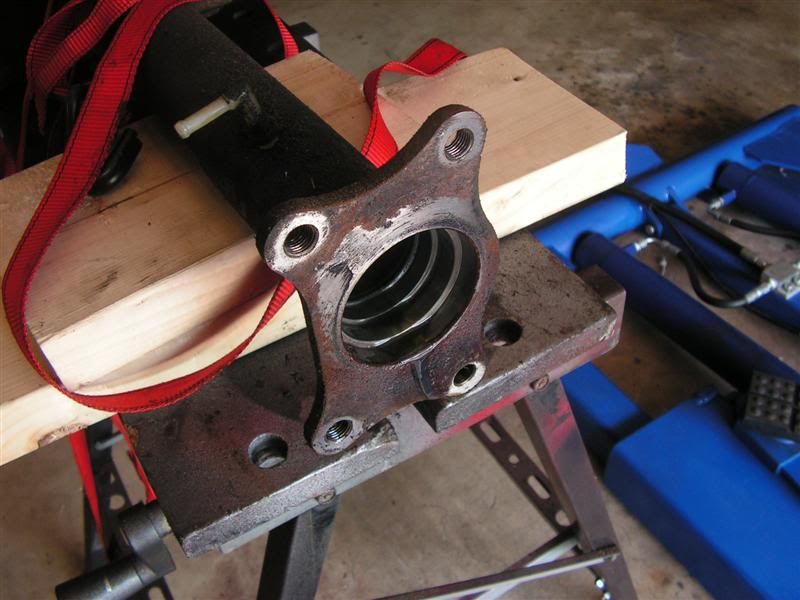
Here's the left axle shaft once it's removed from the tube.


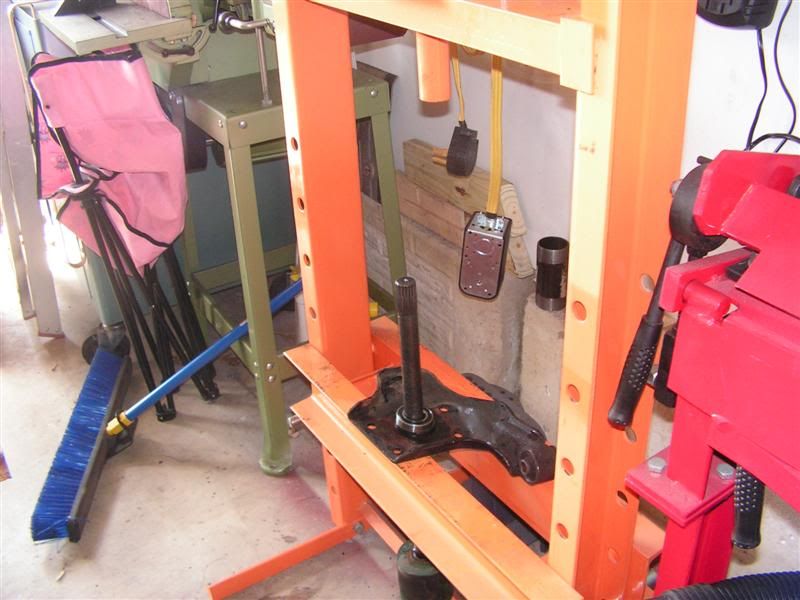
Pressing the bearing off the shaft -- thank the Lord for the 20 ton HF press


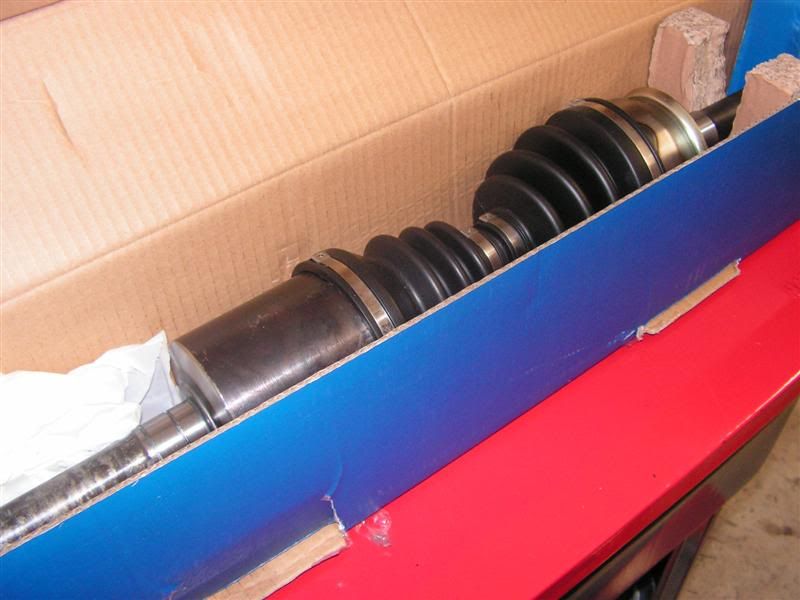
Here's the new left axle and CV joint ready for installation; once all the seals and other parts arrive from Rock Auto.


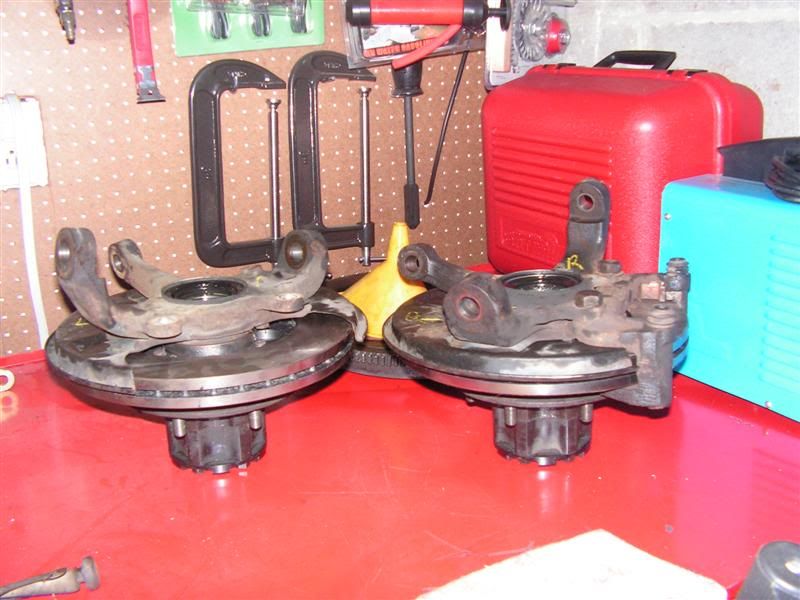
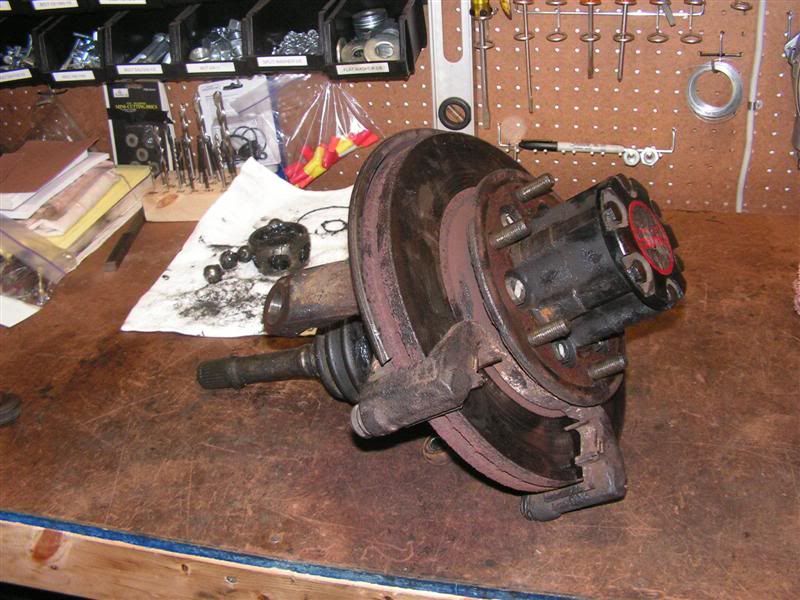
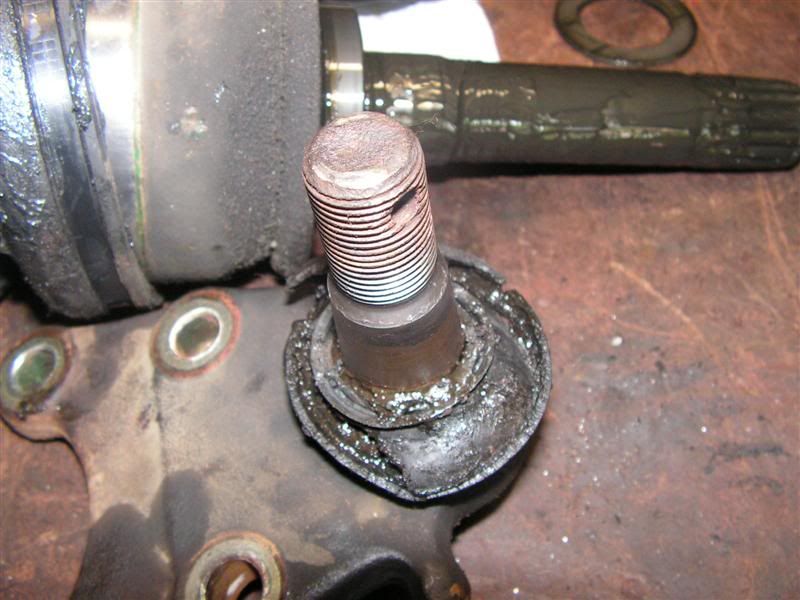
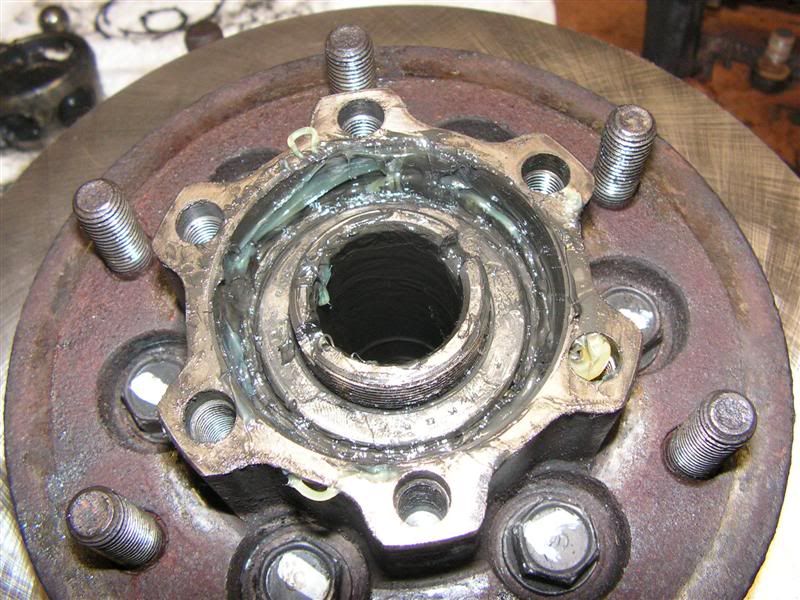
Now on to the hubs and disc brakes. I bought new rotors for this car, because I don't want to EVER take that hub apart again. A simple snap ring holds the splined shaft in the hub. Note the trashed ball joint -- 17 years of service; not bad!!!


Autolocker being removed.


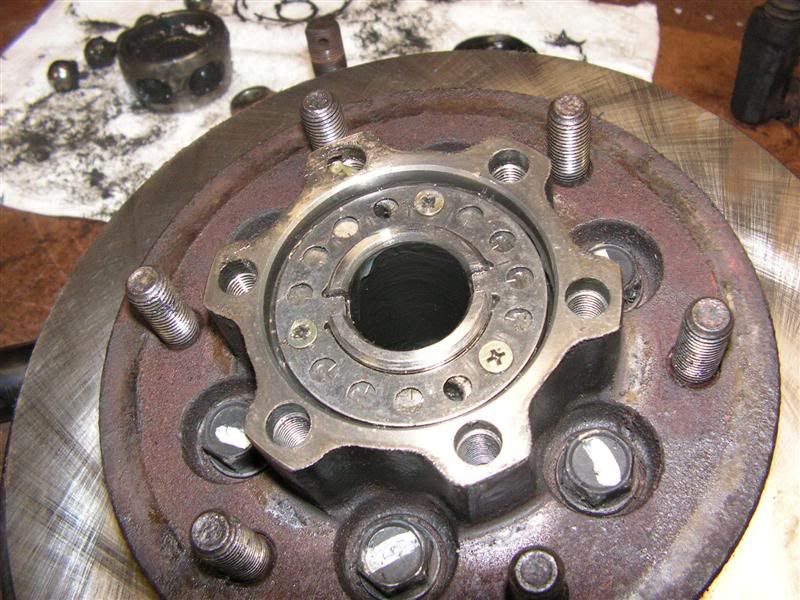
Retaining ring and wheel bearing locking rings need to be loosened and removed.


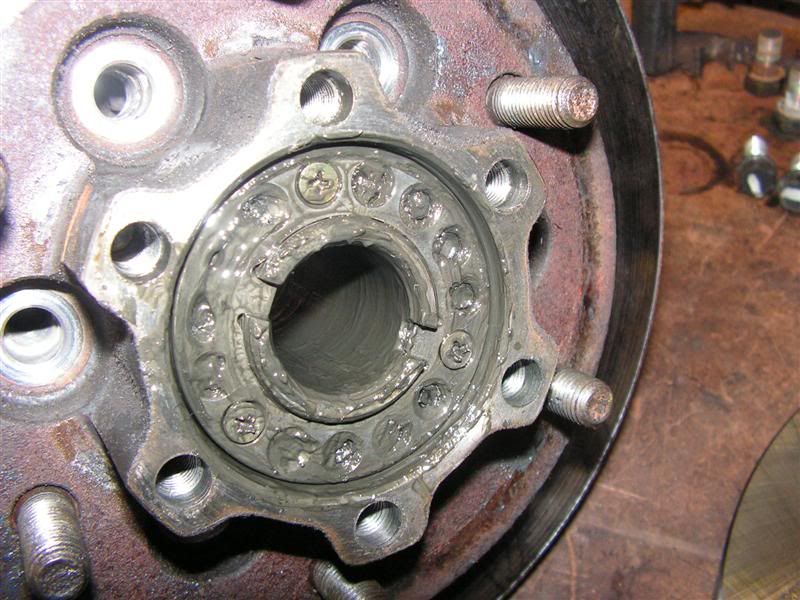
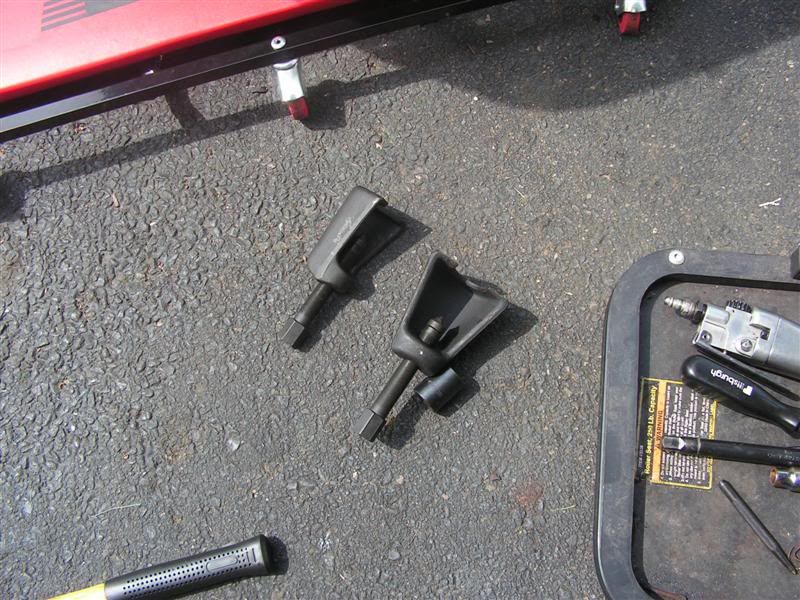
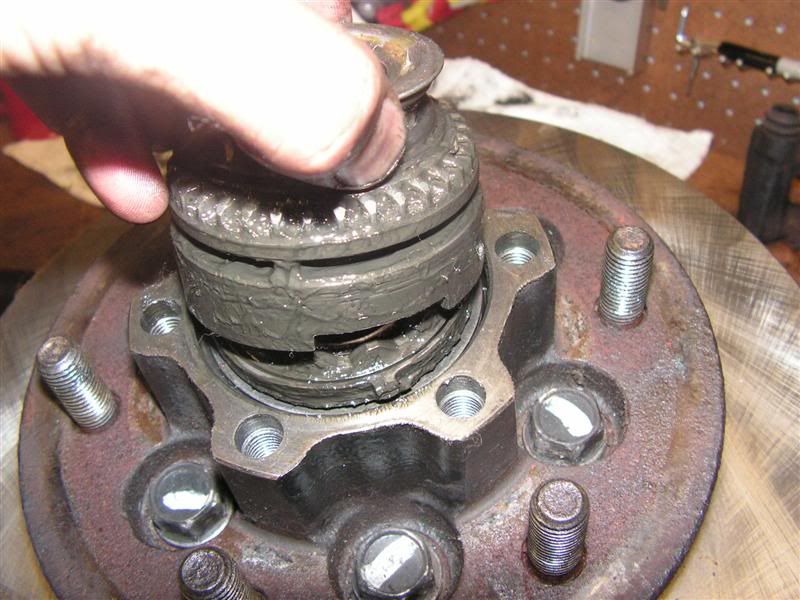
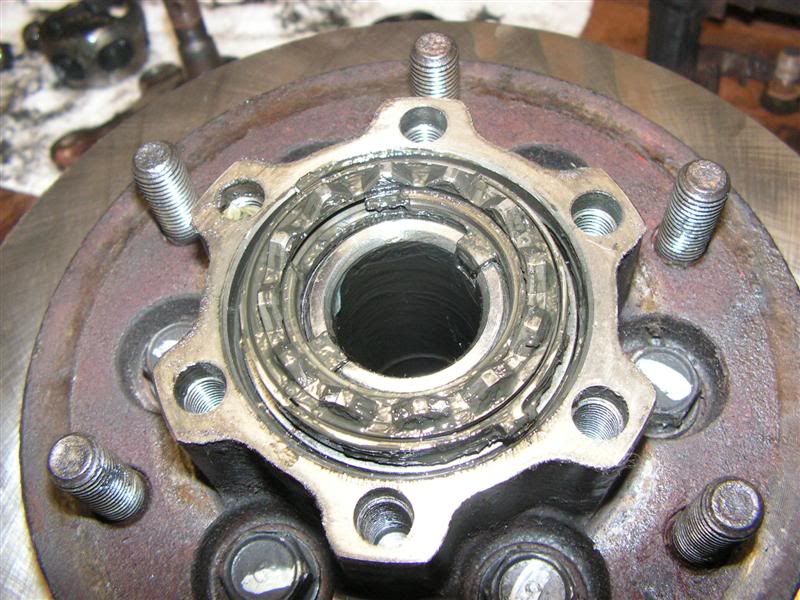
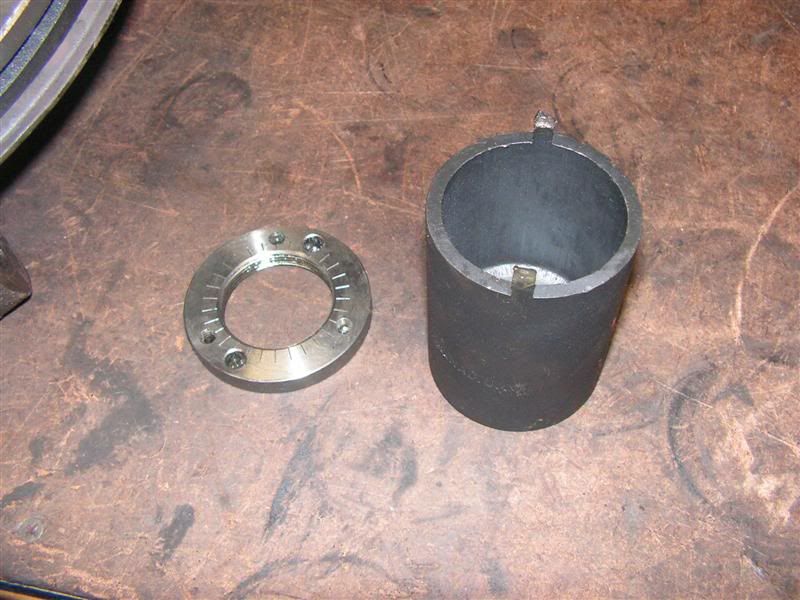
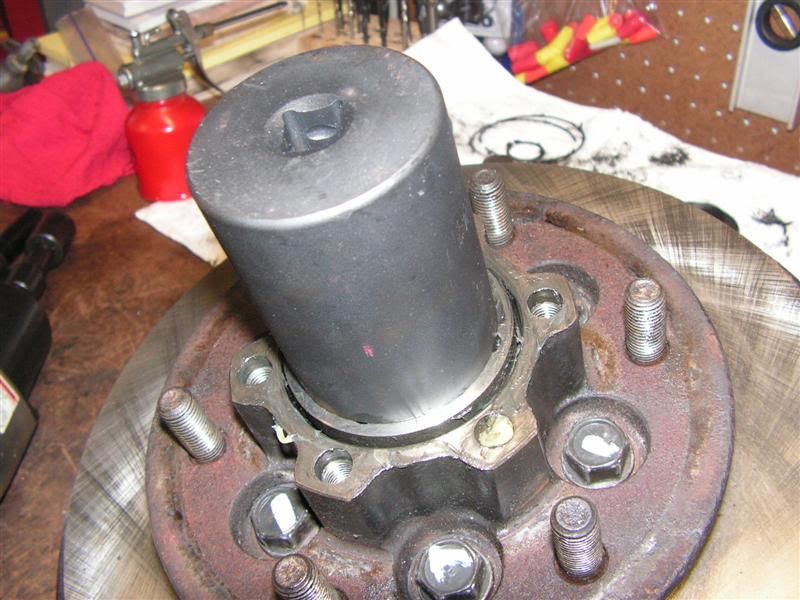
A special socket is required for the locking ring. Once the locking ring is removed, the outer wheel bearing pops free


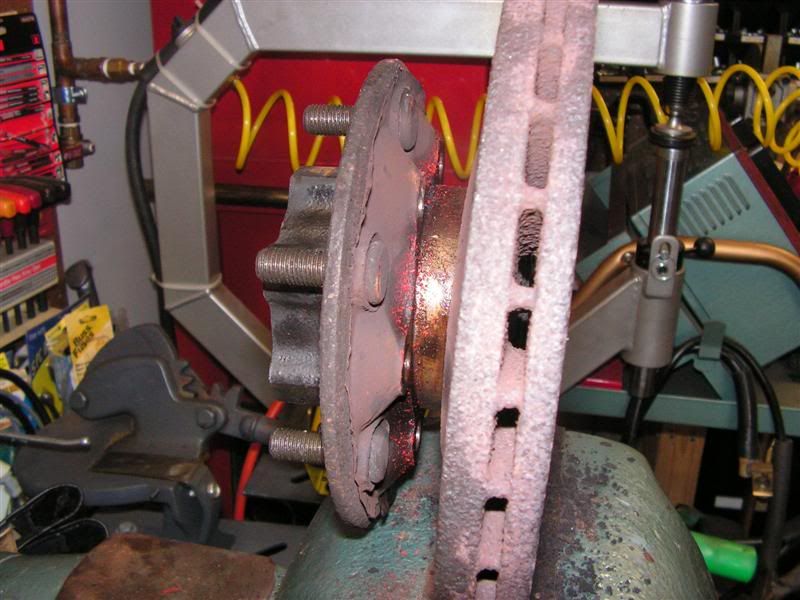
Now to remove the hub from the brake disc. It needs to be set in a vise and separated slowly with a hammer and chisel, to force the hub off the disc


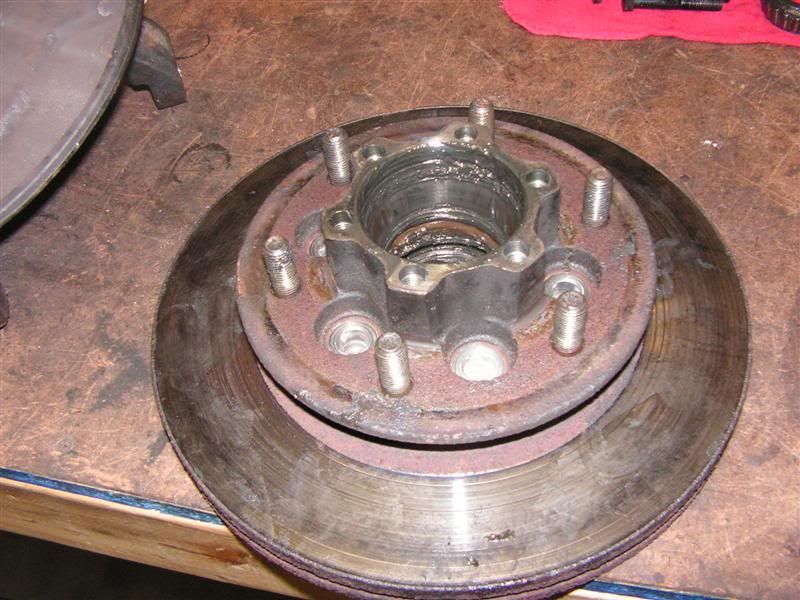
New disc is installed and I'm ready to reassemble the hub

first the wheel bearing is greased and seated, then the locking ring and retaining rings are installed.


The auto locker -- followed by the endcaps. I put the endcaps back on just to seal the lockers from dust. The caps will need to come off again later on to install the CV joint shaft and to reinstall the retaining rings on the end of the shaft.


So -- that's how far I've gotten -- the hubs and disks are rebuilt, and the axle housing and new CV joints are ready for installation once all the seals and parts show up next week. No restoration grade painting and prepping on this job. Just clean everything up and slam it back on the car.


Offline goodfellow

  • Global Moderator
  • Hero Member
  • *****
  • Posts: 4341
Re: 1995 Isuzu Rodeo CV joints --
« Reply #1 on: August 15, 2018, 09:09:18 AM »
Finally some parts started to show up so I could install the front axle back onto the frame. Reinstalling the axle is probably the hardest part of this entire rebuild because the mounting holes all have to align perfectly for the fasteners to thread on straight. If it's off by just a hair, then there's a good chance that one of the bolts will cross thread.

You really need two jacks to attempt this balancing act -- so here goes!! What REALLY helped a lot were two large tapered punches that were used to align the front mounting holes on both sides. In all there are only four large bolts holding that axle in place (two on each side).

NOTE to get that axle to fit between the lower control arms, I had to install the RH CV joint and axle mount only after the axle had already been lifted over the lower control arms. That is to say, the LH CV joint and mount was installed first, then the entire axle assembly (minus the RH CV joint) was fitted between the lower control arms. Once that was accomlished, the RH CV joint and axle mount could be installed on the axle.

There isn't enough room between the lower control arms to allow the axle to be lifted in place with both CV joints attached to the axle. The following pics show the assembled axle with both CV joints and mounts attached to the axle tubes. It's now ready for the axle mounts to be attached to the car's frame.


Front bolt --


Rear bolt --


It still took 45 minutes to finesse everything just right, but in the end I was able to install that axle in less than an hour -- a new record for yours truly.

These made the job go faster --


All mounted up and the hardest part of this job is over with.

Kudos to Rock Auto -- their lower ball joints were 30-50% cheaper than all the other vendors I tried (local and Internet). Their prices are amazing -- these lowers are Moog and in most places they sell for $80 -$100. Rock Auto had them for $42


I was running short on time, so I was only able to bolt up the front crossmember, hook up the drive shaft, the steering linkage, pitman arm, skid plate, and the sway bar. The rest will have to wait a bit longer.


Unfortunately, while I was installing the axle, I noticed that the right upper ball joint boot was shot as well; so I might as well replace the uppers. A quick look at Rock Auto showed that they were selling for $14 each; SOLD!!


Offline goodfellow

  • Global Moderator
  • Hero Member
  • *****
  • Posts: 4341
Re: 1995 Isuzu Rodeo CV joints --
« Reply #2 on: August 15, 2018, 09:09:50 AM »
Geez, I was so proud of myself for installing those lower ball joints the other day. In a word, old goodfellow was "nuts" with that move.


I could have sworn on a stack of bibles that those ball joints were installed facing in the upward direction (as in the previous picture). I was convinced that this was the way they came off the car. Unfortunately I had a "senior moment" and when it came time to install the hub, I realized that the install was plain old WRONG!!!

Well, I managed to get the ball joint off and do it right. The only way to get this hub to fit the axle splines and the lower ball joint socket is to loosely install the lower ball joint on the hub first, and then mount the entire assembly on the lower control arm. Easier said than done, since this thing is heavy. So I needed a jack to help lift the thing. While lifting the hub with the jack, the splines can be fed into the hub and slowly pushed home while also loosely attaching the lower ball joint.


Once the lower ball joint and the splined axle shaft were fitted together, the lower control arm is jacked up further to put tension on the torsion bar. This takes a LOT of pressure. Then the upper control arm and ball joint are levered to the hub using a large pry bar -- note the size of the black pry bar. It takes a lot of force to do this.


From here on it was "gravy" to button up the sway bar with new bushings and links, and to reinstall the 4x4 auto locker. New shocks completed the package.


A nice clean install that took two full working days to complete. Was it worth saving about $900 in labor -- at this point I'm not sure, but at least I got the satisfaction of doing the job myself.


Offline Chubbs

  • Newbie
  • *
  • Posts: 2
Re: 1995 Isuzu Rodeo CV joints --
« Reply #3 on: August 25, 2018, 01:17:52 PM »
I知 very impressed with the parts & equipment that is manufactured for the Isuzu. The hubs, ball joint design, and CV axle appear fairly stout. It痴 obviously a PIA to remove & replace a lot of the functional pieces, but that just seems on-par when looking at it from mechanical advantage with emphasis on durability. I知 not surprised that this OEM design performed without failure nearly 20-years.

I want one now. I知 going to check out the other threads. Thanks for your contributions, sir.

Joe

Offline goodfellow

  • Global Moderator
  • Hero Member
  • *****
  • Posts: 4341
Re: 1995 Isuzu Rodeo CV joints --
« Reply #4 on: August 25, 2018, 03:27:50 PM »
I知 very impressed with the parts & equipment that is manufactured for the Isuzu. The hubs, ball joint design, and CV axle appear fairly stout. It痴 obviously a PIA to remove & replace a lot of the functional pieces, but that just seems on-par when looking at it from mechanical advantage with emphasis on durability. I知 not surprised that this OEM design performed without failure nearly 20-years.

I want one now. I知 going to check out the other threads. Thanks for your contributions, sir.

Joe

Welcome to the GG Joe! It was a great vehicle, but unfortunately the "rust bug" ate the frame to a point where it was no longer viable to maintain it. They all suffered from serious frame rot and it was probably THE main issue that Isuzu owners had with the Rodeo, Honda Passport (originally Honda just rebadged a Rodeo and called it a Passport), Trooper, and Amigo. The engines and drivetrain were bullet proof.