Author Topic: 1995 Isuzu Rodeo AC rebuild -  (Read 4626 times)

Offline goodfellow

  • Global Moderator
  • Hero Member
  • *****
  • Posts: 4340
1995 Isuzu Rodeo AC rebuild -
« on: August 15, 2018, 08:59:30 AM »
This was a relatively simple job  a few years ago because the evaporator core was accessible without pulling the dash

It was warm and when I switched on the air conditioning the compressor didn't kick in. My first thought was that there's a refrigerant leak. So today I hooked up the manifold gauges and there was no refrigerant in the system. I added some refrigerant with dye and the high pressure side of the compressor was leaking and once the compressor did kick in, it made a horrible grinding and hissing noise. Time for a new compressor!!!

After 20 years it's a good bet that the system is pretty much shot. The next course of action is to replace and flush as many components as possible -- that means a new compressor, condenser, receiver/dryer, and possibly a new evaporator and expansion valve. Unfortunately, the compressor sits in the most inaccessible location on this engine.  To expedite the compressor removal process, it's been my experience that the best course of action is to first remove the air filter box, the radiator shroud, the fan, the radiator, and finally the condenser. Here we go ---

First things first -- disconnect the battery NEG terminal.
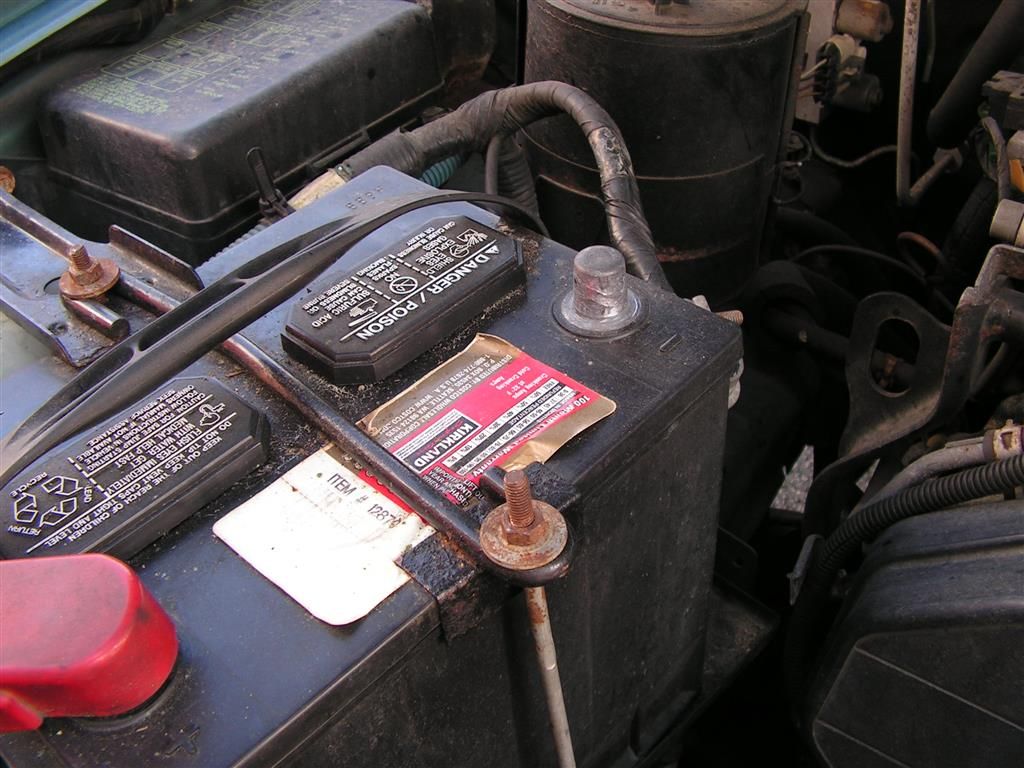


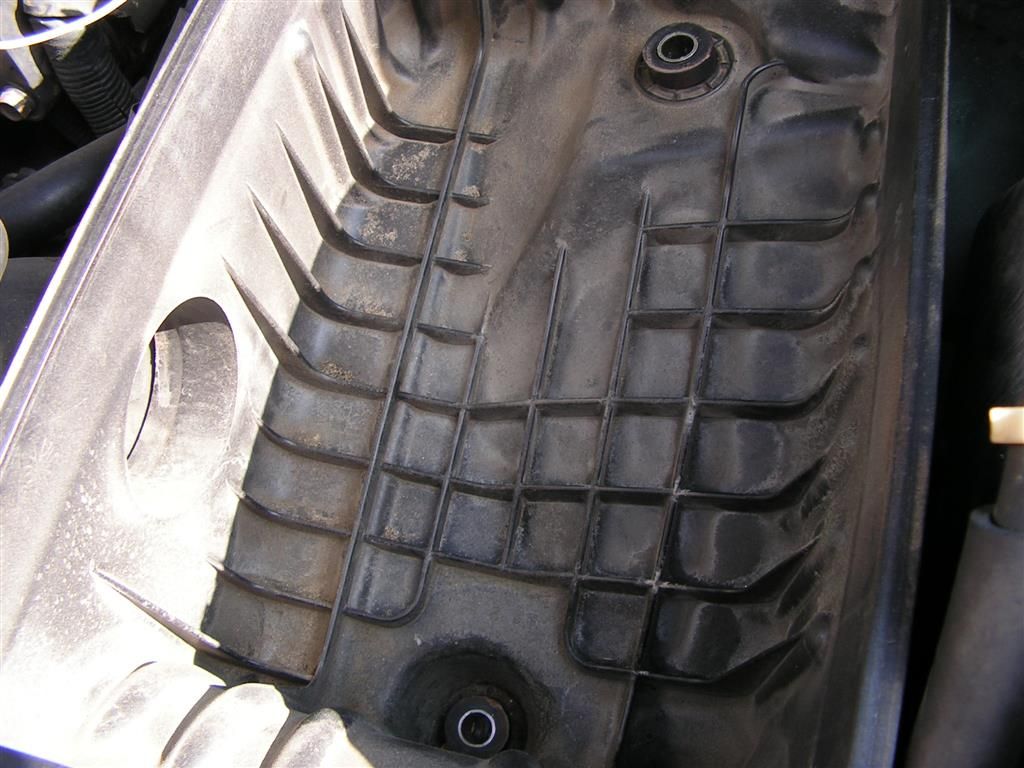
The air box -- only three bolts and it makes a lot of room.


Next comes the front grille (just some simple screws and clips) and the front bumper (four easy to get at bolts on the frame)
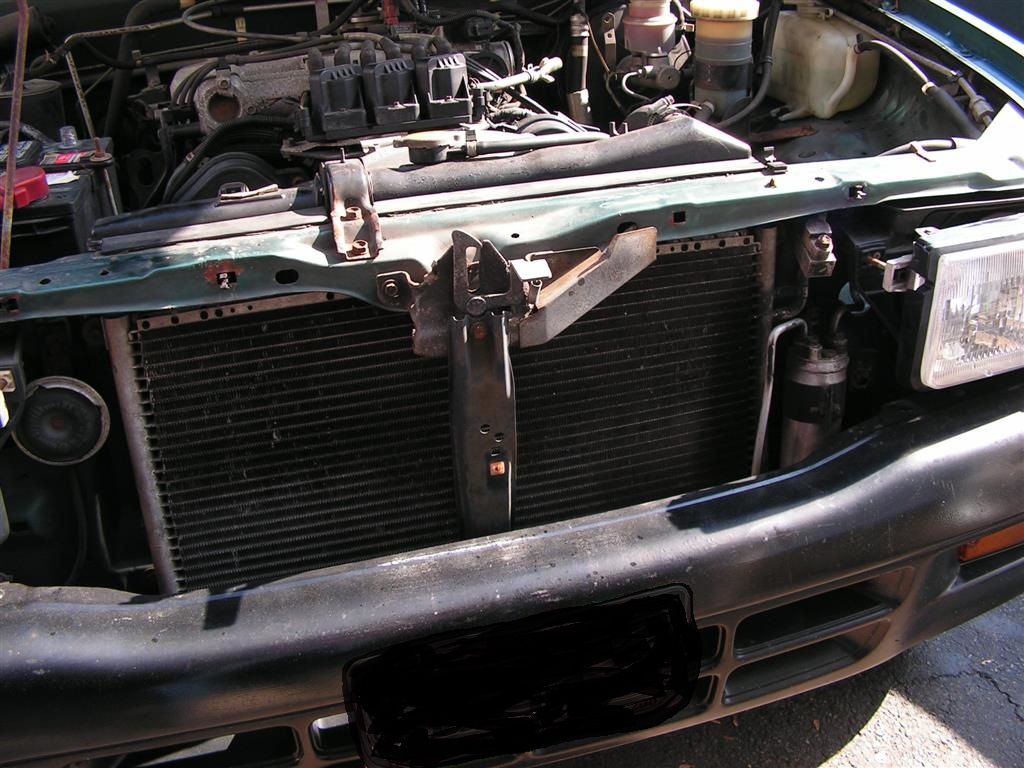
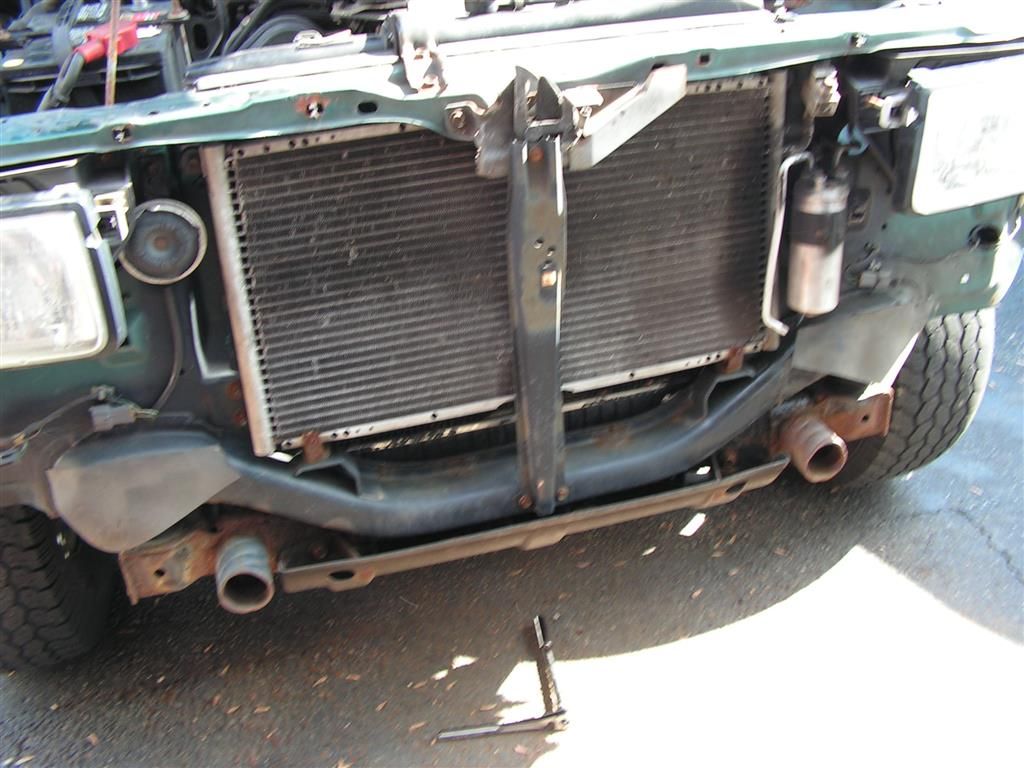


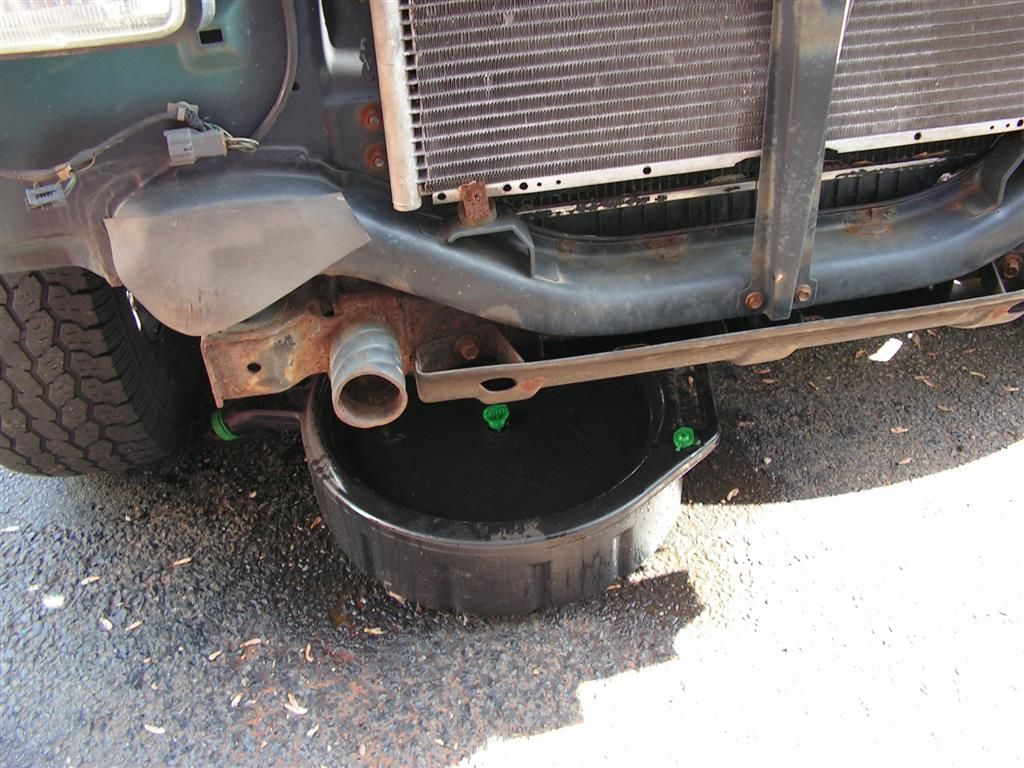
Next, drain the radiator and remove it along with the shroud and fan.


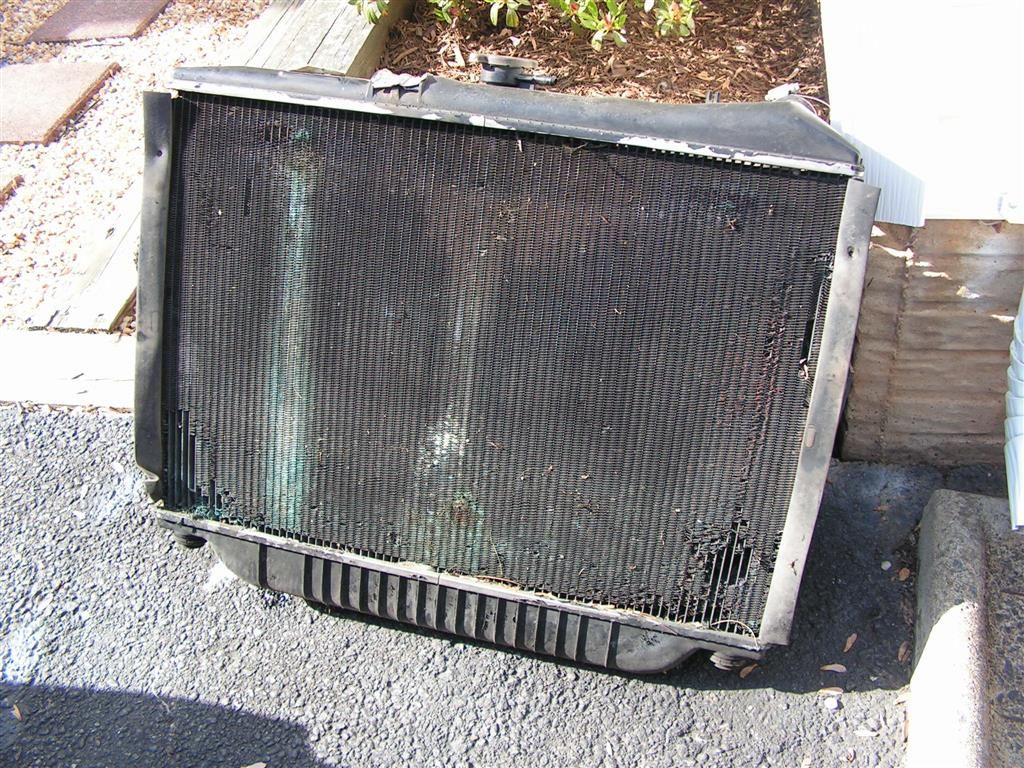
Glad I removed the radiator -- it's on its last legs. The matrix is leaking and the cooling fins are deteriorating. Time for a new radiator as well == it's only money!!!


Now there's room to work. First up is to move the PS pump out of the way. Loosen the locking bolt and insert a 1/2" drive breaker bar into the 1/2" square slot on the PS pump bracket and move the to the left to loosen the belt tension.
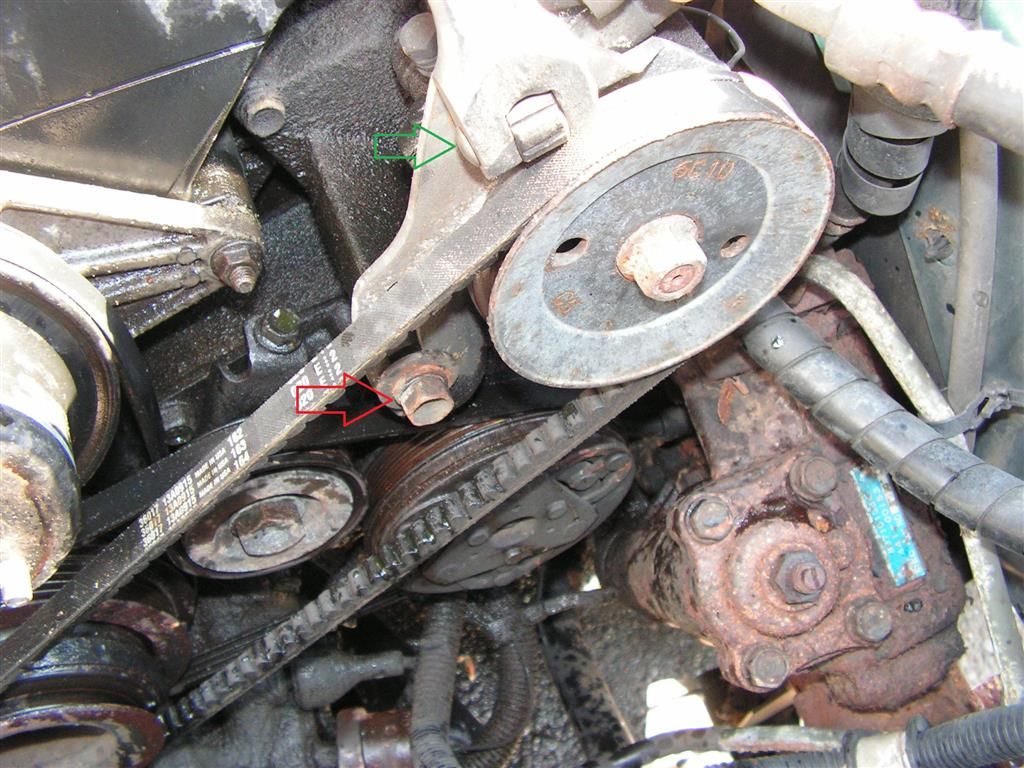


Next remove the locking bolt altogether and also the pivot bolt in the rear of the PS bracket
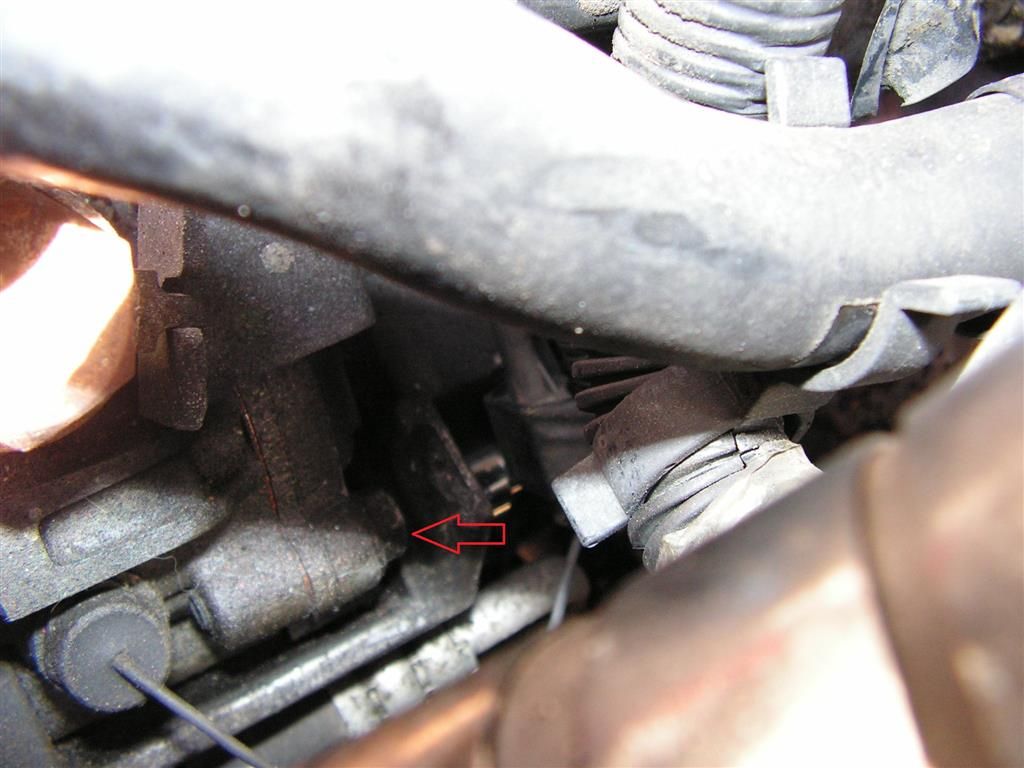


The PS pump and bracket can now be flipped out of the way to expose the AC compressor underneath.
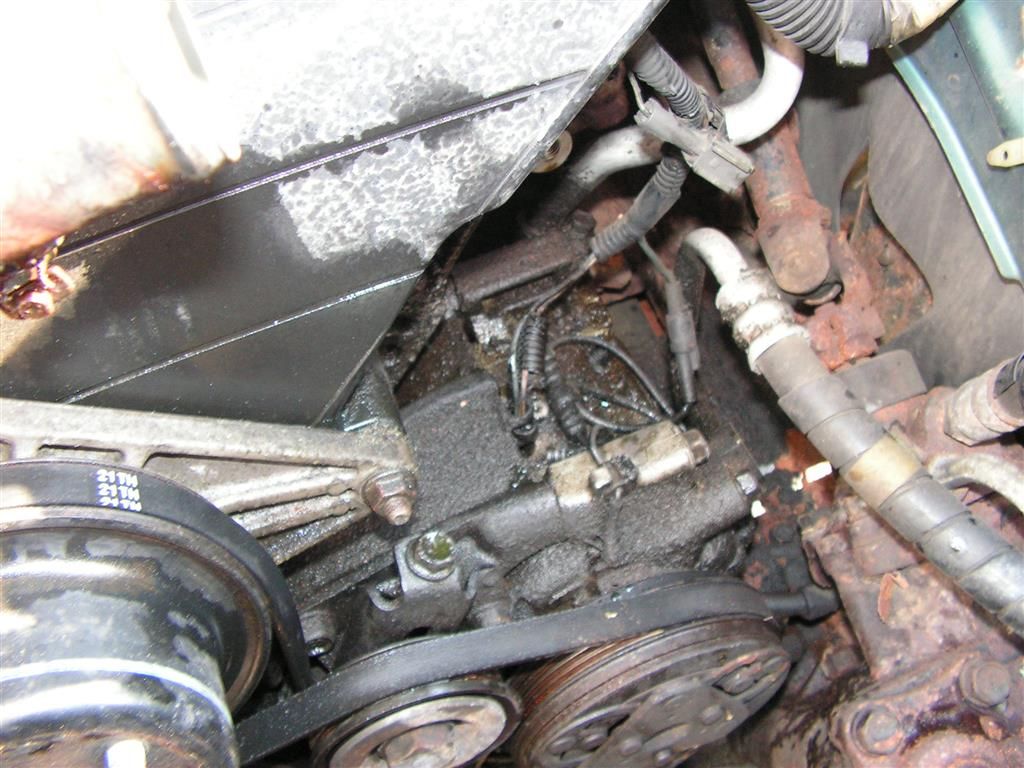


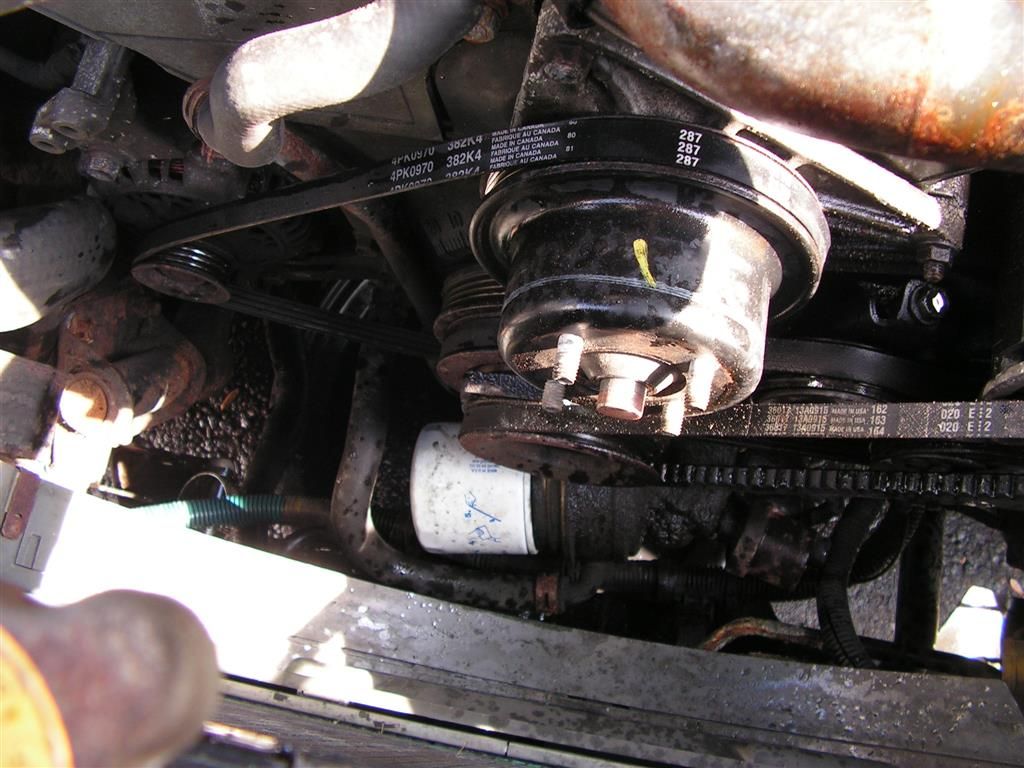
Now to loosen the AC compressor belt I loosen the idler pulley nut itself, and then use the tension adjusting nut to gain slack in the belt
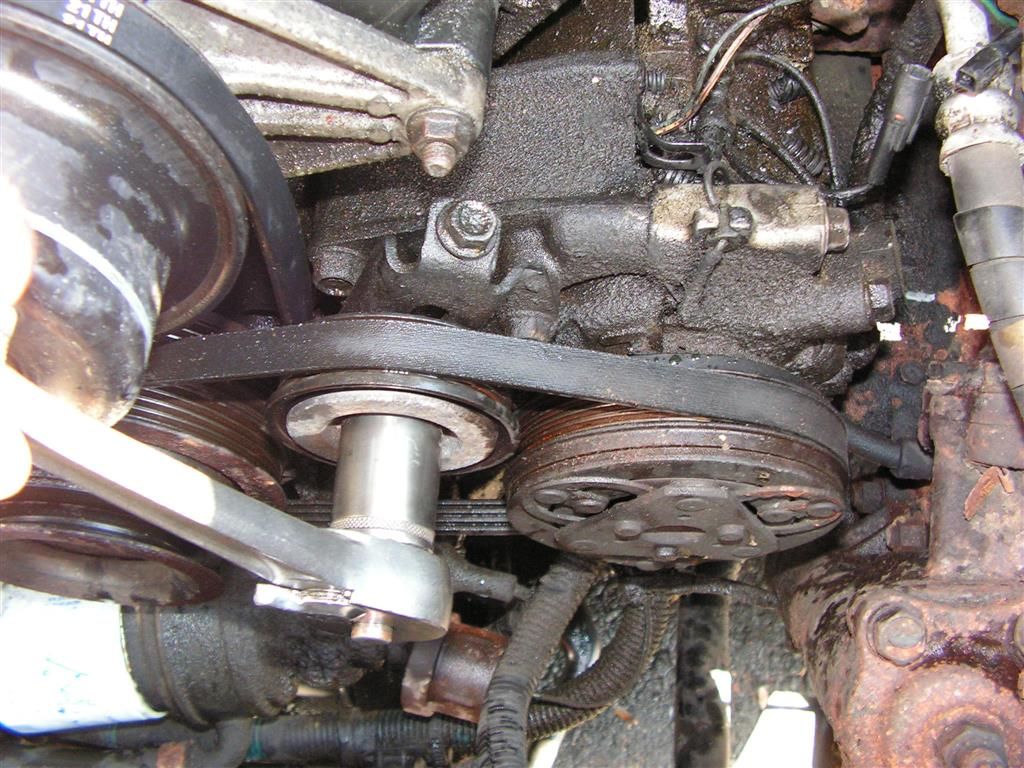
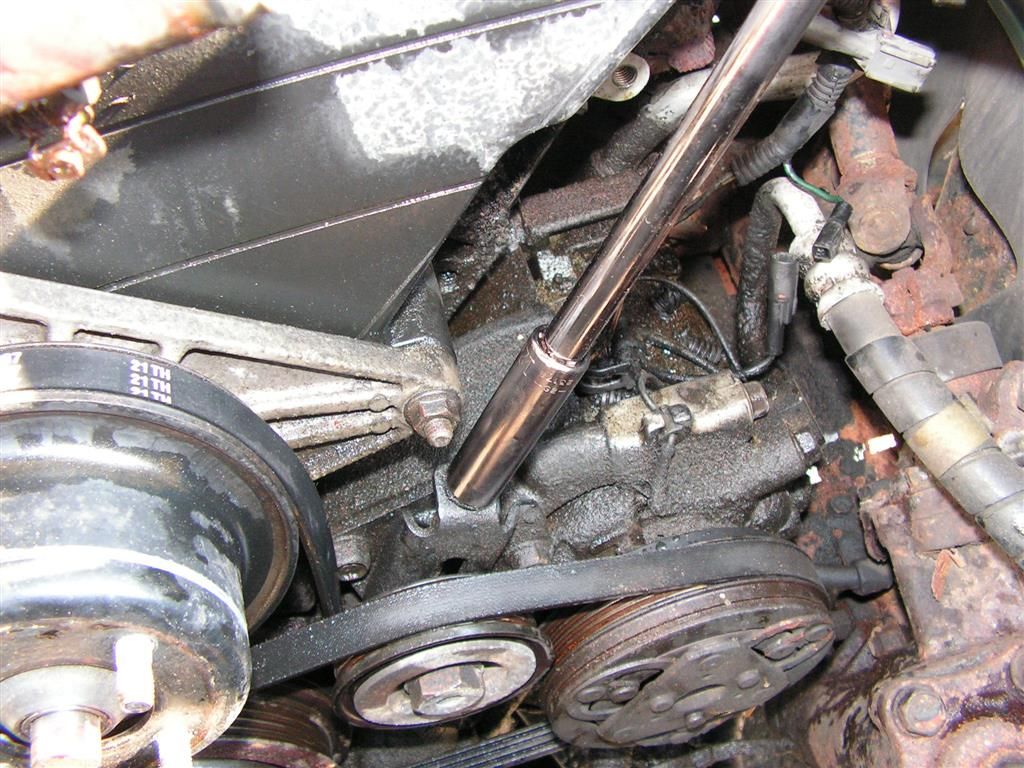


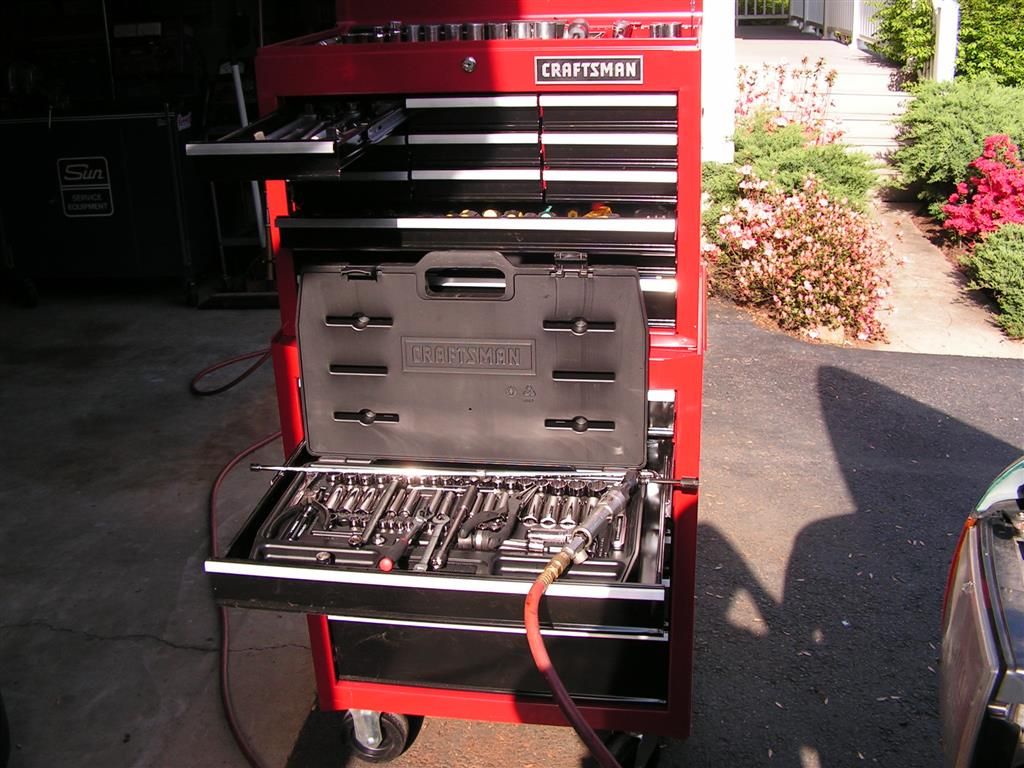
Just an aside; since my main tool box is so large and can't move very easily, I really like this new Craftsman secondary box full of basic tools that I can wheel to the project. Makes the job a lot easier. This is the first time I've made use of it, and I really like the fact that I can wheel it all over the garage and the driveway.


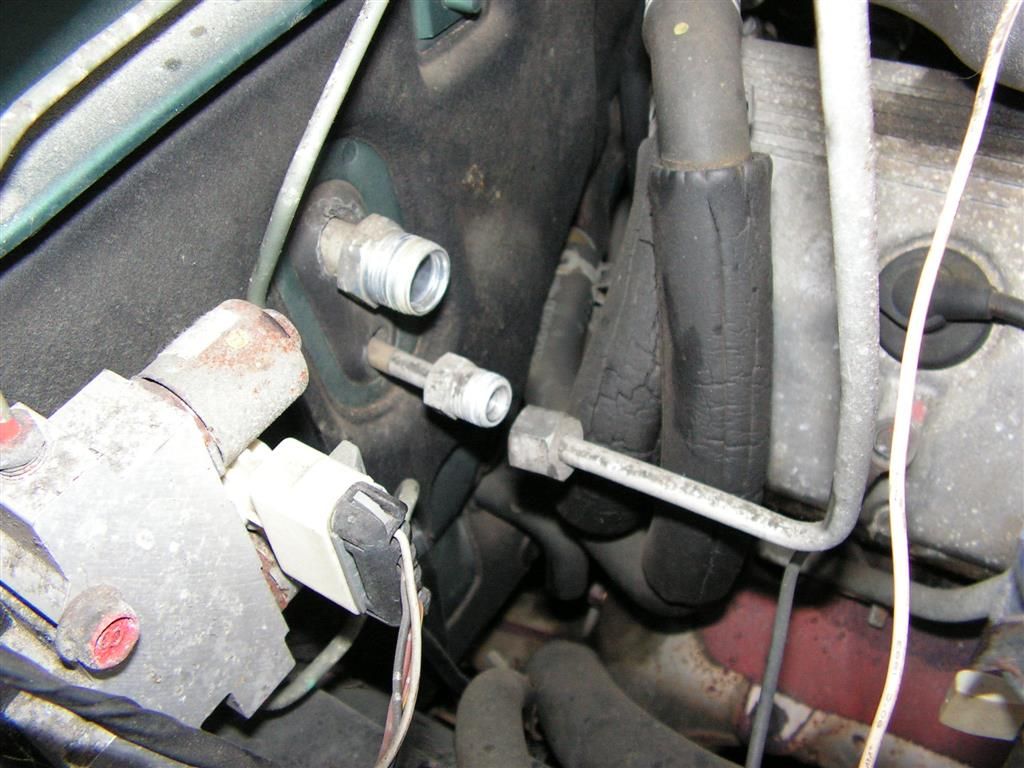
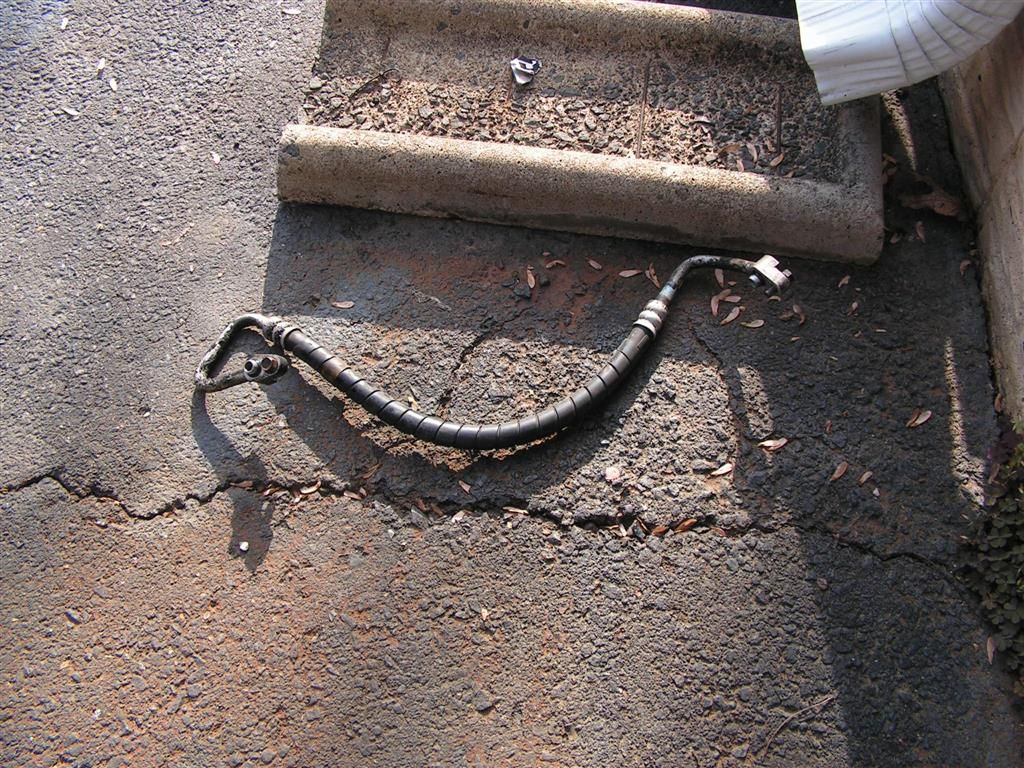
Now it's time to remove the pressure hoses from the compressor, receiver/dryer, and condenser. These hoses will need to be flushed and cleaned.


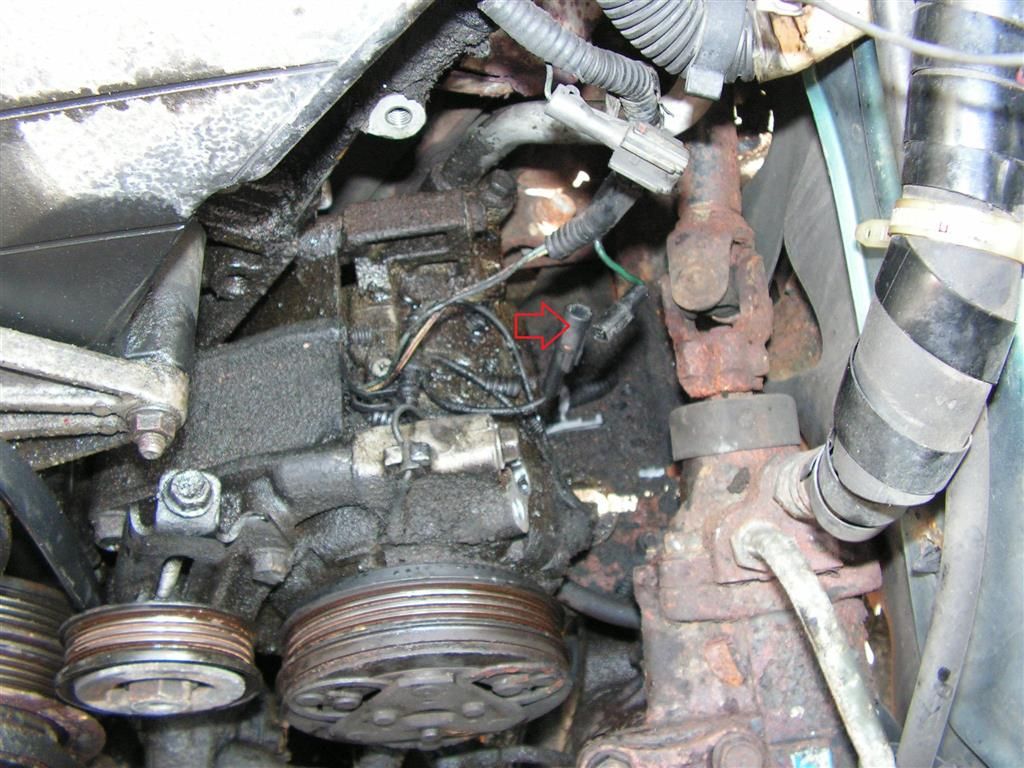
The compressor is disconnected from the main harness (simple plug-in connector)


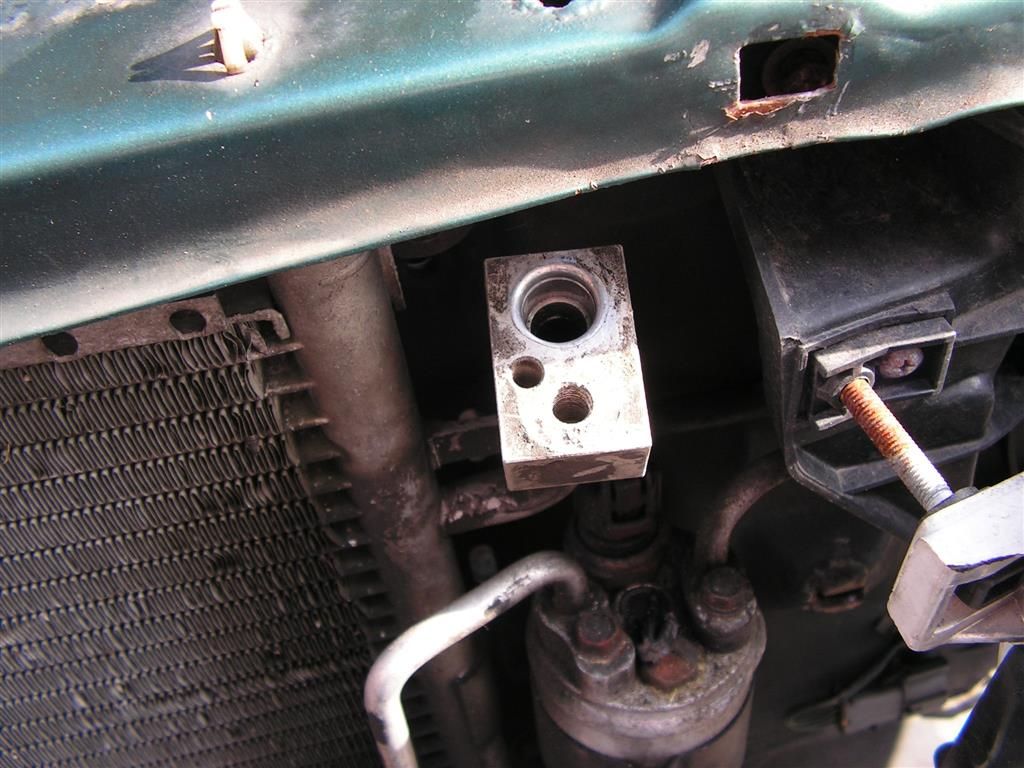
The receiver/dryer is next
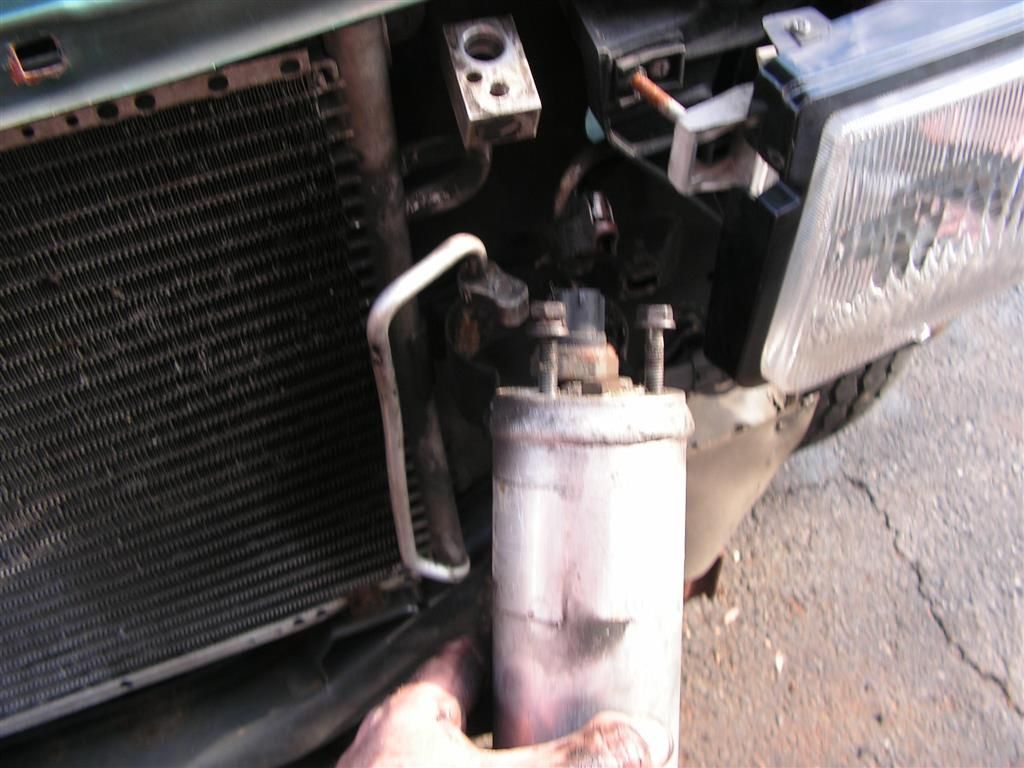


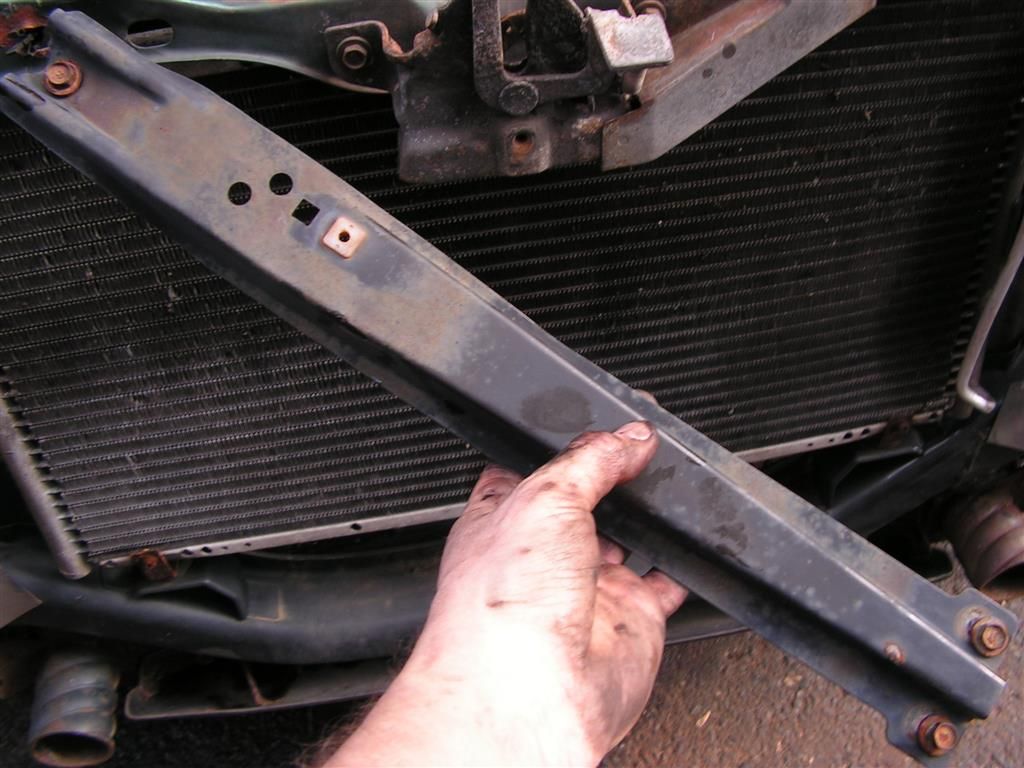
To remove the condenser, the hood latch and reinforcing bar is unbolted (three simple bolts), and the condenser itself is unbolted (two bolts) and dropped out the front of the vehicle
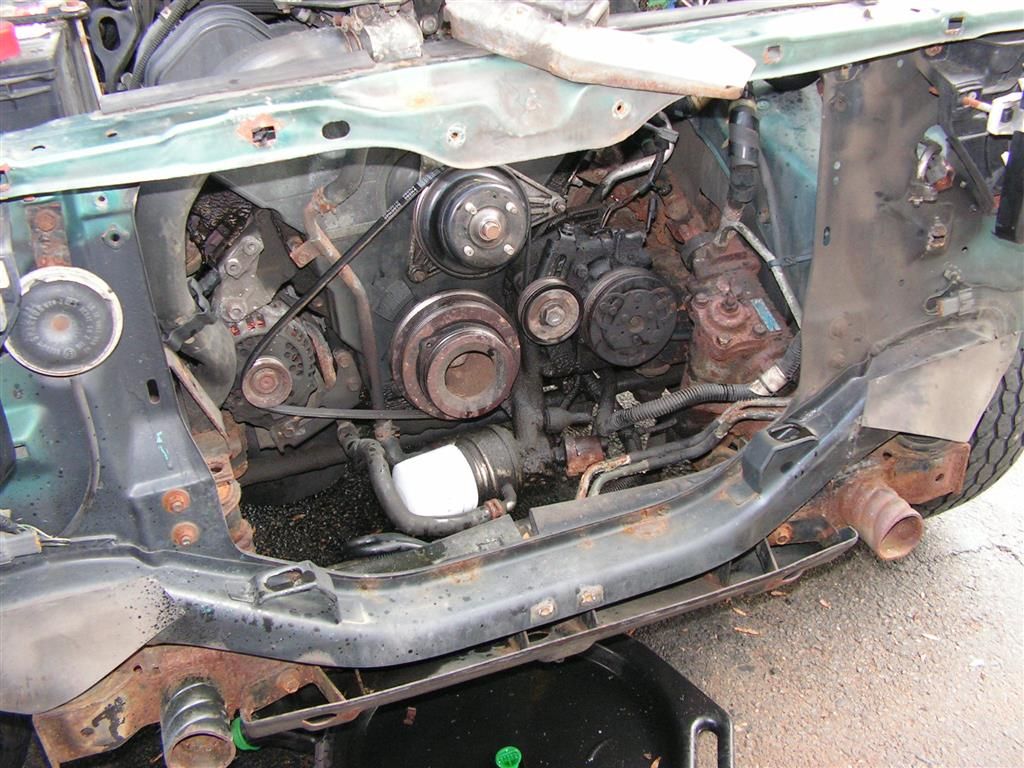
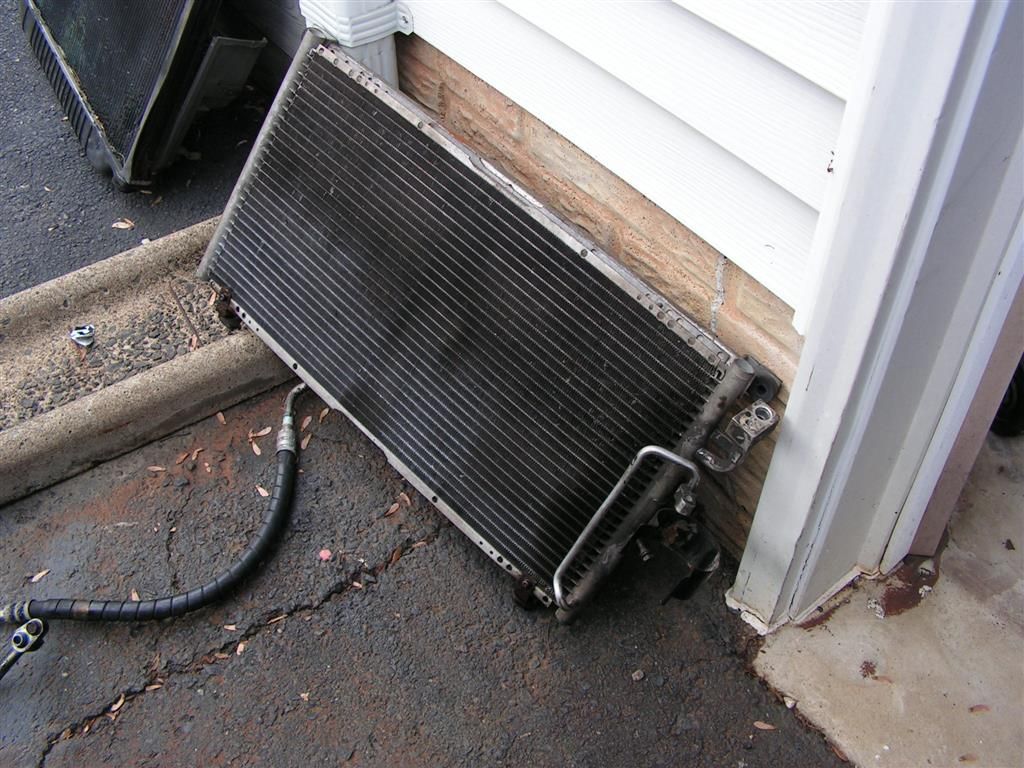


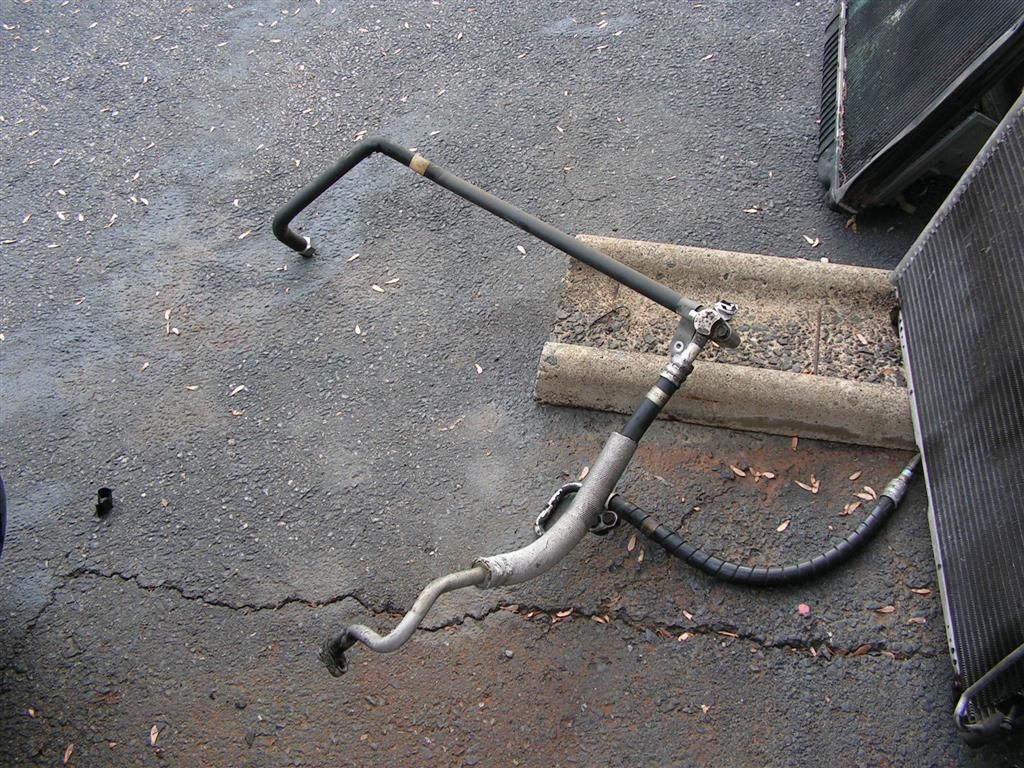
Now the high and low pressure lines are removed for cleaning and flushing
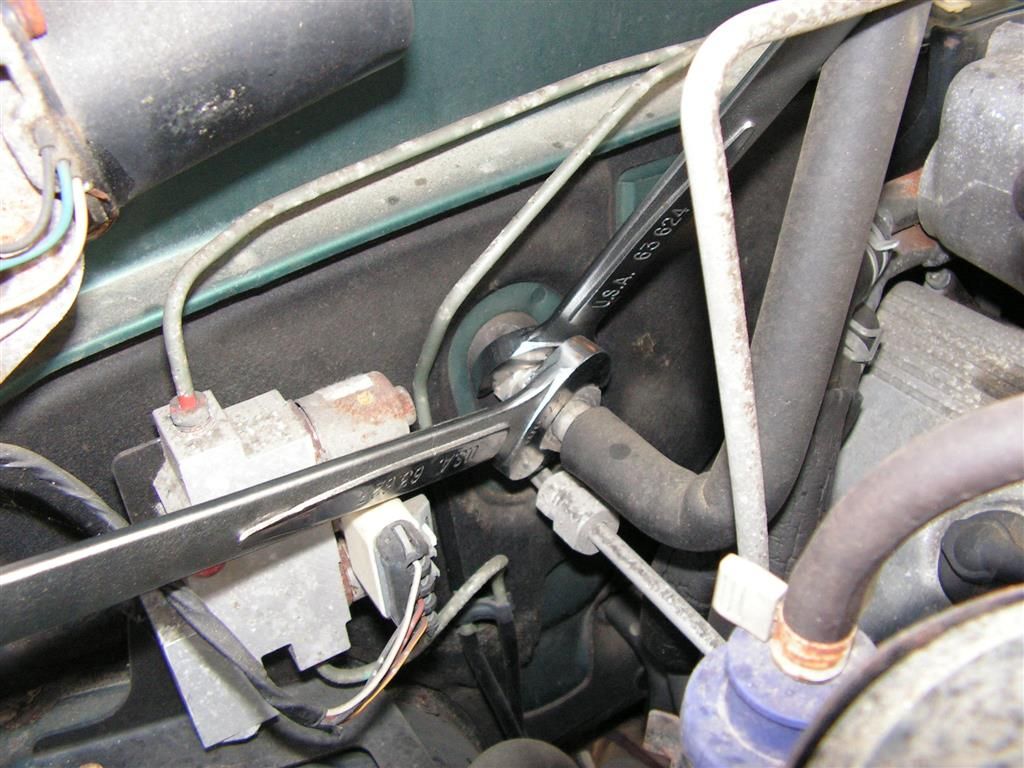


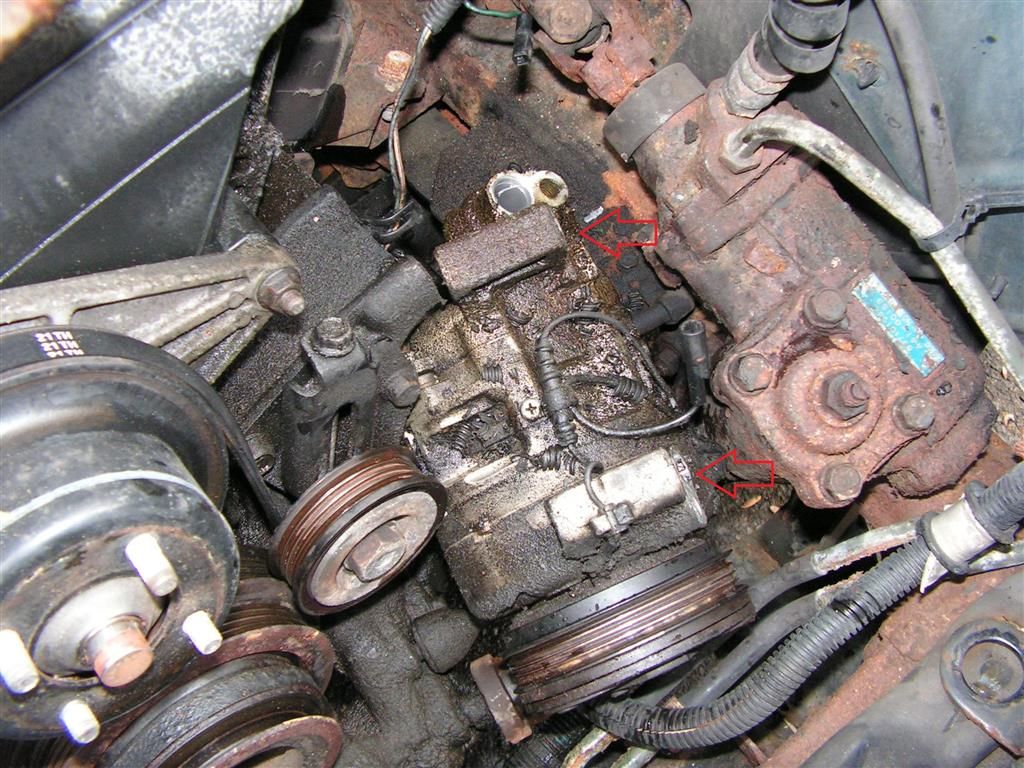
Finally the compressor itself is unbolted. There are four bolts holding the compressor onto a mounting bracket --- two on top and two on the bottom. With all the major pieces out of the way (radiator, air box, PS pump, condenser, fan and shroud) this is a snap. Access to the rear bottom bolt is from underneath, while the remaining three bolts are easily removed from the top.

The lower rear bolt -- not a big deal when using this procedure to access the unit.
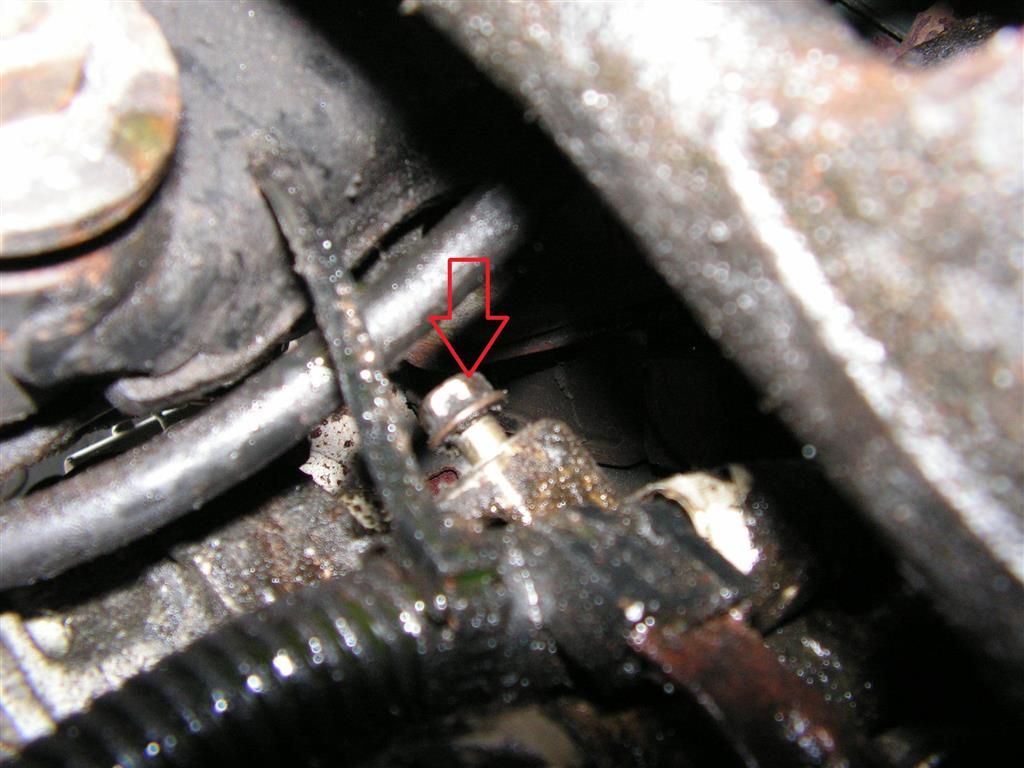


The rest of the bolts can be taken from the top
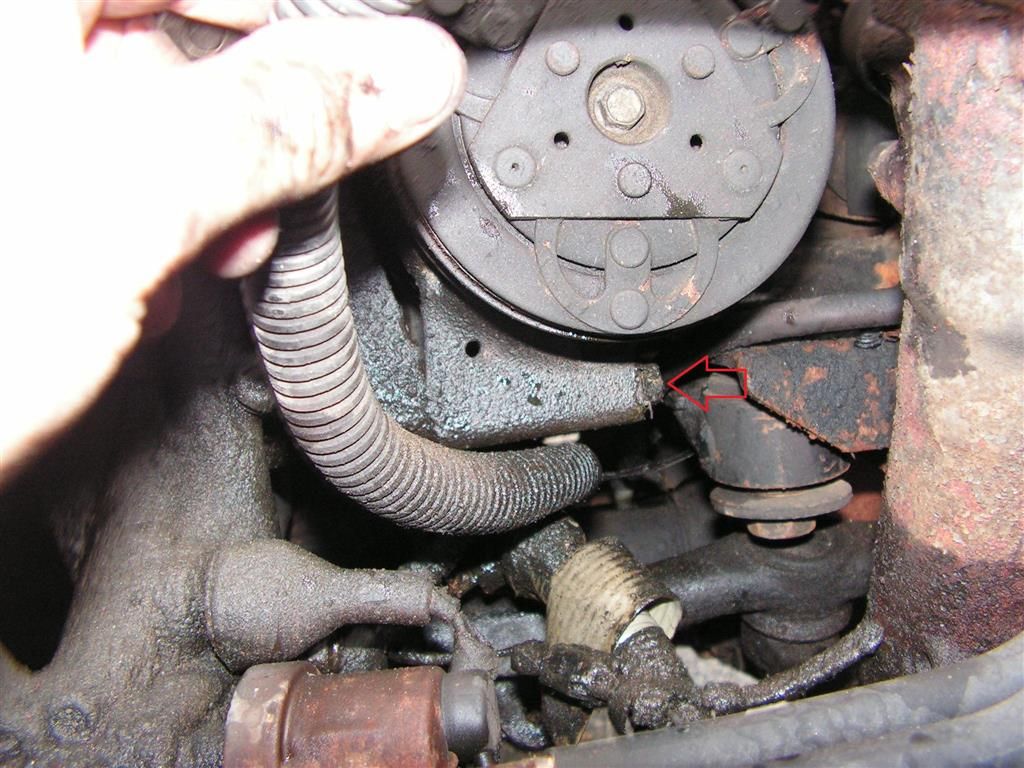


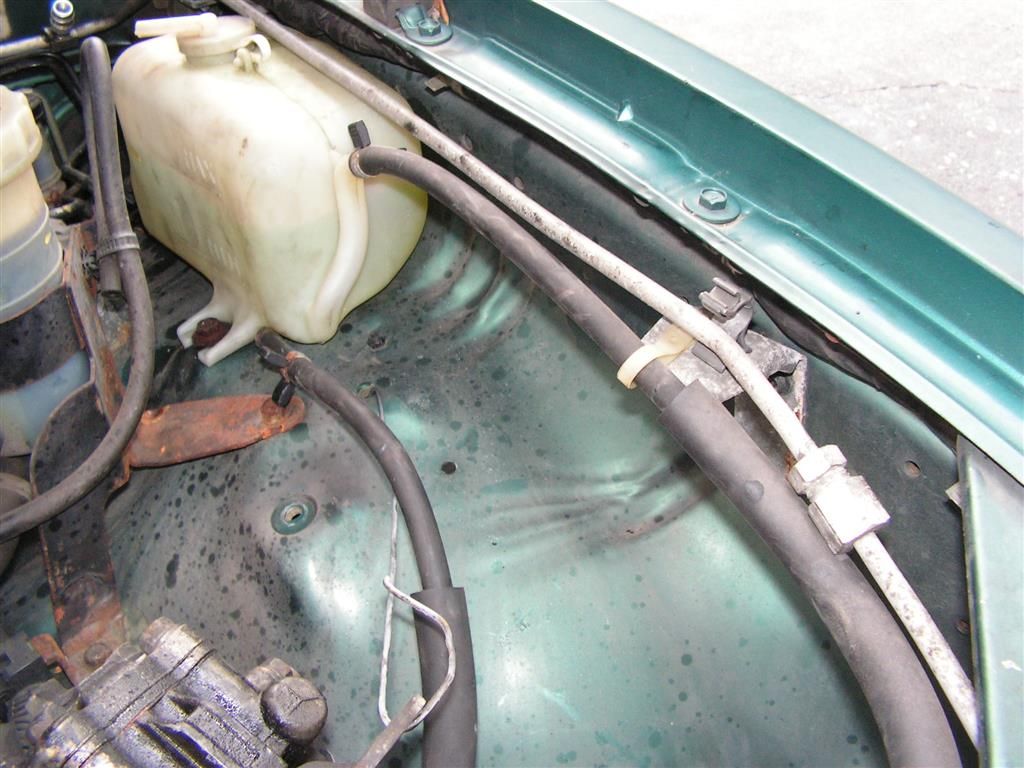
The compressor is now free -- covered in 20 years worth of old grease and grime -- yuck!!
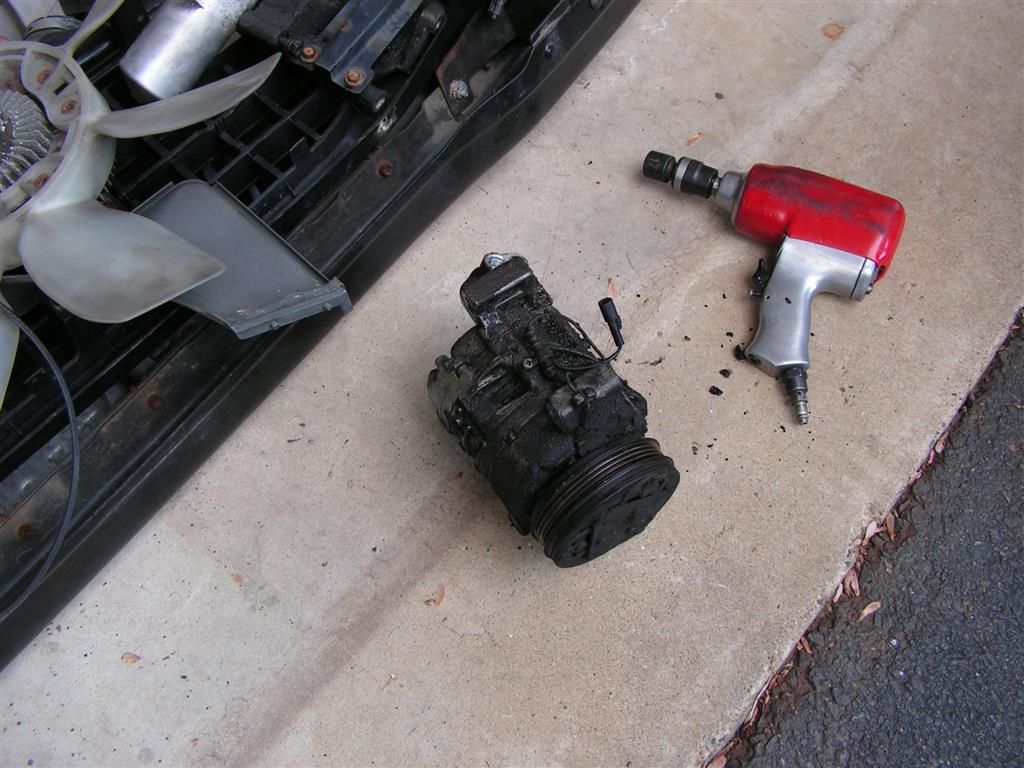


Lastly I removed the remaining pressure lines so that they can be cleaned and flushed.


All the pieces are out and ready for replacement or cleaning --
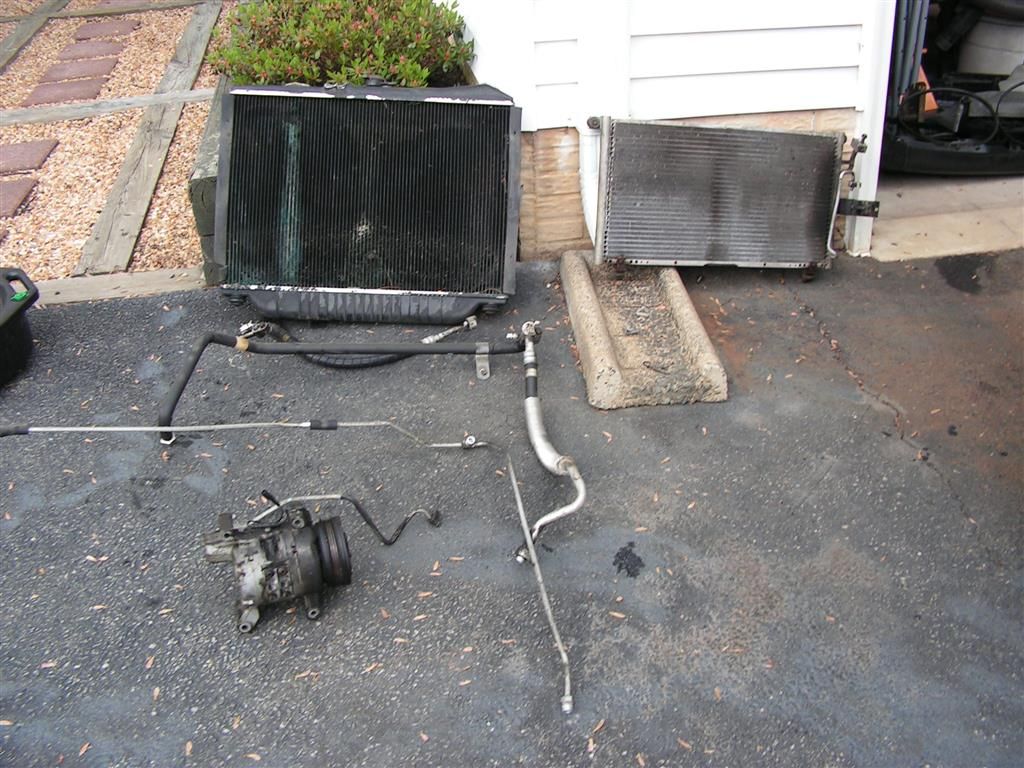


Total time doing this job with this method --- less than two hours. Now I just need to wait for the new parts to arrive, and to inspect, clean and flush the rest of the system.


Offline goodfellow

  • Global Moderator
  • Hero Member
  • *****
  • Posts: 4340
Re: 1995 Isuzu Rodeo AC rebuild -
« Reply #1 on: August 15, 2018, 09:00:03 AM »
I didn't have much time to spend on this thing today, but since this is a larger undertaking I decided that while all the parts are out, it would be good to inspect and clean the wiring harness that resides under the compressor and to inspect the aluminum compressor mounting bracket -- GLAD I DID!!!!

Lesson well learned! -- inspect parts as you go along in the repair process. This is the cast mounting bracket that holds the AC compressor to the block. I had a nagging hunch all morning to take it off and give it a good cleaning in the parts washer and a thorough inspection. Here's what I found --


The primary mounting boss was cracked -- pretty severely. This could have failed at any time and compromised the alignment of the compressor.


I could TIG weld it up in a pinch, but I found a replacement on ebay for $2.00 -- so that's the easiest way to go.

Inspect those parts guys -- this could have gone wrong real soon.

Offline goodfellow

  • Global Moderator
  • Hero Member
  • *****
  • Posts: 4340
Re: 1995 Isuzu Rodeo AC rebuild -
« Reply #2 on: August 15, 2018, 09:00:31 AM »
Part II

Today I had some time to tackle the evaporator inside the passenger compartment. For many SUV's this is not a difficult process. For the Rodeo, it's fairly easy  --
First I removed the glove compartment. The compartment flips out by squeezing in on the sides to clear the "stops" past the dash. Then remove the glove compartment by squeezing the pivot screws in the lower corners with a pair of needle nose pliers.


That will expose the lower dash knee-bar and vent -- remove the center dash console (two screws on each side). This will move the entire radio out of the way.


Next I removed the right hand speaker cover (one screw) to expose the remaining screws that hold the lower vent in place


The entire vent runner drops down and out of the way -- very simple design.


Now the AC module is exposed and the thermostat and connecting wires need to be unplugged (two plugs) from the module.


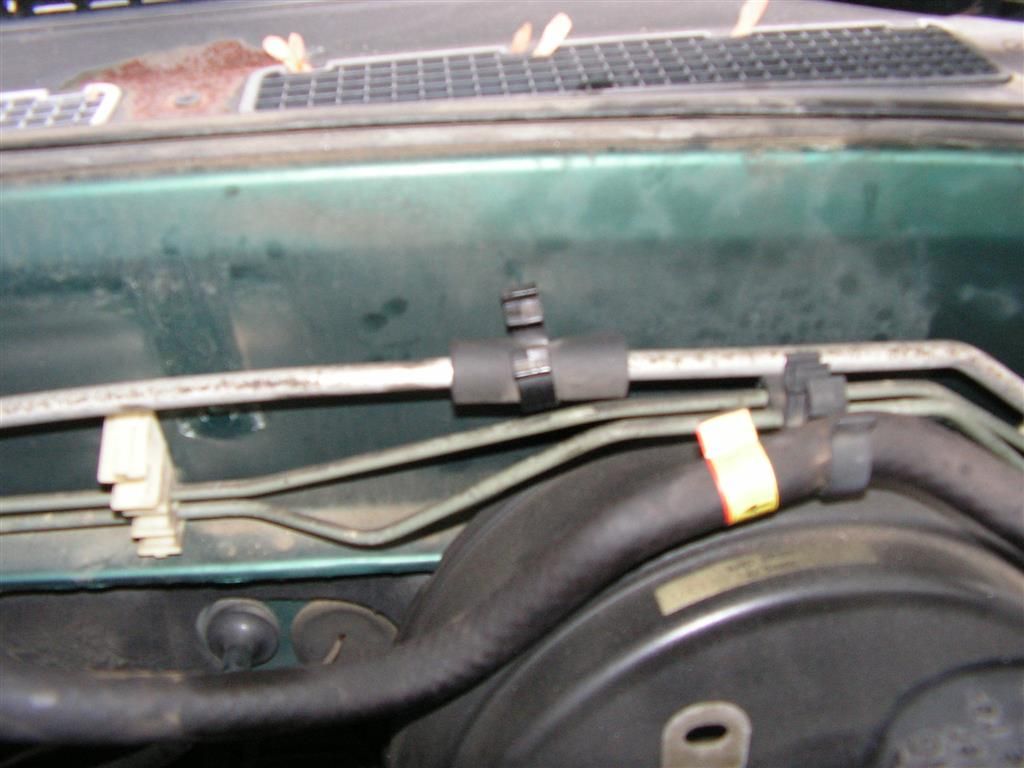
Finally the drip hose is pulled though the outside firewall


To remove the AC module, I like to use a 6" 1/4' drive locking extension with a 10mm flex socket on it because I need to reach over the top of the module and remove a 10mm bulkhead nut that is hard to access -- not impossible, but a real pain if the socket falls off in the process. All together there are only three 10mm nuts that hold the unit in place -- remove all three and the module slides straight backward and out the bottom of the dash.


Done!! -- a nice clean extraction --


As expected, after 20 years there is a lot of dirt, debris and grime in there --- but surprisingly no mold. That's a good sign of proper water drainage.


Time to split the case --

First I carefully remove the thermostat, and begin to remove the clips and screws that hold the case together -- about six screws and four clips.


The top splits open and the thermocouple is exposed. I need to be careful to save this clip because it's pretty brittle from all the cooling cycles in that box.


Once the shell is split, it's easy to expose the evaporator core and expansion valve. Note the rubberized "dope" on the expansion valve components -- I slit it with a razor knife and save it for reuse.


The core looks in good shape, but if you've come all this way in reassembly (especially after a compressor failure), it's a mistake to try to save these parts -- no matter how good they look from the outside. I ordered new parts from Rock Auto -- a new core, expansion valve, and the most important piece of all!!! --- a new "O" ring kit for the entire AC system.

Don't EVER skimp on the "O" rings. The old black neoprene rings from the HF all purpose kit won't do, you need the "green" ring kit that is compatible with the AC PAG oil.
For $8 per kit, IT'S THE CHEAPEST INSURANCE THAT YOU CAN BUY!!!

Like I said, I save the "goop" for reuse.


I cleaned out and thoroughly washed the case --


I'm going to replace the core and the expansion valve, so this is just for info purposes. Most people would replace the entire system at this point, but if cost is a factor, it may be that only the expansion valve is replaced. This is easier said than done because in many cases the valve body is totally fused to the core due to electrolytic corrosion. Just for kicks I tried to the expansion valve -- mine came off without a lot of effort, but in many cases taking the expansion valve off will often ruin the core fittings in the process.

My recommendation: get a new core and expansion valve. My parts were less than $90 from Rock Auto.


All the pieces laid out and ready for reassembly when the new core and expansion valve arrives -- hopefully by this weekend.


Finally, I need to clean all the lines thoroughly -- I used lacquer thinner on the exterior and will use this flushing system on the interior of the lines. You can flush by just pouring the cleaner into the system and then use compressed air to flush, but since I already had the flushing bottle, I will put it to good use.


This entire AC system will basically be brand new. Total cost in this entire project is less than $380. Had I gone to a shop for this service I'm sure I would have paid around $1500-2000


Offline goodfellow

  • Global Moderator
  • Hero Member
  • *****
  • Posts: 4340
Re: 1995 Isuzu Rodeo AC rebuild -
« Reply #3 on: August 15, 2018, 09:01:01 AM »
Finished this thing up this afternoon --

First, I decided to use a used AC compressor for this project. I know some will disagree with that decision, but I really hate rebuilt compressors. I have had more failures with rebuilt units than i care to remember. Since a new compressor is close to $400, I decided to go with an good factory used unit. I cleaned it up, tested it, and installed it with the new mounting bracket.


Next I flushed all the lines. That included the removal of the Schrader valves to make the flush more complete.


Next up was the new expansion valve and evaporator core -- I installed new "O" rings on all the joints.


The completed core is installed back in its case and resealed.


The completed unit is installed back into place and the interior trim pieces are reattached.


All the engine related ancillary pieces are reinstalled, then the new radiator is installed.


Next comes the new AC condenser and receiver/dryer --


Done!! just need to install the bumper and grill. The new AC system was hooked up to a vacuum pump for an hour to remove any lingering moisture, and charged with 14oz of R134a.


Good to go!!! -- Glad it's over --


Offline Chubbs

  • Newbie
  • *
  • Posts: 2
Re: 1995 Isuzu Rodeo AC rebuild -
« Reply #4 on: August 25, 2018, 02:07:15 PM »
AC system rebuild is hell of a task. I know of several people down here in Texas (currently 100-deg+)
that drive without any AC because of the costs and/or labor, time, tools, skills required just even as DIY project. Forget paying a qualified business.