Author Topic: Cadillac DTS wheel bearing hub, lower control arm, and CV-Axle service -  (Read 5415 times)

Offline goodfellow

  • Global Moderator
  • Hero Member
  • *****
  • Posts: 4341
Just one of those jobs where you start into the job and as you go along, more problems seem to arise. The caddy was making a rumbling noise that proved to be the CV-axle shaft. Thought I'd document the entire process because it's just about the same for many FWD GM cars using a hub style bearing.

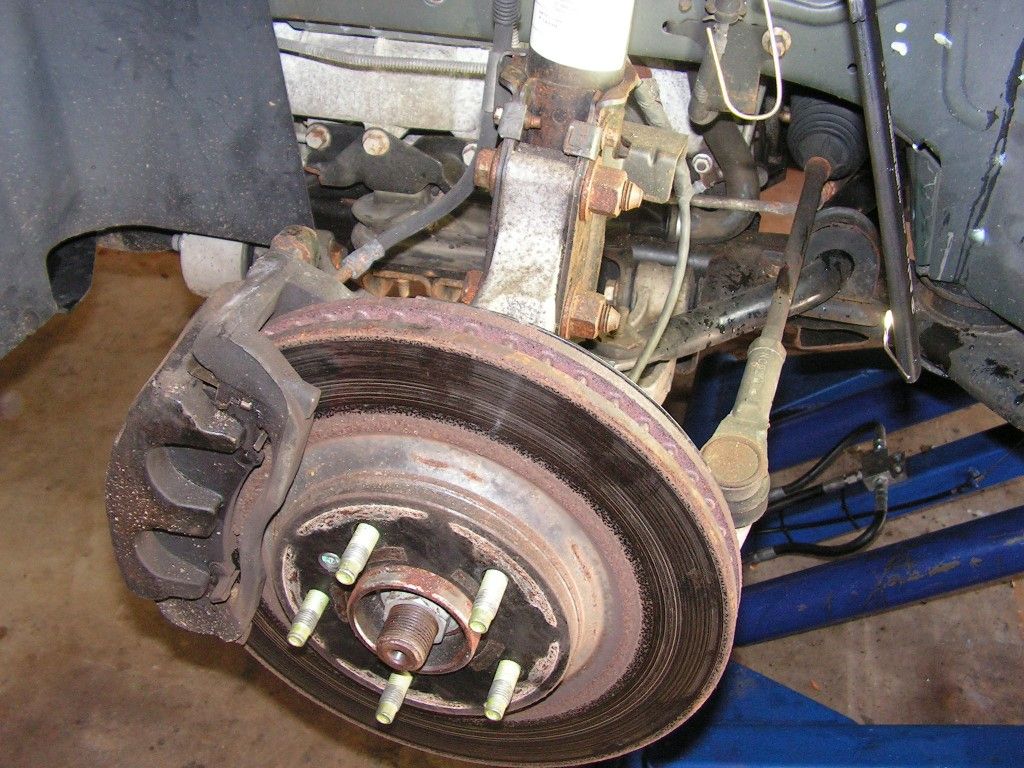
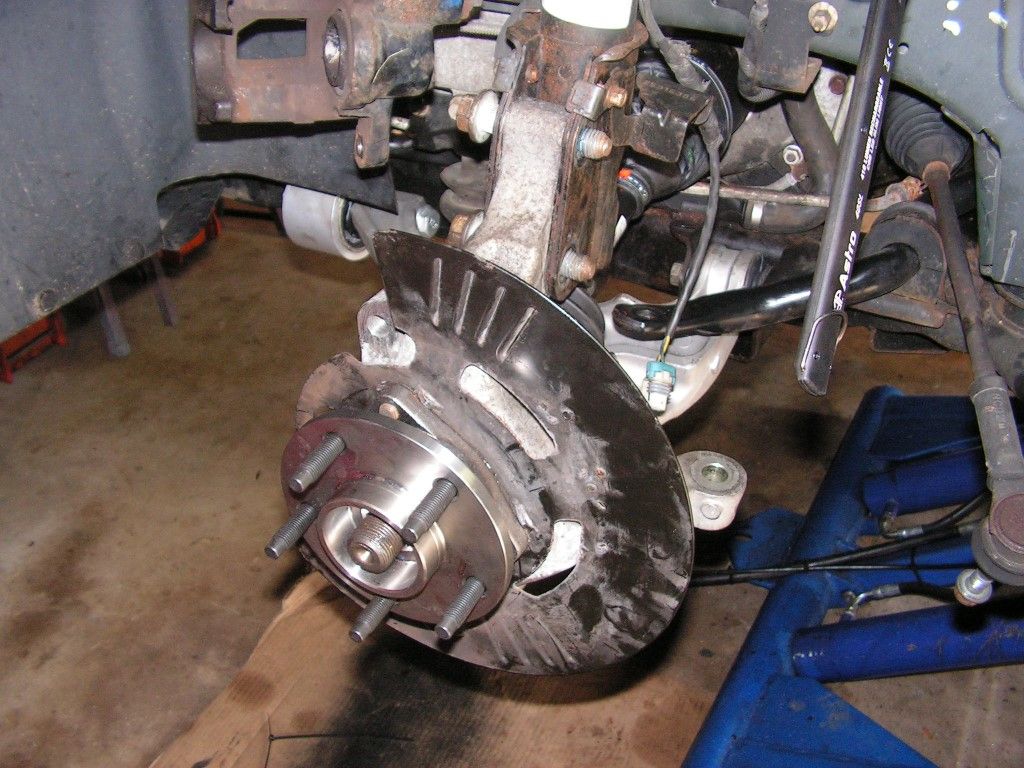
First I stripped the brakes -- caliper, caliper bracket, then the rotor to reveal the hub. Pretty rusty in there, but that's about normal for a car from the mid-Atlantic states where we see a lot of salt in the winter.


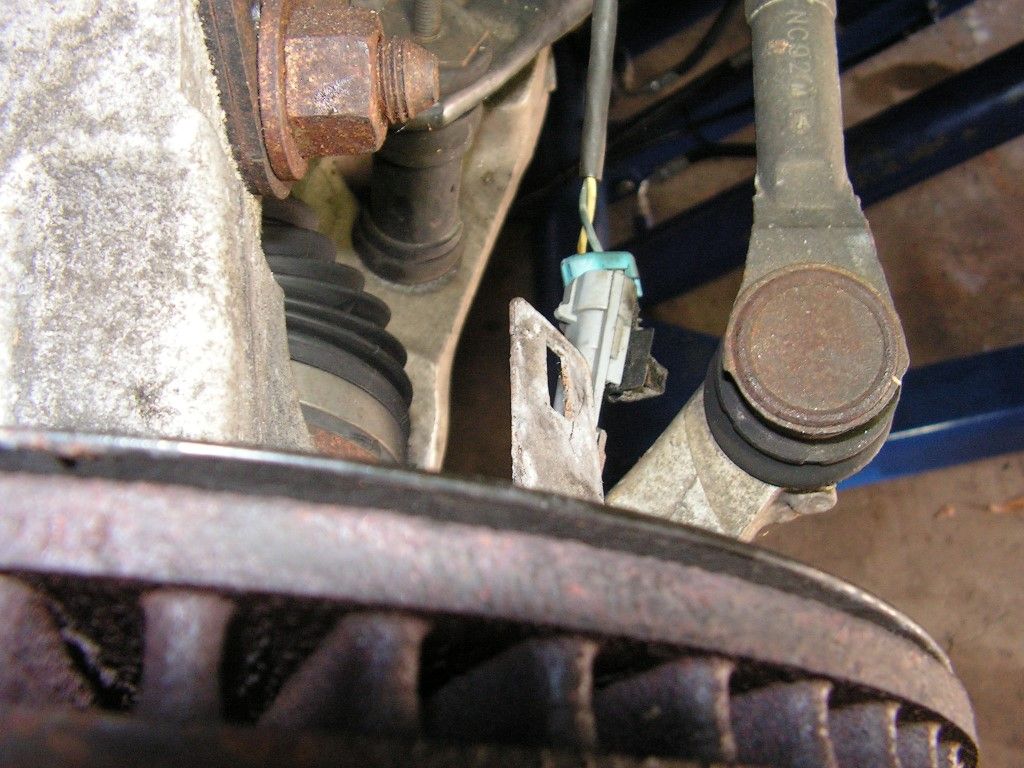
Disconnect the ABS sensor and the clip that holds it to the splash shield


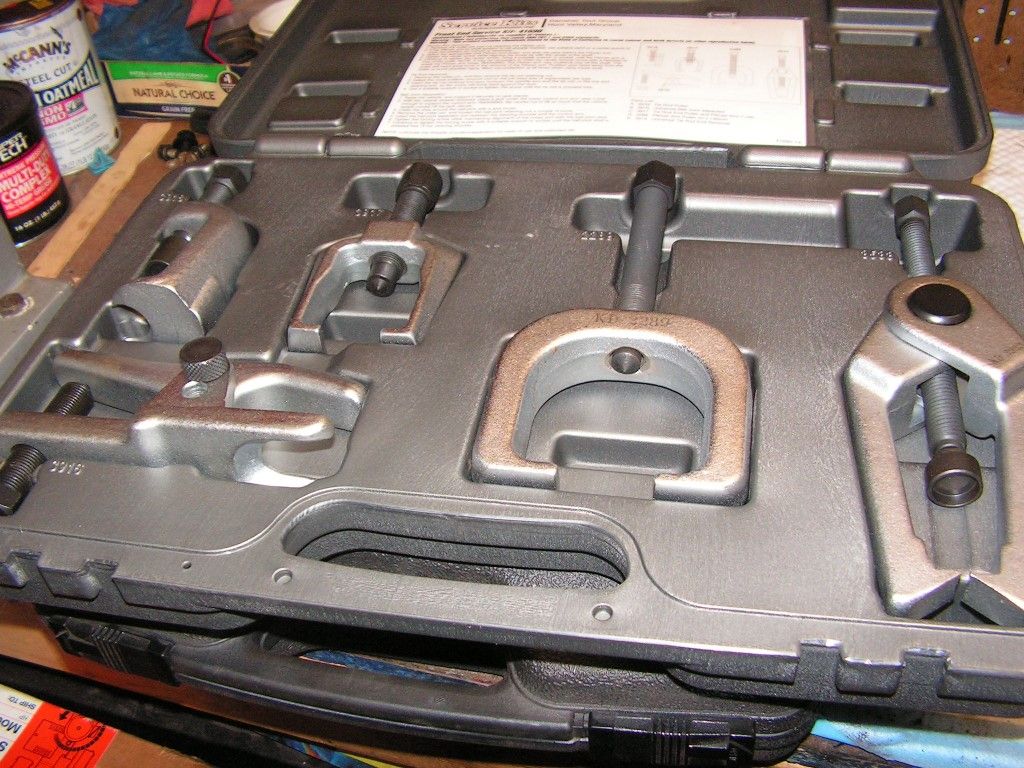
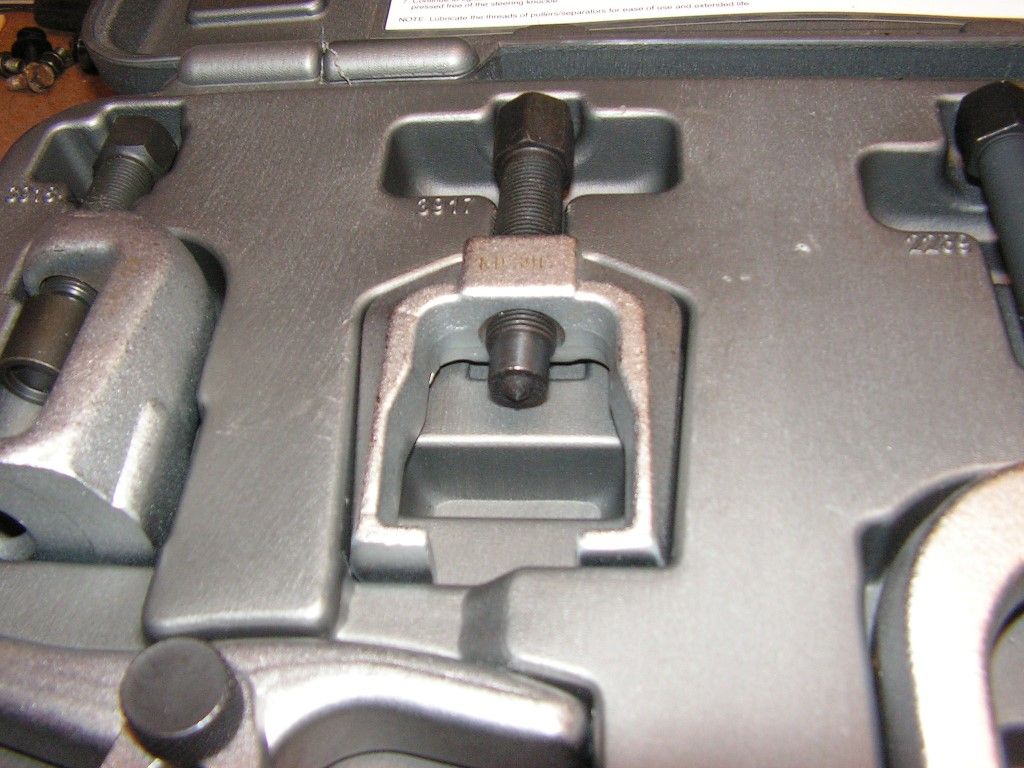
Disconnect the tie rod -- but on these aluminum alloy knuckles I don't use a BFH (Big Fffn Hammer) to shock the tie rod loose. I've seen people bang on aluminum knuckles and damage them. Hence I use a tie rod separator from this OTC kit. A cheap HF separator will also do.


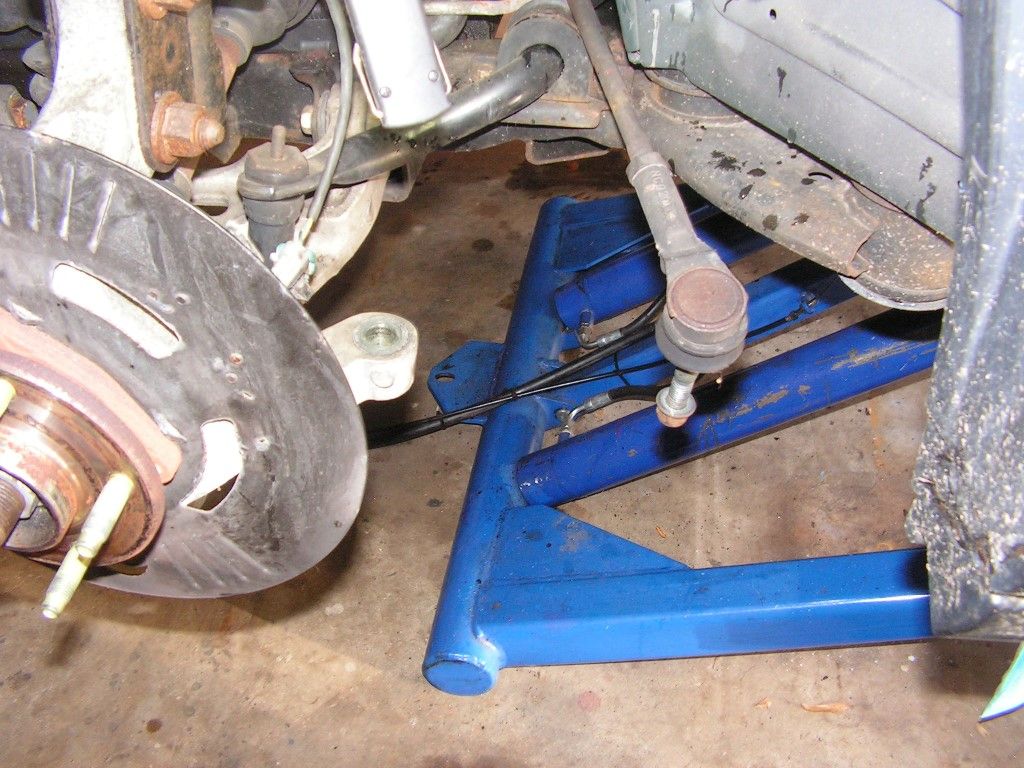
A few extra minutes with a tie rod tool (or pitman arm puller will also do in certain instances) , and the tie rod popped free.


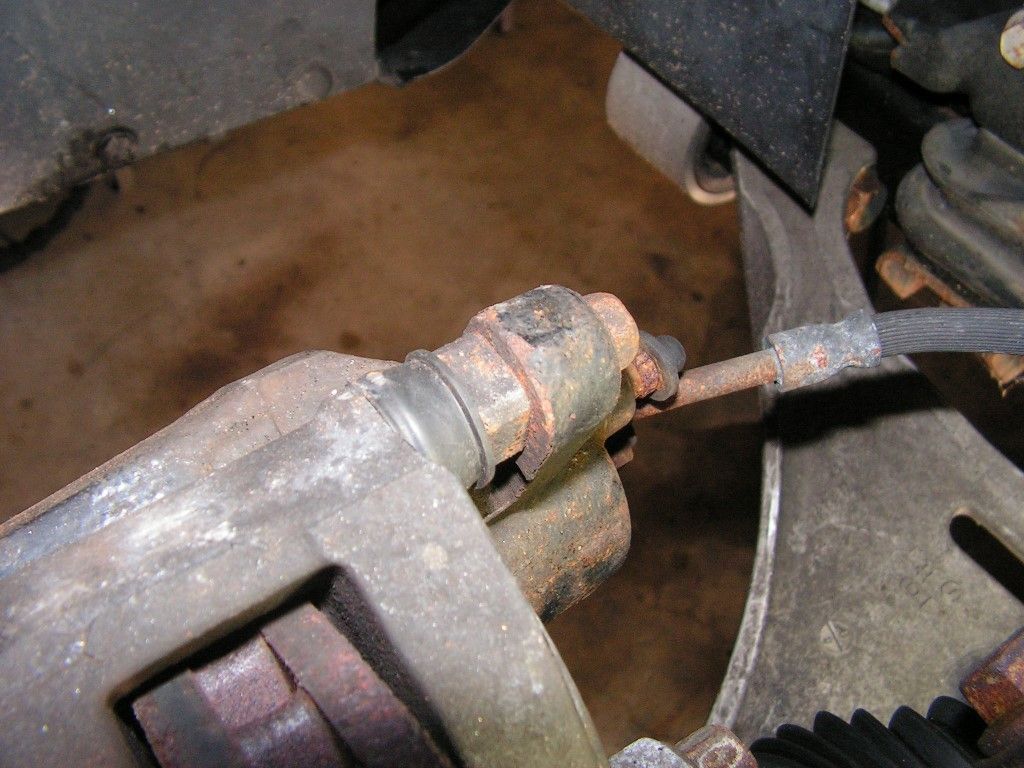
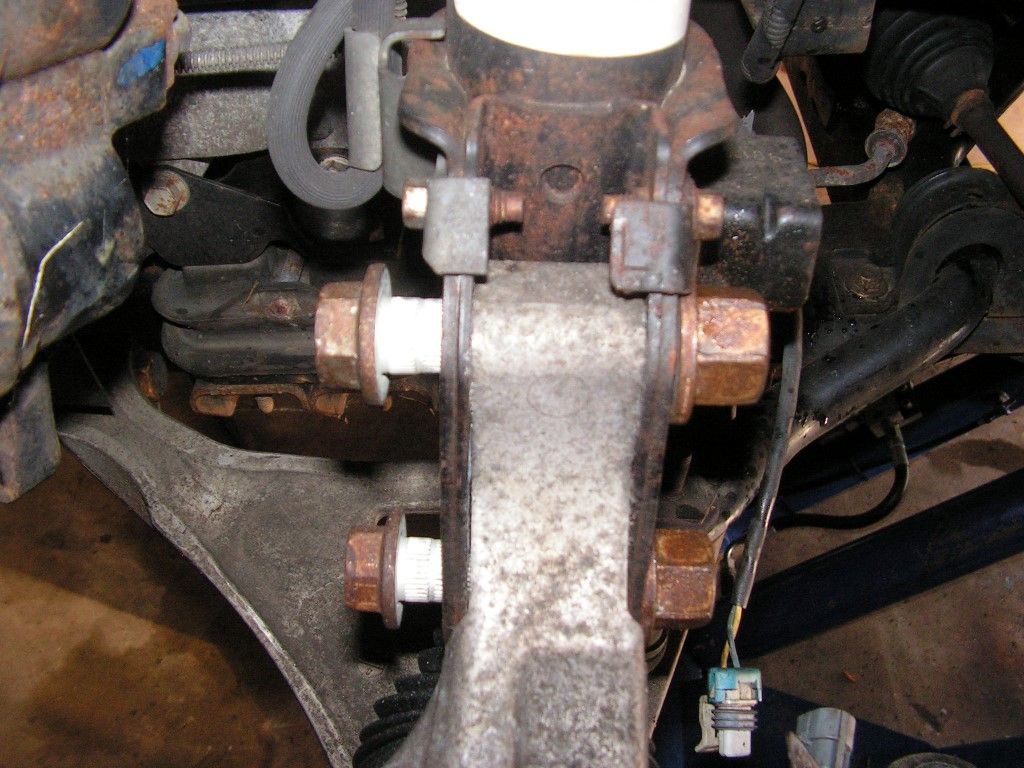
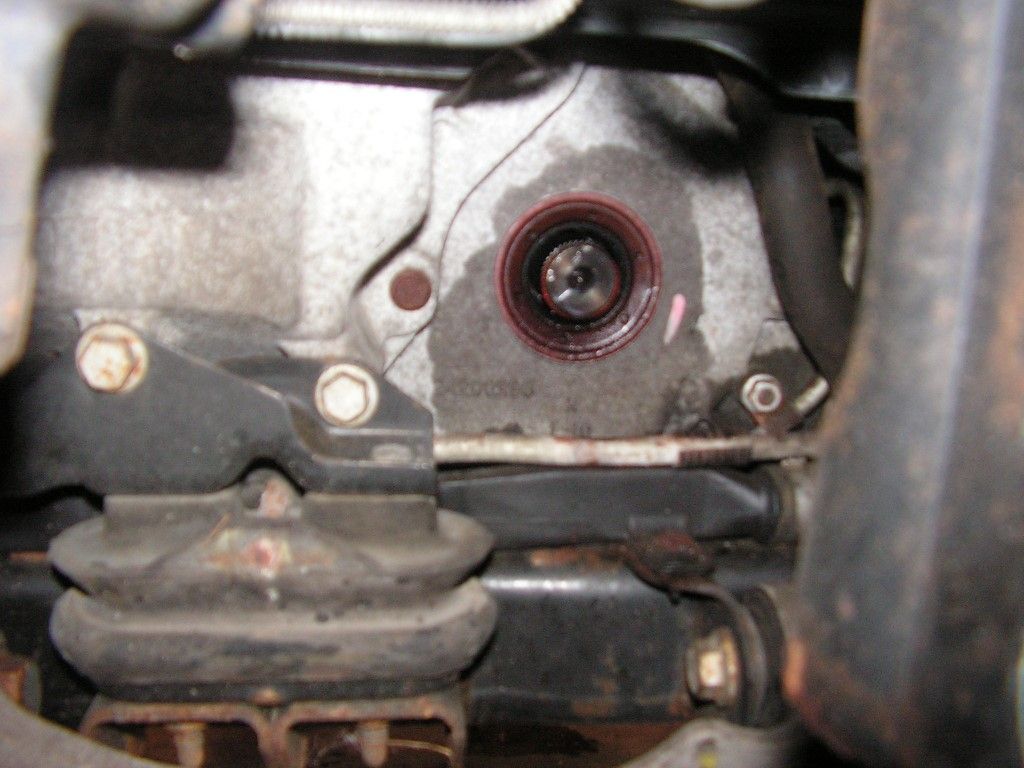
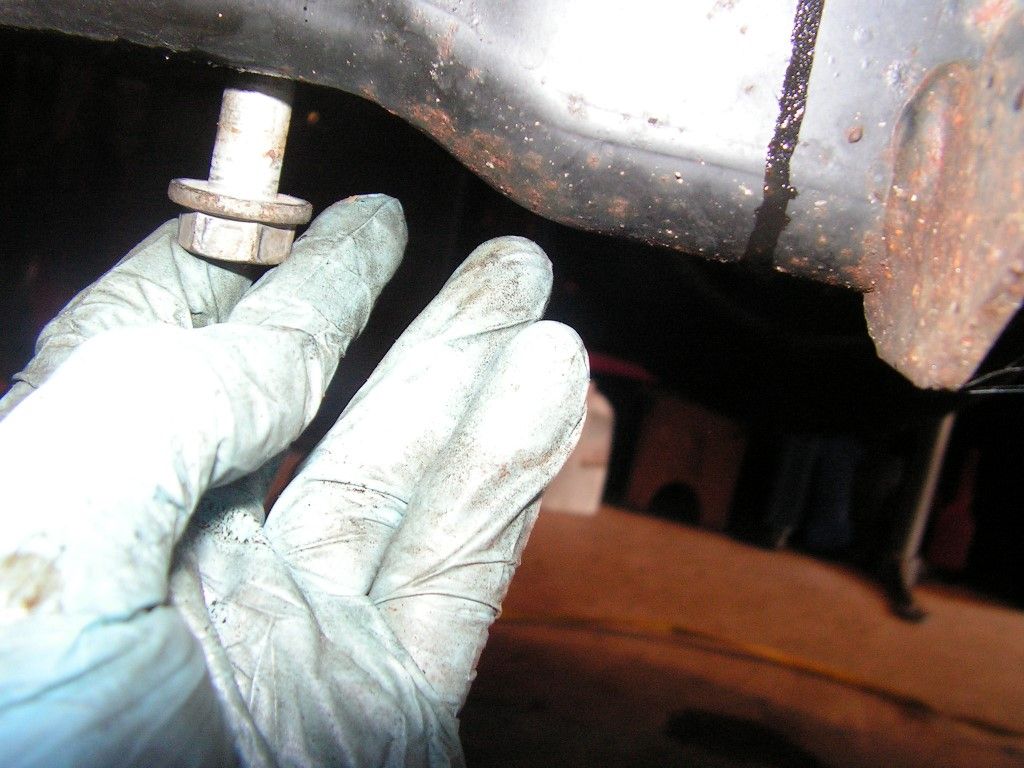
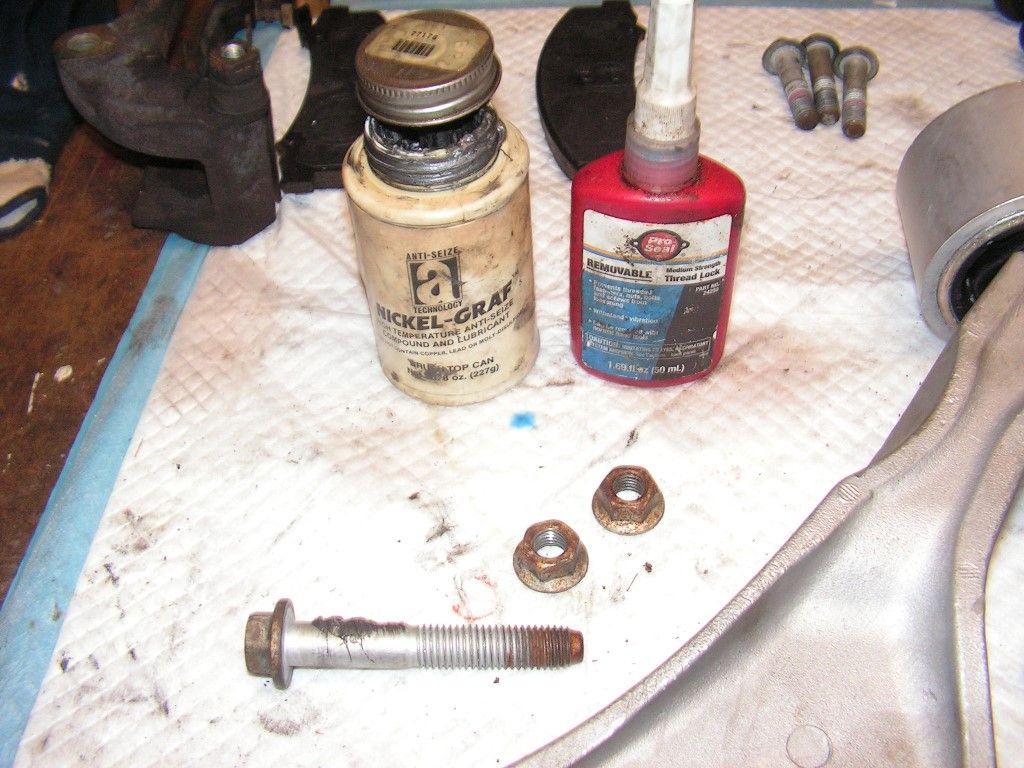
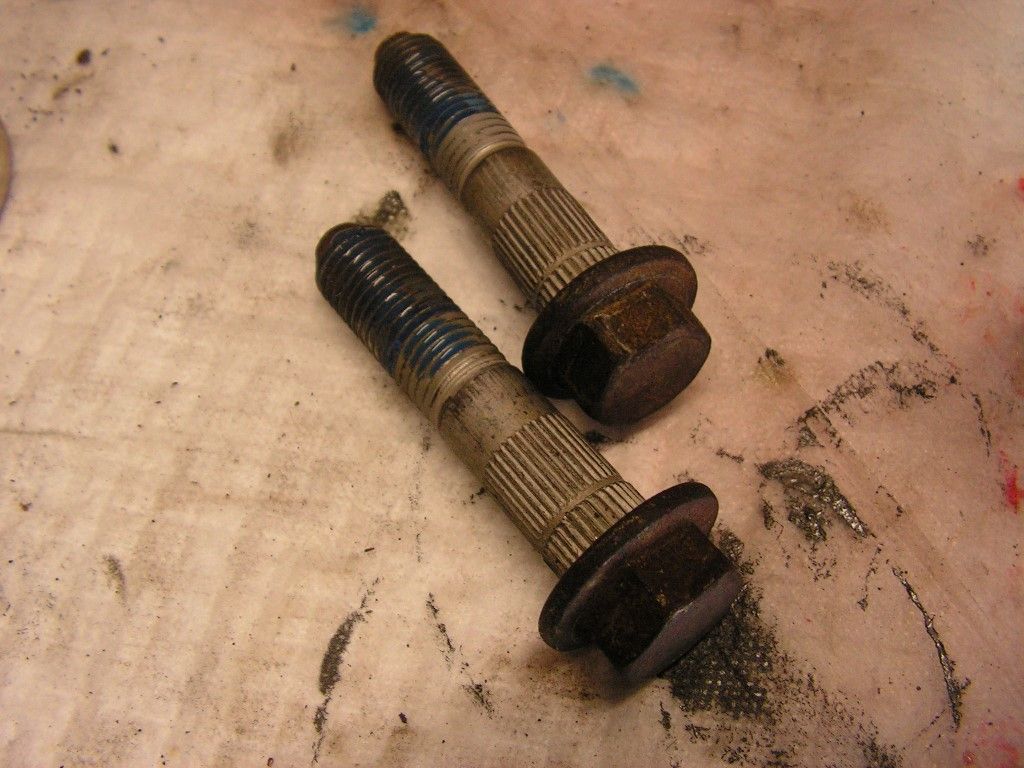
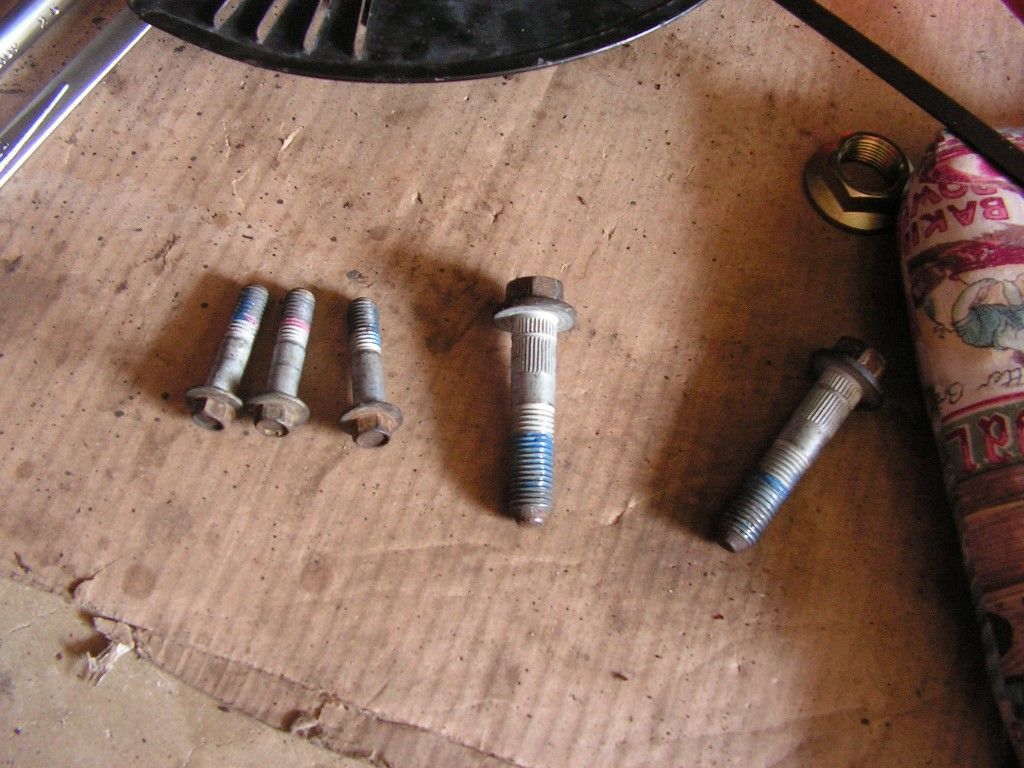
Next comes the big 34mm axle nut and strut bolts -- the two strut bolts are tight because they are splined toward the cap ends and in most cases need to be hammered or impacted out with an air hammer. You can spin the nuts off with an air impact , but the bolts themselves can't be spun out due to the splines. They must be forced out in a straight line. 


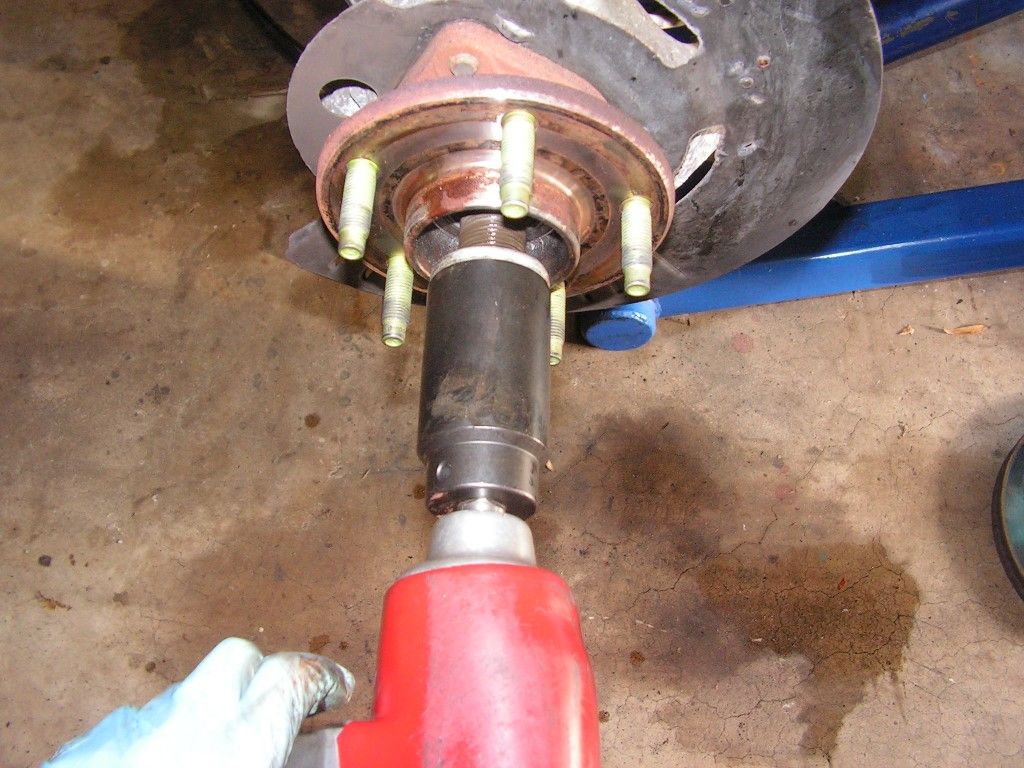
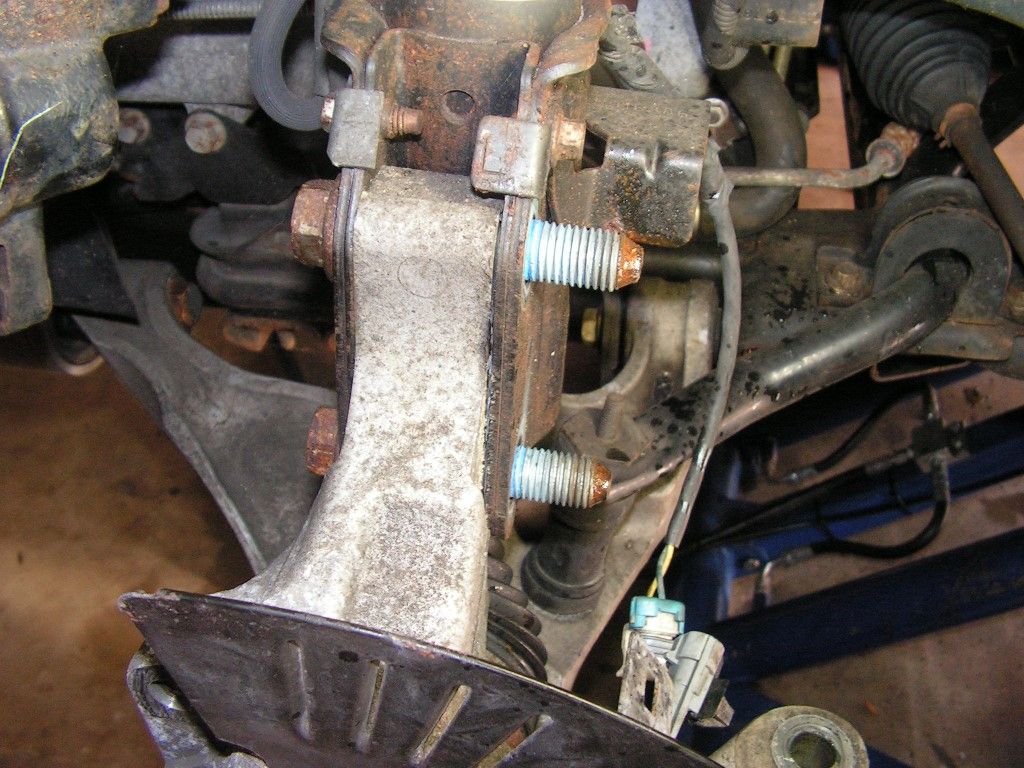
Notice the splines in the bolts .... I just left the nuts loose and used an impact hammer on the nuts to force the bolts  straight on through.


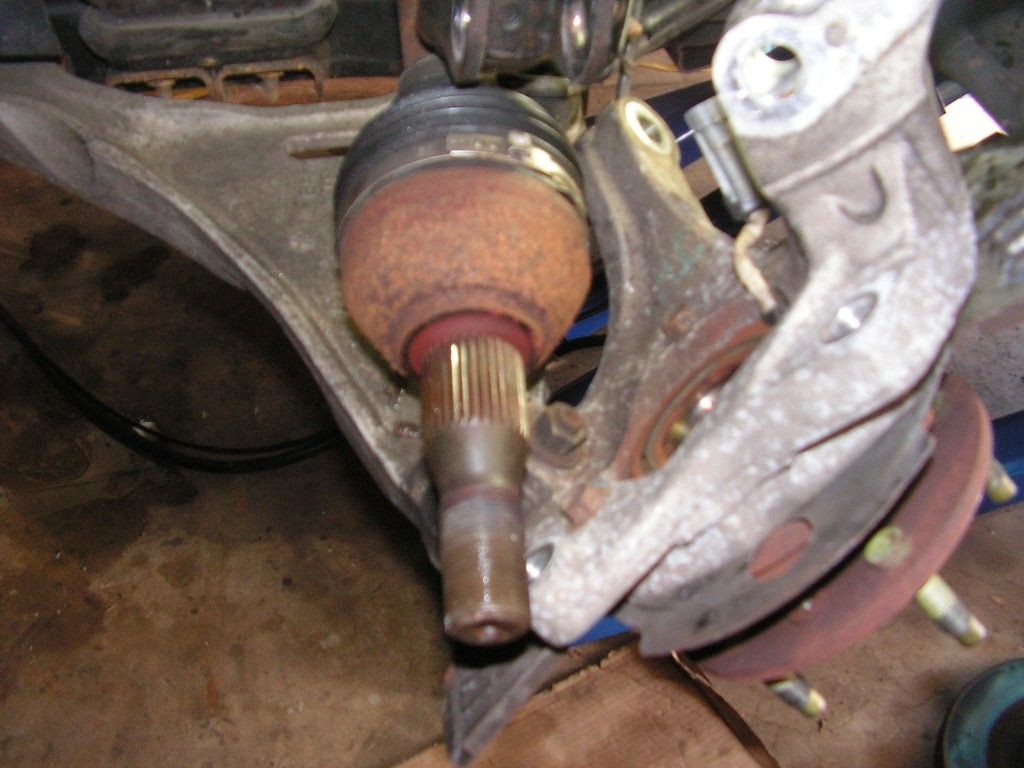
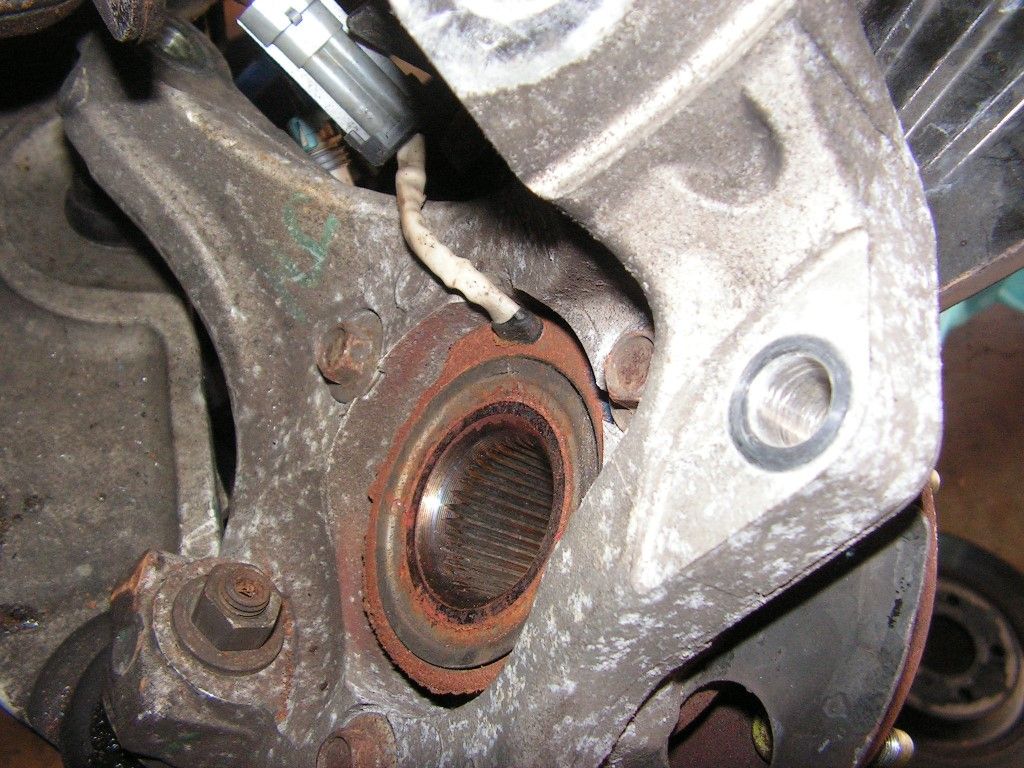
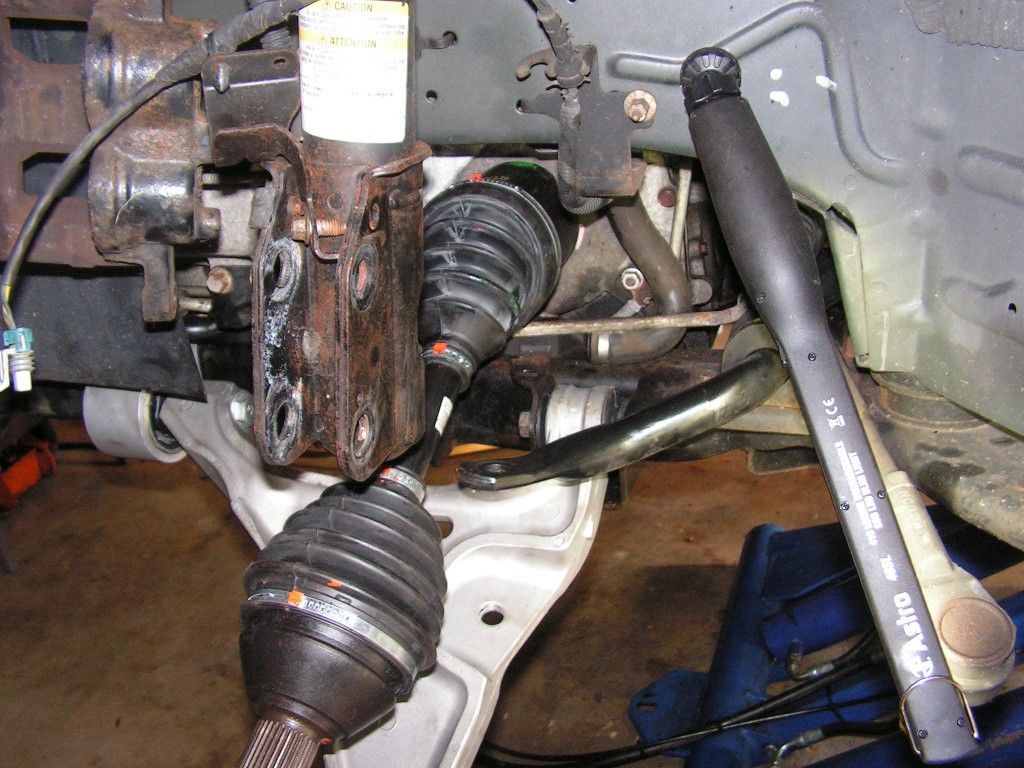
Now the knuckle pops free and I can get at the CV-axle - rusty bugger!


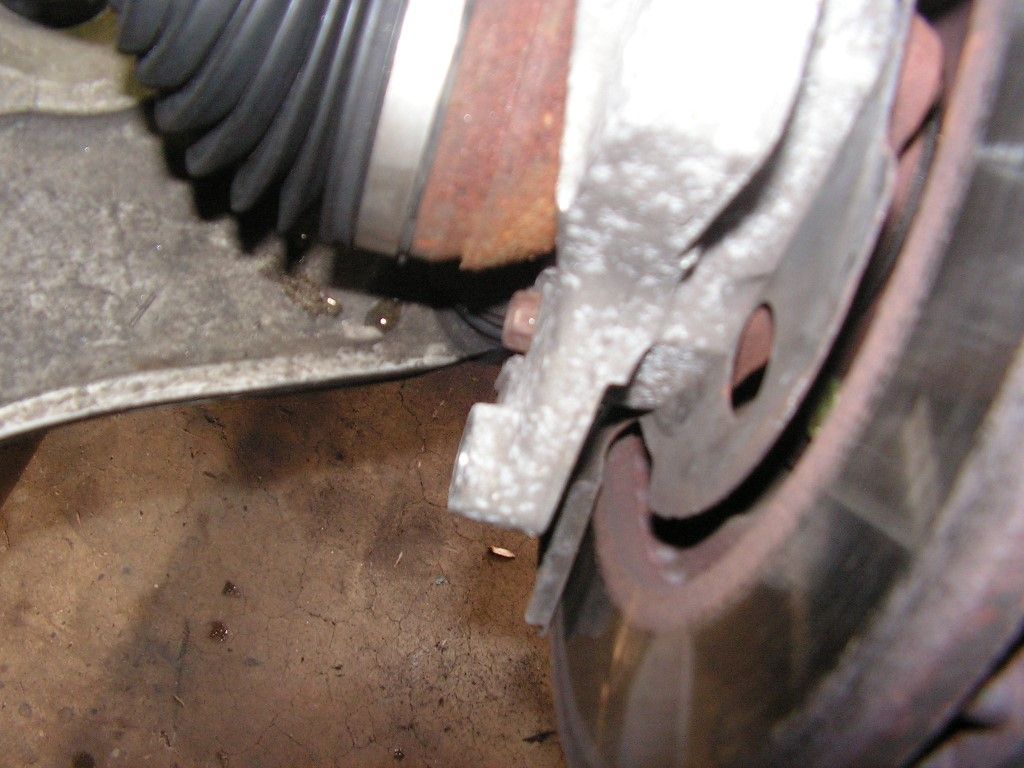
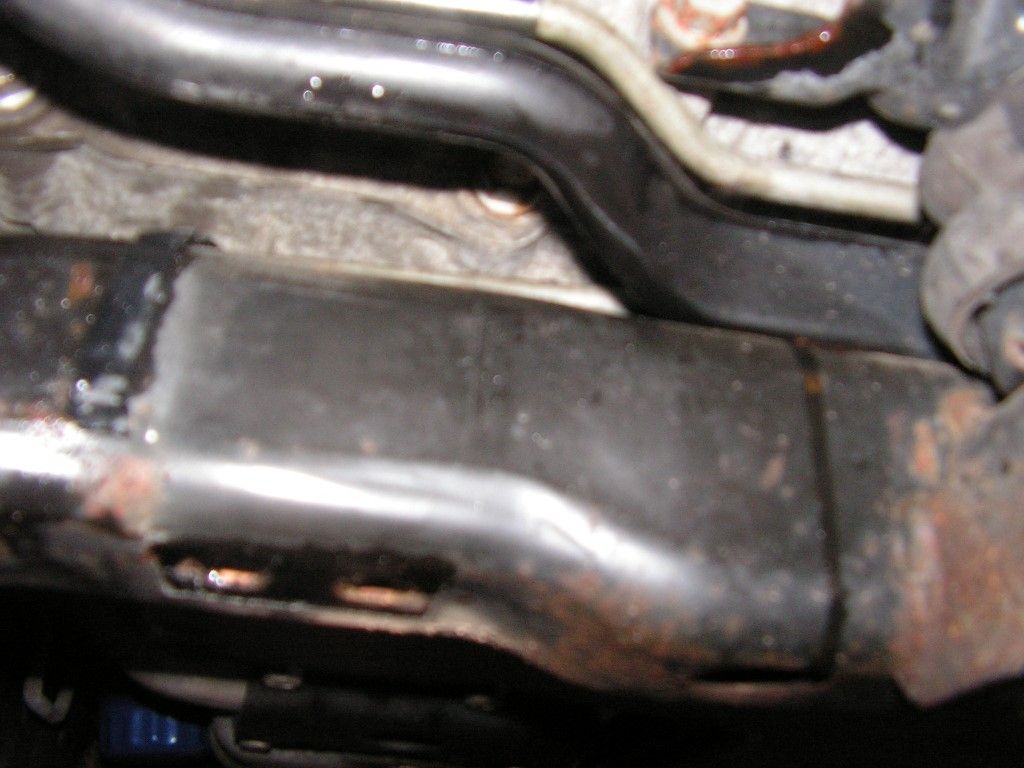
Getting at the CV-axle to pop loose from it's retaining ring in the transmission isn't easy because a hard transmission fluid line is in the way. A lever action using a prybar won't cut it.


My solution was to wedge a large straight regular screwdriver between the transmission housing and the rear of the CV axle and hammered the wedged screwdriver into that gap. This forced the CV-axle away from the transmission without putting any pressure on the hard fluid line.


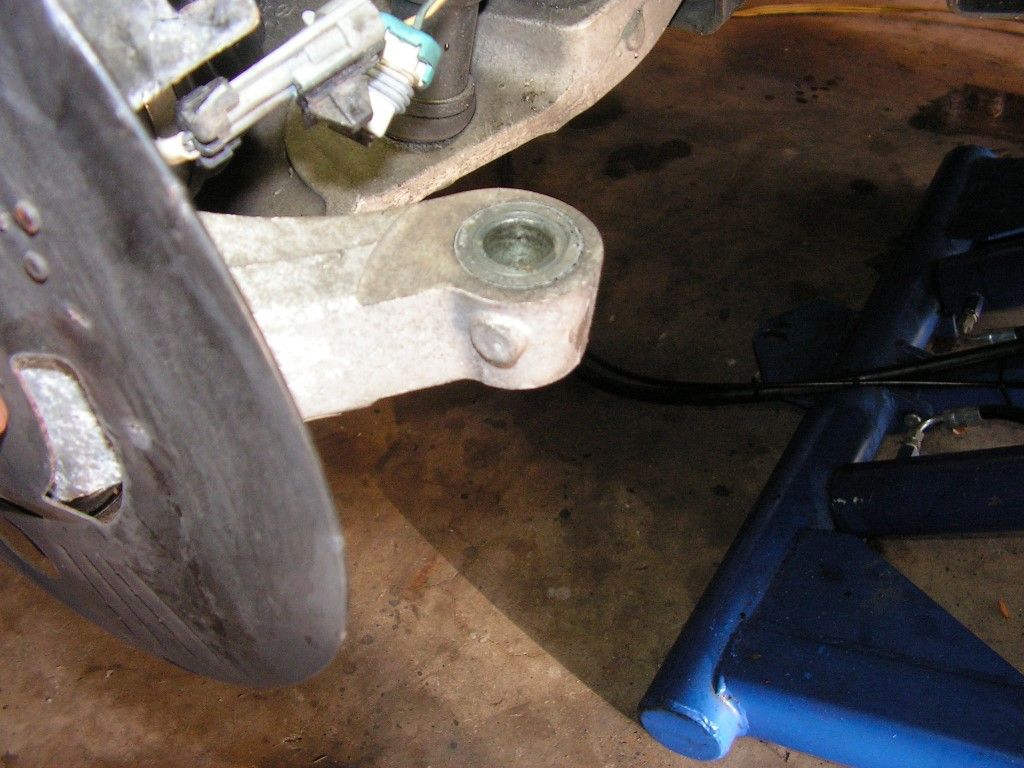
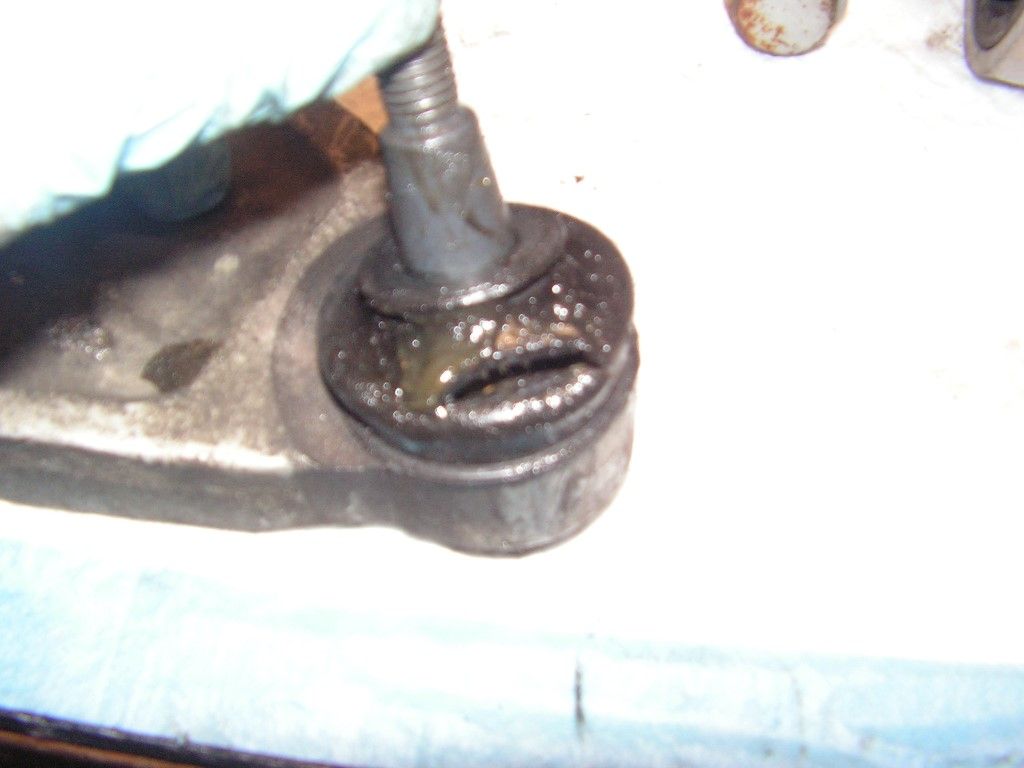
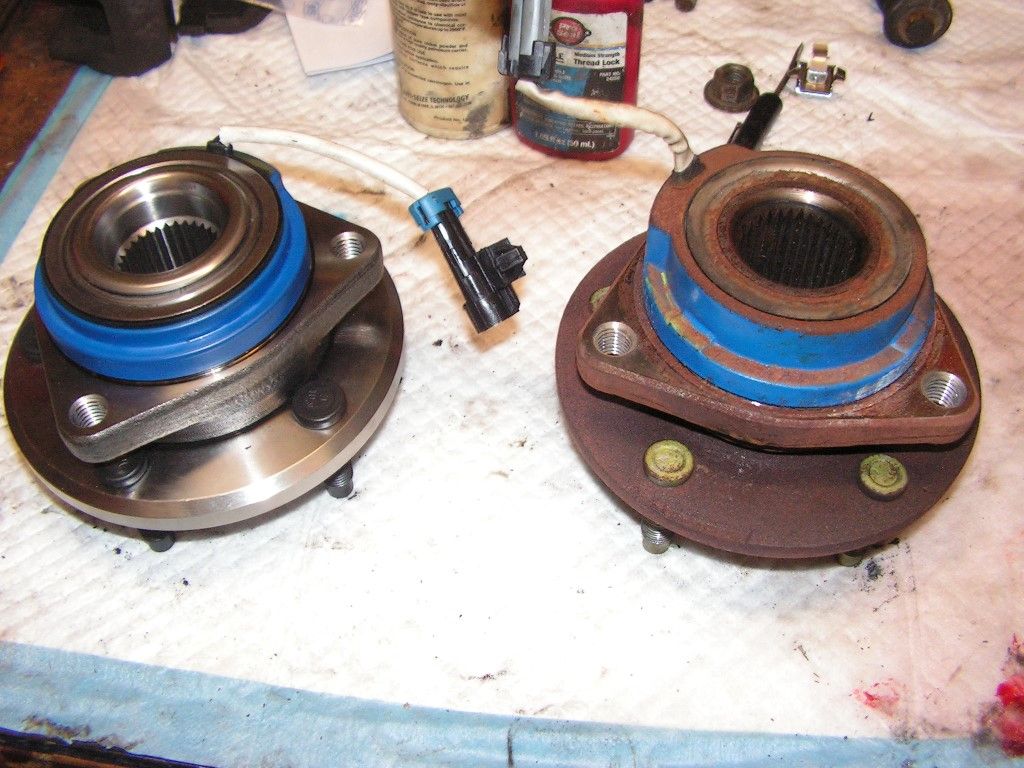
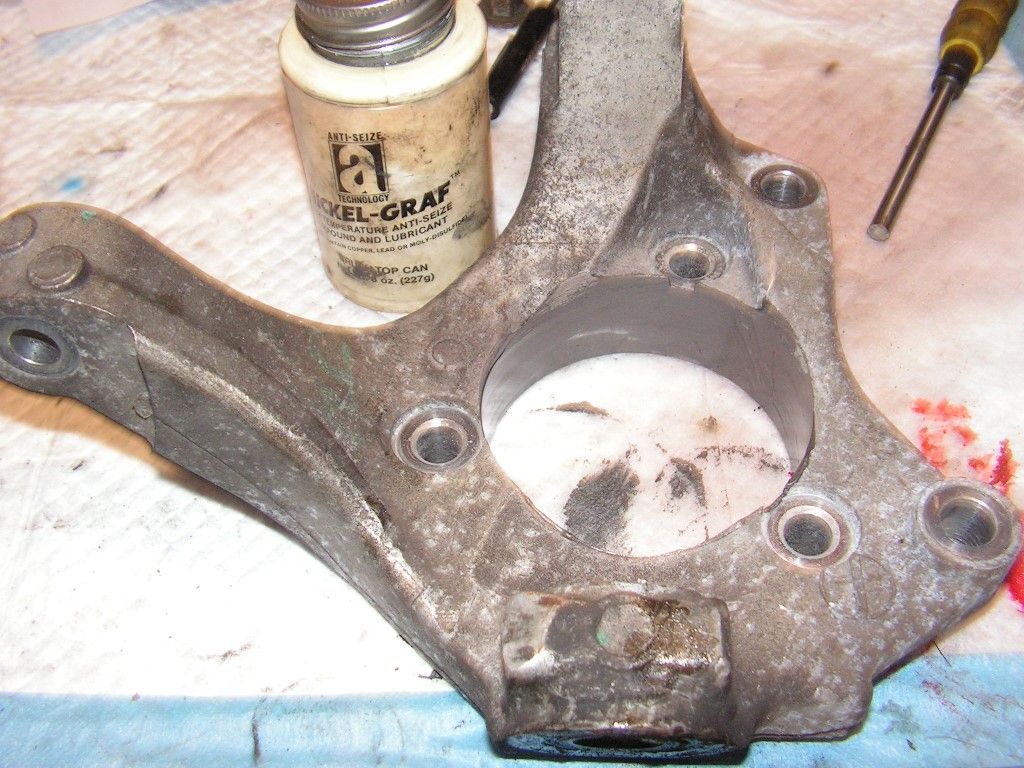
Looking at all the corrosion in the rear of the bearing hub I could also feel some gritty motion when spinning the bearing by hand. Just to be on the safe side I opted for a new bearing hub.


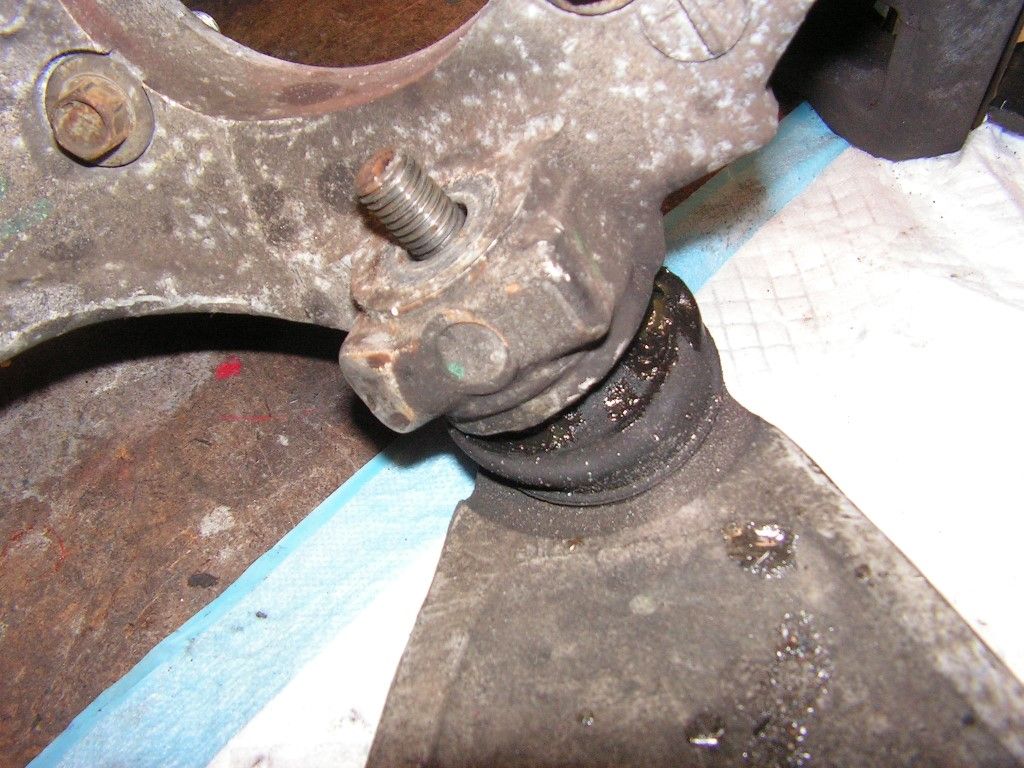
In addition I also noticed that the ball joint boot was leaking grease -- it had a rip in it. Time for a new ball joint. Unfortunately the ball joints on the DTS without the heavy duty performance suspension and brakes are not replaceable. You have to buy the complete control arm assembly. On DTS models with heavy duty brakes and suspensions, the ball joints are individually replaceable. So it's a $190 control arm on the regular luxury suspension, vs a $28 ball joint on the heavy duty suspension. Oh well -- it's only money!!!

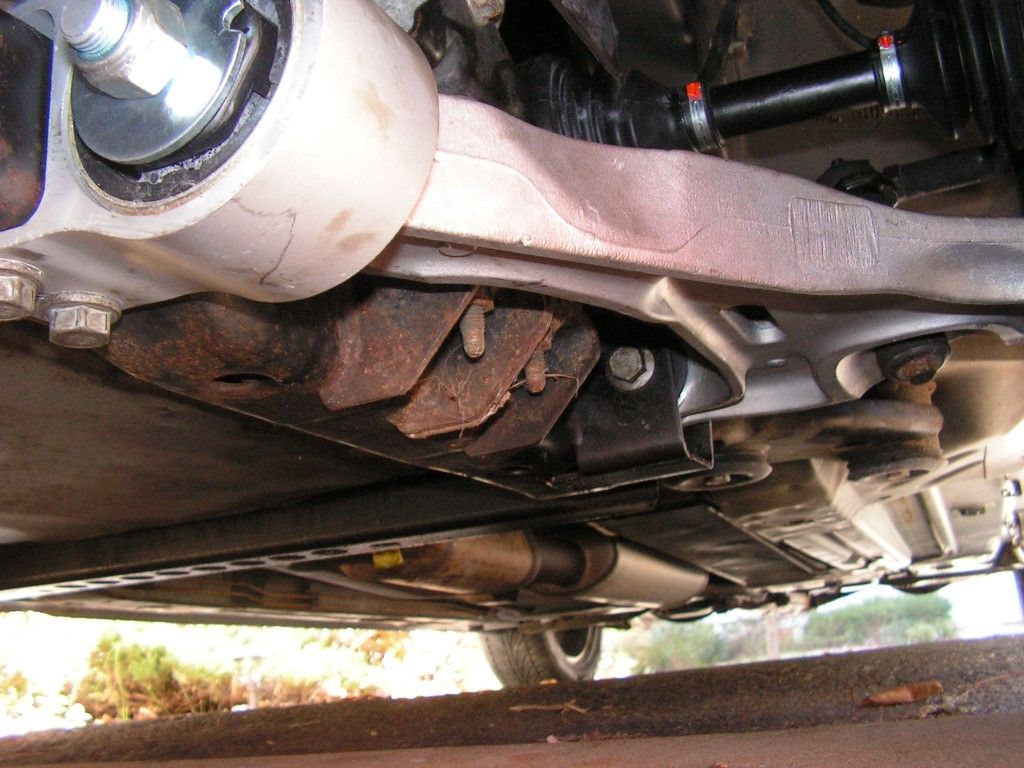
Time to remove the lower control arm - no big deal three large bolts hold it in place -- very straight forward. Remove the sway bar link and then the only real problem is removing the two sub-frame nuts form the front bushing -- they hide behind a hose on top of the sub-frame. The bolts remove from the bottom when the nuts are removed.


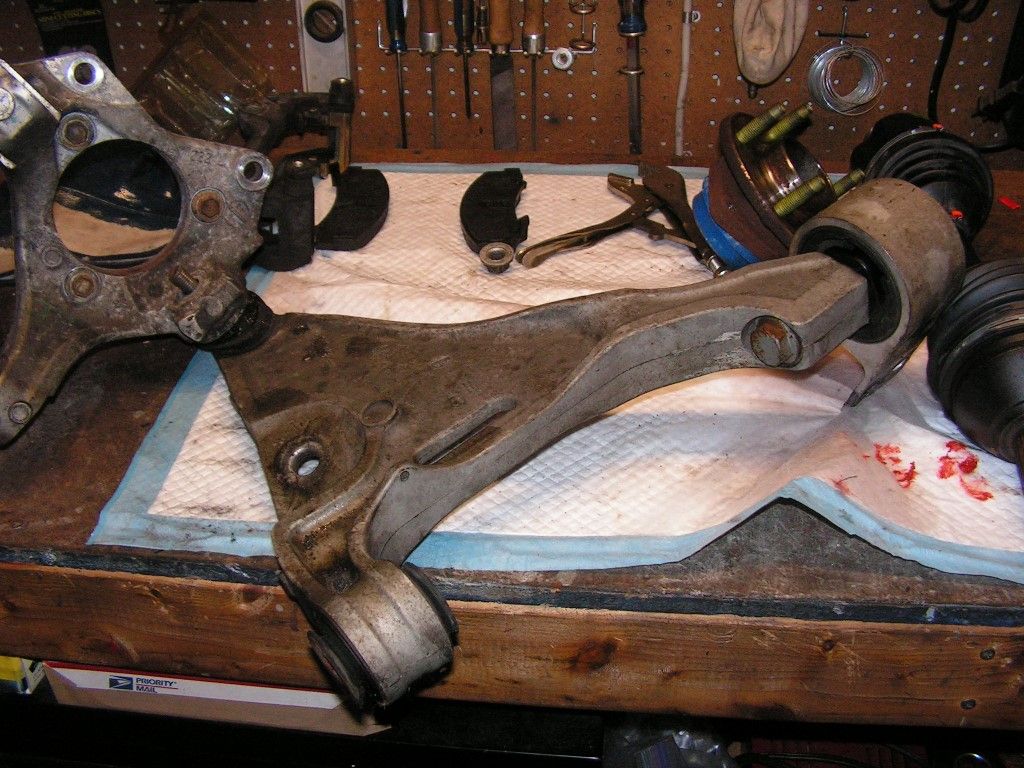
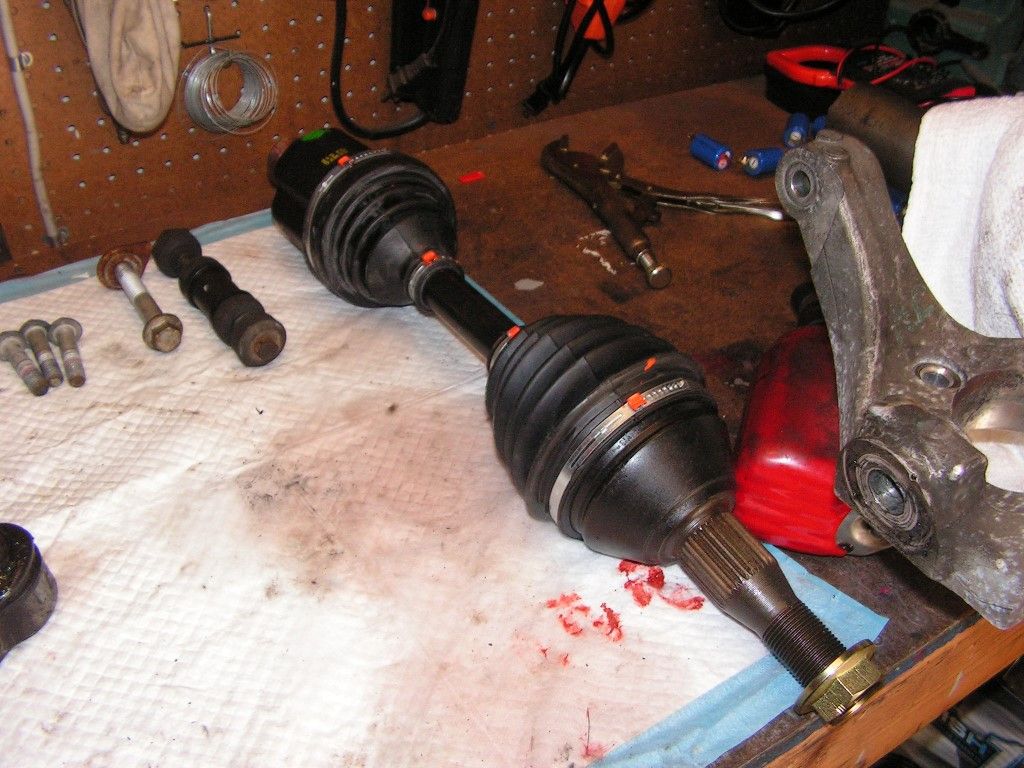
Here's the entire control arm assembly and the knuckle on the bench -


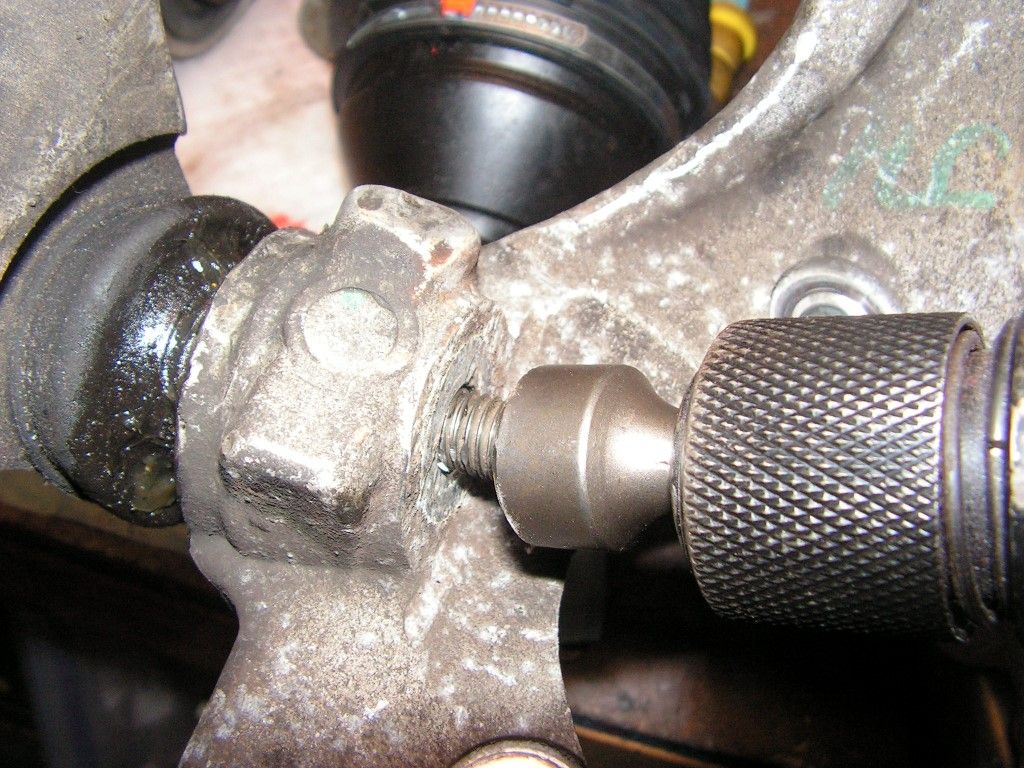
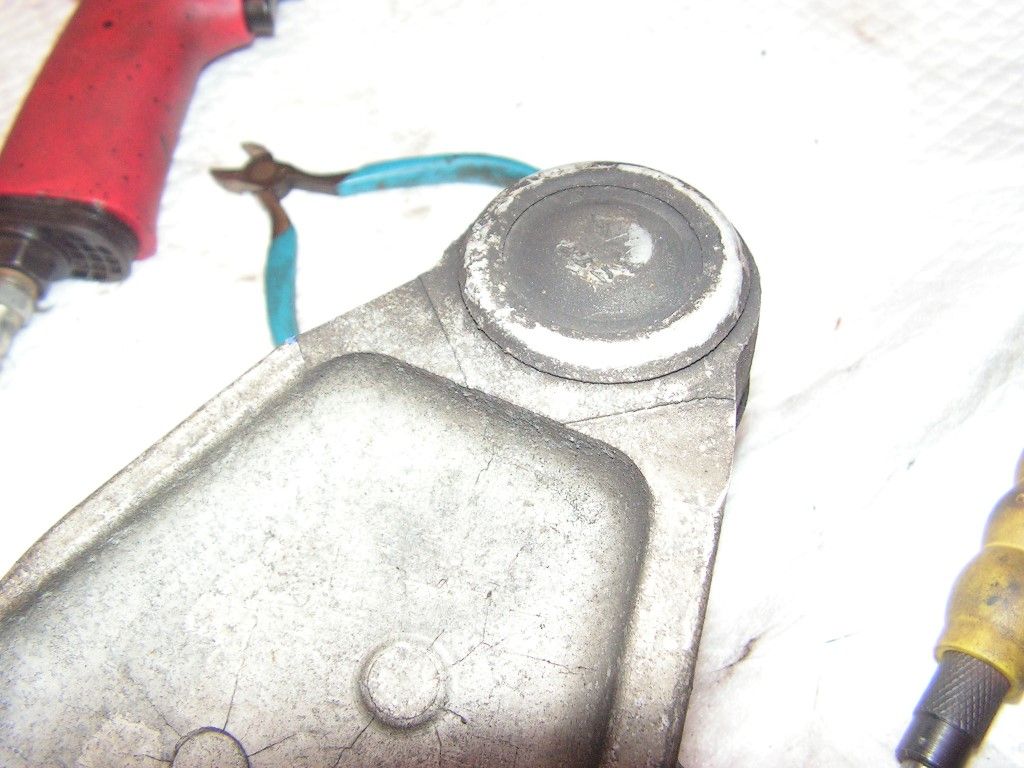
To remove the ball joint from the knuckle I hit it with an impact hammer -- popped right out


I greased up the front and rear CV-axle splines to get it ready for the install, and I cleaned out the hub bearing bore in the knuckle with emery cloth and lubed it with anti-seize


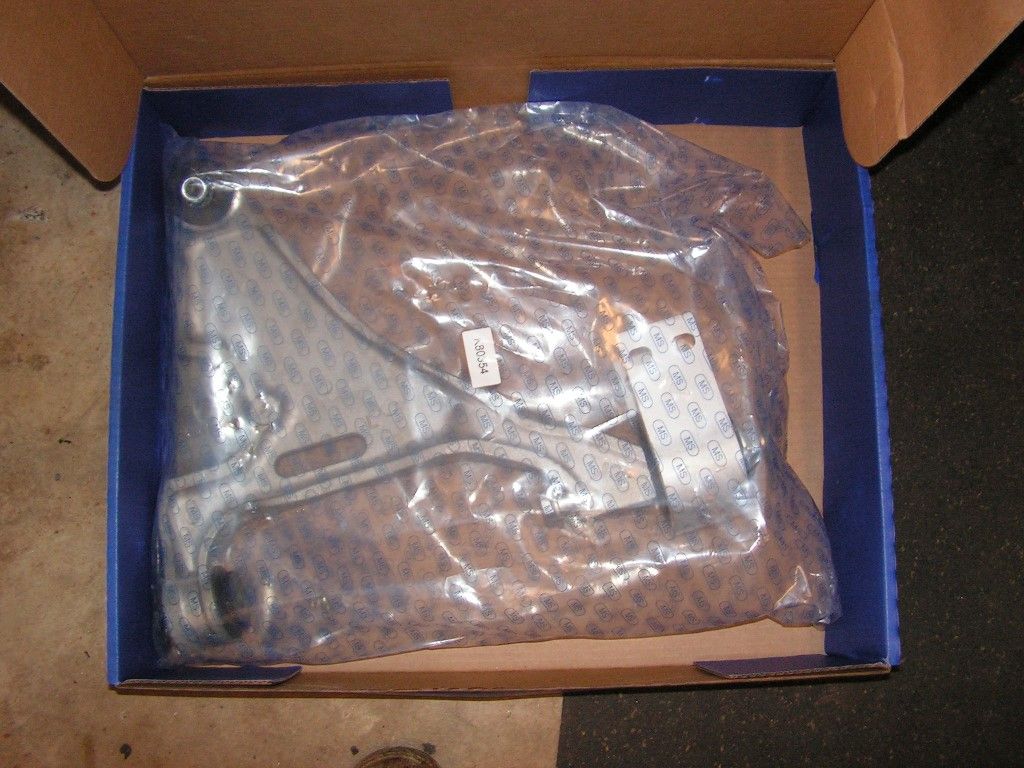
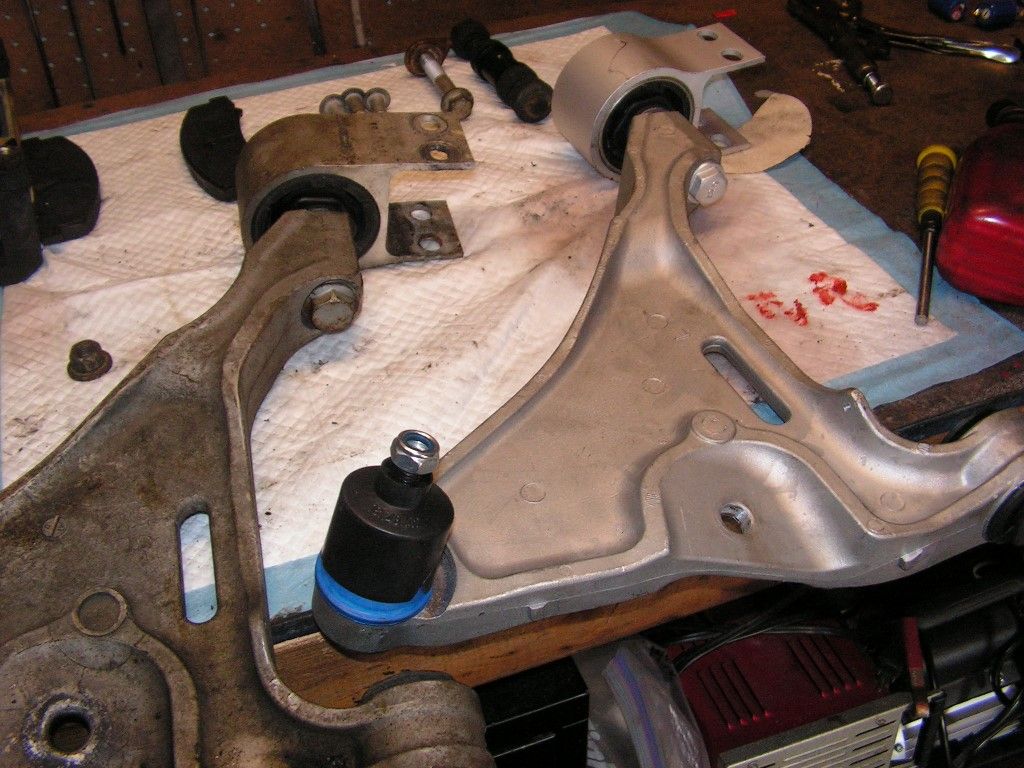
Next came the new control arm -- and I used blue loktite on all the bolts for reassembly --
NOTE -- I kept the control arm loose and will tighten completely when the wheel is back on and the car is settled on the ground at ride height.

Out of the box the new front control bushing was attached upside down on the arm -- good thing I noticed and double checked with the other side of the car. The bushing needed to turned over to be correctly installed -- always double check the parts.


Line up the CV-axle with the input shaft on the transmission and give it a quick hit on the front with a deadblow hammer -- it popped right into place. The grease helped.


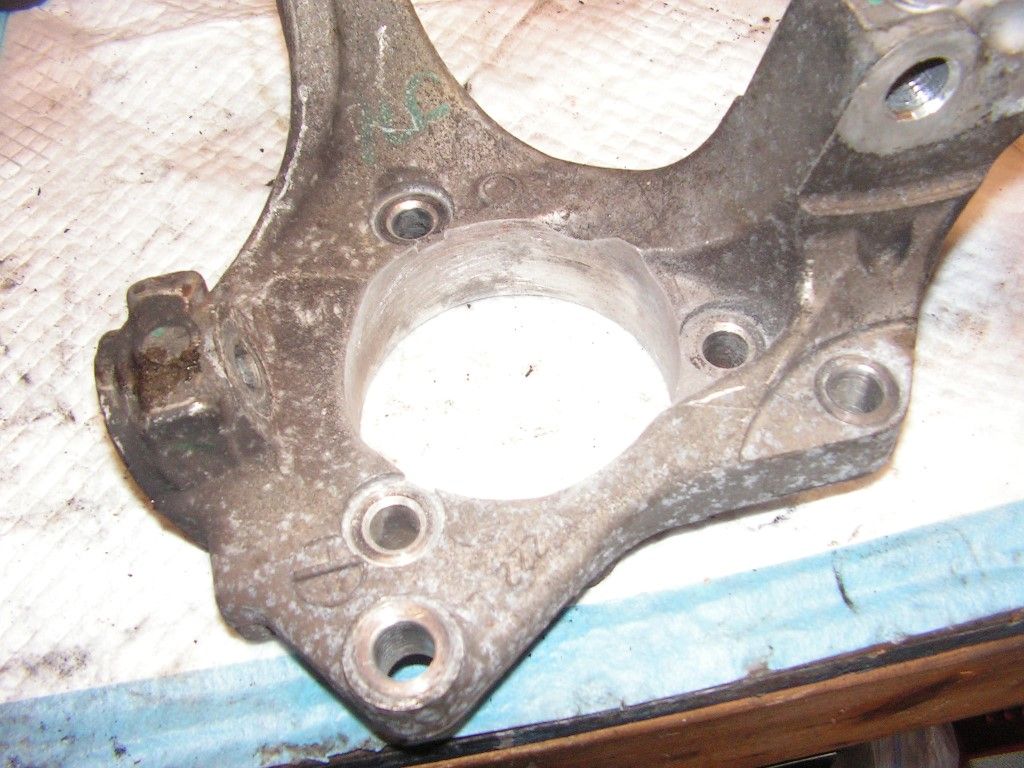
Anti-seize in the bore before the hub bearing is installed --along with  blue loktite on all the fasteners


Reassembly was pretty fast once the bearing is bolted into the hub.


Good thing about this new lower control arm -- it's greasable -- old OEM arm was not.


Greased the ball joint and called it a wrap --


Once the car was back on the ground I tightened the front and rear control arm bushing bolts and took a long test drive. It drives like new --


Total cost about $350 for all the parts -- could have saved about $110 by ordering everything from Rock Auto, but this NAPA franchise is the only local family owned parts store left in my area, and they had everything in stock -- so I opted to buy locally and support the business, and get it done today.


« Last Edit: November 17, 2018, 04:52:42 PM by goodfellow »

Offline pep

  • Hero Member
  • *****
  • Posts: 1185
  • Personal TEXT
I did one of those on the wife's Monte Carlo couple of years, back. Only the hub assembly, did you use the Timpken hub by chance?

Over all was not to bad of a deal, got the parts from Rock Auto. What was the reason for replacing the lower control arm ?

Seals look good and dry, that was a plus.

All better now ...... ;D

Pep
1776 ................... what happened!

Offline goodfellow

  • Global Moderator
  • Hero Member
  • *****
  • Posts: 4341
.......What was the reason for replacing the lower control arm ?

Pep

Ball joint was shot and had a torn boot. You can't get an individual ball joint for this suspension option -- you have to replace the entire lower control arm; which has the ball joint already factory installed.

Offline pep

  • Hero Member
  • *****
  • Posts: 1185
  • Personal TEXT
  You know I thought that reviewing the picture after the post, I'd of done the same ... good thinking.

 Then again you always fix things to last the first time .....

Pep

.......What was the reason for replacing the lower control arm ?

Pep

Ball joint was shot and had a torn boot. You can't get an individual ball joint for this suspension option -- you have to replace the entire lower control arm; which has the ball joint already factory installed.
1776 ................... what happened!

Offline goodfellow

  • Global Moderator
  • Hero Member
  • *****
  • Posts: 4341
Took a long road trip today, and the ride was much improved. No more rumbling in the front end, and it handled smoother and tighter than before. I also noticed that a recurring steering wheel vibration at around 65mph has disappeared. Could have been the questionable hub bearing. 

Offline fatfillup

  • Hero Member
  • *****
  • Posts: 2554
Better get them long road trips in now before Amazon comes in.  Soon a long road trip will be to the store and back :P

Glad your ride has improved.  Having a smooth comfy ride is quite satisfying if you are going to be in the car a while.  I really miss my Town Car

Offline stokester

  • Hero Member
  • *****
  • Posts: 603
  • Air-cooled!
Another great post GF.

I've replaced the front axles in my 4Runner at different times because of split boots, essentially a similar procedure.  Watching someone with an impact attempting to remove those splined bolts is always interesting. :D

The cost of these rebuilt axles is quite reasonable and I've found the NAPA ones to be readily available and what appears to be good quality.  When I worked at the Chevy shop a customer would not pay for an AC-DELCO and insisted on the cheapest replacement axle available.  When trying to fit the replacement I was unable to get the splines to line up in the hub.  It just did not fit.  At work time is money and I spent the afternoon with this vehicle on my lift awaiting customer approval on a better quality component from NAPA and then having it delivered.

The cheapest parts are not worth the time nor money. 
Nick
Yorktown, VA

Offline goodfellow

  • Global Moderator
  • Hero Member
  • *****
  • Posts: 4341
Good point Nick! I'm a big NAPA fan. Chinesium yes, but at least they specify some quality. My old friend arrived in town this morning to join us for Thanksgiving, and we just got back from NAPA. He's 88 years young and also drives a DTS, and on Friday we'll do a complete brake job (front and rear) and front hub replacement - pads, rotors, and hub. The NAPA guys were super nice, and they respected the fact that this old gent still drives and maintains his pride and joy caddy. Not too many 88y/o guys still driving and wrenchin' on their rides.

« Last Edit: November 21, 2018, 11:11:50 AM by goodfellow »

Offline kwoswalt99

  • Full Member
  • ***
  • Posts: 138
Why did you take the knuckle off?

Offline goodfellow

  • Global Moderator
  • Hero Member
  • *****
  • Posts: 4341
Why did you take the knuckle off?

Just easier to pull the entire knuckle and lower control arm. It needed a new lower control arm/ball joint unit and I wanted to thoroughly clean the knuckle of aluminum oxide corrosion and apply anti-seize before installing the new hub bearing.

Offline slip knot

  • Hero Member
  • *****
  • Posts: 2594
Re: Cadillac DTS wheel bearing hub, lower control arm, and CV-Axle service -
« Reply #10 on: November 21, 2018, 04:49:52 PM »
interesting to see the knuckle bolts to the strut with no alignment refrence. Back in my stealership days (early 80s) all of the FWD machines had those two bolts on eccentrics and you had to mark them well or you'd be doing an alignment too. 


And we used to reboot the joints, now its too cheap to just buy the whole shaft.