This is a very interesting phenomenon, and maybe some of you experienced GM folks know what the deal is. Problem started about three weeks ago with the car reporting intermittent stability/traction control messages and the check engine light coming on. In each case I hooked up the scanner and found no codes. At first I thought that the throttle body was acting up, but I had fixed that problem by modifying the crankcase vent valve (PCV) and the oil fouling problems with the throttle body were solved. Checking the throttle body, it was clean as a whistle -- so there must be another issue. I drove the car for another week and the same crap kept happening every two/three days -- no codes set, but something isn't right, and the problem seemed to point to an electrical issue, rather than a mechanical one.
On a hunch I checked the battery -- it was marginal, and since it was the original (now seven years old), I decided to replace it. With the new battery, the problem went away -- no more check engine lights and no more traction control messages. Now two weeks in, and we're good to go --
If there are any late model GM knowledgeable guys on this forum, maybe you have an explanation for this problem. Maybe the ECM or BCM aren't getting the required voltage (within a certain parameter range) to do their job, and setting codes as a result of that issue?
Anyway -- for the Lambda platform guys (Traverse. Acadia, Outlook, Enclave) -- here is the battery replacement procedure.
First! -- TAKE THE KEY OUT OF THE IGNITION and set it aside.
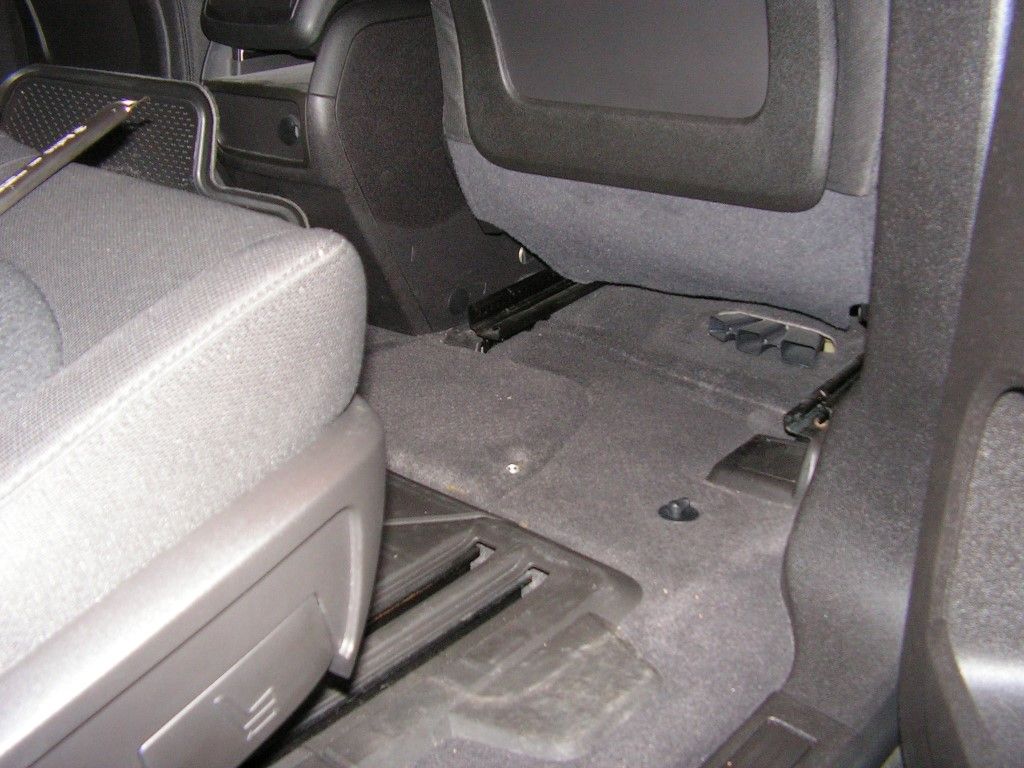
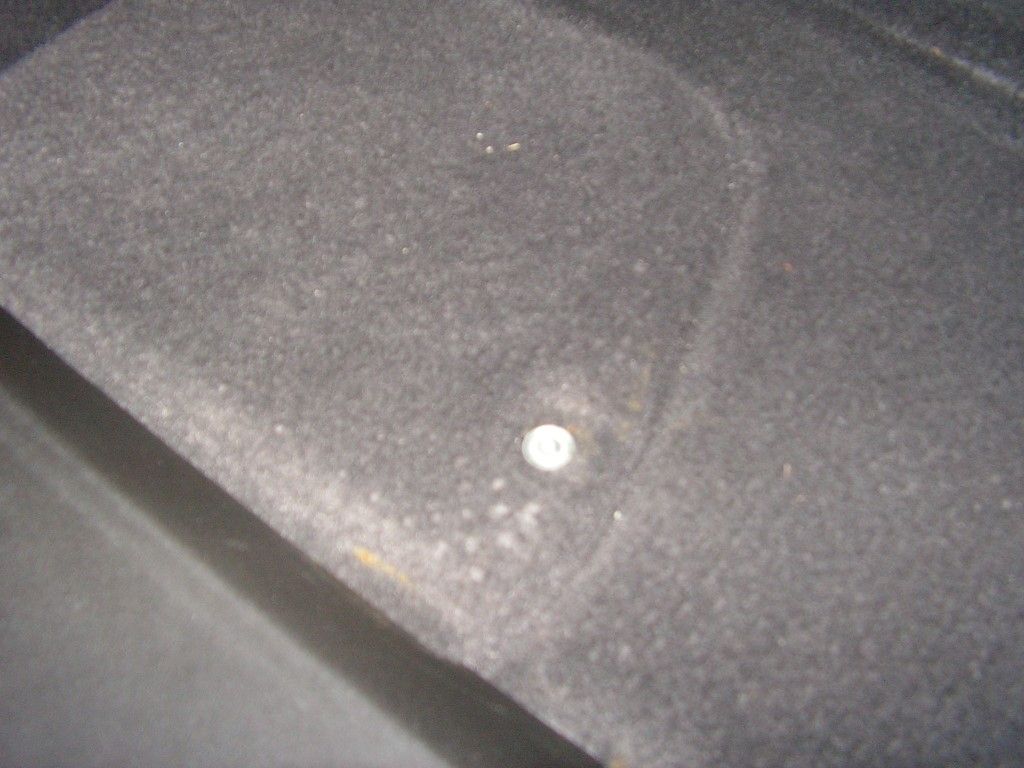
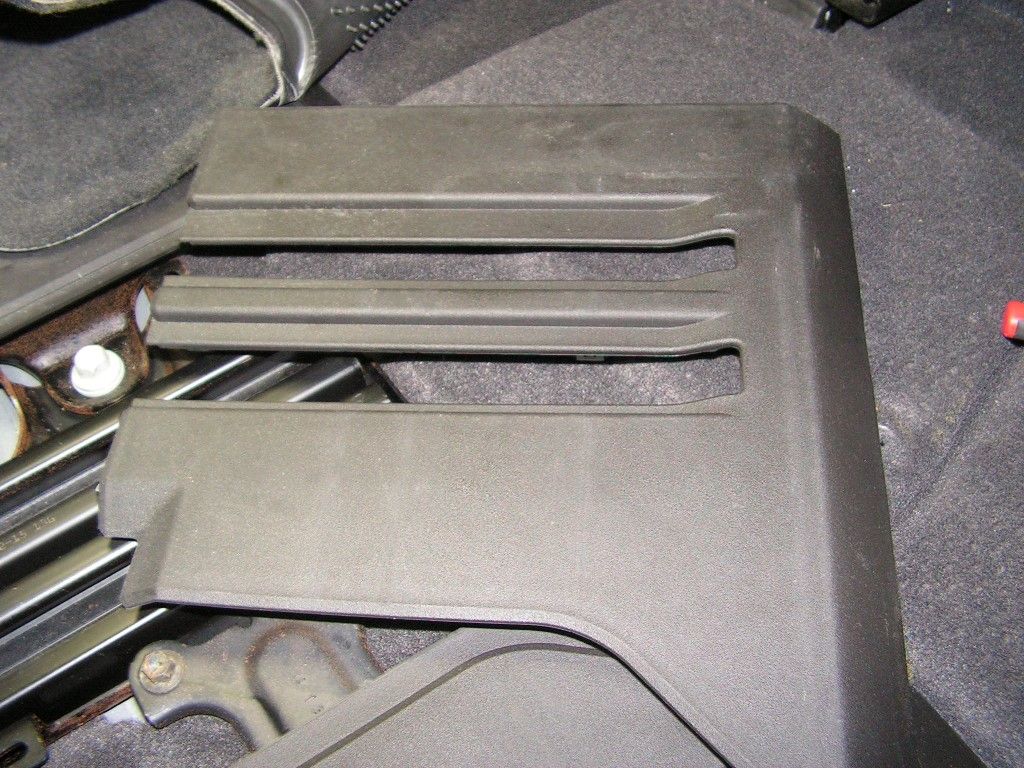
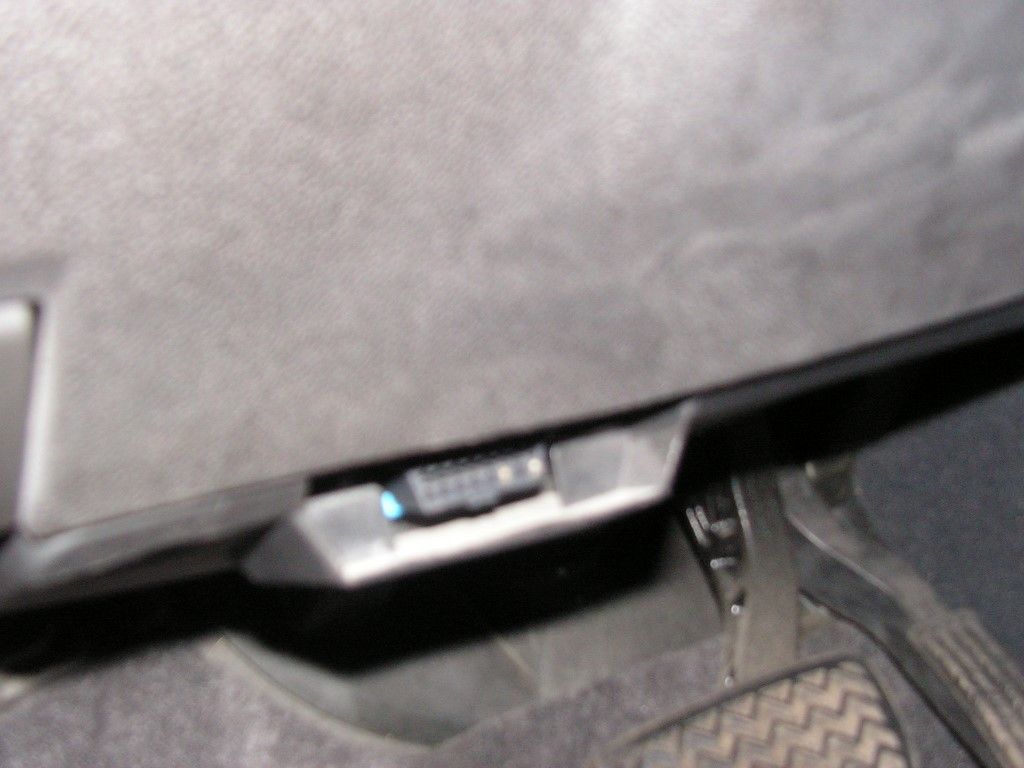
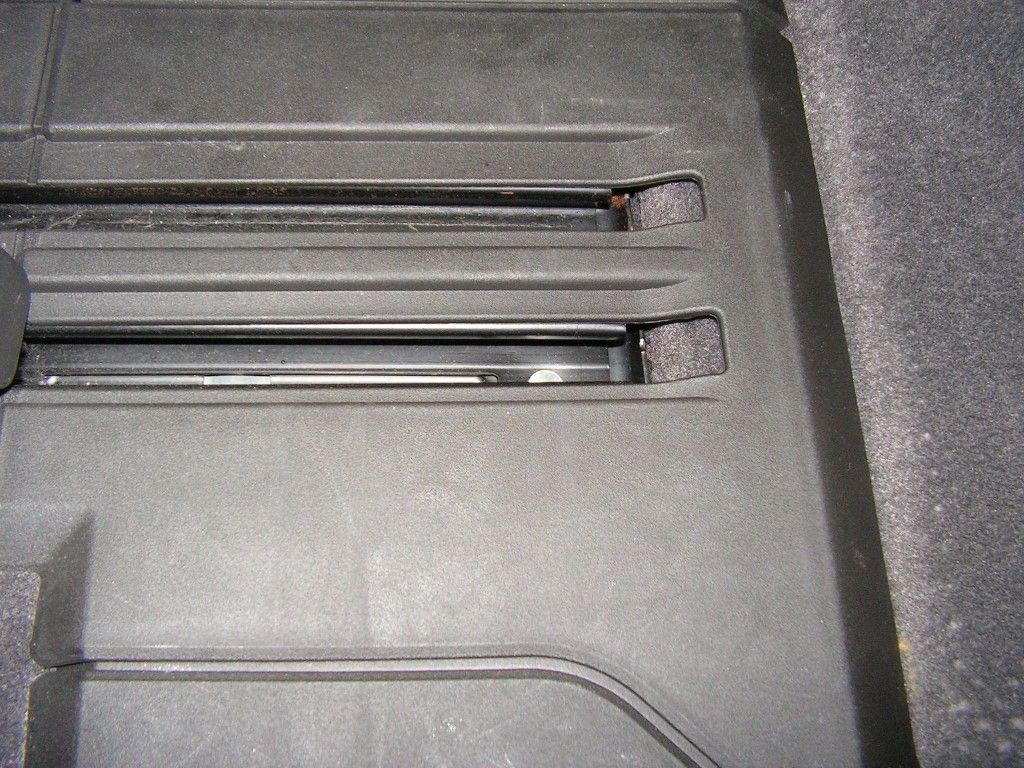
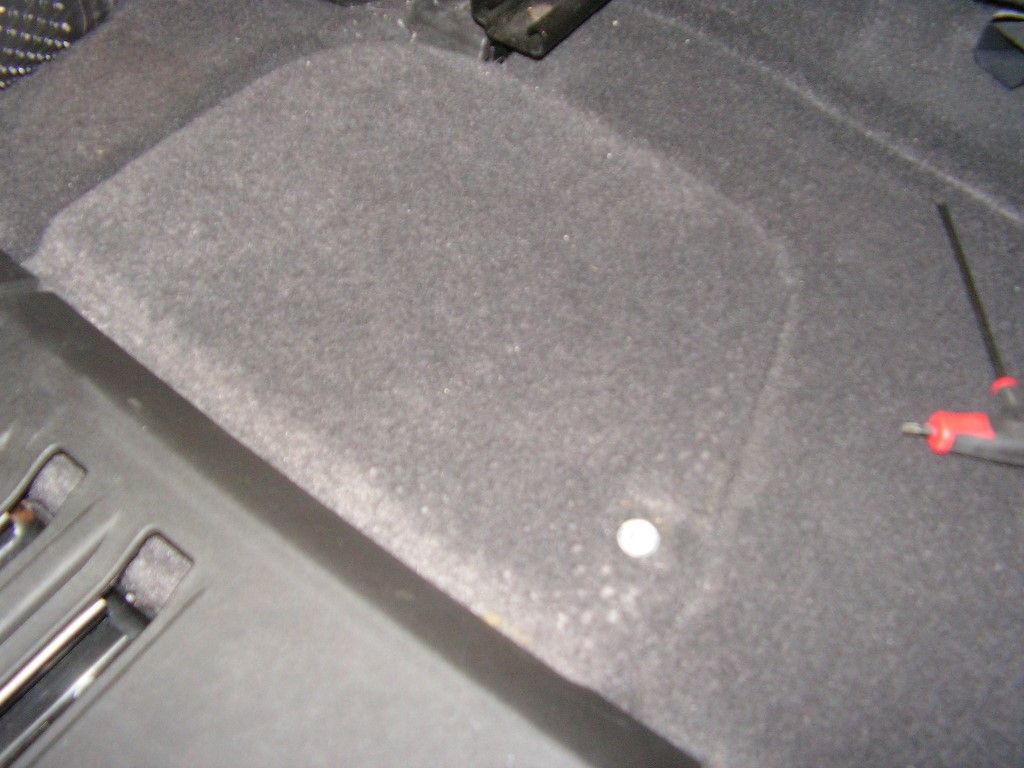
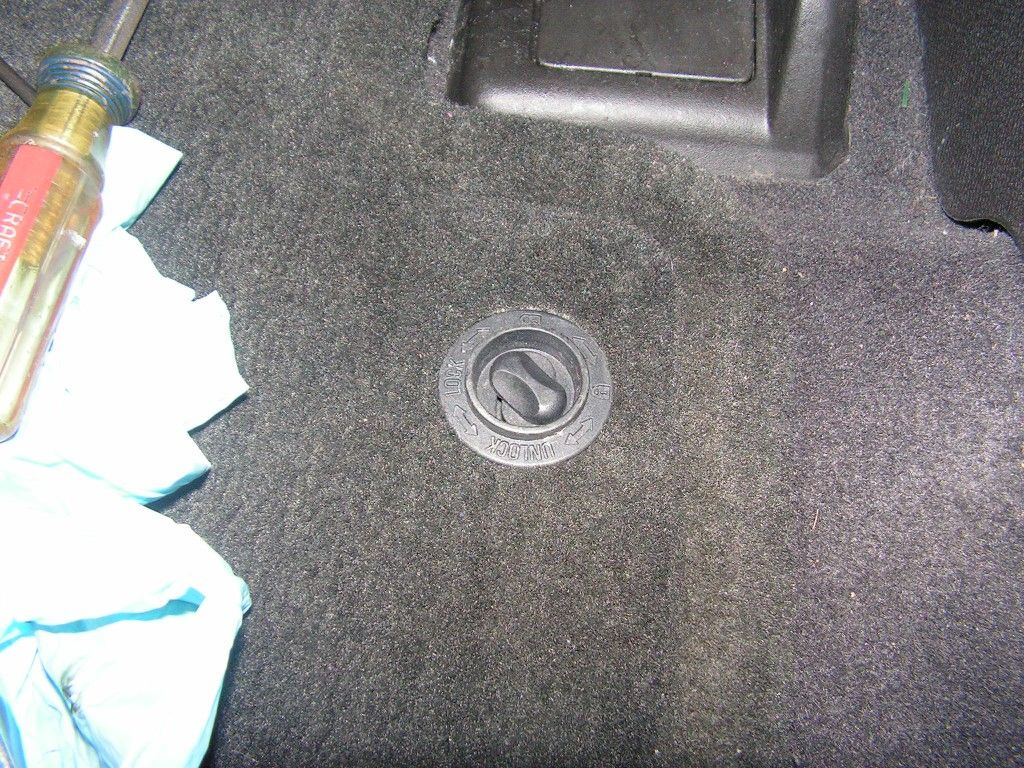
The battery is located behind the driver's seat, on the floor. You will have to move the driver's seat forward to gain full access. Turn the floor mat hold-down sideway and move the mat out of the way. The access panel is visible and held in place with a 20T Torx screw. You will also have to remove the plastic trim that covers the rear seat runners. It just pulls up and is held in lace with clips.
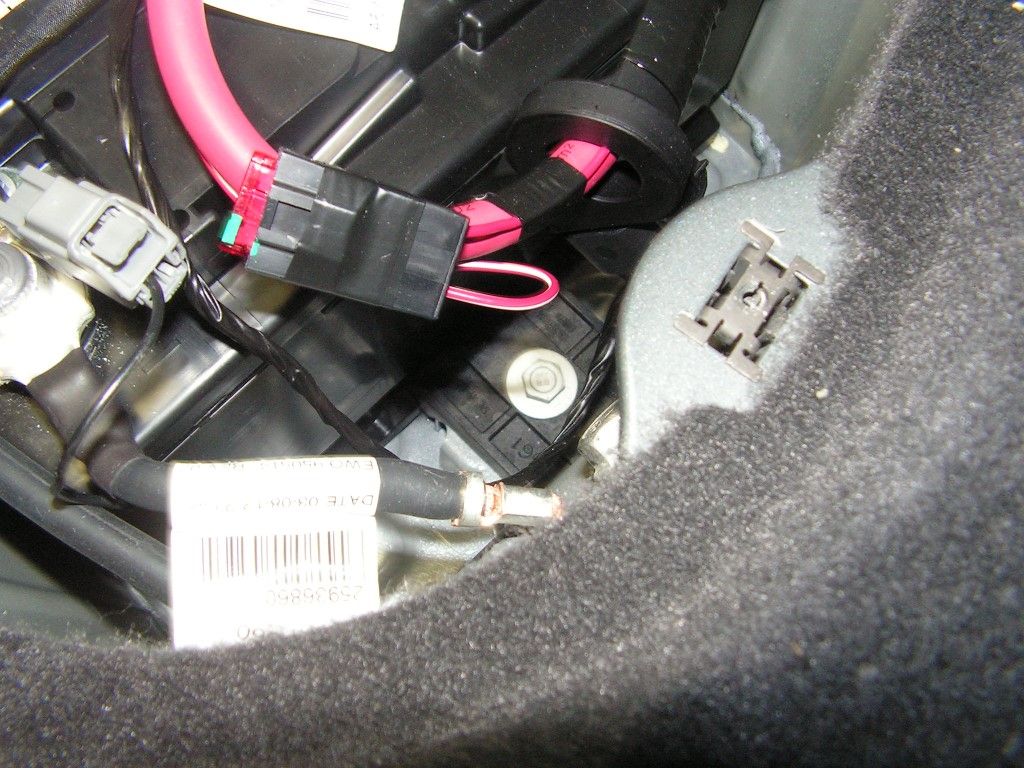
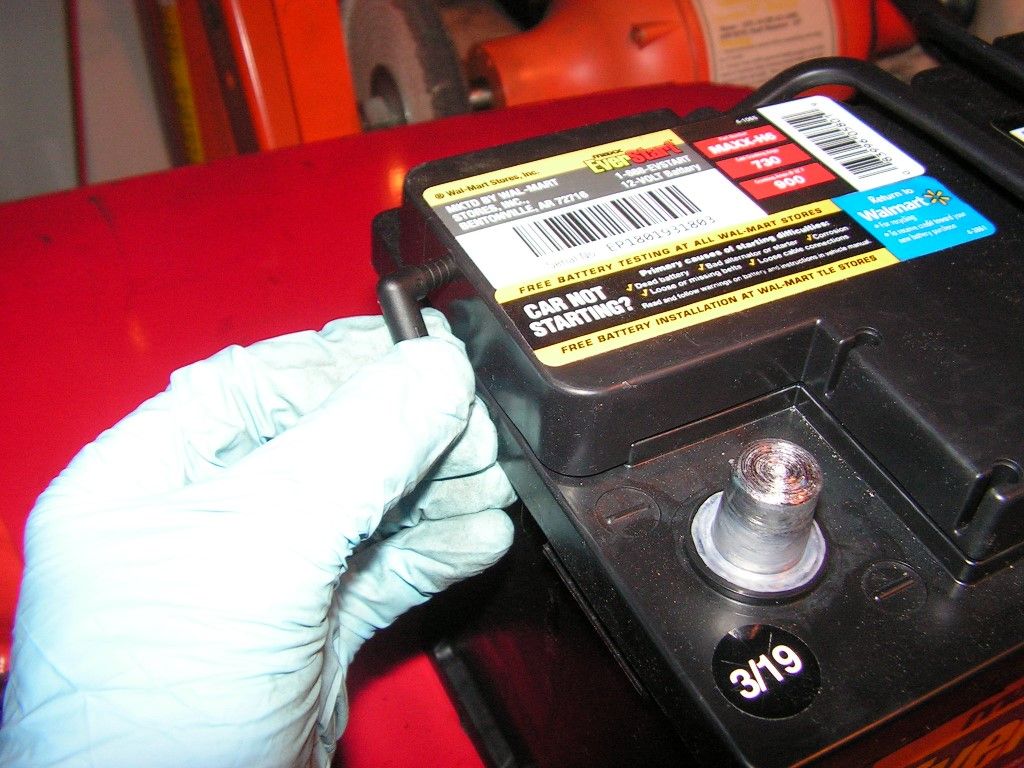
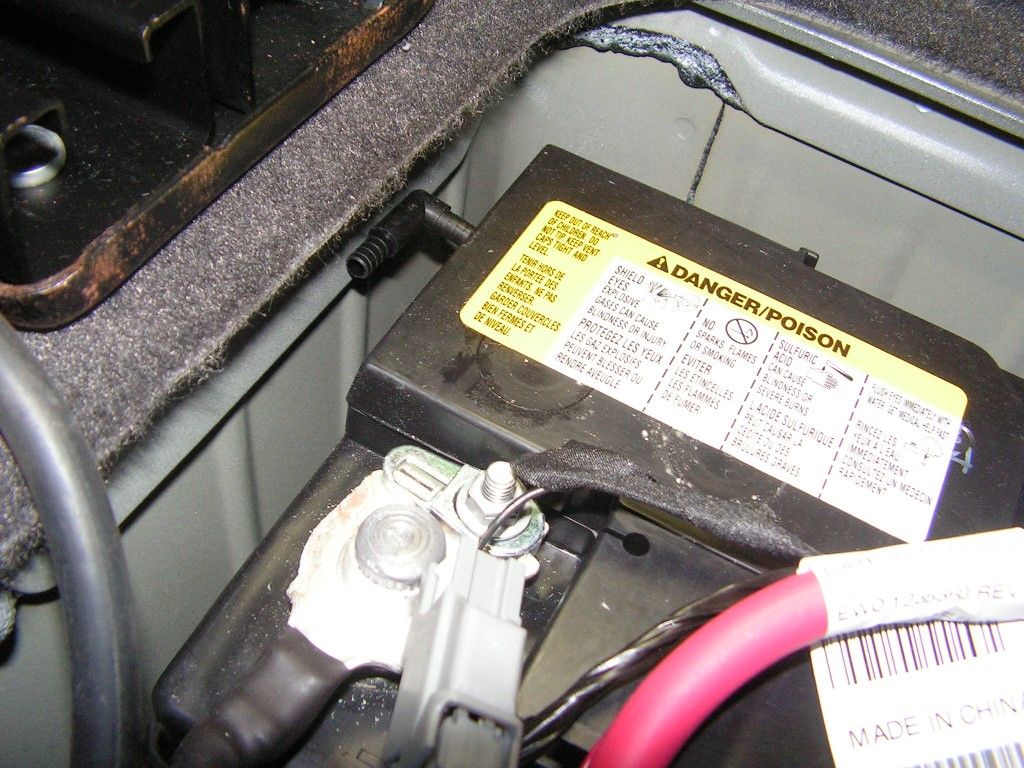
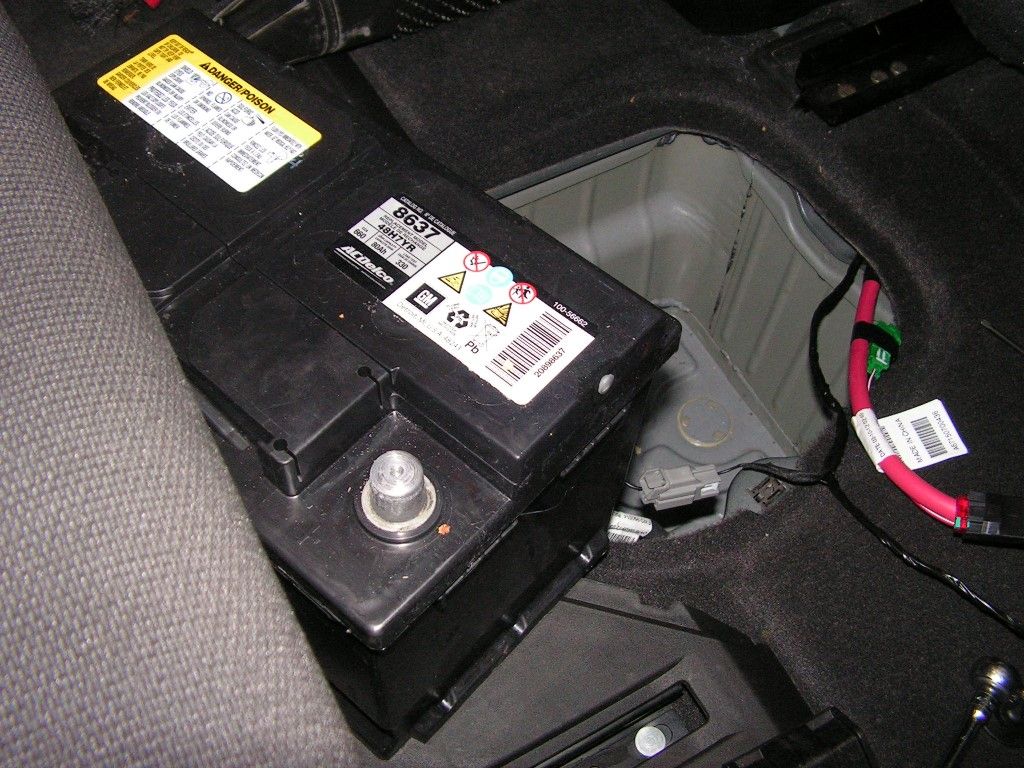
Remove the 20T nut from the access panel and the battery is accessible. However, as you can see there is a lot going on down there. The battery is Group Size H6, 730 CCA specific for this platform -- which includes a side vent to release potential explosive fumes to the outside of the car. The battery is held in place by a bracket and 13mm bolt at the bottom of the battery box.
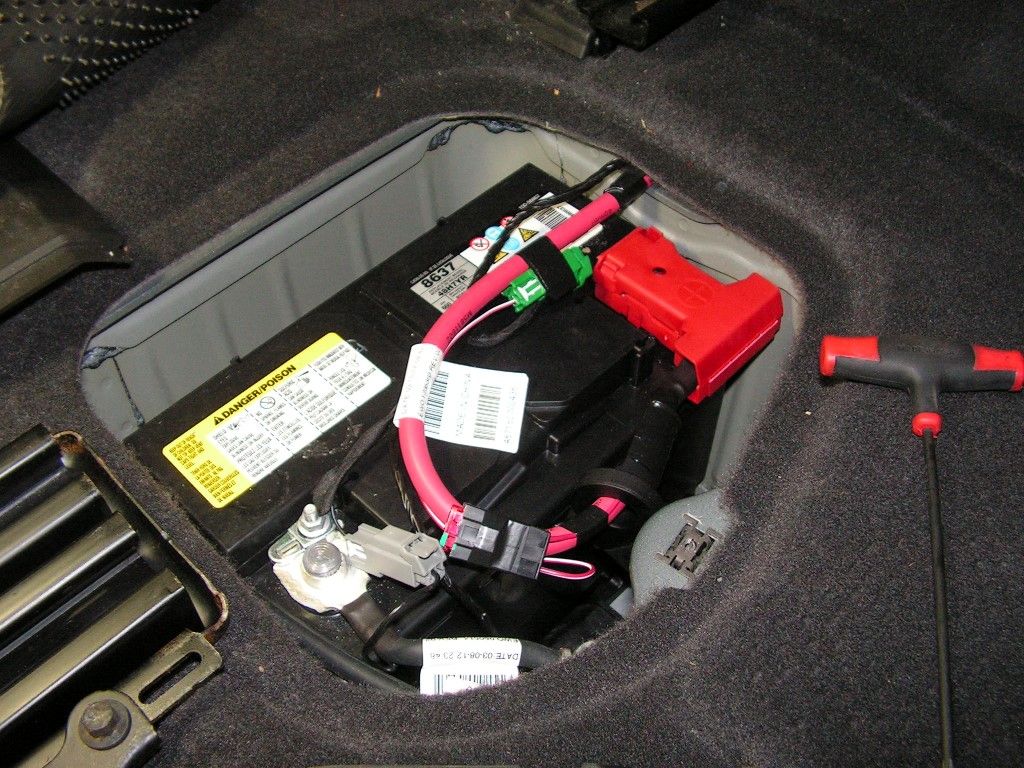
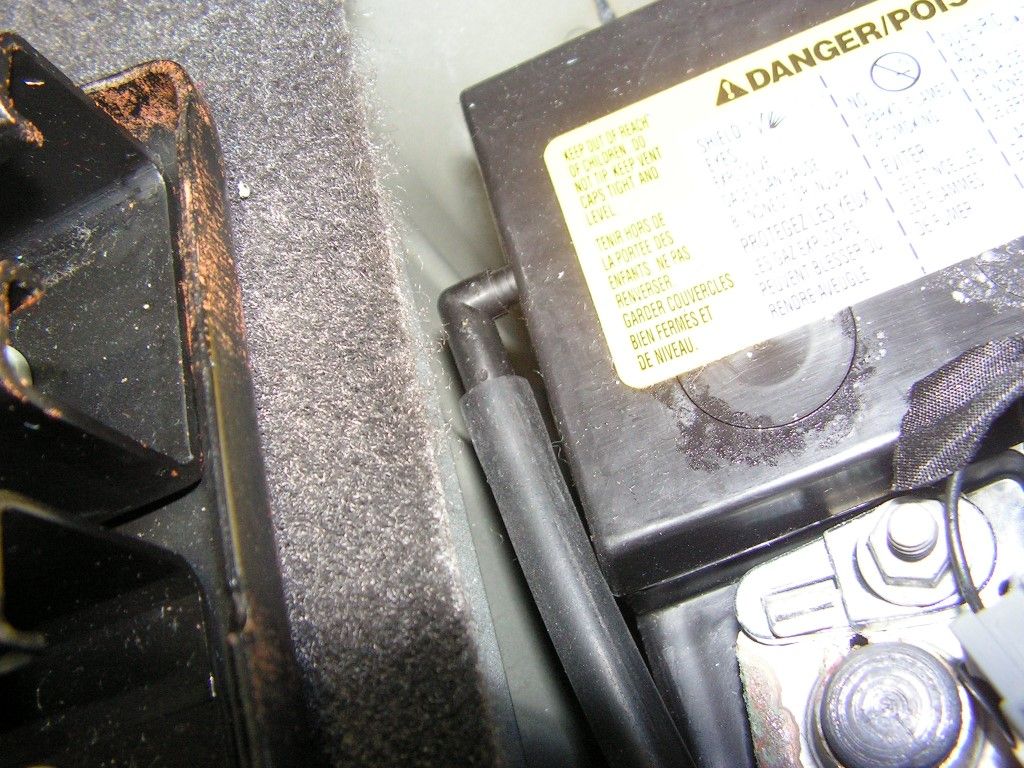
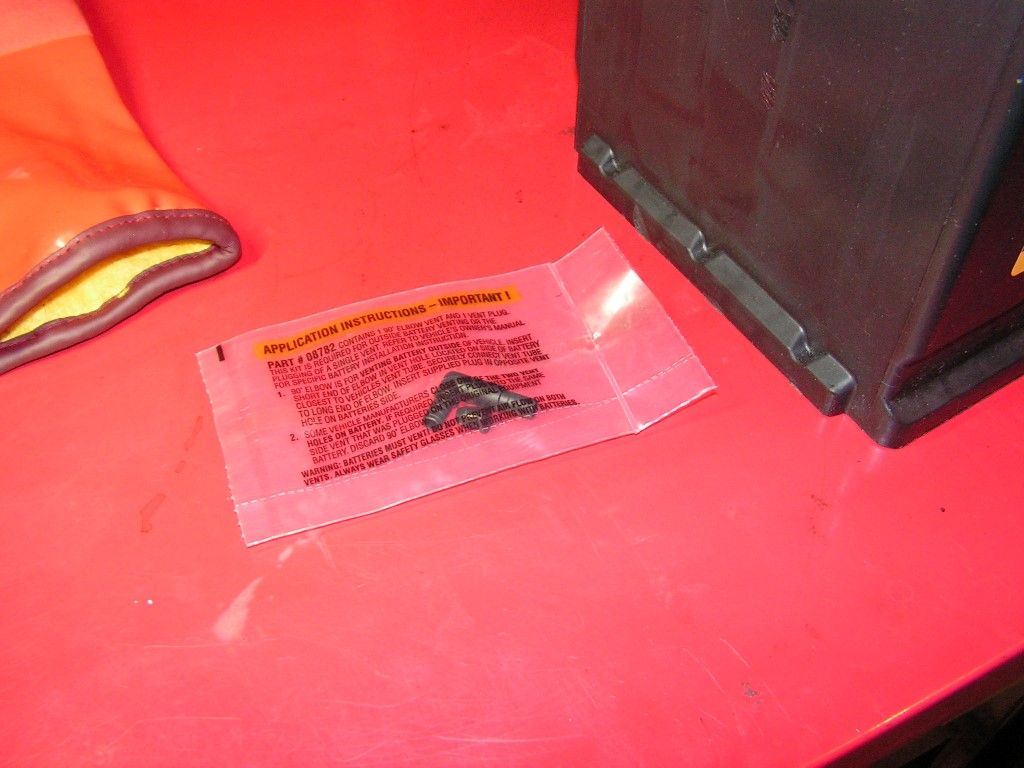
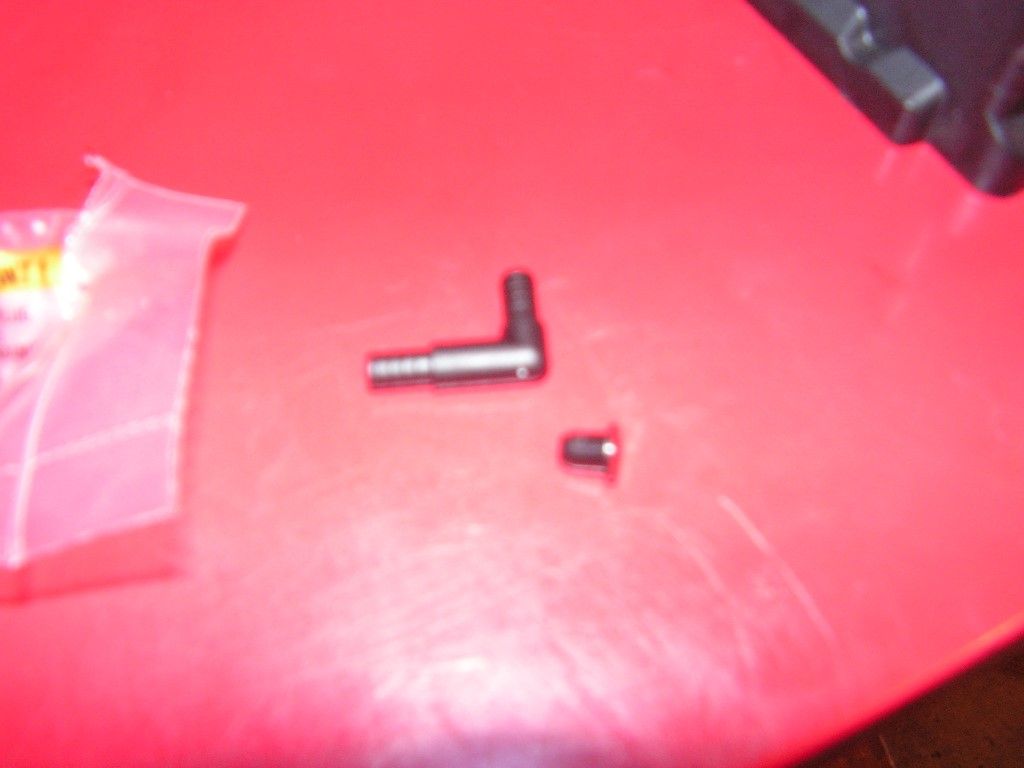
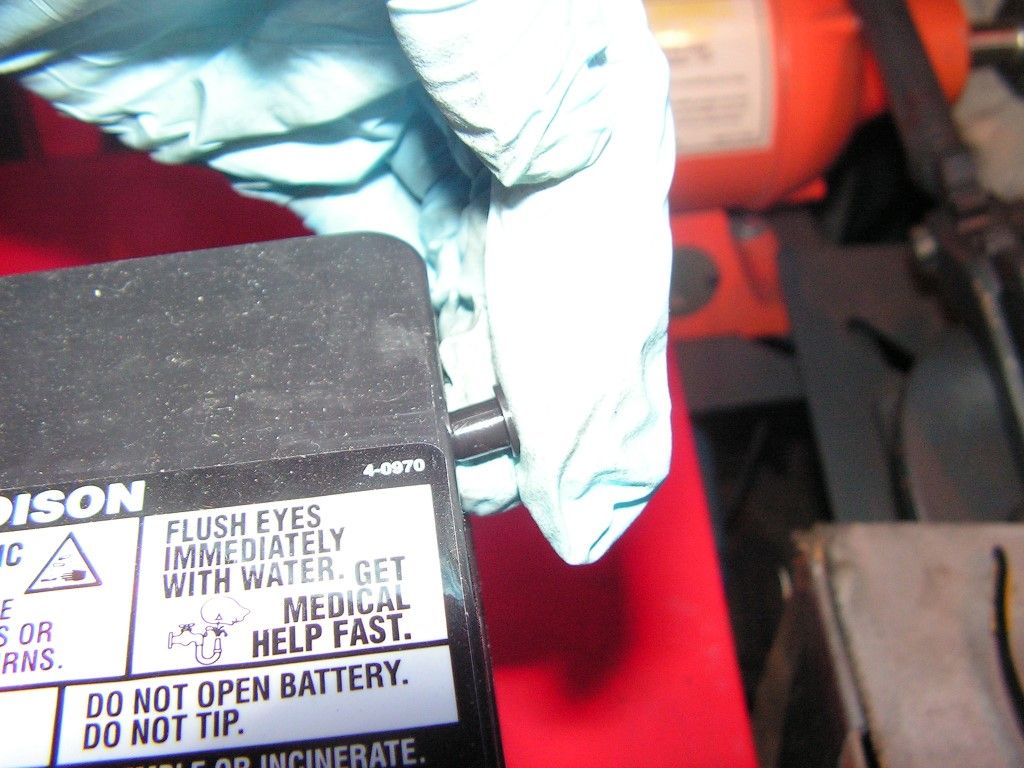
The new battery should come with a new vent tube elbow and a vent block plug. In the case of this setup, the elbow is installed on the left side (negative) of the battery and the plug is used to plug the vent on the right (positive) side of the battery.
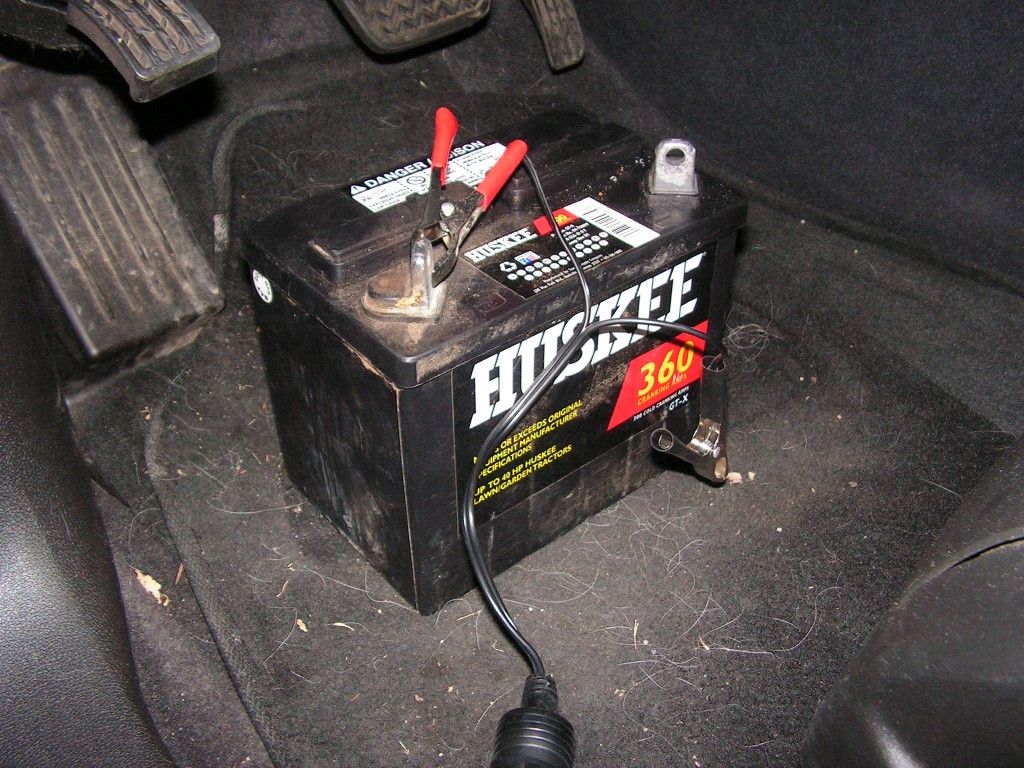
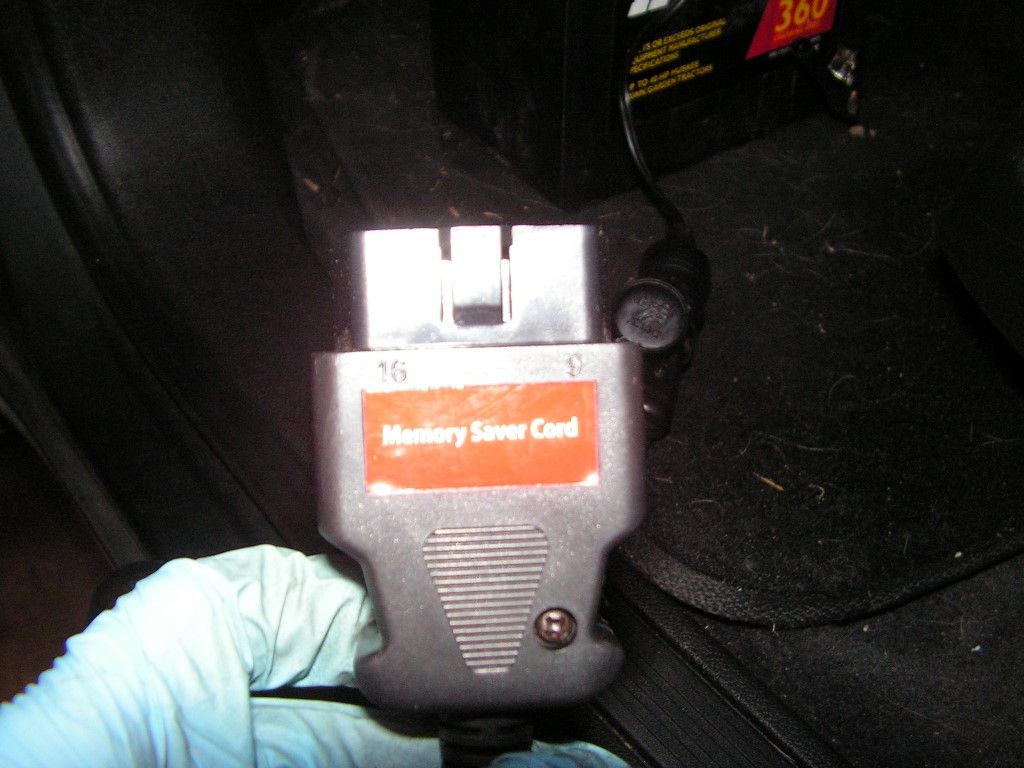
Now this is where some controversy comes in (and I have no way to prove this, but I err on the side of caution). Some GM Traverse forum posts report that if you disconnect the battery completely (i.e., render the system "dead"), then there might be some issues with the ECM and throttle response once the new battery goes in. The system may or may not be able to complete a relearn after a dead battery is replaced. Sometimes a dealer may have to force the relearn with a reprogram. I don't know if this is true or not, but just to be safe, I opted for a "hot" replace by using an auxiliary 12v lawnmower battery connected through the OBD2 with a memory saver cable -- I've had it for years and it was just a few $$ on ebay several years ago.
So, before disconnecting the main battery, I hooked up and activated the memory saver into the OBD2 port to keep the ECM happy with 12v power.
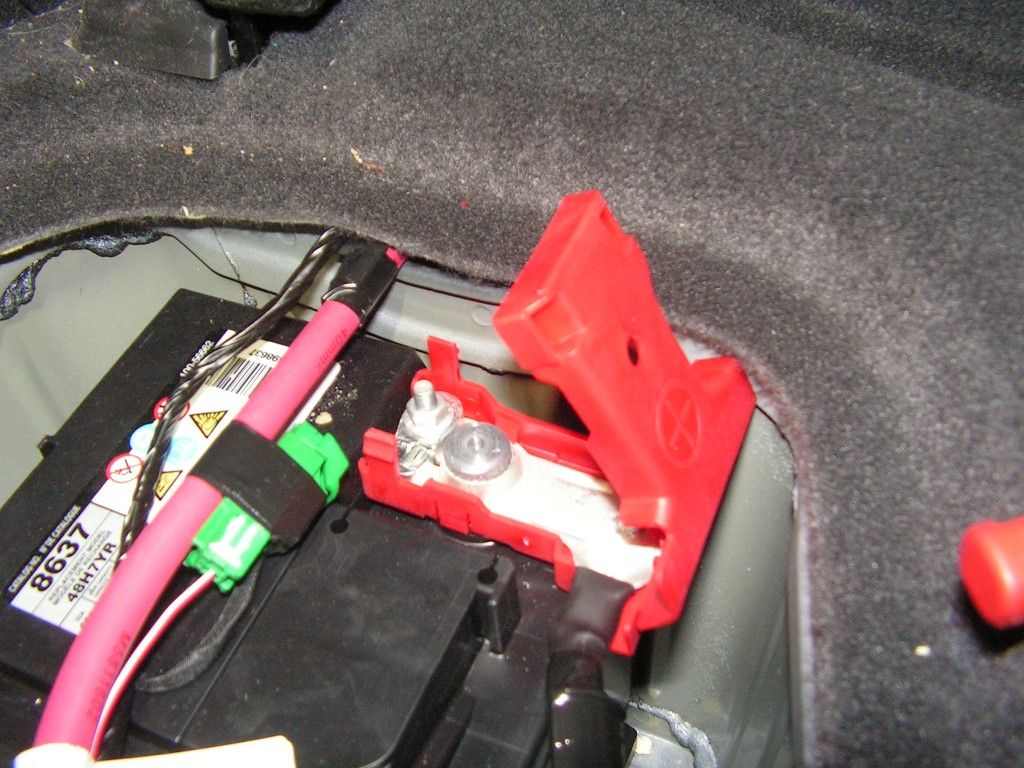
Now I removed the hold-down bracket and bolt, disconnected the vent tube and 10mm battery terminal nuts (negative side first), and removed the battery.
Installation was in reverse -- with the negative batter terminal going on last. Although the vent tube elbow can be installed before the battery goes in, I decided to install it after, since the space is tight and there's a good chance that I could break it while dropping the heavy battery into place. It's a bit more fiddly this way, but much more safe.

Once the negative terminal is hooked back up to the battery, the memory saver and auxiliary battery can be unplugged and removed.
Now the cover and seat rail trim pieces are re-installed and the floor mat secured in place.
Good to go -- and after two weeks of driving - no more troublesome DIC messages and check engine anomalies.
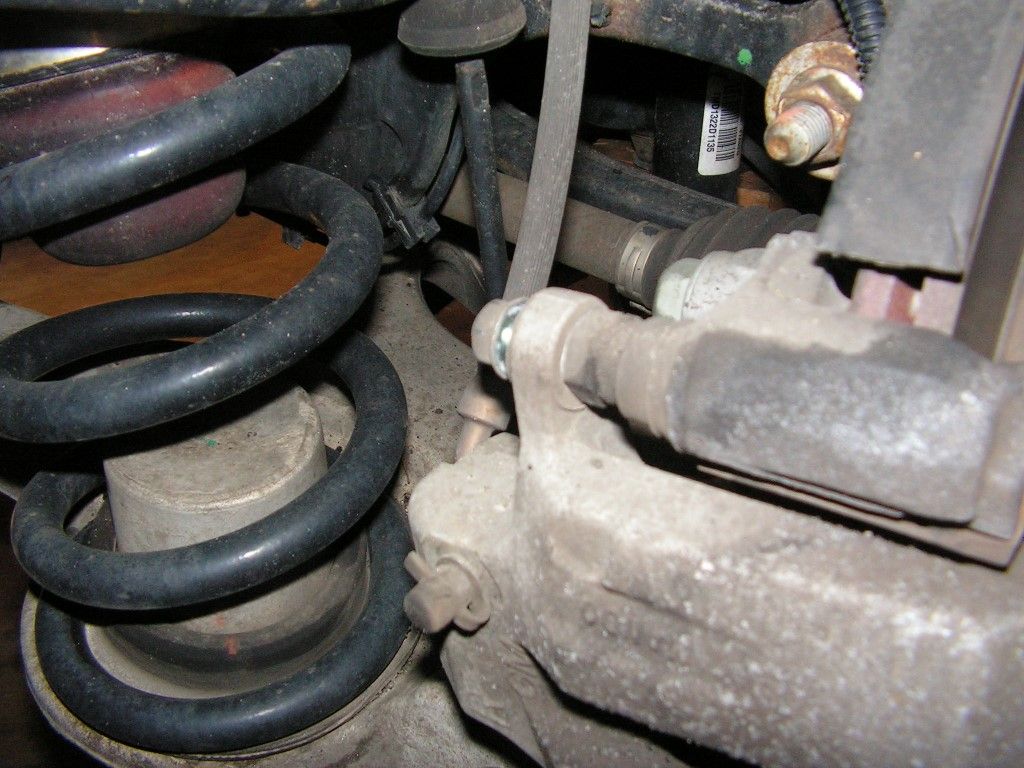
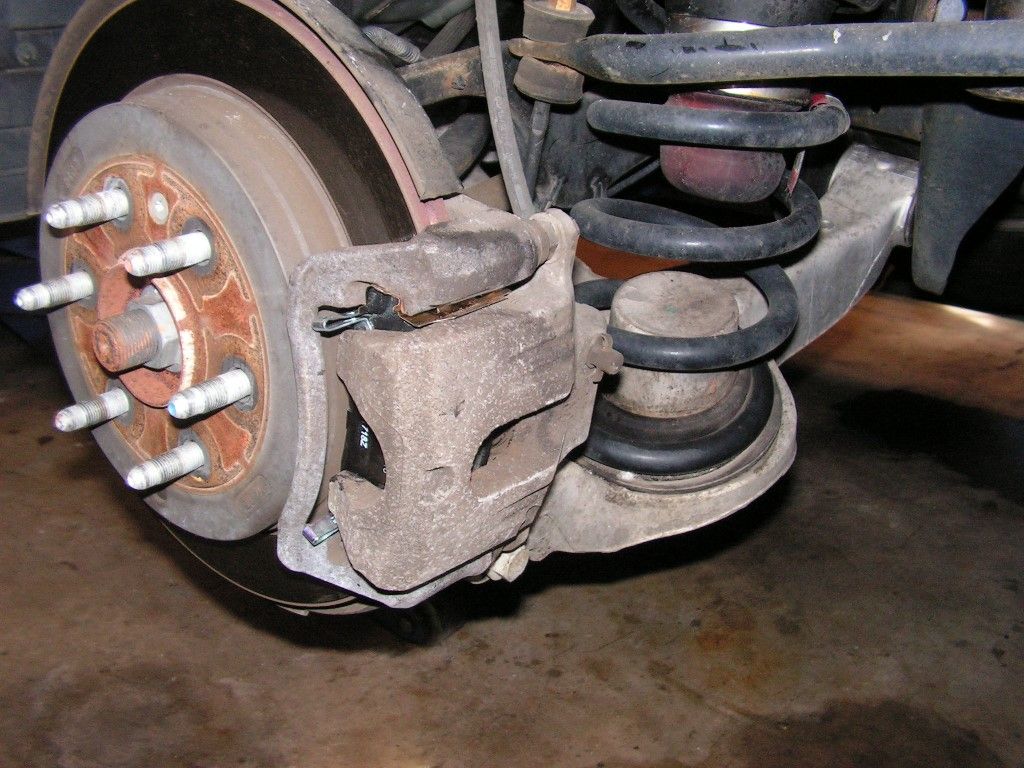
While I was in the garage and had this thing on the lift, I decided to do the rear brakes -- did the fronts a few weeks ago and the rear pads came with UPS yesterday. No time like the present to get it done -- pretty easy; no complicated rear calipers. These pistons just compress back into place, BUT they are phenolic material, hence caution is required when pressing the pistons back into their bores. Also make sure the Master Cylinder cap is off and a towel underneath it to catch any escaping fluid in case the level gets too high in the reservoir as a result of compressing the rear caliper piston.
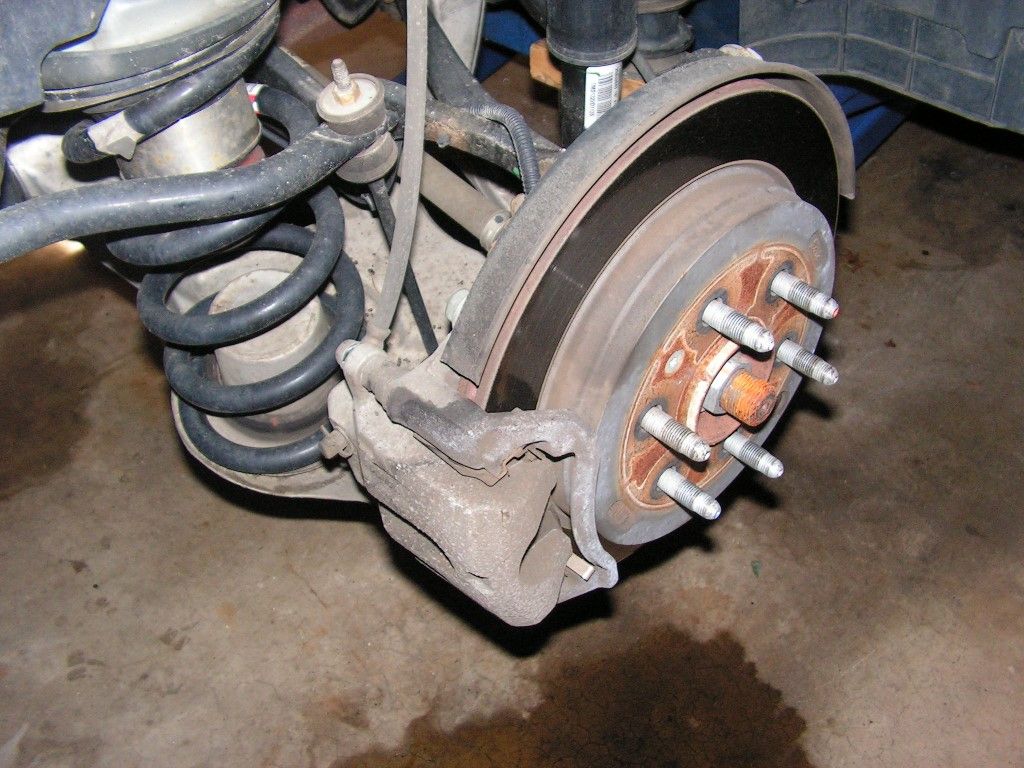
Two 14mm caliper bolts
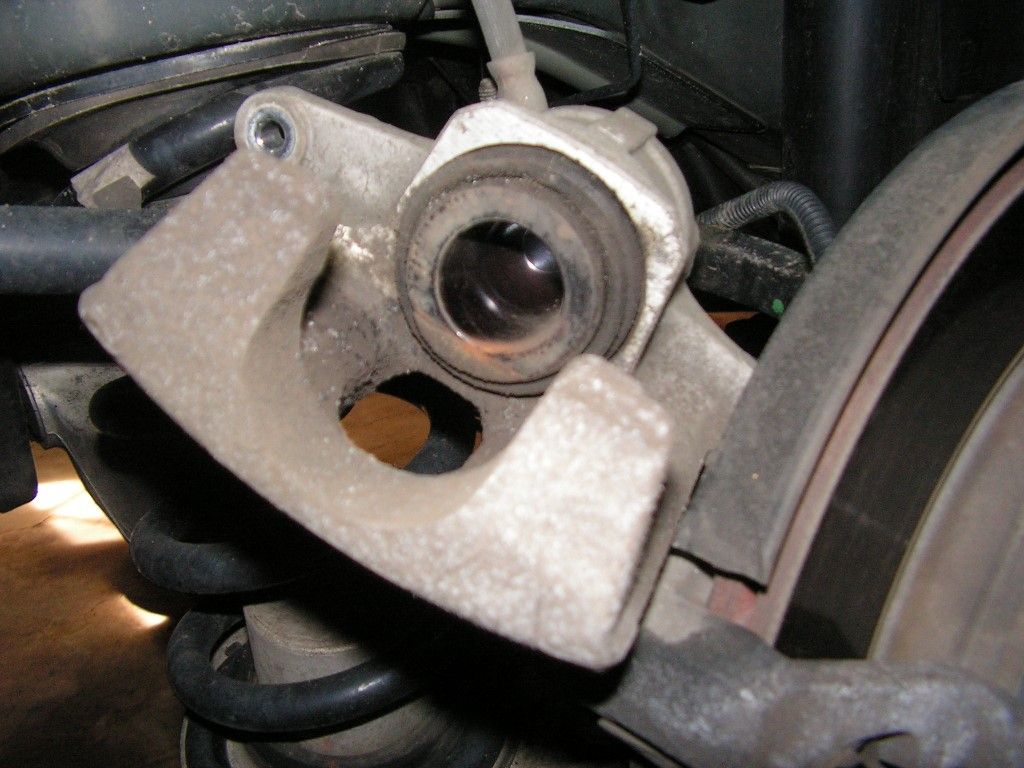
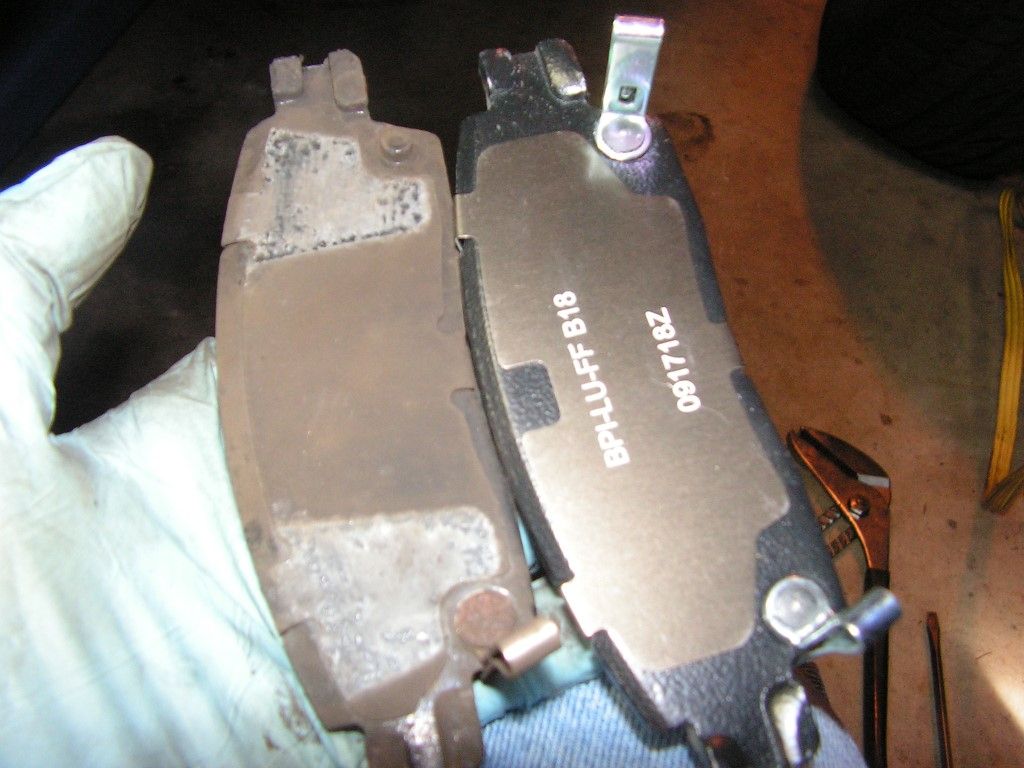
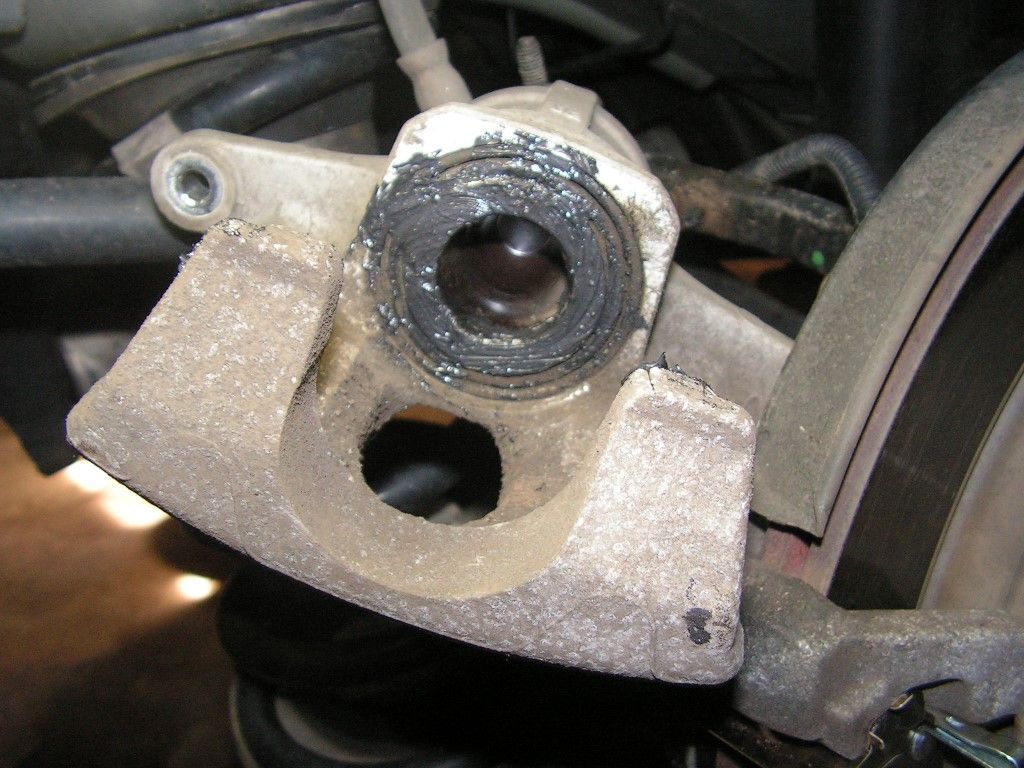
Phenolic piston -- I used an old brake pad to press against the phenolic piston to avoid damaging the delicate material.
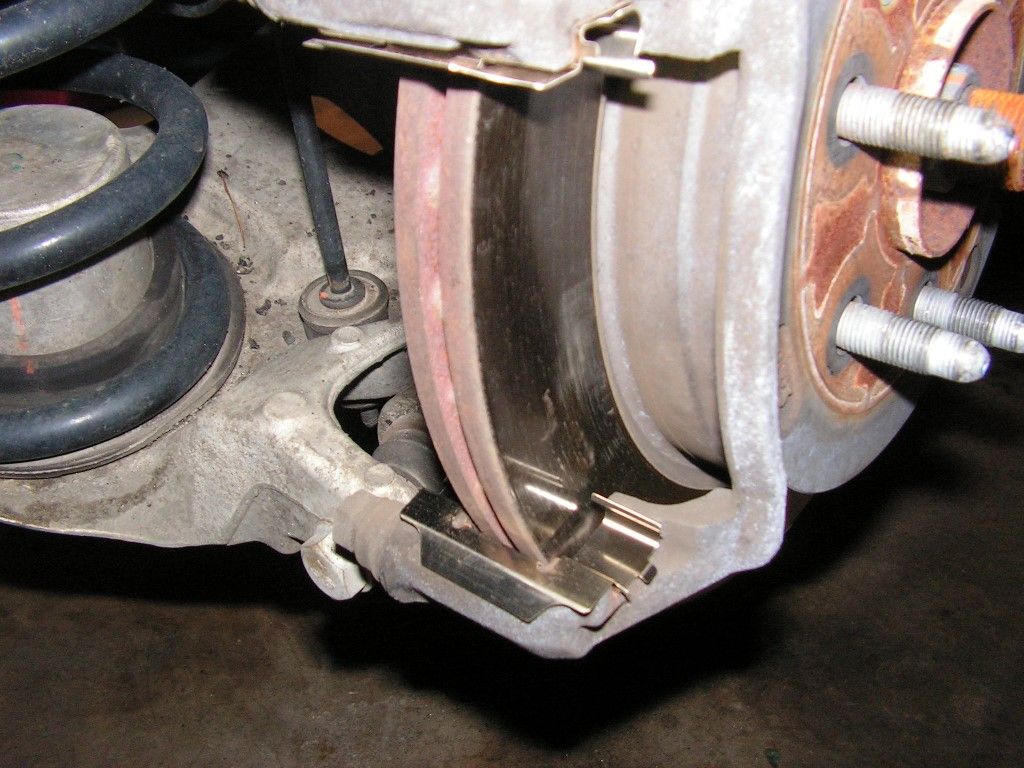
Rotors look great -- just add new hardware and pads; good to go!!
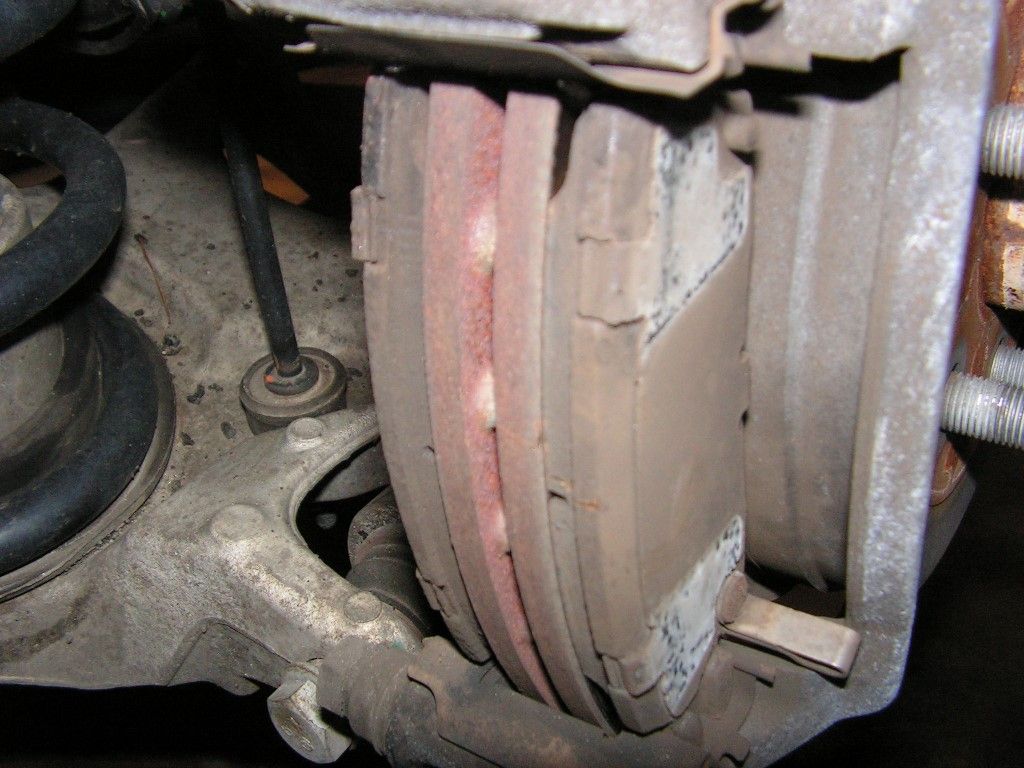
The new Raybestos premium pads have wear indicators on both ends, whereas the OEM pads had only one.
Grease up the piston surface a bit and the caliper ears and slap it home.
Good to go for another 80K miles.


