Finished this Weber conversion this afternoon. There are many bits and pieces in this generic Weber conversion kit that won't be used on the Mazda 2.6 liter Mitsubishi engine.
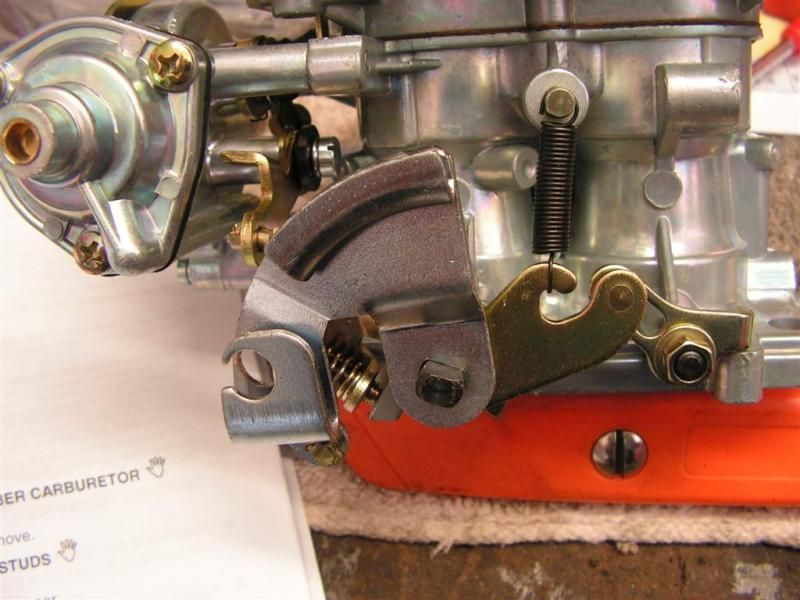
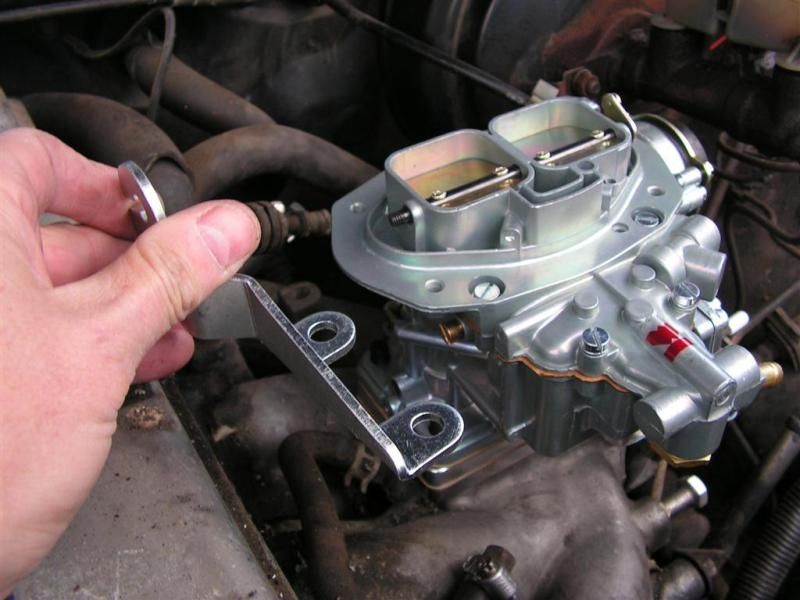
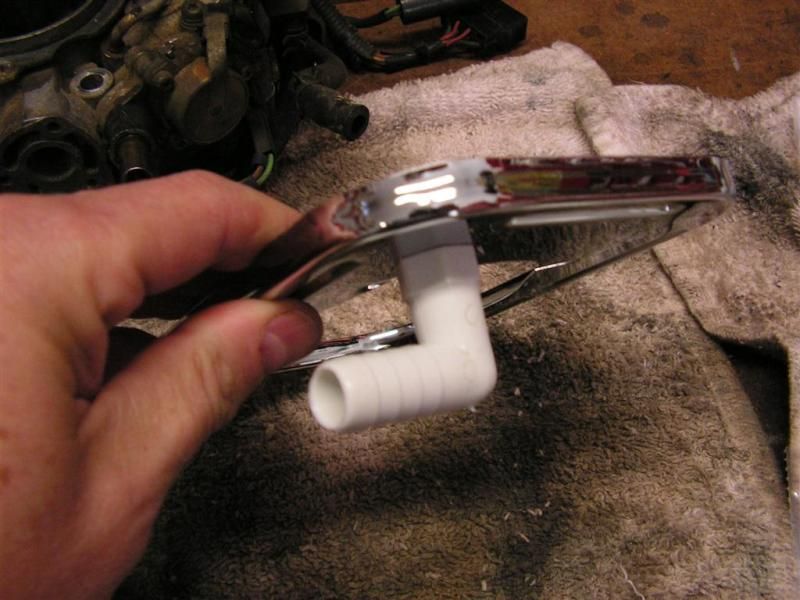
The first change required that the throttle linkage that was installed on the Weber carburetor be substituted for a cable guide version that in the kit. This is the original solid linkage piece.....

.....and here is the cable version that is included in the kit. This one will fit the Mazda throttle cable perfectly. A simple nut holds this linkage in place.
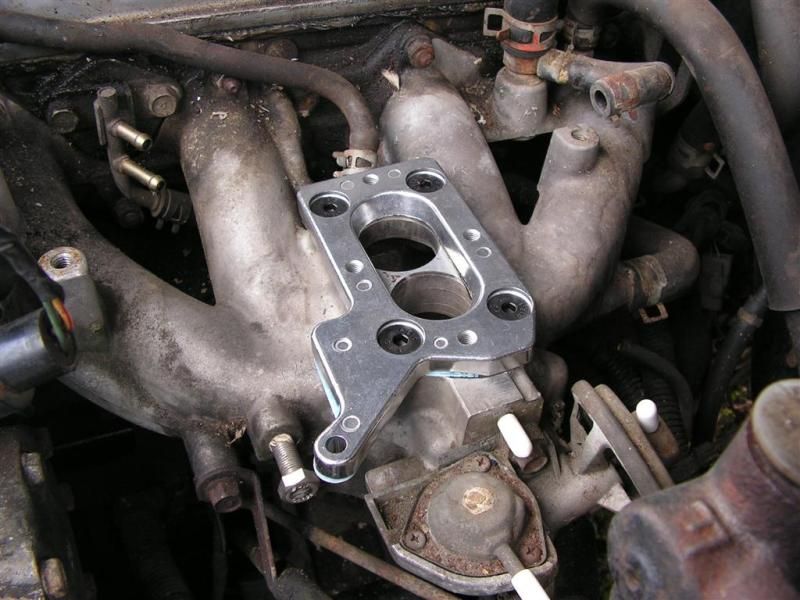
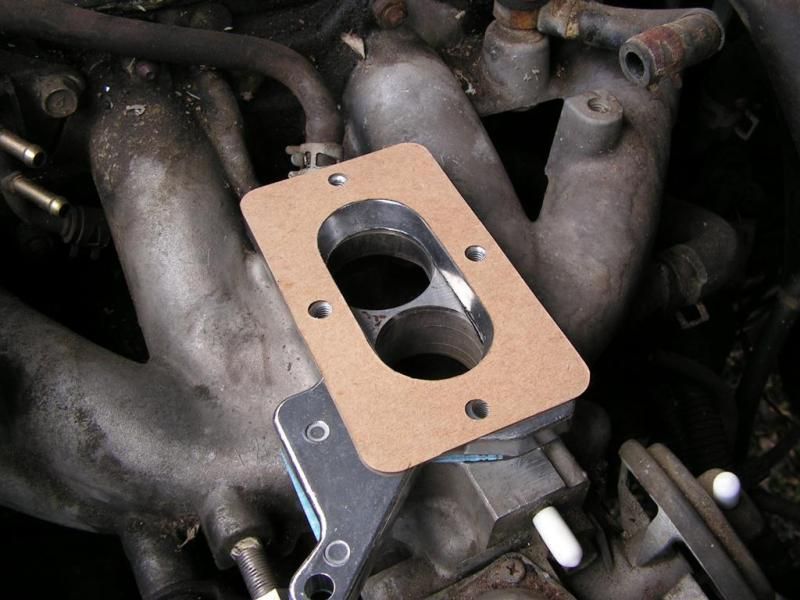
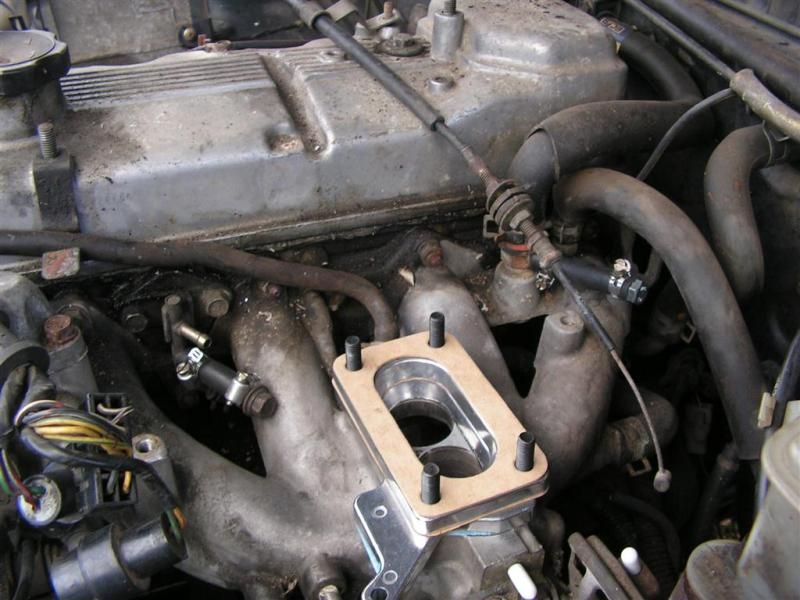
Next comes a generic adapter plate and gasket. This is an odd sized gasket and adapter plate that can be used with several different OEM installs; hence the elongated corner looks a bit odd, but it will fit. Countersink hex screws keep it in place.
NOTE: when installing these gaskets and plates, I used LOTS of gasket sealer to ensure that no vacuum leaks develop in this adapter plate "pancake" stack that must be installed.
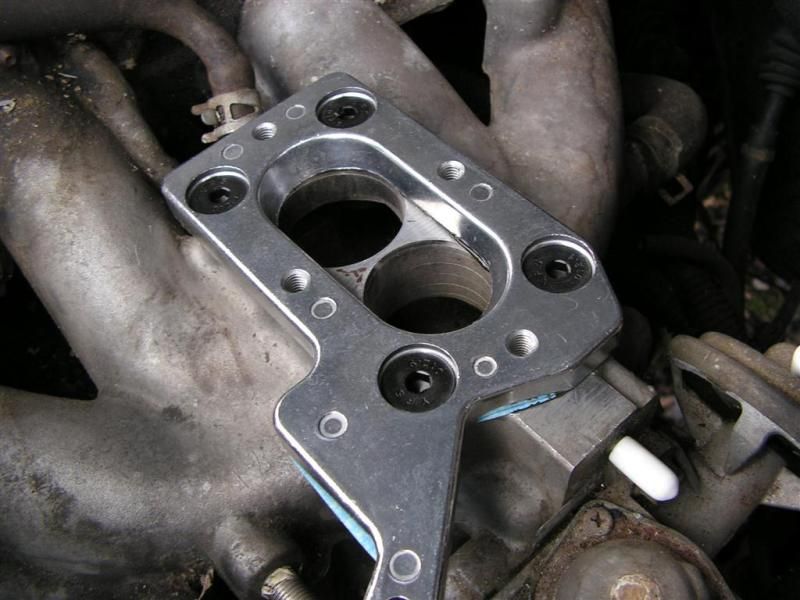
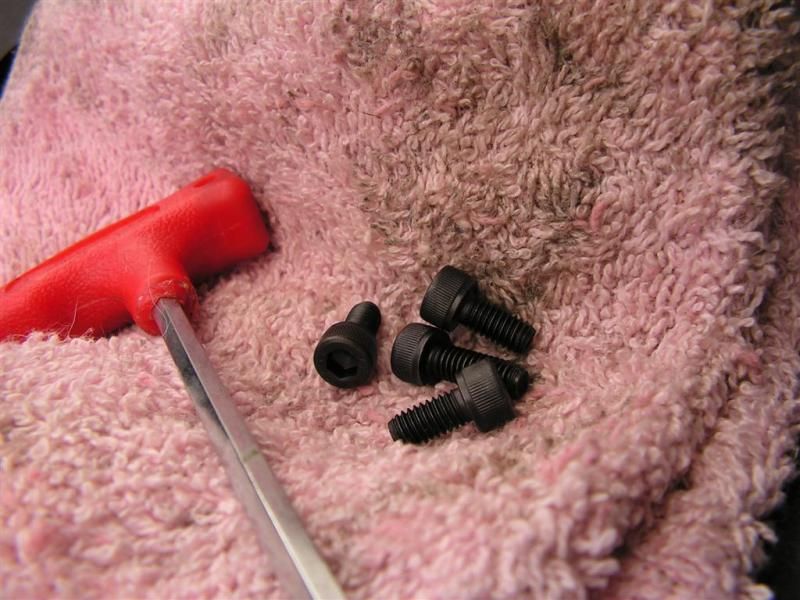
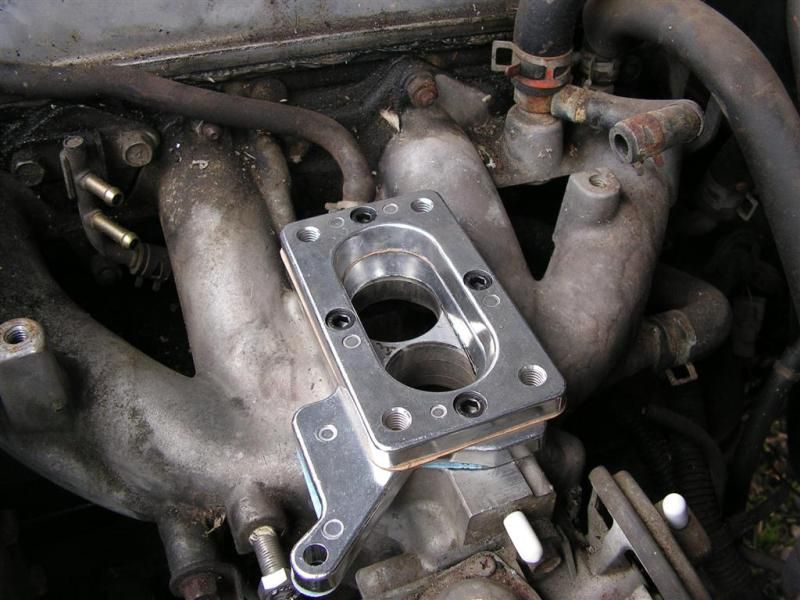
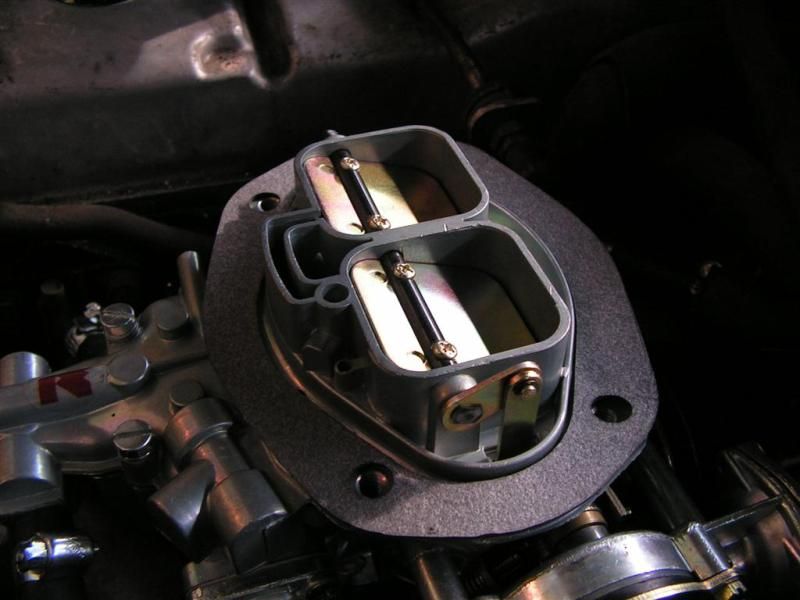
Next comes the intermediate plate and gasket. The cap screws must fit below the surface plane of this plate --

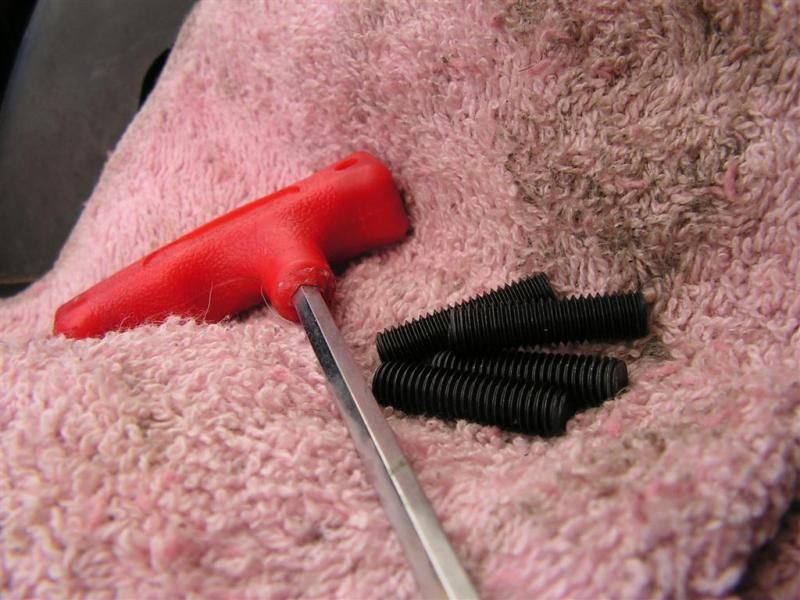
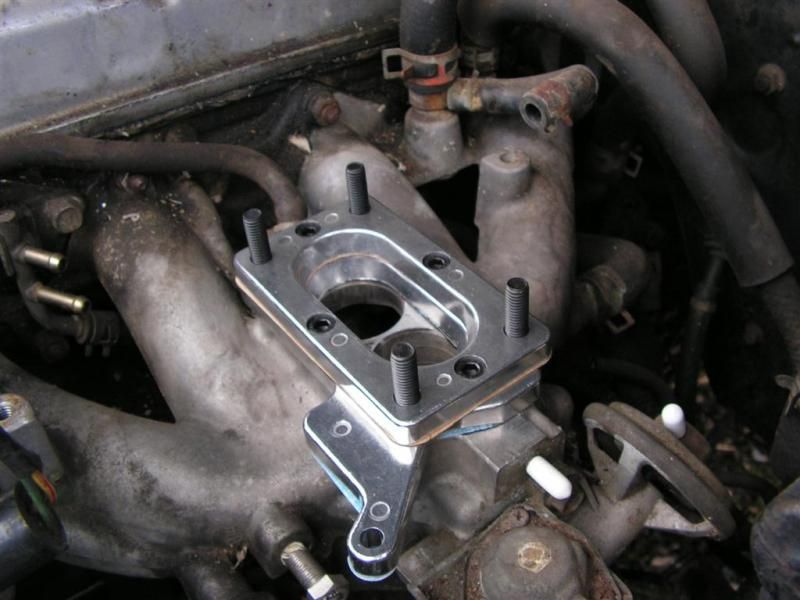
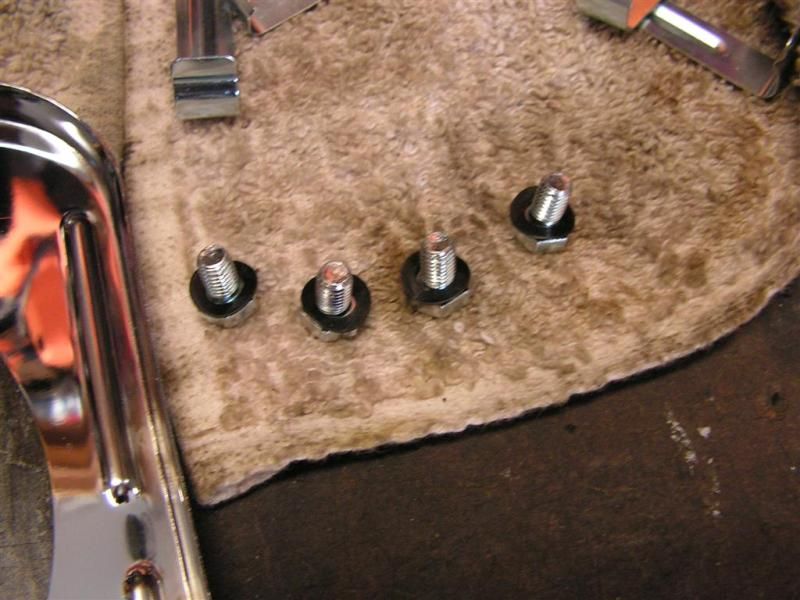
Lastly, the carburetor studs and the carburetor base gasket are installed on the intermediate plate
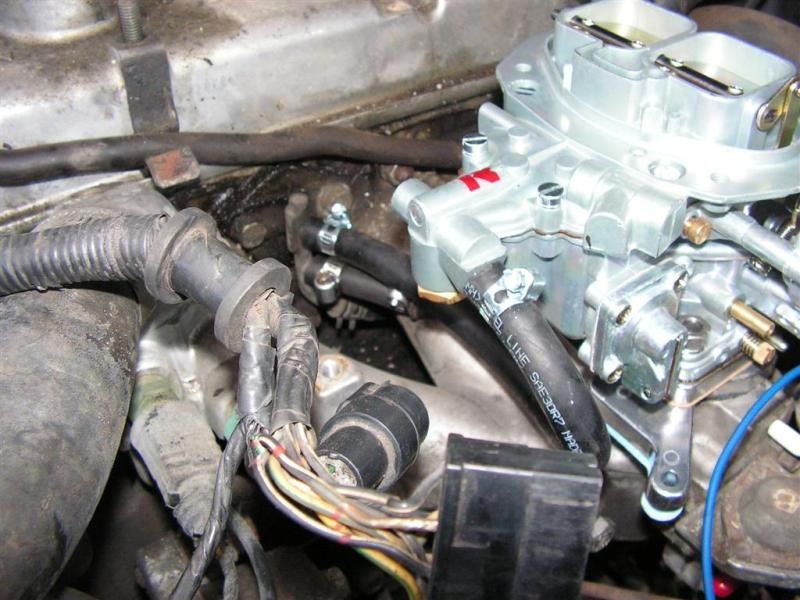
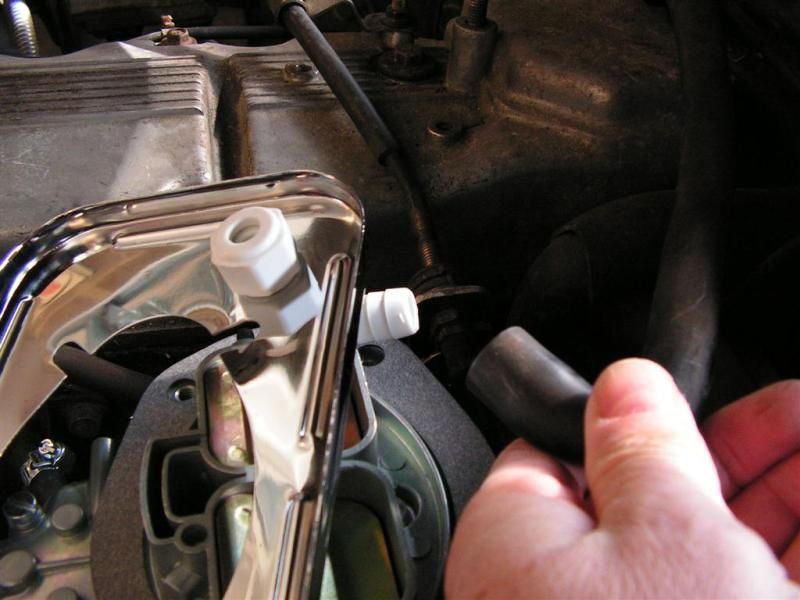
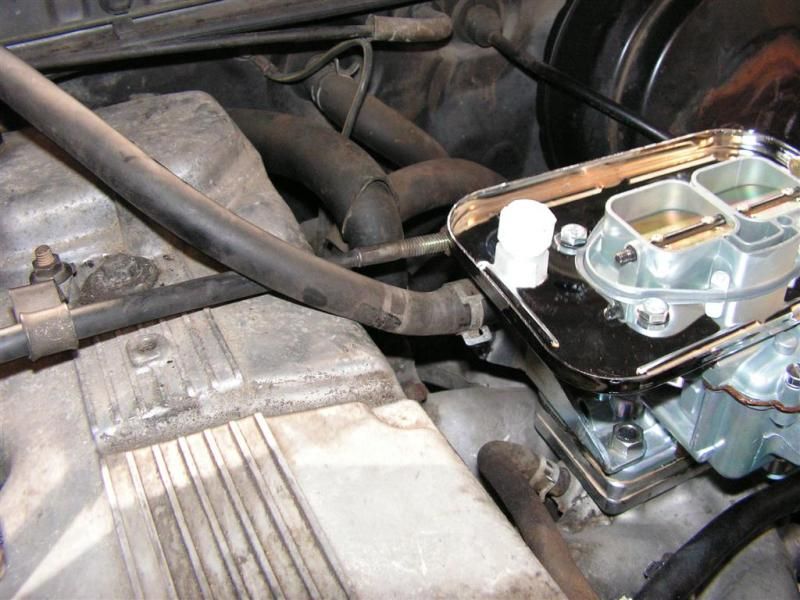
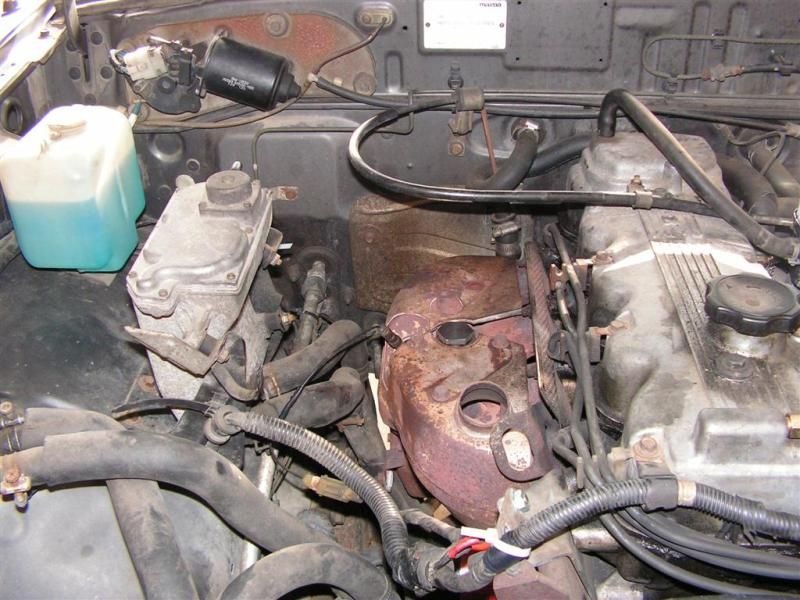
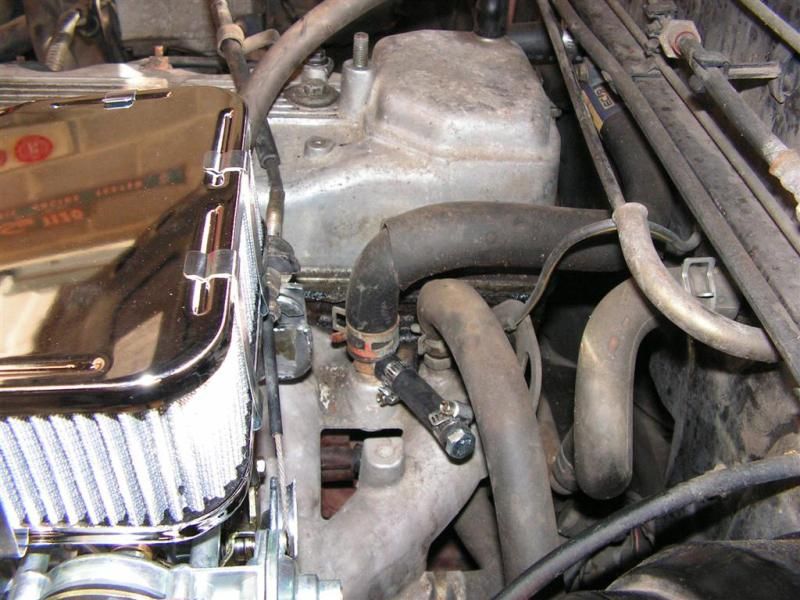
Now before the carburetor is installed I plugged a secondary fuel line and water heater hose that were needed for the old electronic Mikuni/Solex carb. I simply plugged the hoses with a bolt and a hose clamp. You can see the plugged lines on the left and right side of this pic -- simply a bolt with a hose clamp
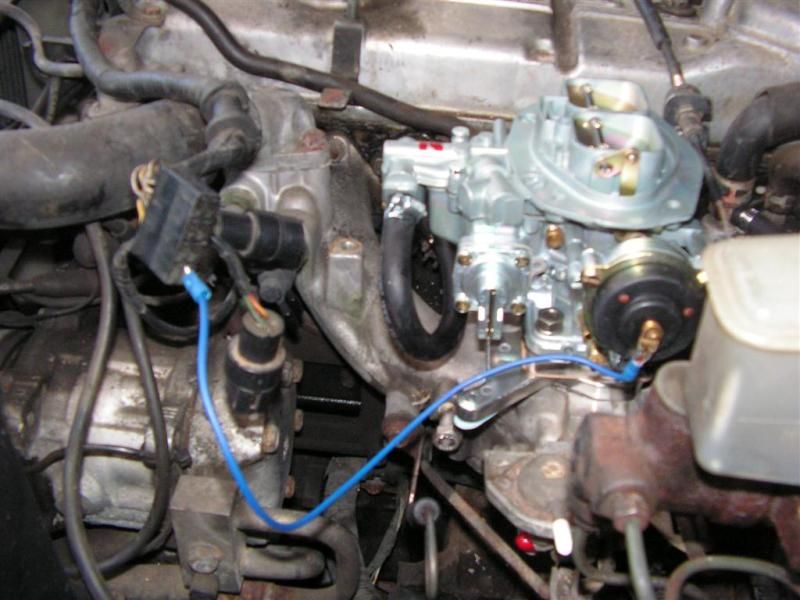
The carburetor is installed on the studs and the throttle cable is hooked up. The only large mod that I needed to do was to raise the throttle cable mounting clamp that was included in the Weber kit. It is mounted on the back of the carb and was sitting too low thereby binding the throttle cable. I simply welded a piece of 1/8" thick steel on top of the old bracket to lengthen it. Then I drilled another throttle cable mounting hole to accept the cable. This raised the cable to a height that allowed smooth operation.
These pics show the original (unmodified) bracket -- it simply bolts to the two rear carb mounting studs.
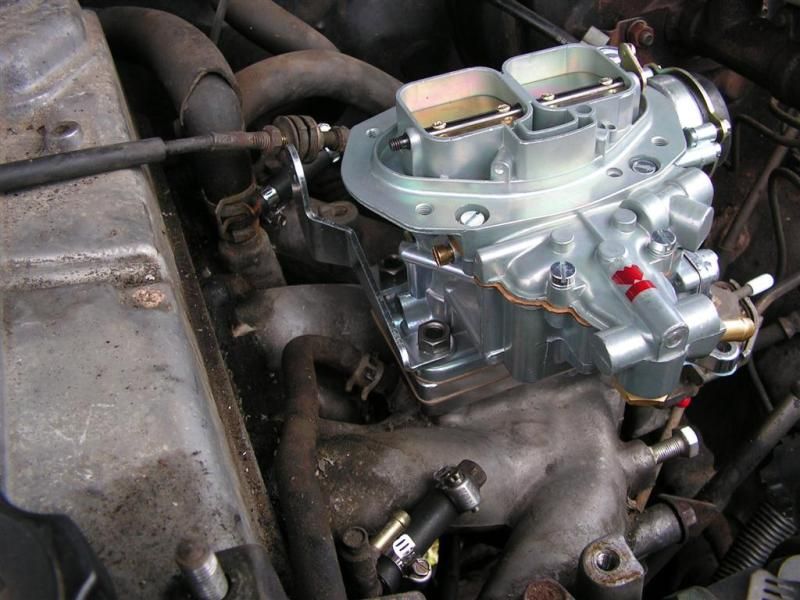
After I welded on a piece of 1.5" steel, it raised the bracket to the proper position to allow the cable to move freely.
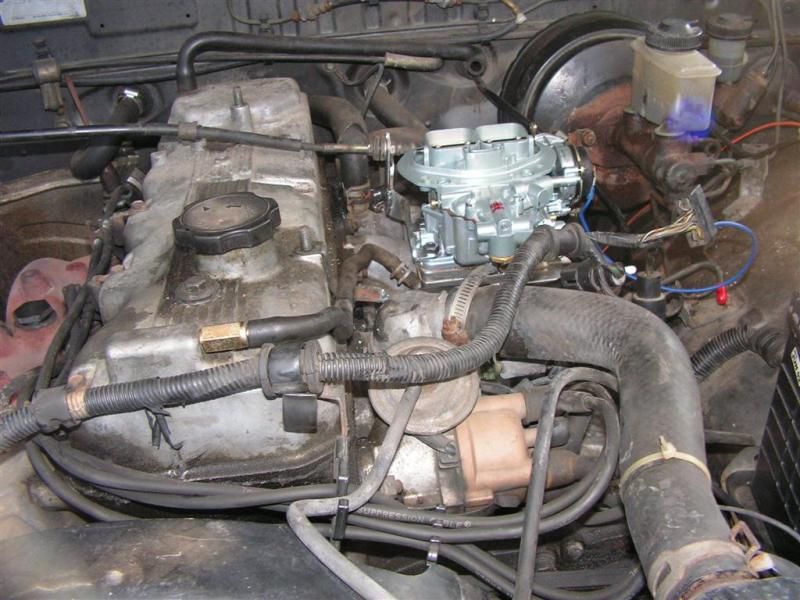
Last item was finding a switched 12v power source to actuate the electric choke. I simply tapped into the existing Mikuni carb wiring harness connector and found a switched 12v source. A simple wire and spade connectors were furnished in the Weber kit, and was easy to install.
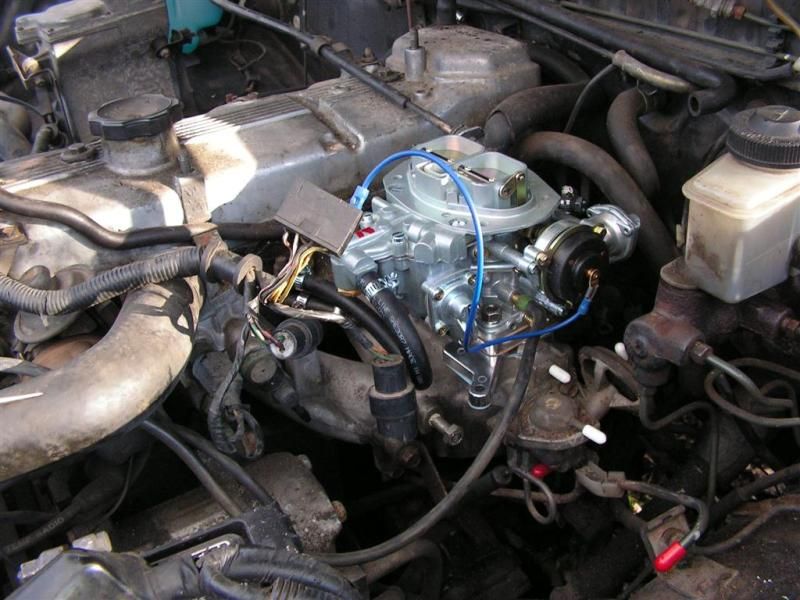

After this last electrical install, I plumbed a new fuel line (also included in the Weber kit) and I was ready to fill the radiator and start the truck.
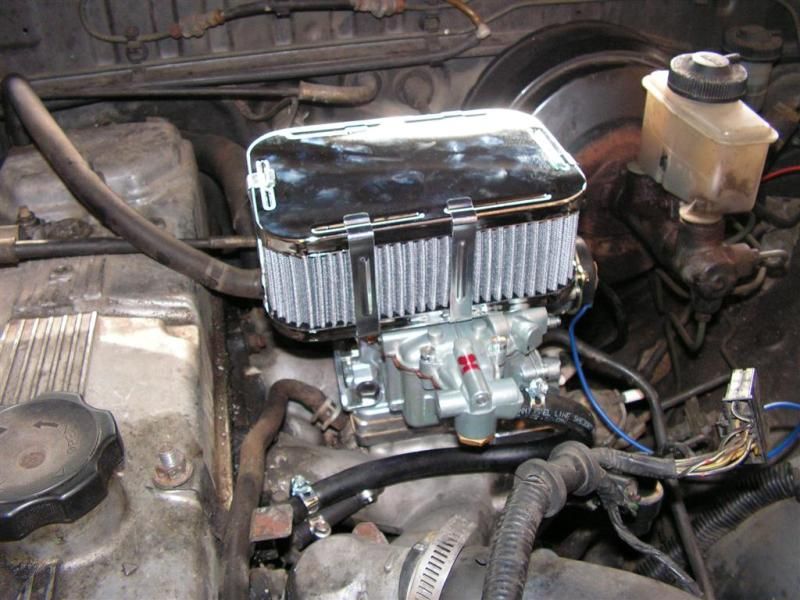
Voila!!! She runs -- Success!!! The engine sounds much smoother and more responsive. Tomorrow I'll button up all the wiring and a make things tidy -- time to put this thing back on the road.
So this morning I installed the air cleaner, breather, and routed the hoses and wires in a more efficient manner. Lots of zip ties, rubber grommets and tape were used to tidy things up.
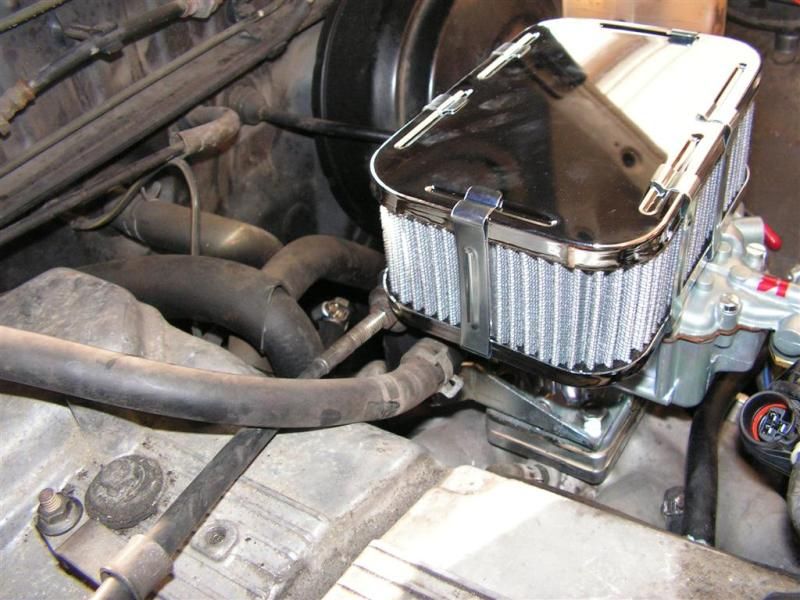
First the air cleaner element that came with this Weber kit is top quality. However, because of my breather fitting location I mounted the element in reverse. It fits, but on some applications it may not. The breather fitting is screwed into the bottom, and bolted on the throat of the carb.
A nice thick gasket was included in the kit.
Final routing was accomplished by going straight out the back and over the accelerator cable.
Final routing of the vacuum lines and the electric choke was nicely bundled and secured
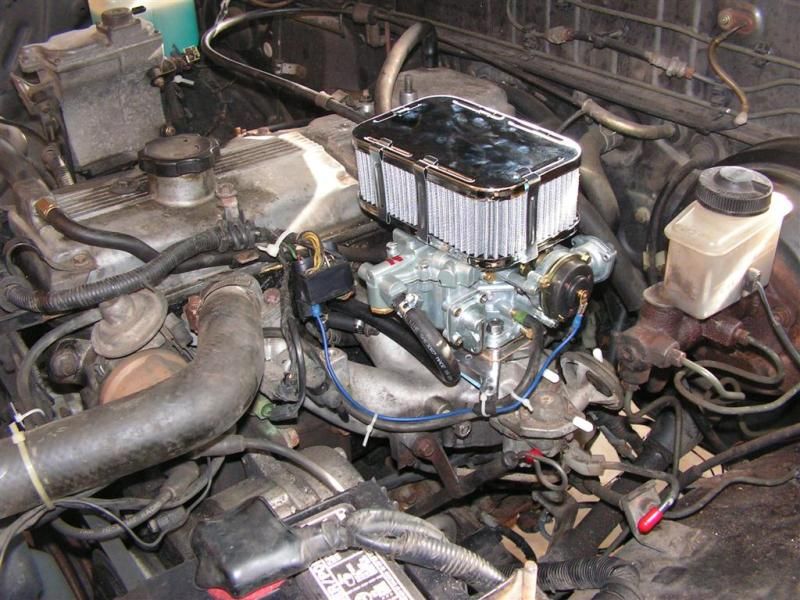
Everything is nice and secure and the engine idles at 850RPM -- perfect. The carb doesn't have a run-up circuit that would be triggered when the AC is on, so the RPM does drop to about 700 with AC -- no problem! I can increase the RPM to 950 this becomes a problem.

That's it -- the thing runs well and all the lights/electricals work to pass DMV inspection. Now all I have to work on is the parking brake -- it's totally not functioning from having the truck sit for a decade.


