Long story short, a few months ago a good friend of mine shocked the crap out of himself trying to leak check a capacitor. He was using a piece of equipment he bought on ebay and didn't know how to use it.
Older vintage testers have an advantage over the newer compact IC-based testers in that they can fully charge and leak-test caps in the high voltage ranges -- some up to 600v. These days you'd be hard pressed finding a piece of consumer equipment with capacitance in these voltage ranges, but in the old days those voltages were very common. It's not uncommon to find people who restore or refurbish older radios, amps, receivers and in my friend's case a piece of automotive test equipment as a hobby. To help him do that testing he purchased a vintage Condenser Tester (capacitors used to be called condensers back in the day), and that's were the problem started.
So lets talk about older testers. They can be dangerous -- in that they are old, they have no grounded plugs, their internal connections and wires and leads are probably weak, and since capacitor testers make use of resistors and capacitors in their internal circuits, these components are likely also weak and thus the tester is probably not going to work properly. In short, a vintage capacitor tester purchased from ebay or a HAM swap meet is suspect and probably needs a rebuild -- capacitors especially are suspect in any piece of vintage electronics.
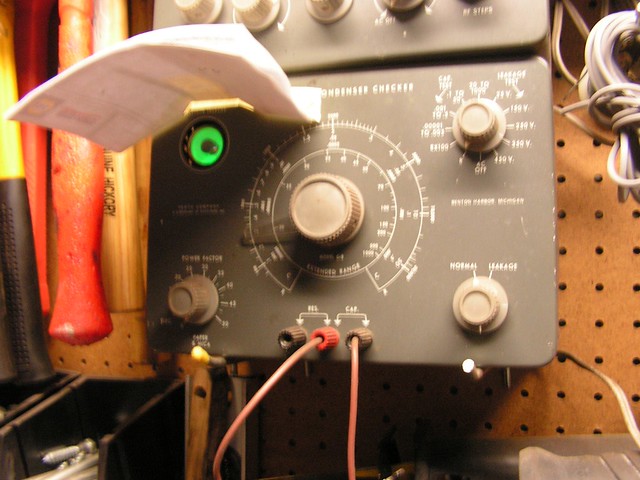
Here's a pic of my trusty old Heathkit C3 that I refurbished several years ago. It looks benign, but it can severely injure you if you're not careful.
 PICT0207 (Medium)
 by
goodfellow_2004, on Flickr
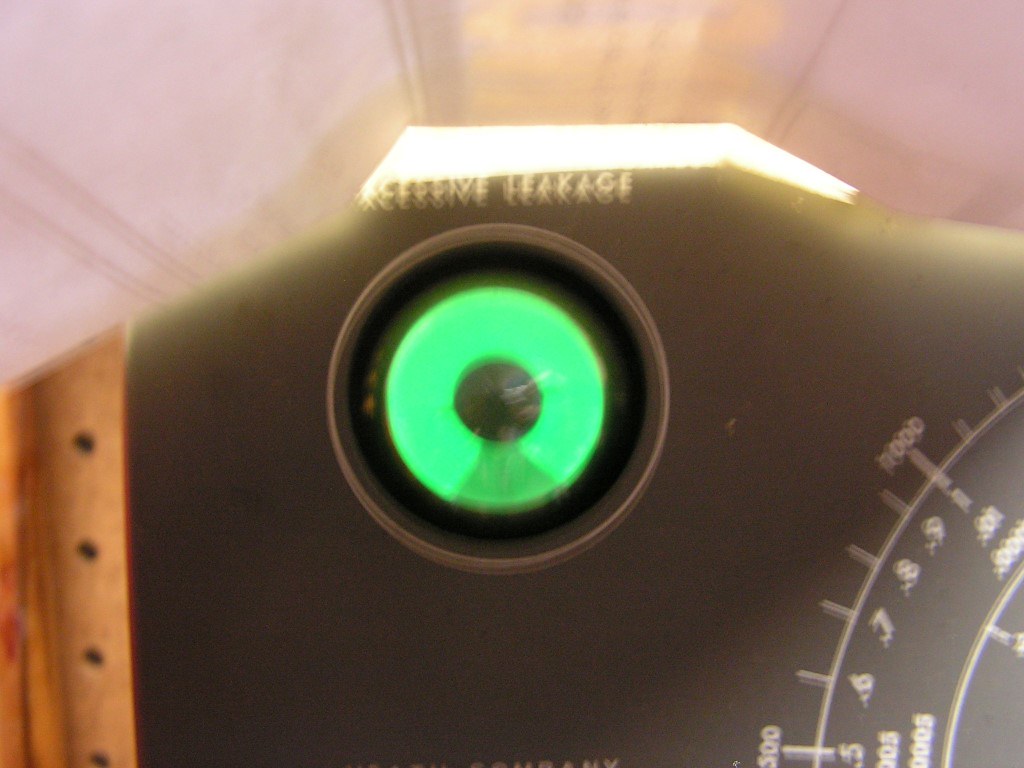
I put a paper dome over the eye tube so you can get a clear view of what's going on --
 PICT0208 (Medium)
 by
goodfellow_2004, on Flickr
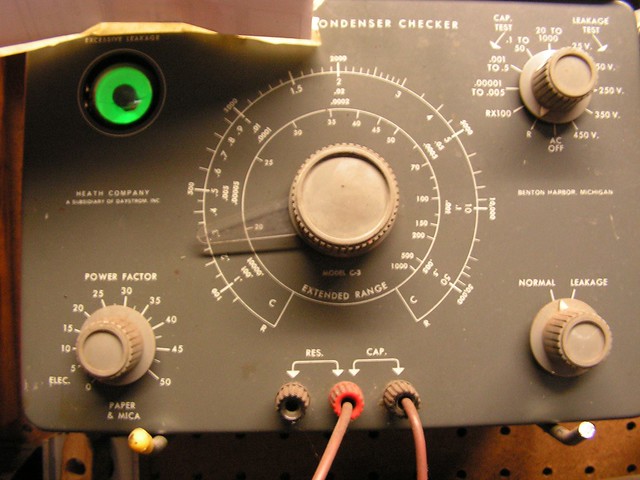
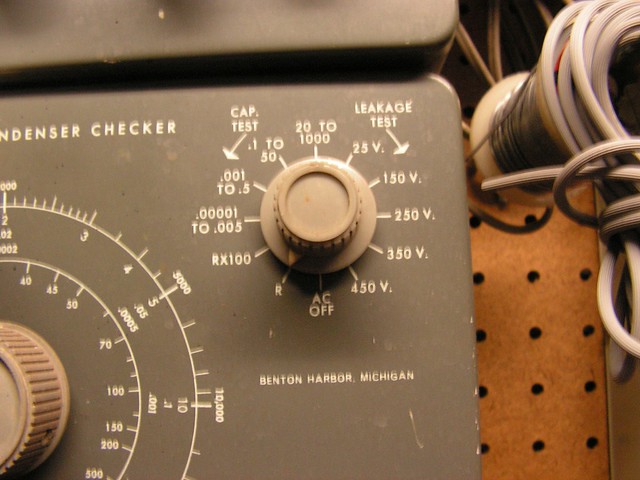
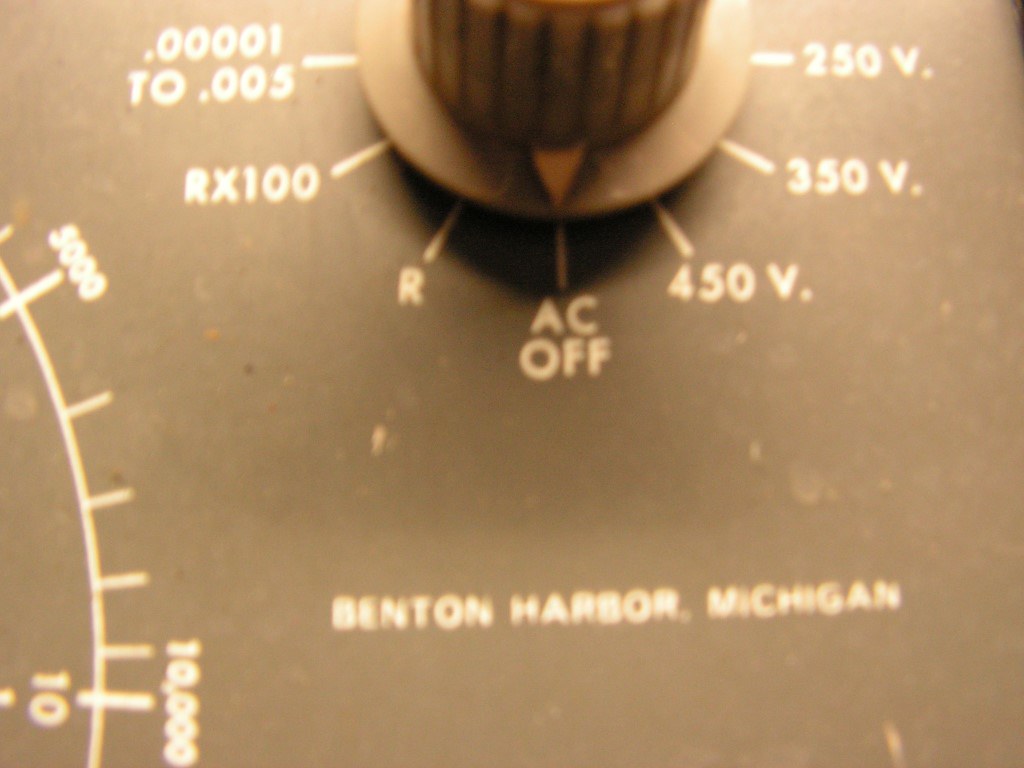
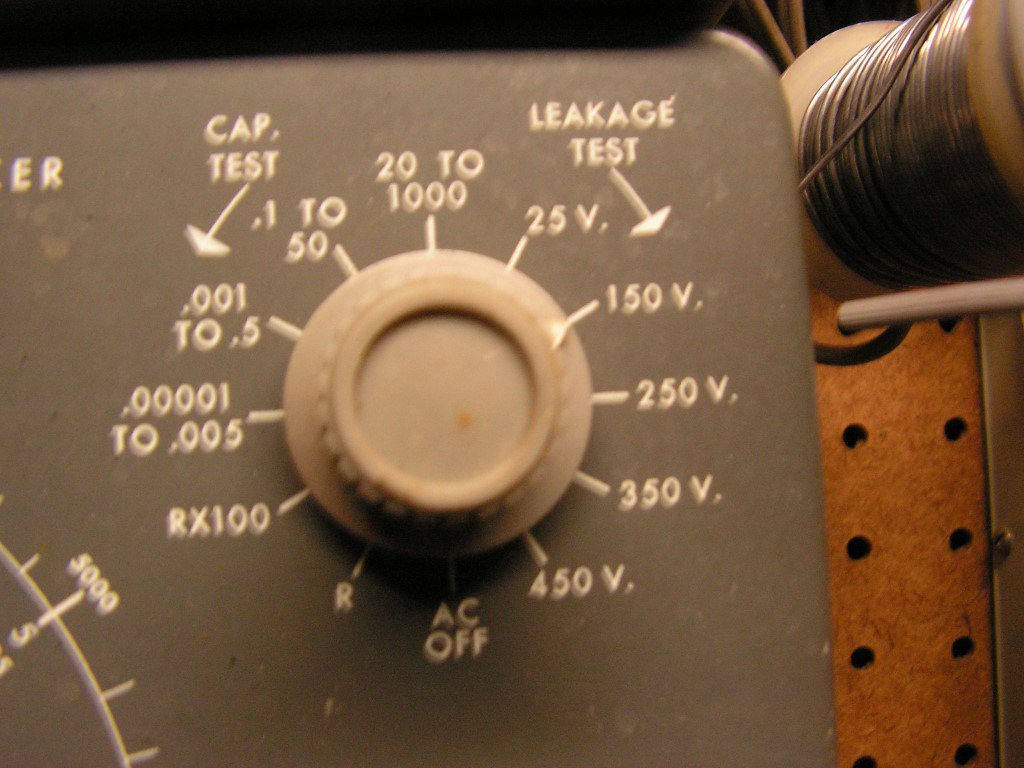
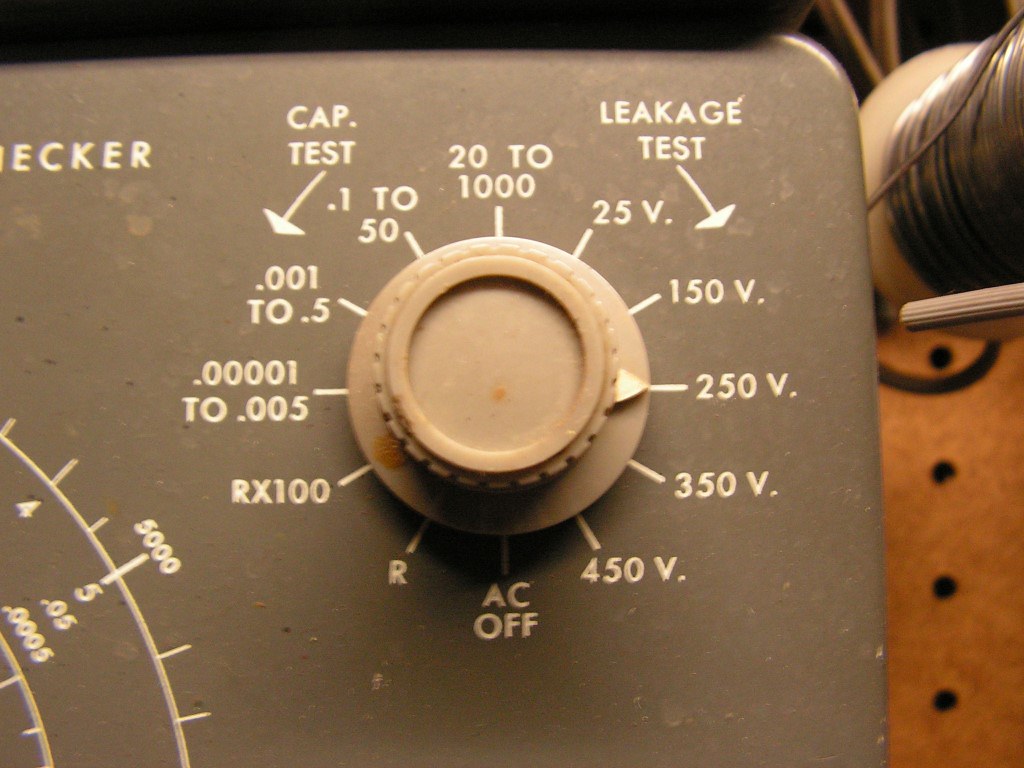
Notice the scale in the upper right -- one side of the dial (the left side) is used to test for proper capacitance or resistance (in case when a resistor is being tested), and the other side (the right side) is used to test capacitor leakage up to a rated voltage. Also notice that this tester has a max voltage setting of 450v. That's more than enough to kill you.
 PICT0209 (Medium)
 by
goodfellow_2004, on Flickr
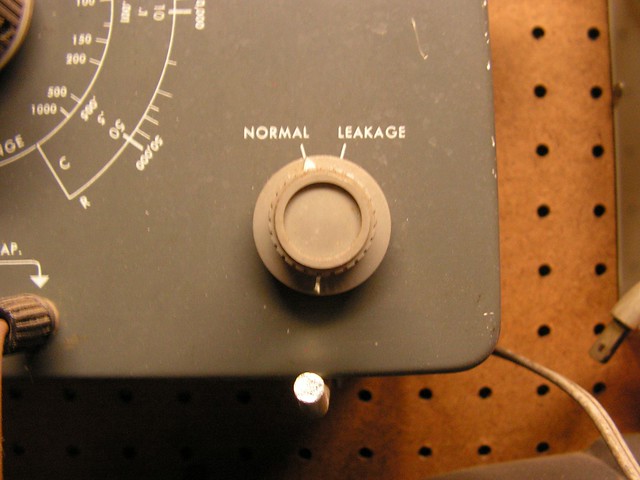
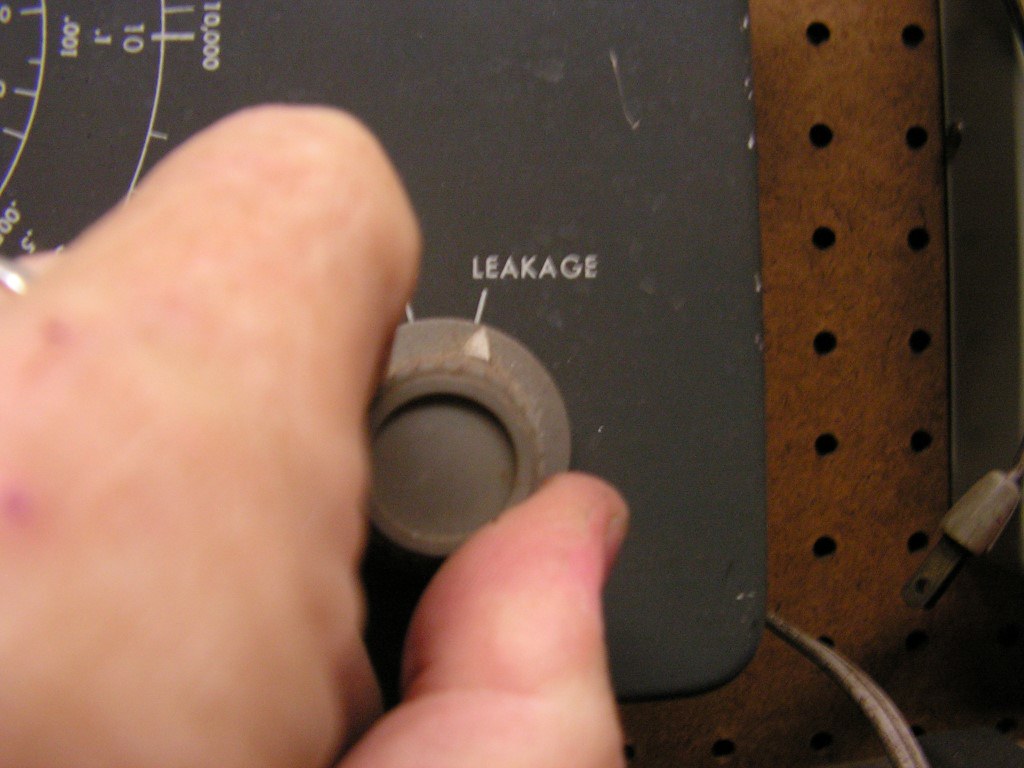
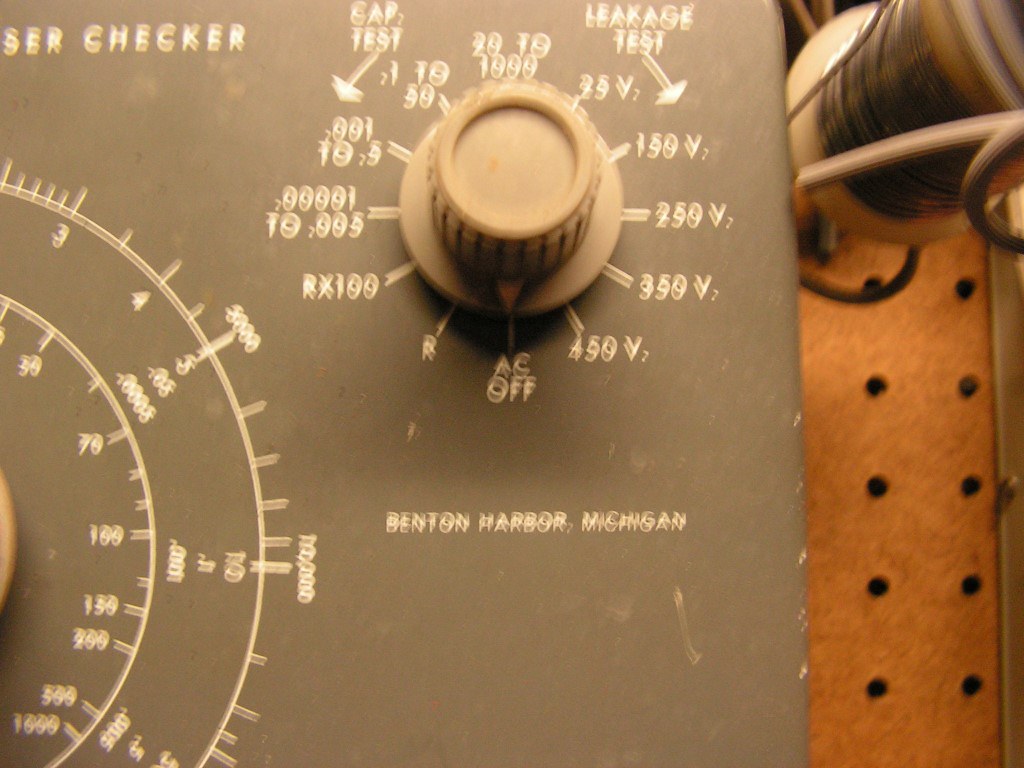
Lower dial two position switch selects the testing between Normal and Leakage. The "Normal" selection tests for capacitance value only, while the "Leakage" selection tests whether the capacitance can be maintained at the rated input voltage.
 PICT0210 (Medium)
 by
goodfellow_2004, on Flickr
Most restorers use these old tester for leak-checking and nothing else, since more modern testers will be much more accurate in determining that actual capacitance value of the capacitor. If you work on older equipment then most likely the capacitors in question will be the cylindrical paper or wax type not the more modern can type electrolytic, mica, or polyester/polypropylene.
 PICT0213 (Medium)
 by
goodfellow_2004, on Flickr
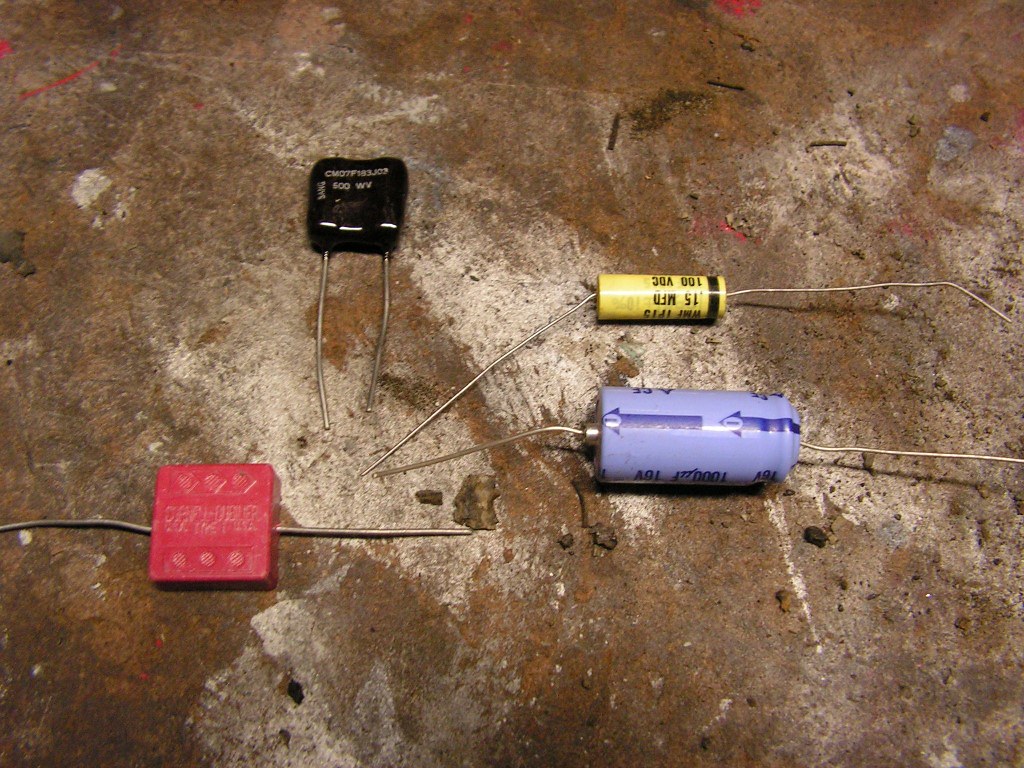
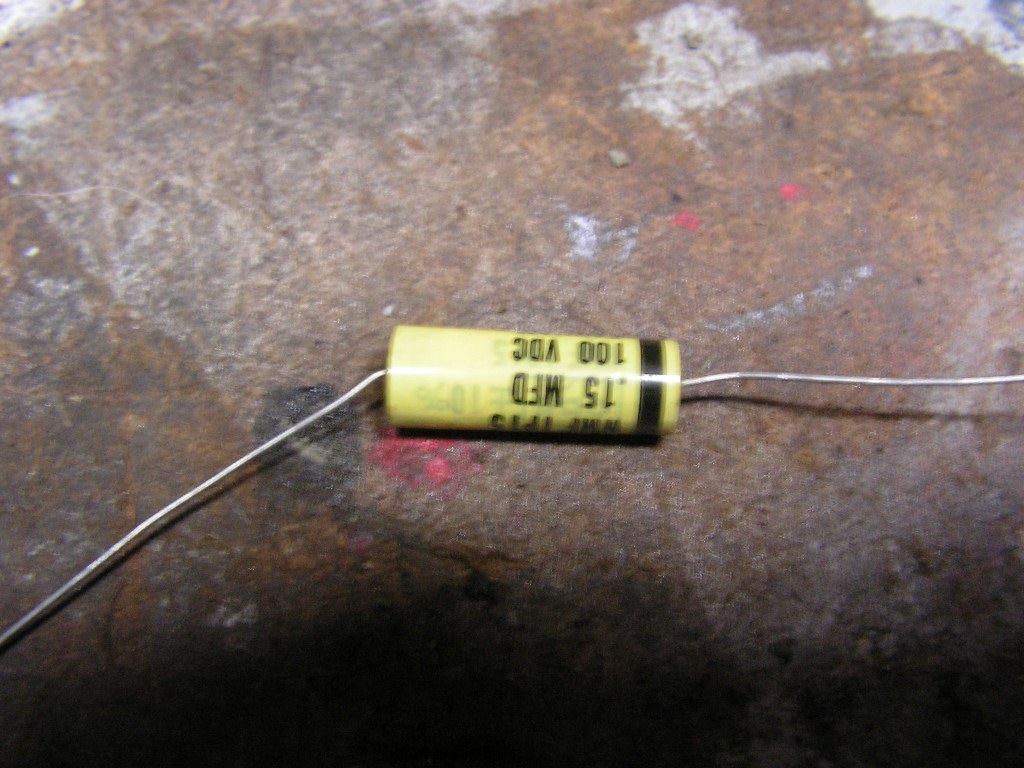
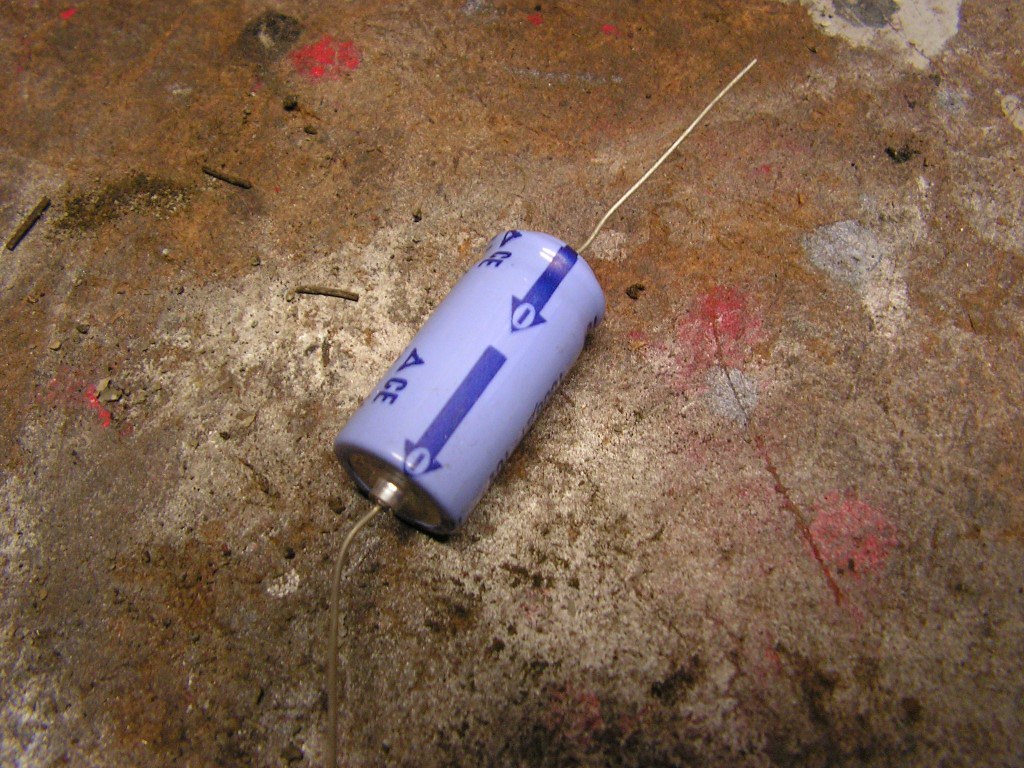
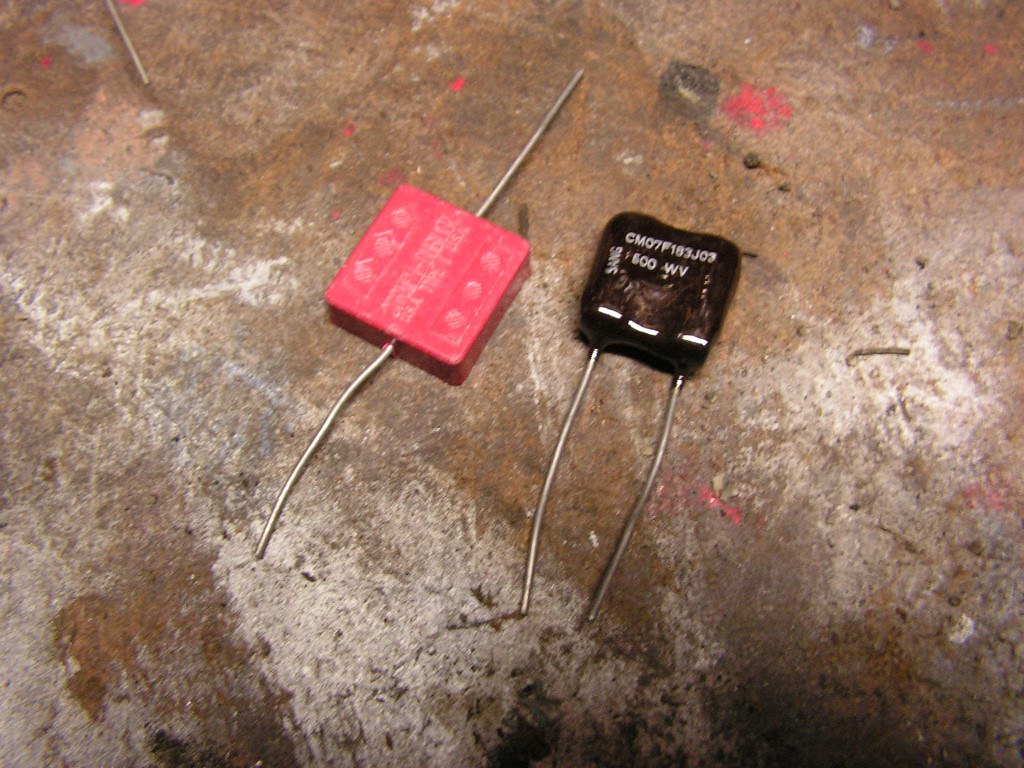
Important to note that no matter what capacitor you're working with, it's a good idea to know whether it's a polar or non-polar type (a polar has a "+" and "-" side) while a non-polar doesn't have such an orientation. Some capacitors have polarity plainly marked, while others use a black band to designate the "-" pole,. Others still may have a longer lead on one side than the other (the longer lead usually designated the "+" pole). Whereas in the past, US production capacitors had the polarities clearly marked, cheap imports these days, and a lack of standards has made it more difficult to determine whether a cap is polar or non-polar, or what designates a positive vs negative pole. Rules of thumb apply (but not always) -- for example: Polyester/Polypropylene caps are generally considered to be non-polar, but then there are exceptions.
Suffice it to say that when installing or testing a capacitor, you need to know. If you accidentally put a higher voltage on the wrong pole of an electrolytic capacitor it may explode. Also if you put a high voltage on capacitor that is rated at a much lower voltage -- it may also explode.
Basic info: Know what type of cap it is, whether it's polar or non-polar, what the capacitance is, and what voltage it's rated at.
 PICT0214 (Medium)
 by
goodfellow_2004, on Flickr
 PICT0215 (Medium)
 by
goodfellow_2004, on Flickr
 PICT0216 (Medium)
 by
goodfellow_2004, on Flickr
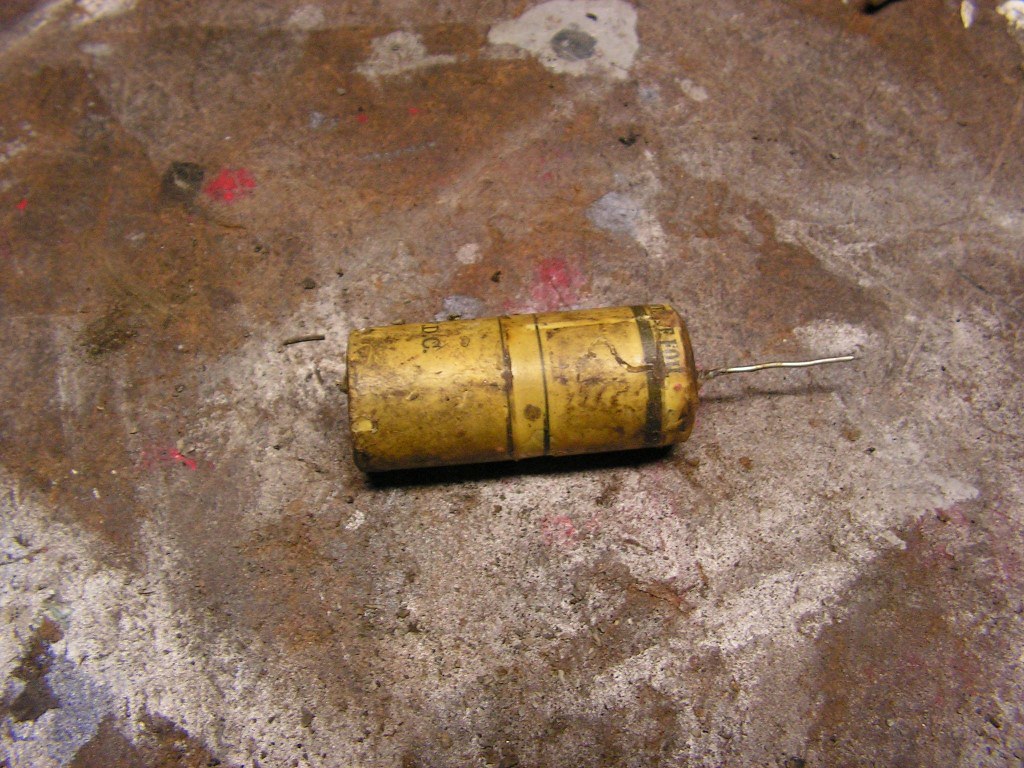
So let's test a capacitor -- an old paper and wax plug that I pulled from a piece of equipment some time ago. I know it's bad, but lets see how we test for leakage.
 PICT0217 (Medium)
 by
goodfellow_2004, on Flickr
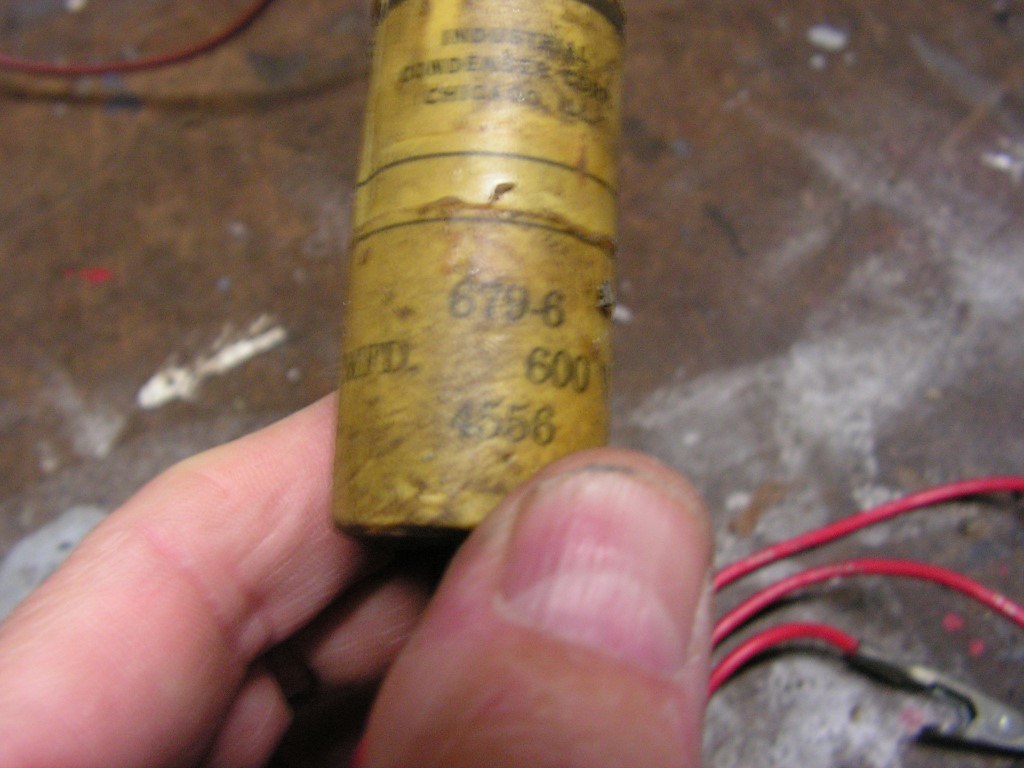
It's an old Cornell-Dubilier (good US made vintage standard cap) and has a black band on one side indicating the "-" pole (so it's a polar cap). It also has a .3MFD capacitance rating to 600V.
 PICT0223 (Medium)
 by
goodfellow_2004, on Flickr
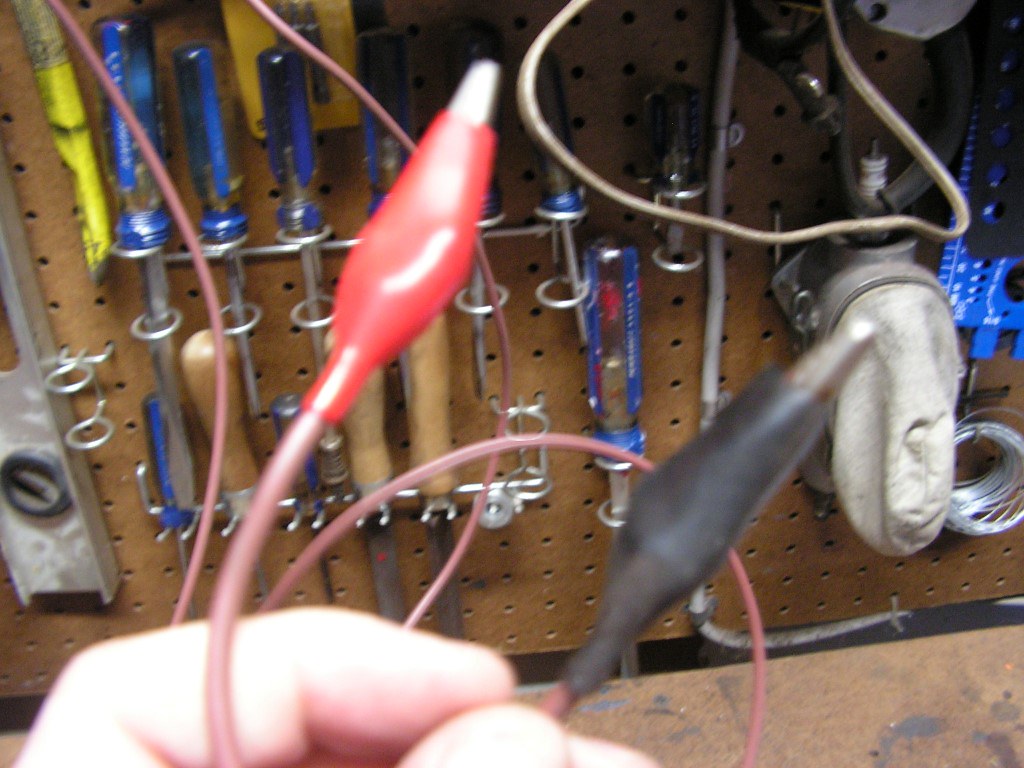
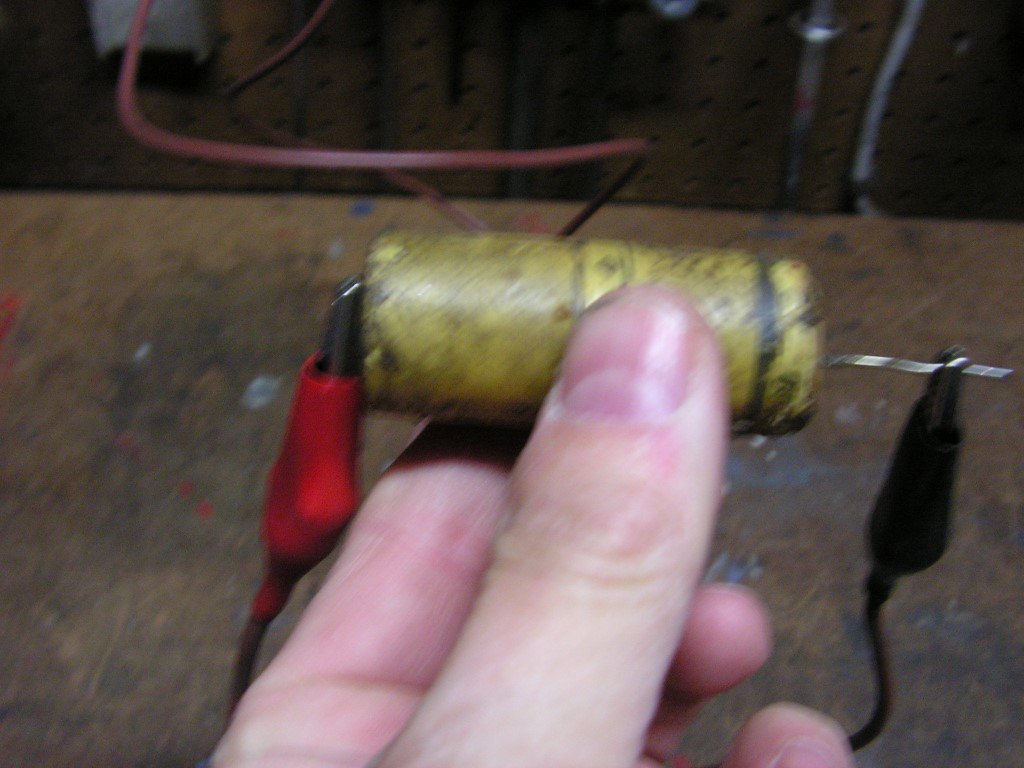
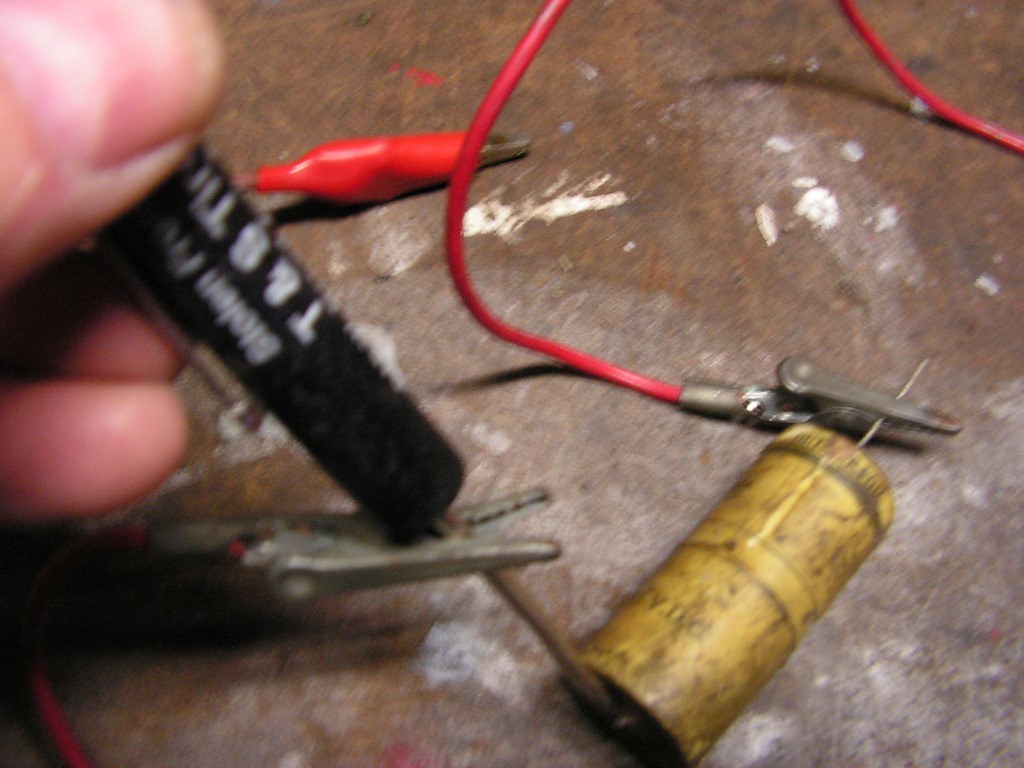
Let's gather a few things -- you need a separate test lead with insulated clips (I didn't have one handy so I have un-insulated clips) and a small insulated screwdriver.
 PICT0218 (Medium)
 by
goodfellow_2004, on Flickr
Make sure that the tester is set to the off position and then hook up the leads to capacitor (The black lead from the tester hooks to the side of the capacitor with the black band)
 PICT0220 (Medium)
 by
goodfellow_2004, on Flickr
 PICT0219 (Medium)
 by
goodfellow_2004, on Flickr
 PICT0222 (Medium)
 by
goodfellow_2004, on Flickr
Set the dial on the large scale to .3 MFD and then we will proceed to test the cap through a range of voltages (from low to high) to check for leakage.
FIRST: Set the capacitor down and keep your fingers away from it (that's how my friend got his shock treatment -- he inserted his body into the circuit by continuing to hold the cap)
We start out with 25v on the leakage scale and turn (and hold) the spring loaded leakage test switch to "Leakage" while observing the eye tube
 PICT0226 (Medium)
 by
goodfellow_2004, on Flickr
 PICT0210 (Medium)
 by
goodfellow_2004, on Flickr
Notice the bottom of the eye tube -- a portion of it is open (like a slice of a pie is missing). When you turn the switch to the Leakage position, the eye will momentarily close
completely and then open up again. If the eye opens quickly and returns to normal, the capacitor will is considered "good" at 25v.
 PICT0225 (Medium)
 by
goodfellow_2004, on Flickr
Next we up the voltage sale to the next range -- 150V -- again observe the eye tube while turning (and holding) the Leakage switch.
 PICT0228 (Medium)
 by
goodfellow_2004, on Flickr
The eye tube closes, but it remains closed for a second or two and then opens up slowly to go back to normal -- that indicates some leakage. Hence the cap is marginal at 150V.
Next we up the voltage scale to the next range -- 250V - again observing the eye and turning (and holding) the Leakage switch.
 PICT0229 (Medium)
 by
goodfellow_2004, on Flickr
In this case the eye remains fully closed -- meaning at 250V this .3MFD capacitor is leaking. Bottom line -- we don't need to go further; it's a bad cap. It's rated up to 600V, but fails at around 250V.
 PICT0230 (Medium)
 by
goodfellow_2004, on Flickr
Now -- don't touch that capacitor. Even though it's bad, the cap still has a charge. Remember it was marginal at 150V, but it did charge. Turn the voltage dial back to the "AC OFF" setting. Remove the tester clips from the capacitor
 PICT0231 (Medium)
 by
goodfellow_2004, on Flickr
Take your small screwdriver and the separate test lead you got before the test and connect one end of the lead to one pole of the capacitor and the other to the screw driver. Now touch the insulated screwdriver to the other side of the capacitor to short it out.
 PICT0232 (Medium)
 by
goodfellow_2004, on Flickr
Now you can pick it up without shocking the heck out of yourself.
Remember, caps come in all shapes and sizes and they are used for specific purposes -- know your caps and their rating and polarities, AND know your testing equipment.
BTW -- a "Leaking" capacitor doesn't mean the same thing as a leaking battery. It means that it's leaking unwanted AC through the material components of the capacitor.


