This may be "old hat" to the more "senior" members of this board because we grew up installing drum brakes and shoes as a matter of course, but few younger members may be familiar with these brake systems -- so here goes!!
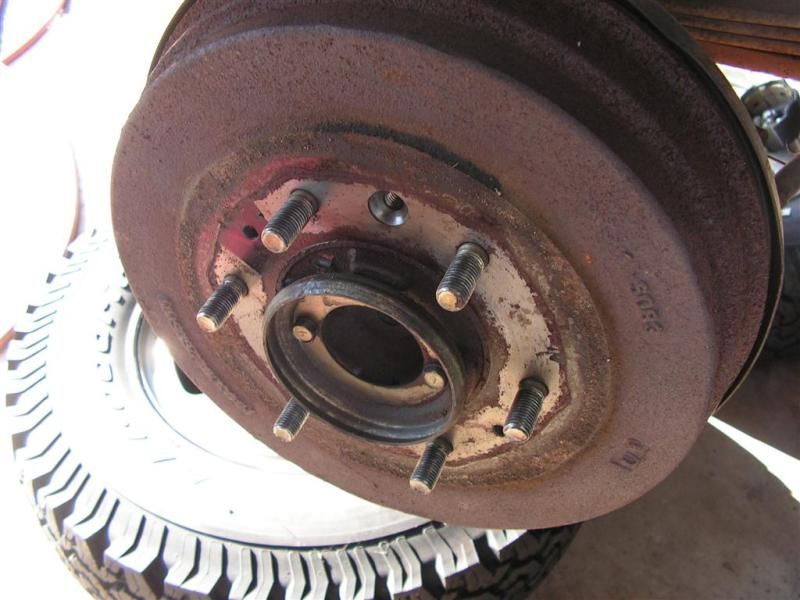
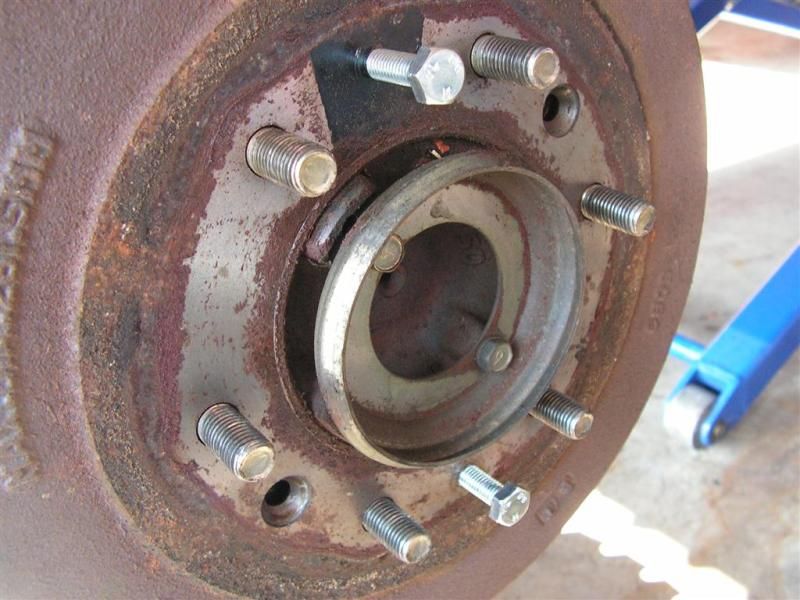
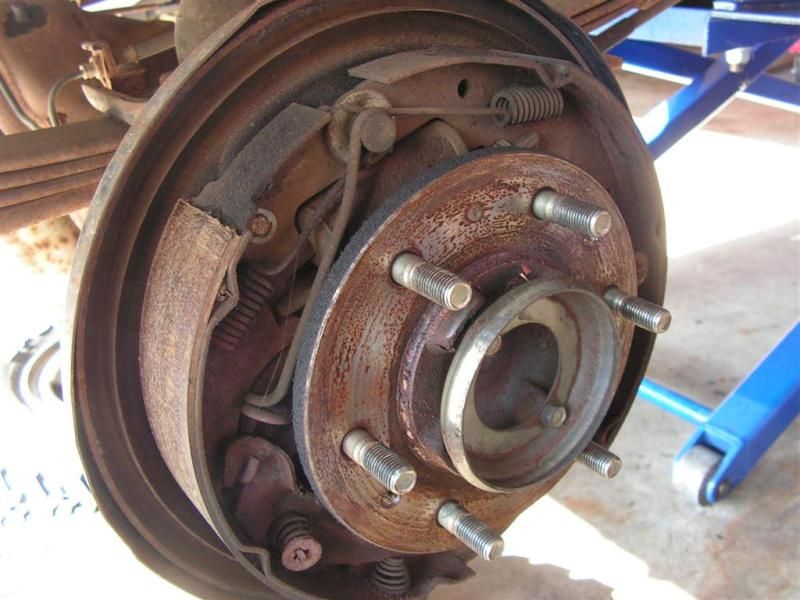
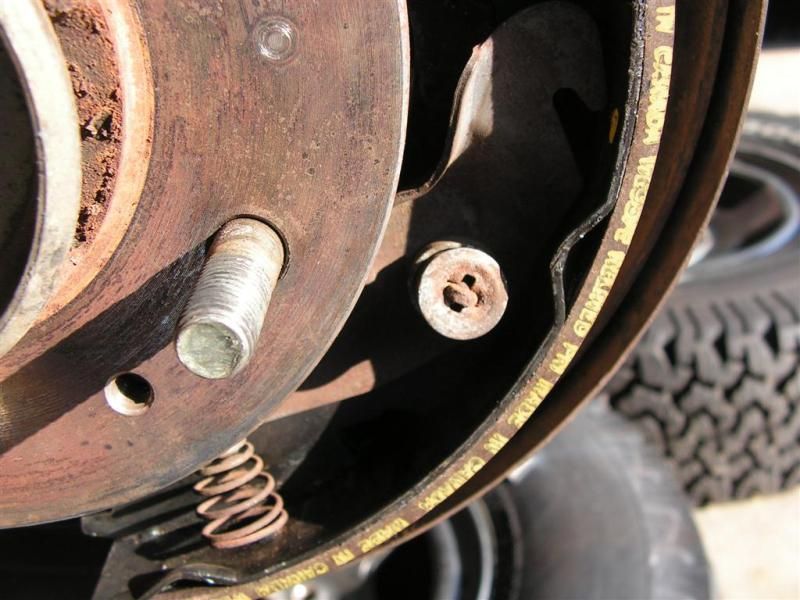
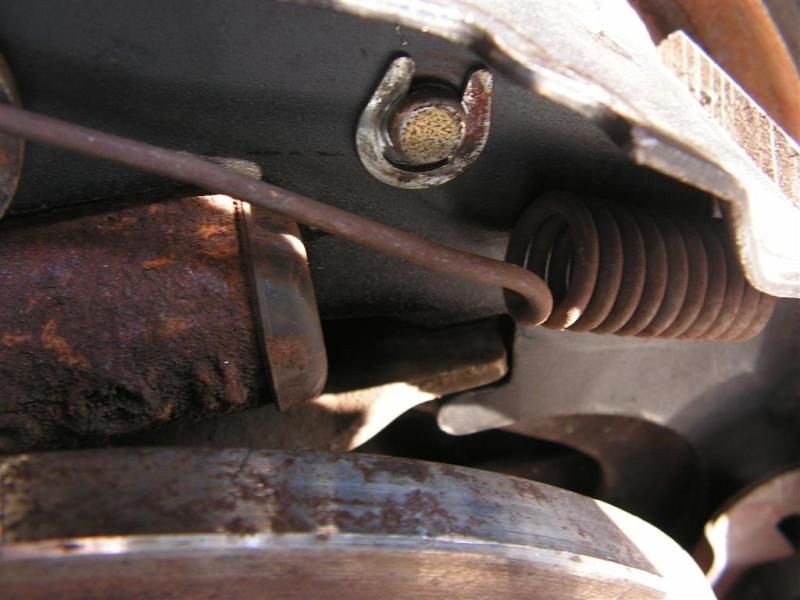
This truck has a lot of mileage and the rear brakes were in need of replacement; as were the rear handbrake cables. So the first thing to do is get the brake drums off. Easier said than done, because the shoes may be stuck to the drums, or have cut a lip unto the inner drum lining making removal tedious. First, there are usually two tapered screws that hold the drum to the hub. In the first pic below you can see one of the tapered screw holes at 12 o'clock. These need to be removed. Then, the best thing to if the drum will not slide easily off the hub is to use a hammer and beat the outside, as well as the inside face of the drum.
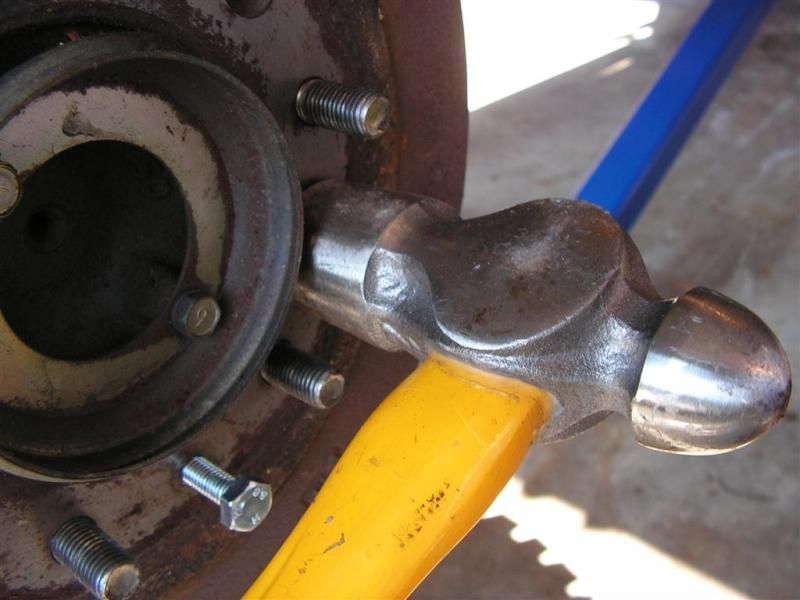
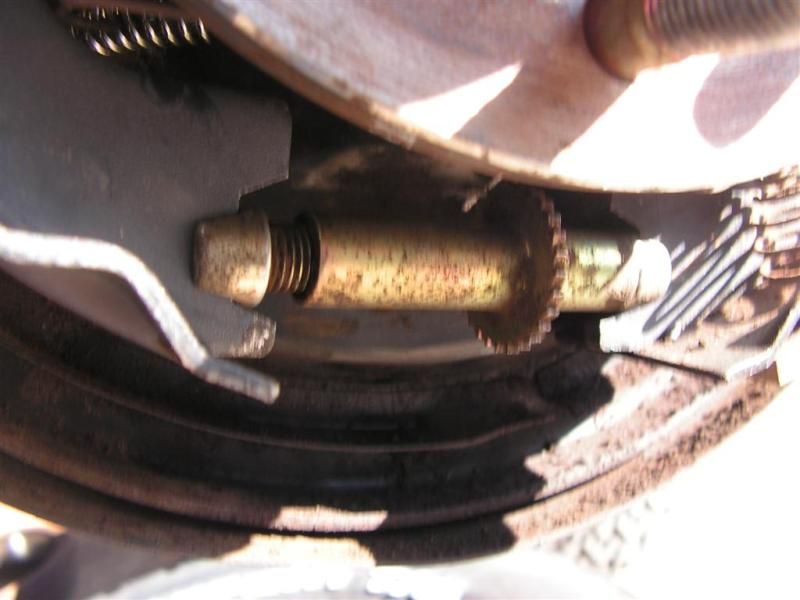
If the drum still won't slide off, then it's time for some leverage. Don't try to use a screwdriver to lever between the drum and the backing plate. You can damage the backing plate and the drum. A better method on most older imports and some domestics is to look around for some other screw holes that dead-end in the hub. In my case I had two 10mm holes that I simply screwed some 1.5" 10mm bolts into, and used the bolts as levers. Alternating sides, I tighten the bolts against the inner hub a little at a time until the drum is forced off the brake shoes.
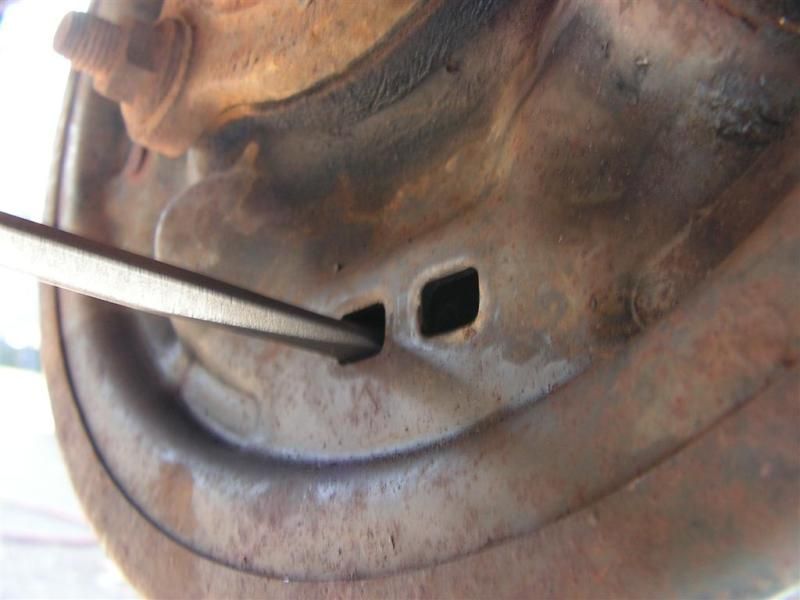
In my case I was successful using this method. If the drum was still not moving using this method, then the brake adjuster needs to be loosened all the way to make the brake shoes contract inside the drum. Usually a screwdriver of brake shoe adjusting spoon inserted through the rear access holes will allow you to loosen the tensioner ratcheting mechanism enough to where the drum will come off using the method described above.
First thing to do is be careful about all the brake dust. Especially older vehicles still have LOTS of asbestos in their brake linings, so I soak the entire drum brake assembly with brake cleaner to wash all the dust and dirt into a plastic tub I had placed underneath the hub.
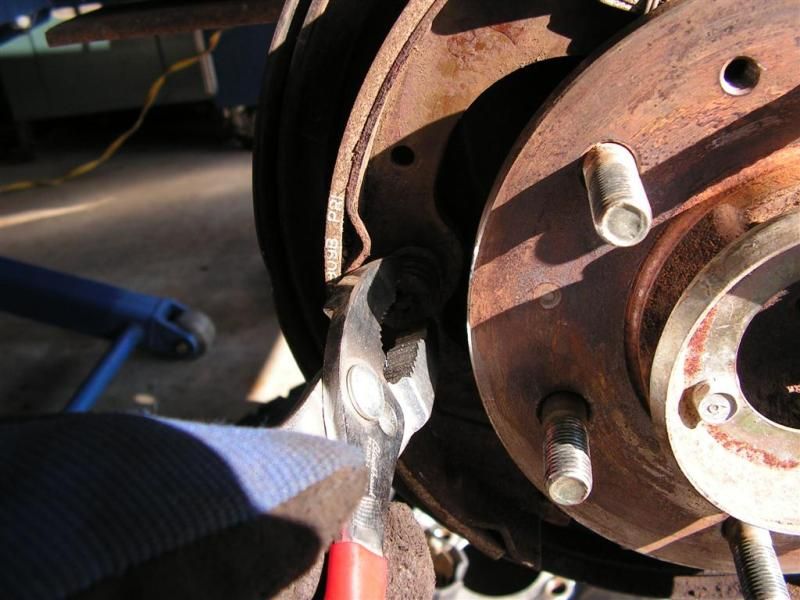
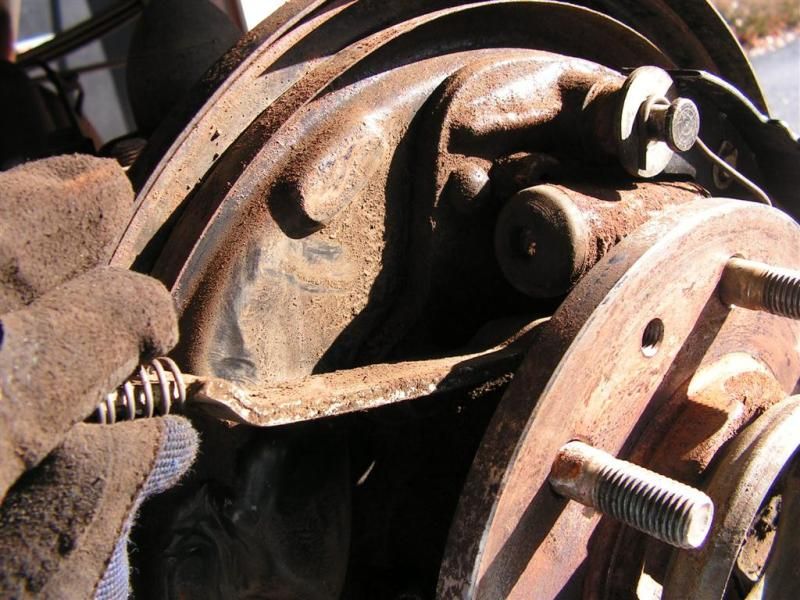
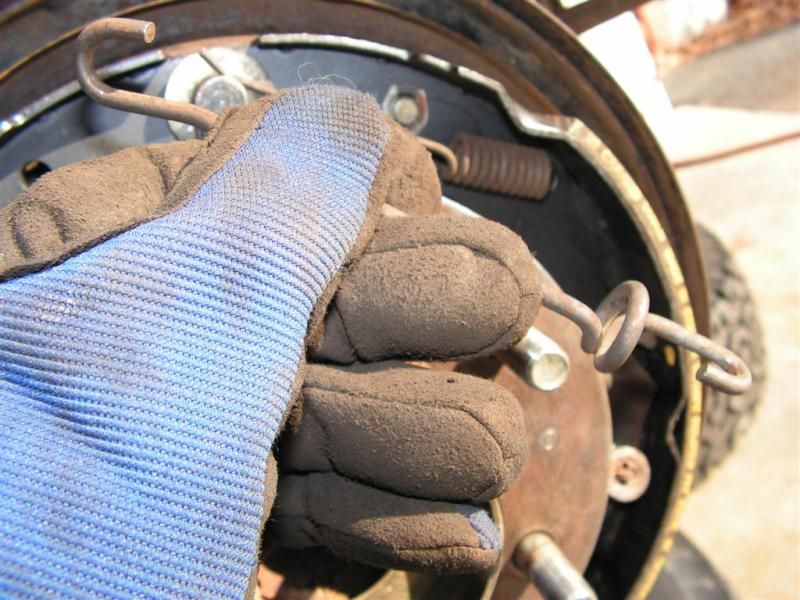
Th first thing to tackle is the shoe retaining clips. There are special tools made for these things, but in my case the clips were too small, so I used some slip joint pliers to compress the spring. I reach around the backing plate and push against the end of the retaining stud while compressing the spring and twisting the retaining clip with my pliers. Both brake shoes are released in this manner
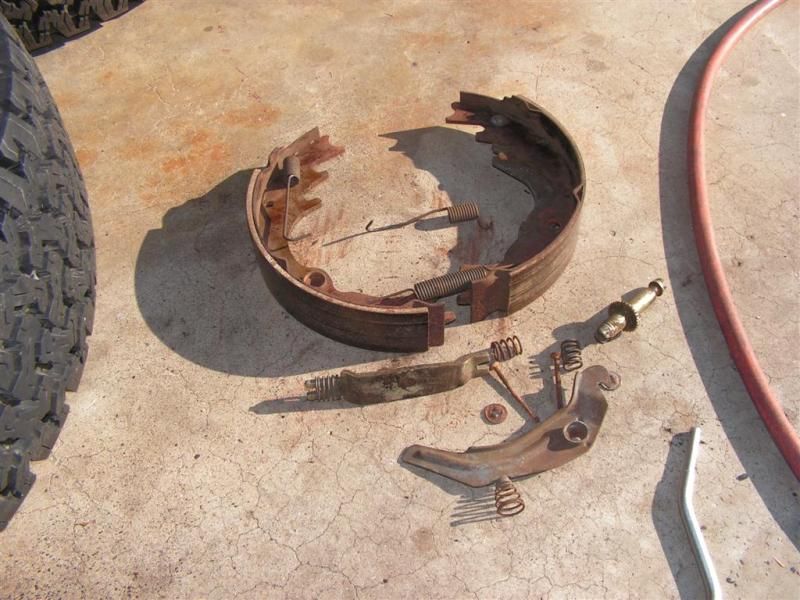
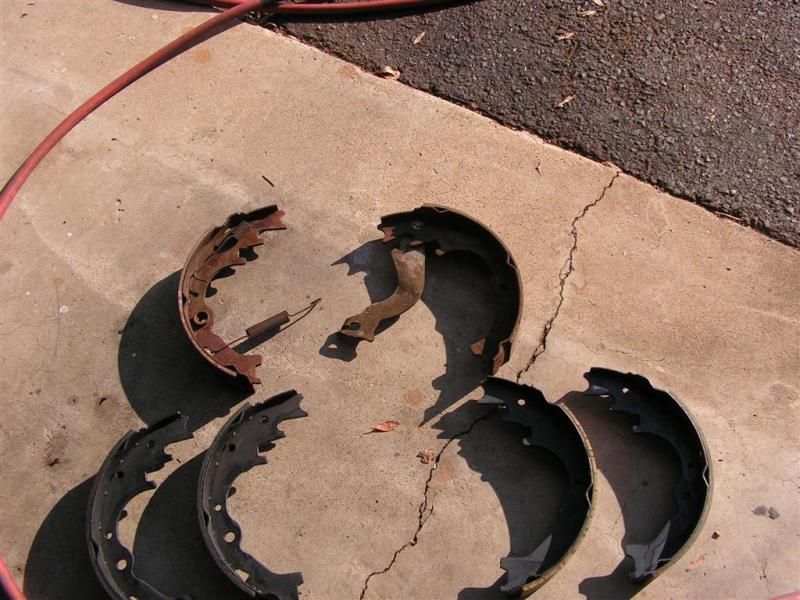
Once the shoes are released from the backing plate. I removed the various springs, spacers and connectors and laid out the parts on the ground to aid as a guide in reassembly. Also, better to do one side at a time, because you can use the other side as a guide for reassembly. There are lots of pieces in these mechanisms and you may get easily lost.
In my case I also needed to install new left/right parking brake cables. These Raybestos cables were sourced from Rock Auto, and they are better than the OEM cables that were on here. To make things easier, I simply cut the old cables loose with a cutoff wheel -- pretty easy.

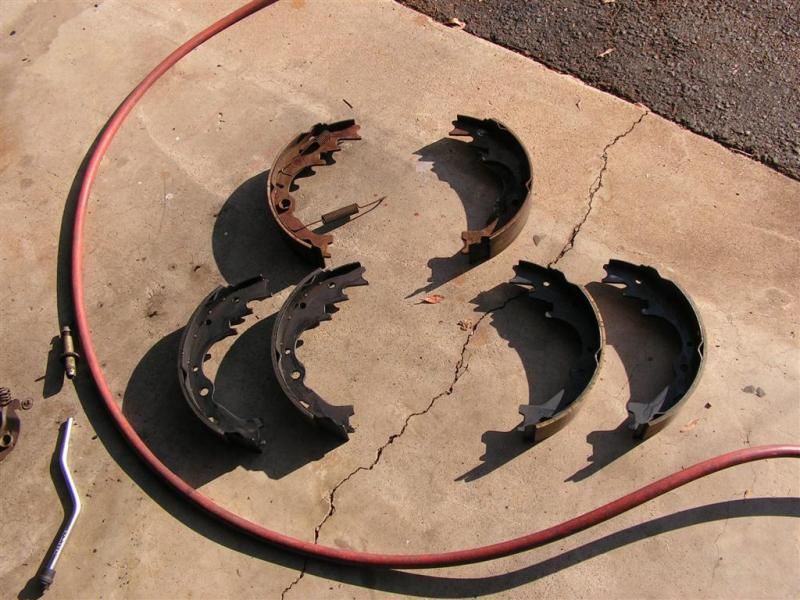
Next item is to make sure that the brake shoes match the old. Sometimes cheaper grade shoes are "universal" fit and may not work very well. In this case, the Rock Auto shoes were NOS from Beck Arnley, and were excellent quality -everything matched.
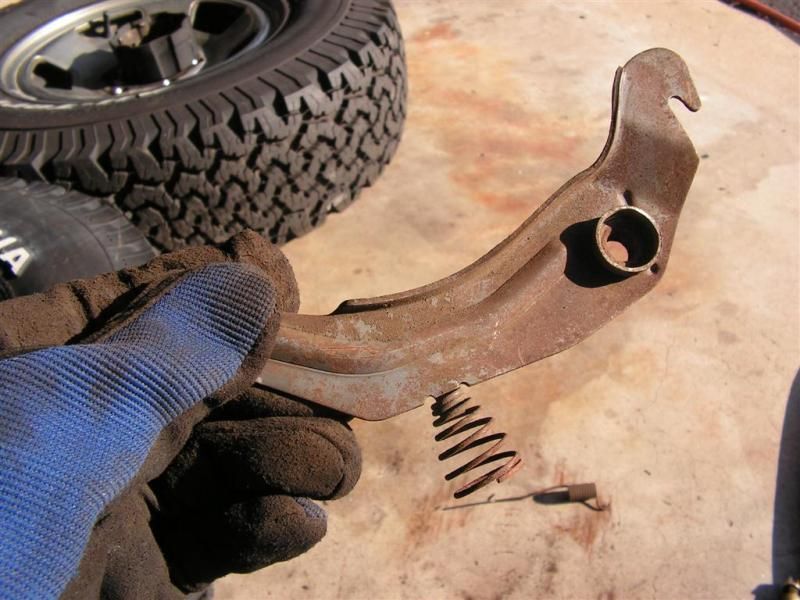
The parking brake lever did need to get removed and installed on the new brake shoes -- it's only held on by a clip and was easy to switch over.
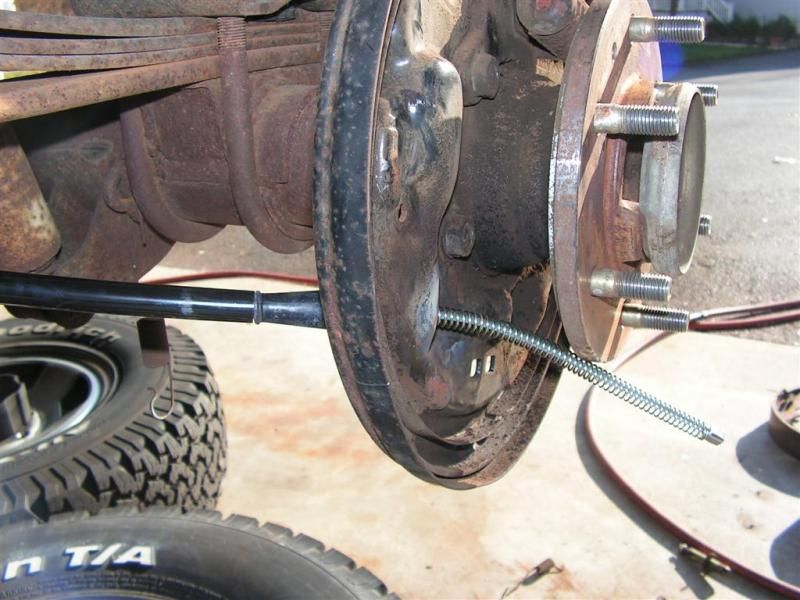
Once the brake shoes were removed, I installed the brake cable first; starting with the front hookup. Better to do this now while the cable is loose and flexible, than to install it on the drum mechanism first and then have fight getting the cable slack enough to install on the front cable retainer.
Then the rear cable is fed through backing plate and secured with a wire spring clip.
Taking the trailing shoe with the newly installed parking brake lever (shown in a previous pic), the end of the cable is fed into the lever and then the brake shoe is secured on the backing plate with a spring retainer. In this case, the spring retainer must also secure the automatic handbrake adjuster at the same time. This is tricky because on top of all the other items, the shoe must also receive one side of the main tension spring. So, all these pieces are held in place by one hand, while the other inserts one side of the main retention spring.
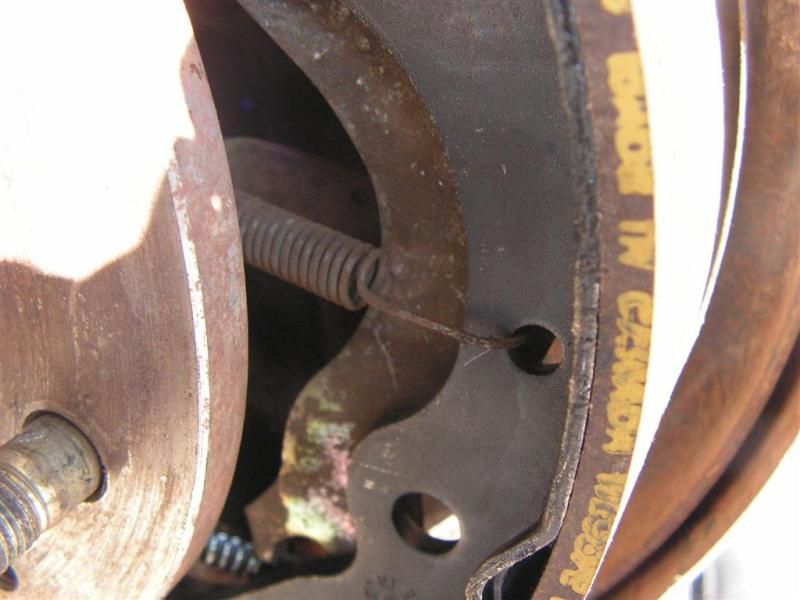
Next comes the lever style brake adjuster mechanism that sits inside the shoe and is held in place by a spring retention clip. I inserted the spring retaining stud through a hole on the rear backing plate, and held it in place while with my free hand I inserted the outer spring and it's retainer clip with a twist of my slip joint pliers.
Lastly I installed one end of the upper retaining spring on the brake shoe
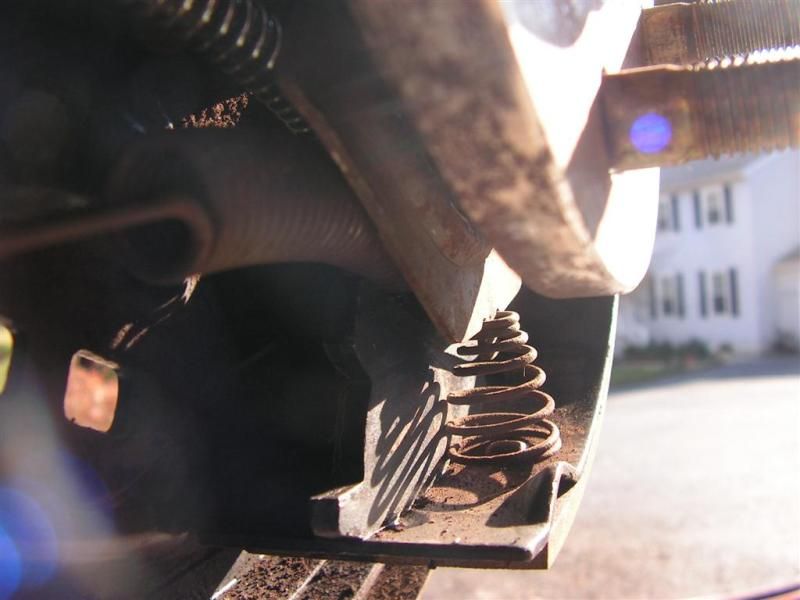
Last comes the spacer bar and the other end of the brake retaining spring is secured on the brake spring retaining boss (upper right hand corner of pic)
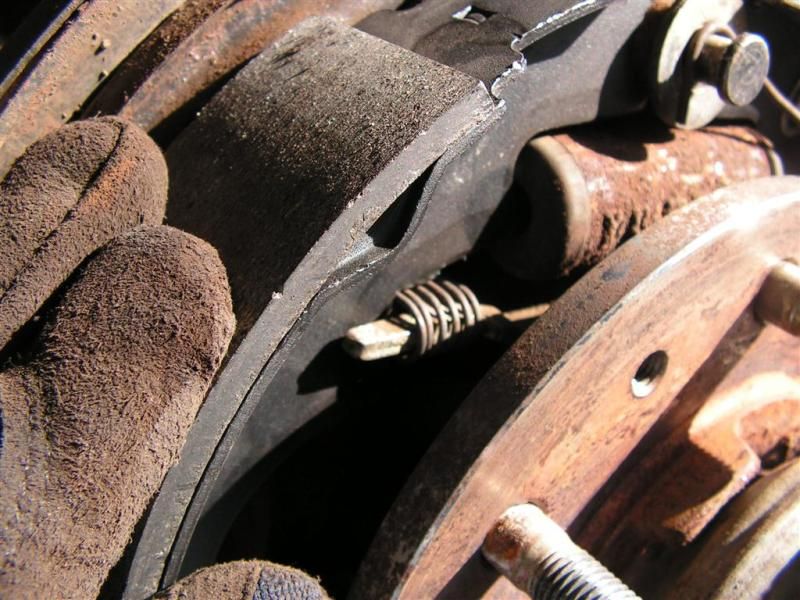
Now the other brake shoe is installed with its spring clip, and the lower rotary brake adjuster is slipped between the lower portion of both brake shoes.
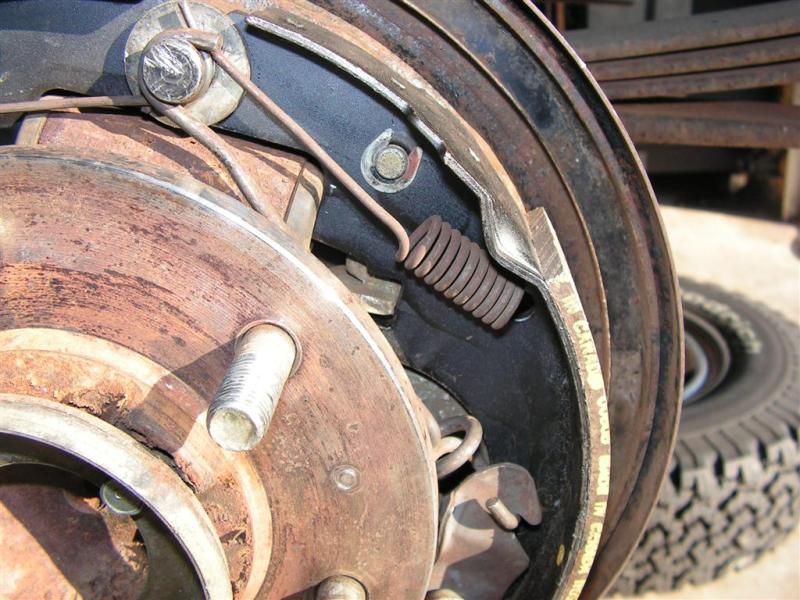
That done, the other end of the main tension spring is connected to this brake shoe, and as with the other shoe, this shoe's upper retaining spring is connected to the spring boss
The brake adjuster lever spring is connected on one end and then on the spring retaining boss.
This is how the brake adjusting lever mechanism engages the rotary shoe adjuster
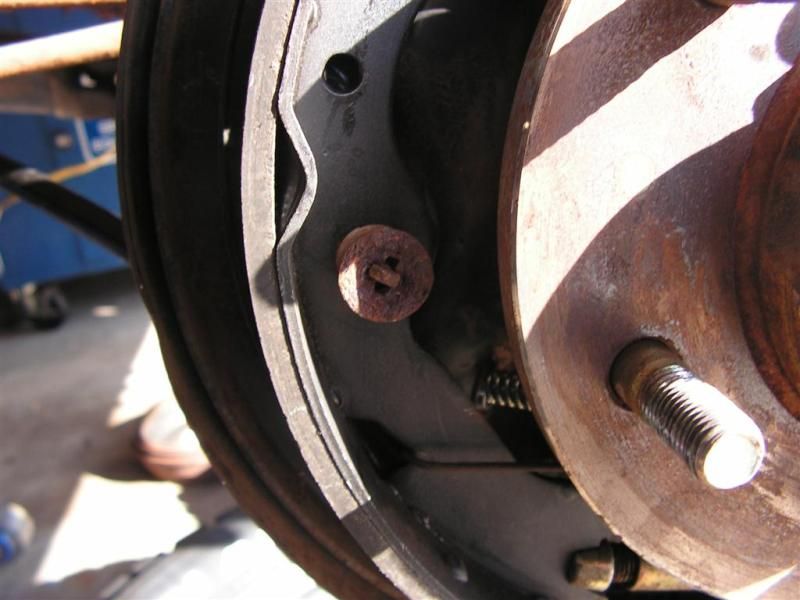
As in dis-assembly, once the the drums are slipped over shoes, the rotary mechanism can be adjusted with a screwdriver to a point where the shoes just make very slight contact with the drum, yet still continue to spin freely. This is the preferable setting for these drum brakes to function as intended.
A quick check to make sure everything works, and no parts left over -- and one side is done.

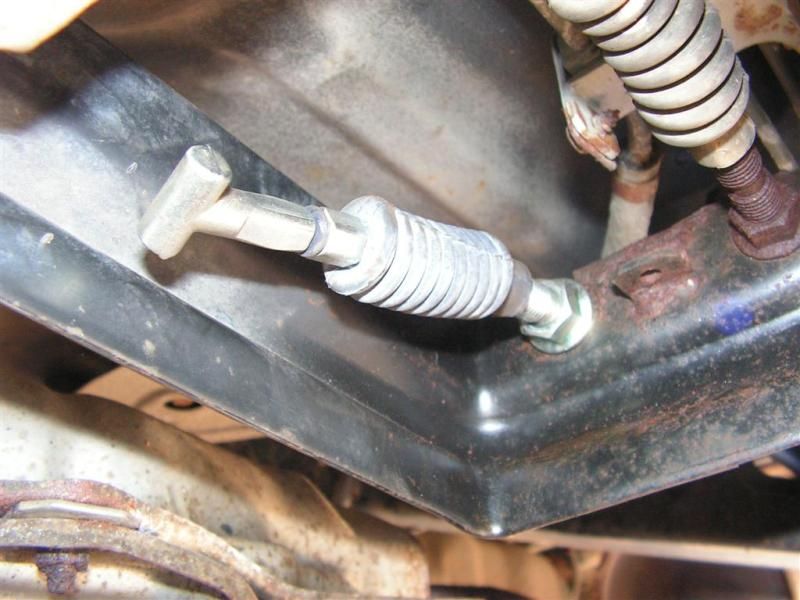
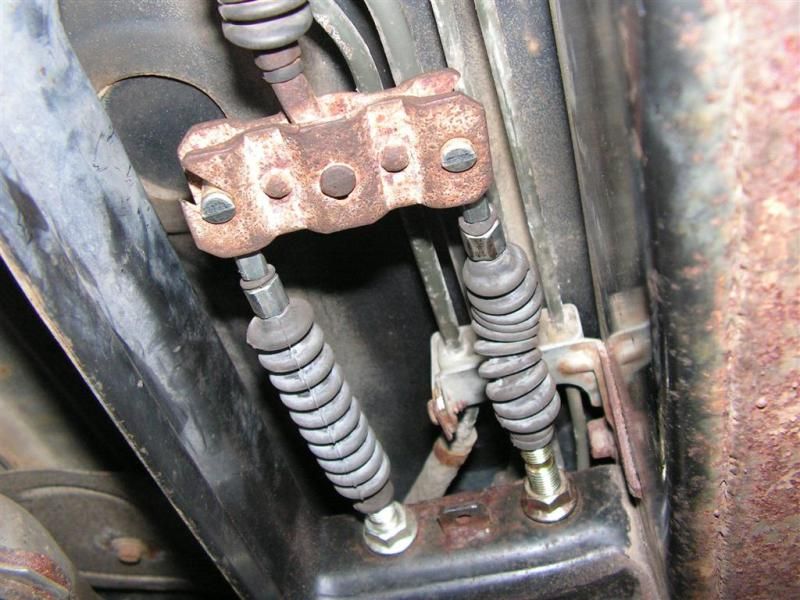
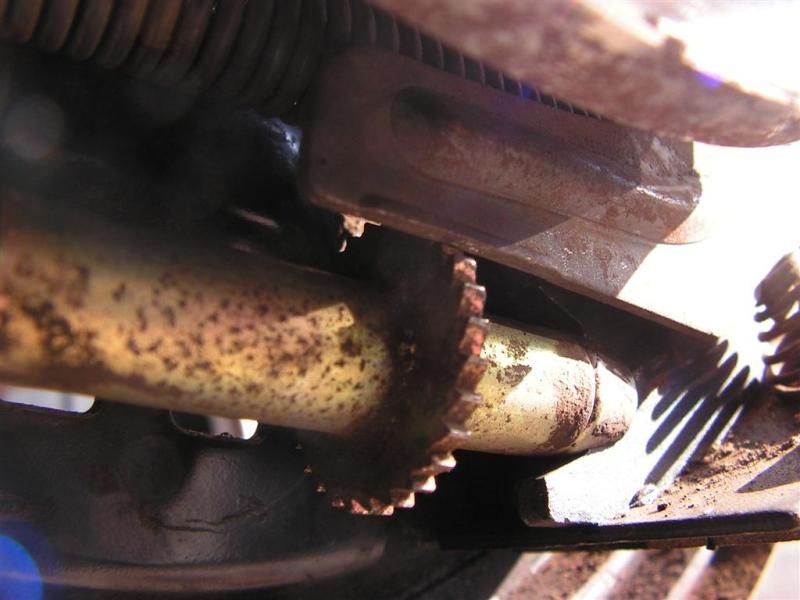
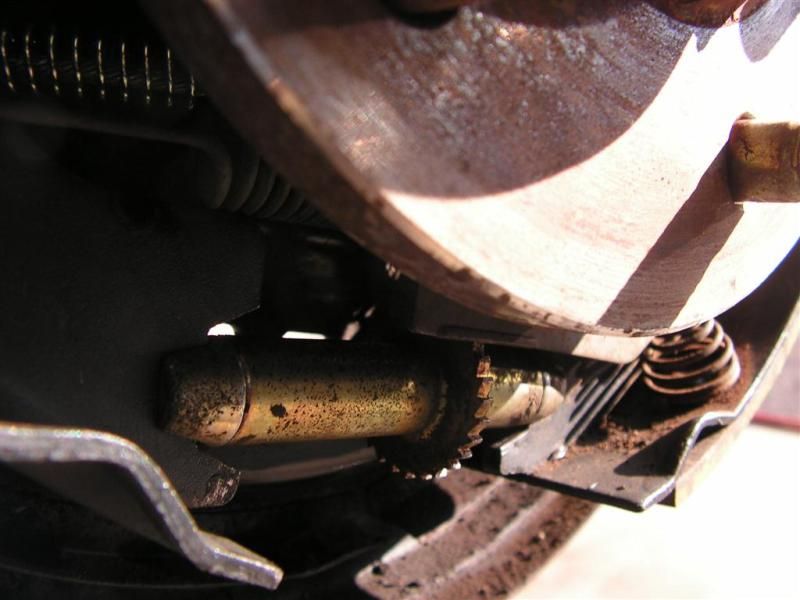
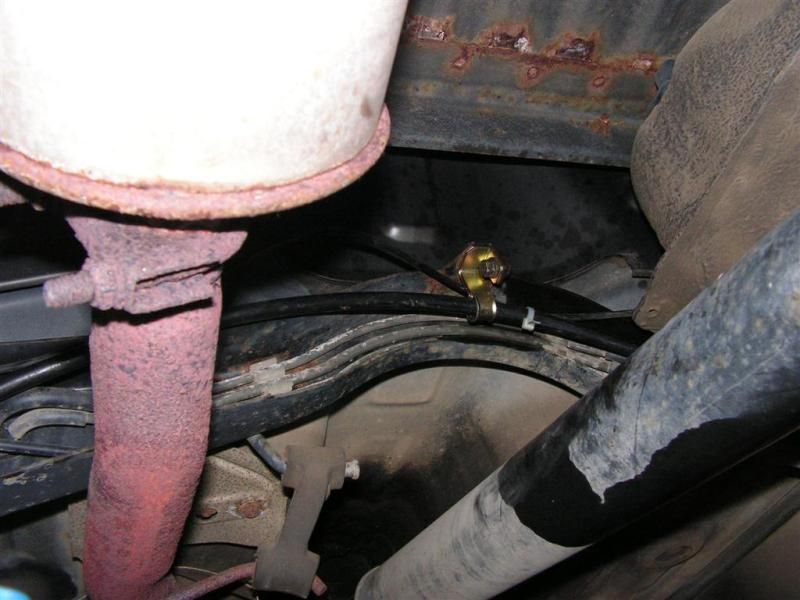
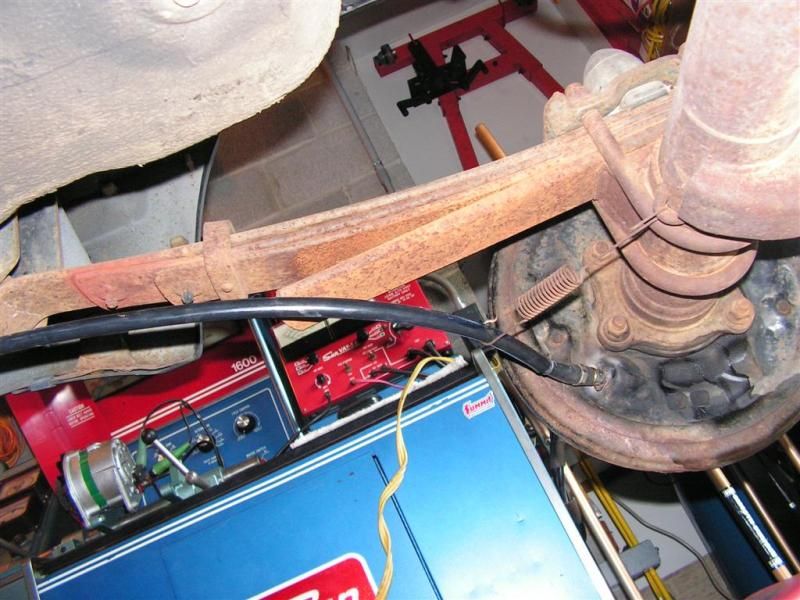
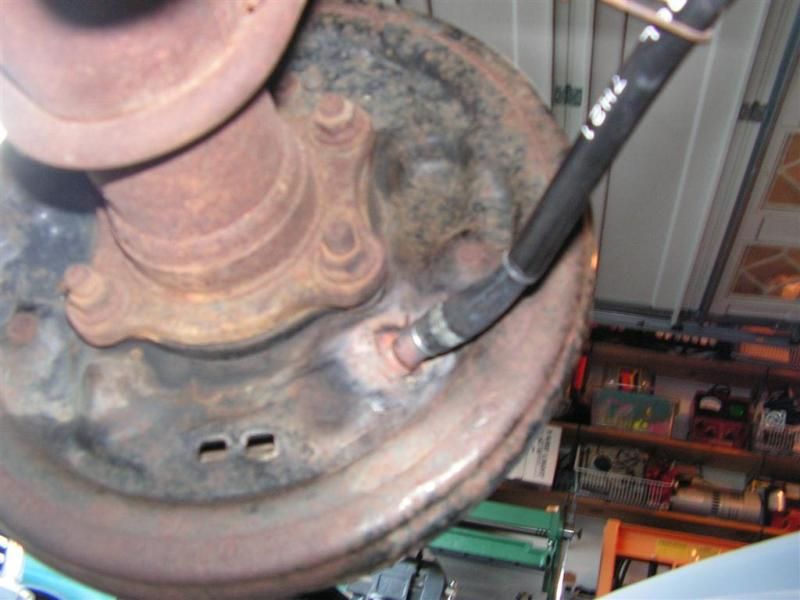
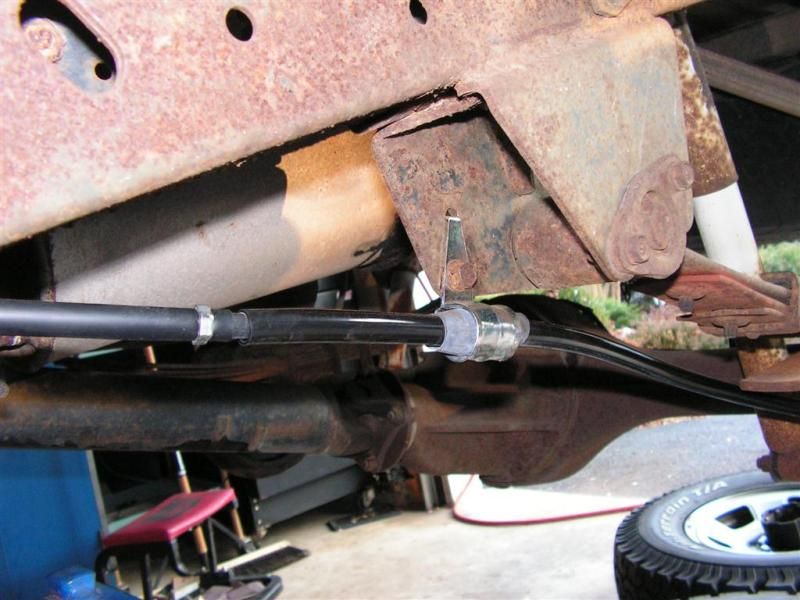
The following pics show the routing of the handbrake cables underneath the truck. Important to note that handbrake cables for mini-trucks in general are very specific to RWD vs. 4x4, left side vs right side, short bed vs. long bed, as well as regular cab vs. extended or crew cab. All these things need to be considered when ordering rear brake cables.
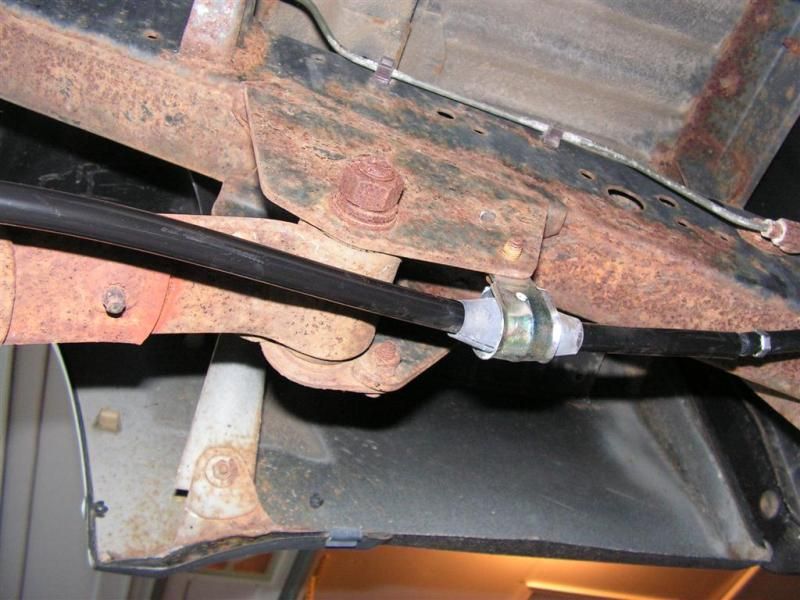
No surprise that after almost 25 years, most of the big problems encountered involved corrosion.Therefore, yesterday I used Kroil to repeatedly soak the areas I would be working on. So today, all the fasteners came loose. Had I not done the Kroil and let it soak overnight, I doubt that my work today would have been so easy.


