This was a relatively simple job a few years ago because the evaporator core was accessible without pulling the dash
It was warm and when I switched on the air conditioning the compressor didn't kick in. My first thought was that there's a refrigerant leak. So today I hooked up the manifold gauges and there was no refrigerant in the system. I added some refrigerant with dye and the high pressure side of the compressor was leaking and once the compressor did kick in, it made a horrible grinding and hissing noise. Time for a new compressor!!!
After 20 years it's a good bet that the system is pretty much shot. The next course of action is to replace and flush as many components as possible -- that means a new compressor, condenser, receiver/dryer, and possibly a new evaporator and expansion valve. Unfortunately, the compressor sits in the most inaccessible location on this engine. To expedite the compressor removal process, it's been my experience that the best course of action is to first remove the air filter box, the radiator shroud, the fan, the radiator, and finally the condenser. Here we go ---
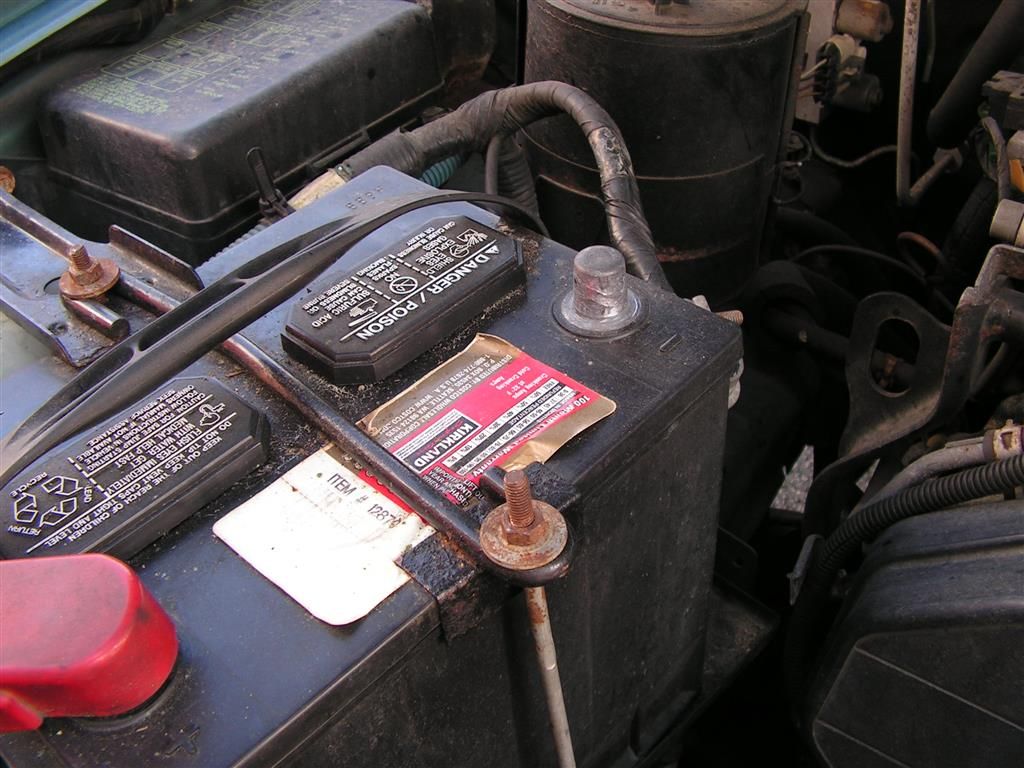
First things first -- disconnect the battery NEG terminal.
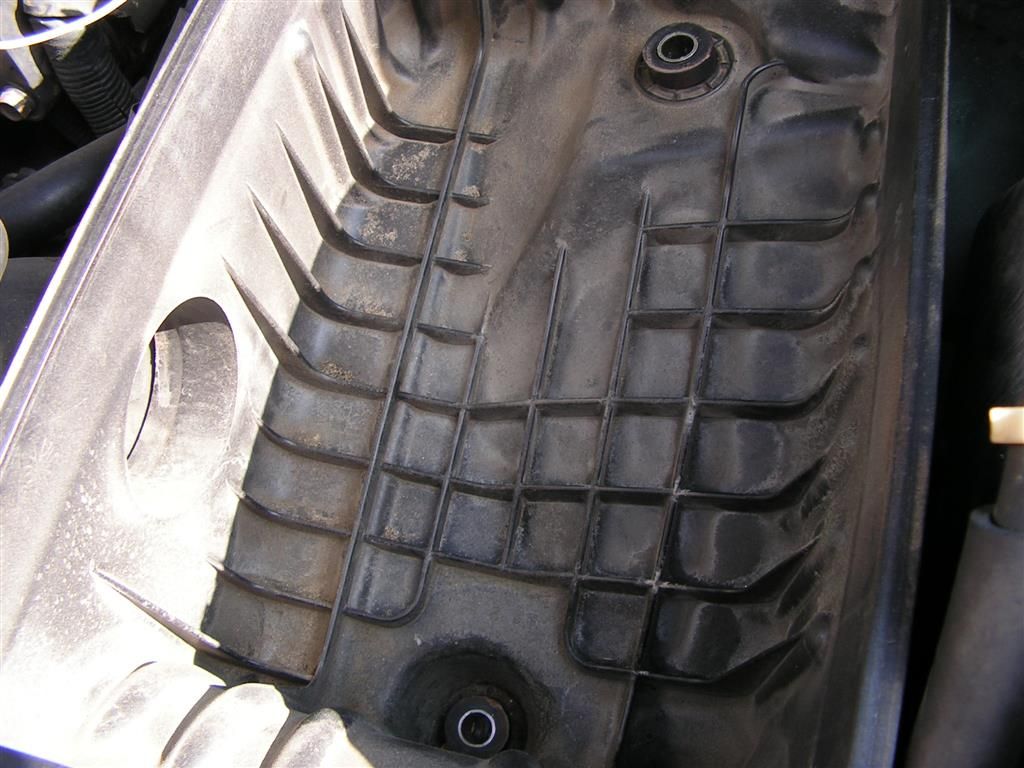
The air box -- only three bolts and it makes a lot of room.
Next comes the front grille (just some simple screws and clips) and the front bumper (four easy to get at bolts on the frame)
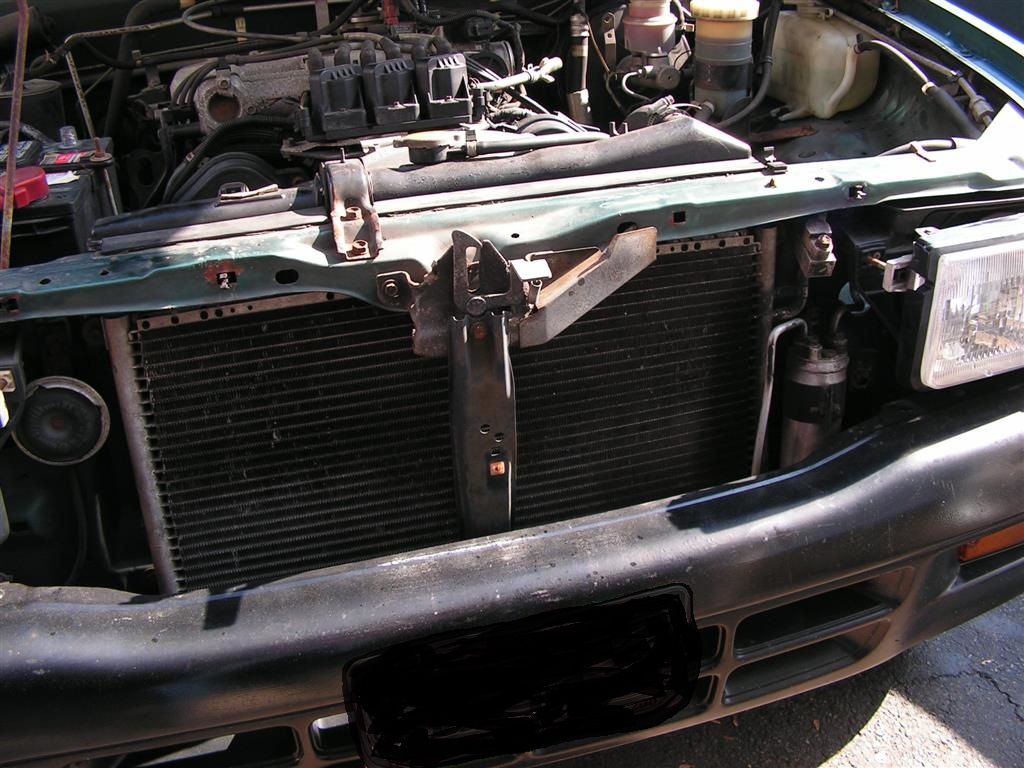
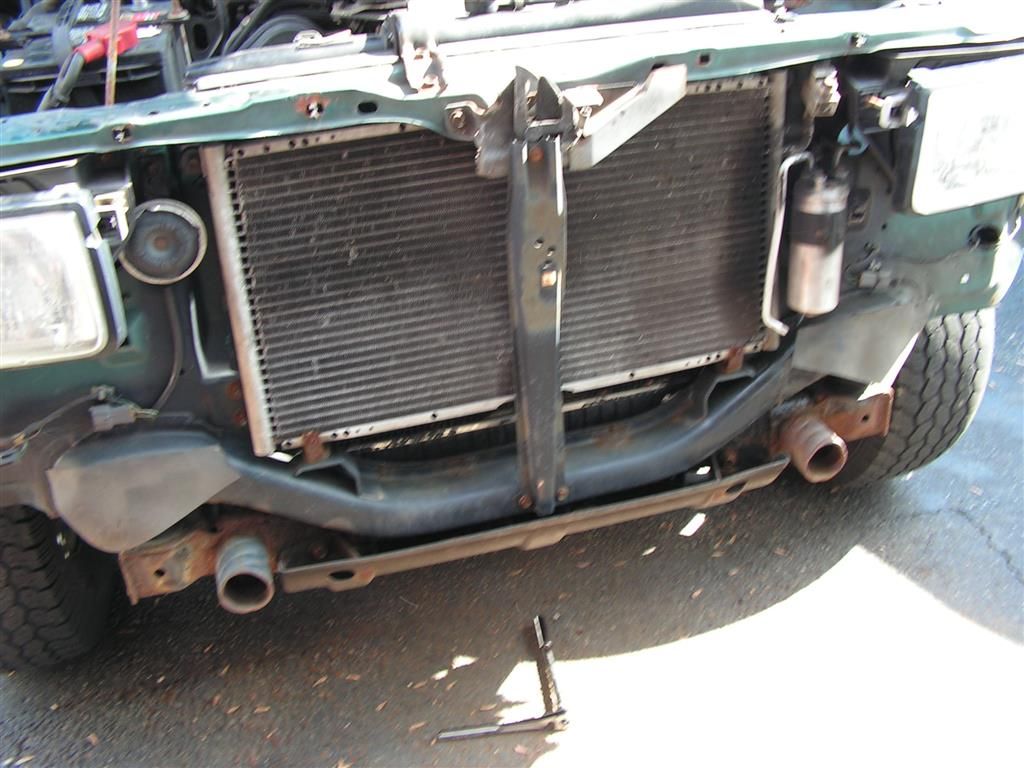
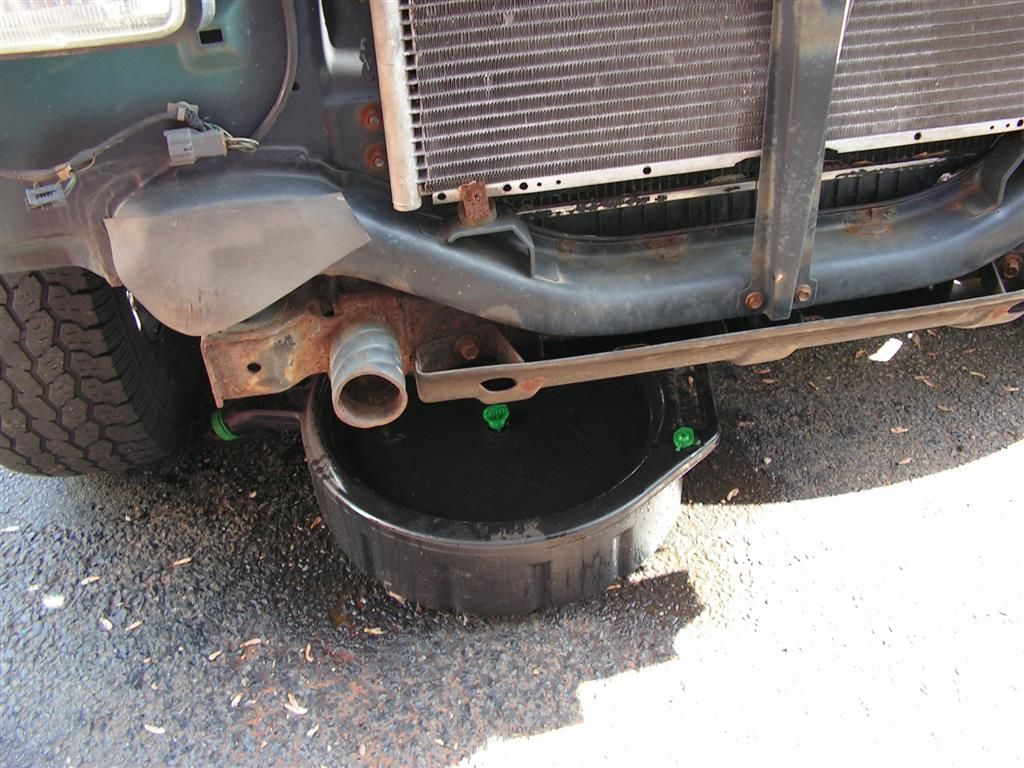
Next, drain the radiator and remove it along with the shroud and fan.
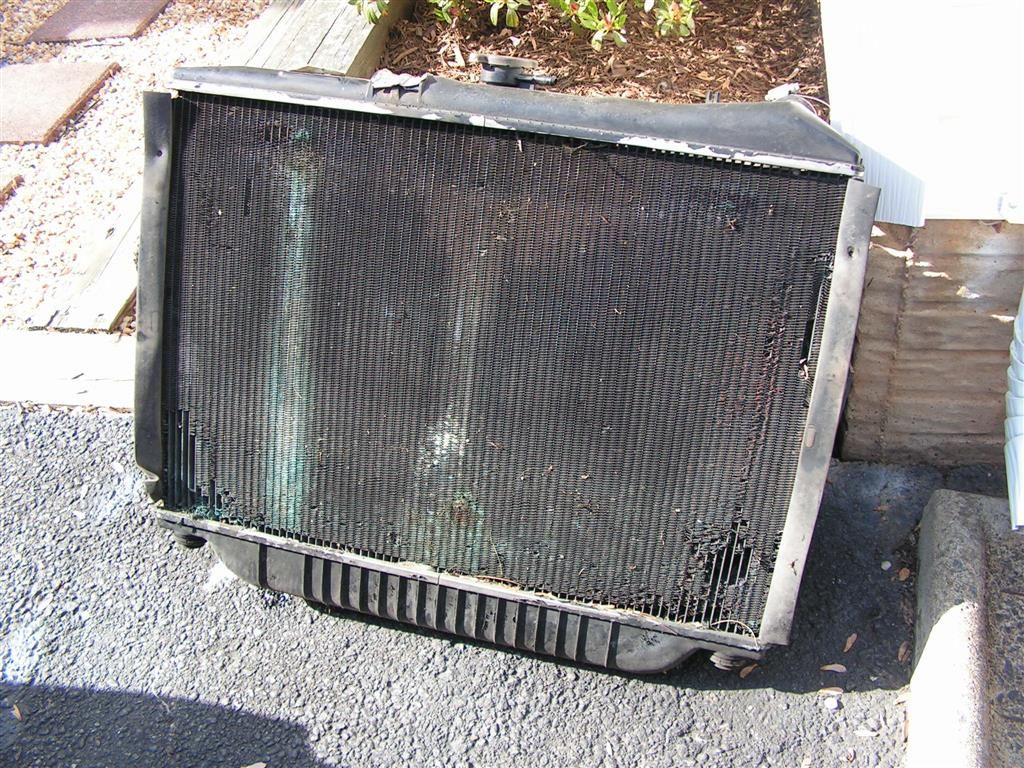
Glad I removed the radiator -- it's on its last legs. The matrix is leaking and the cooling fins are deteriorating. Time for a new radiator as well == it's only money!!!
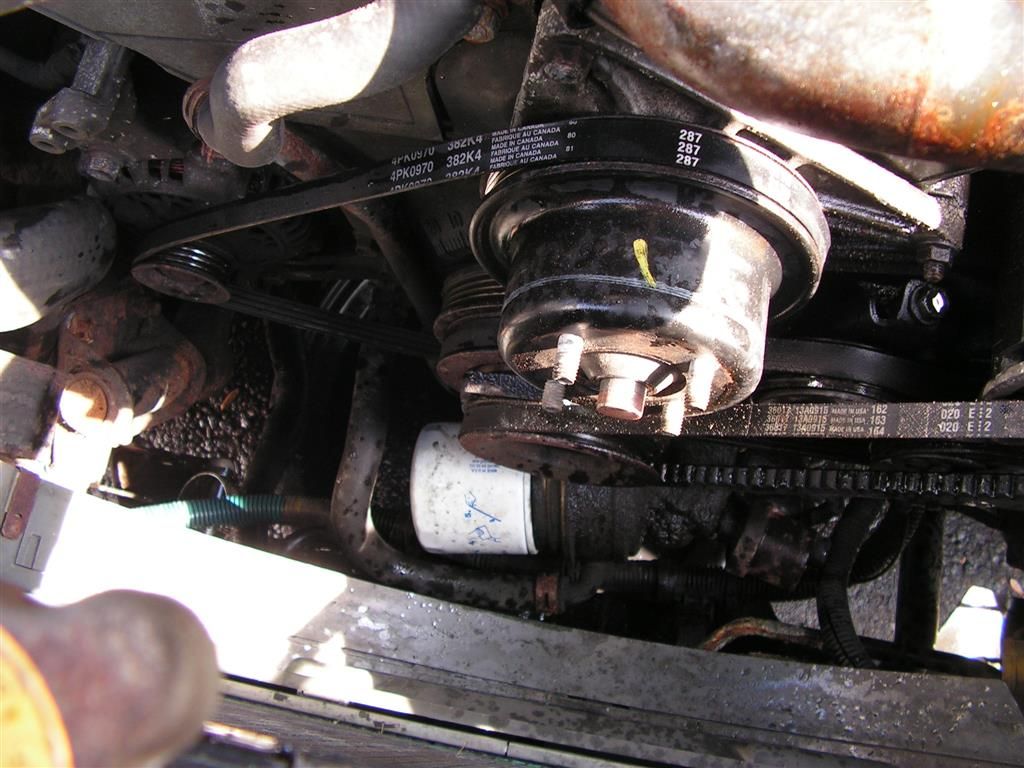
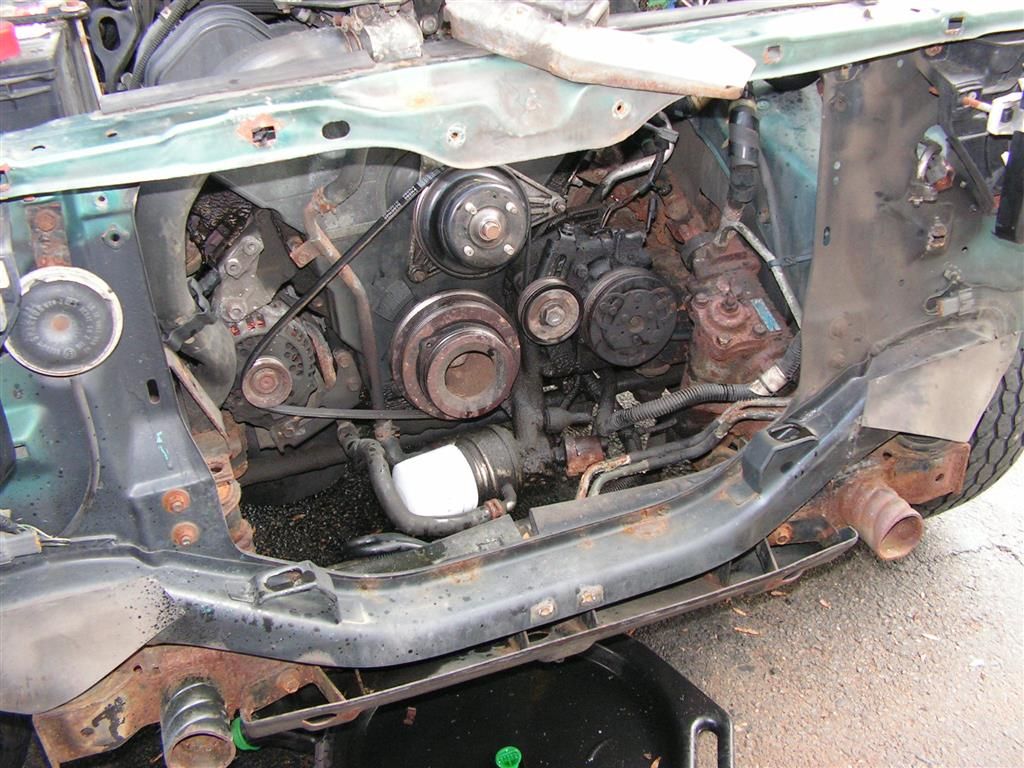
Now there's room to work. First up is to move the PS pump out of the way. Loosen the locking bolt and insert a 1/2" drive breaker bar into the 1/2" square slot on the PS pump bracket and move the to the left to loosen the belt tension.
Next remove the locking bolt altogether and also the pivot bolt in the rear of the PS bracket
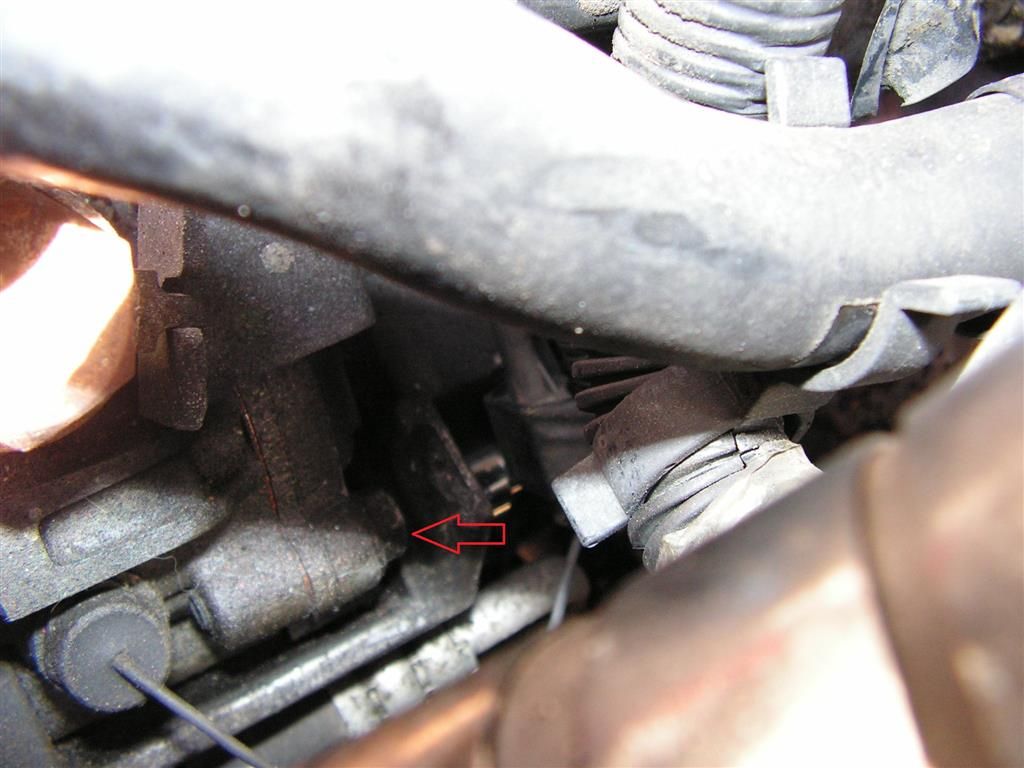
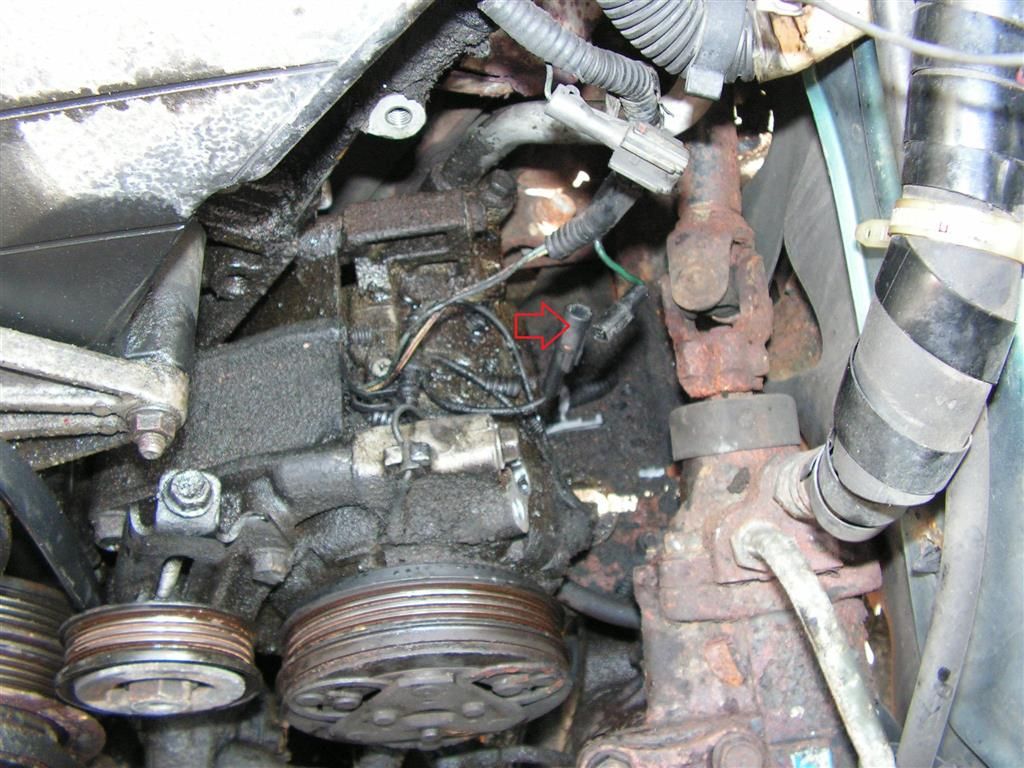
The PS pump and bracket can now be flipped out of the way to expose the AC compressor underneath.
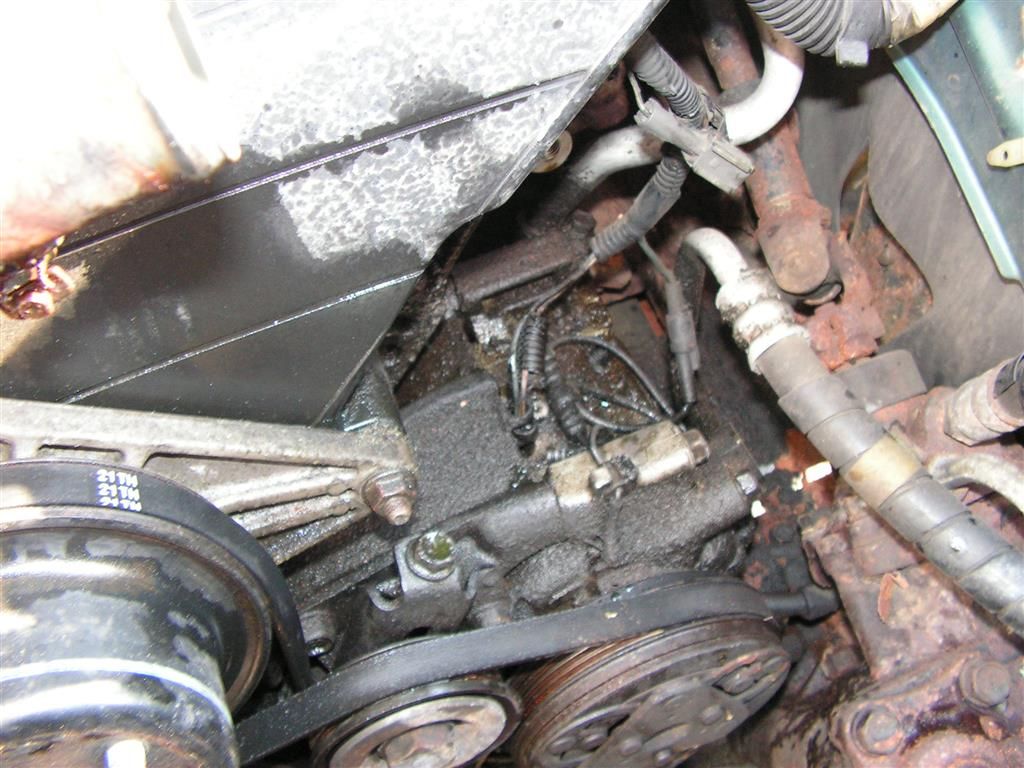
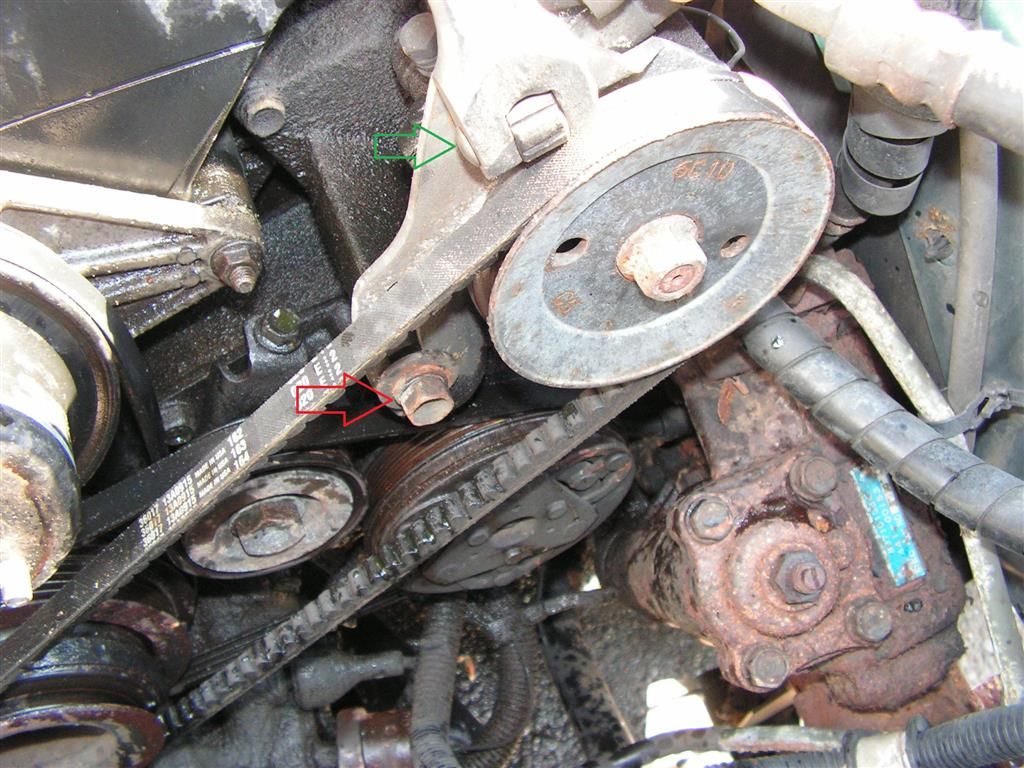
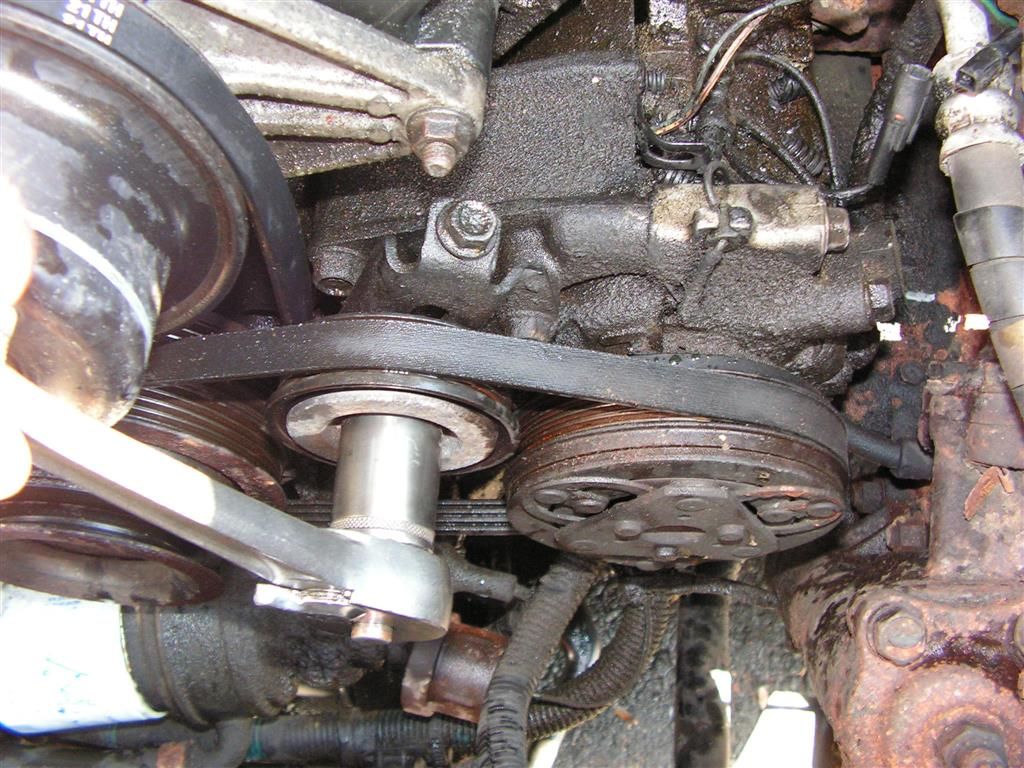
Now to loosen the AC compressor belt I loosen the idler pulley nut itself, and then use the tension adjusting nut to gain slack in the belt
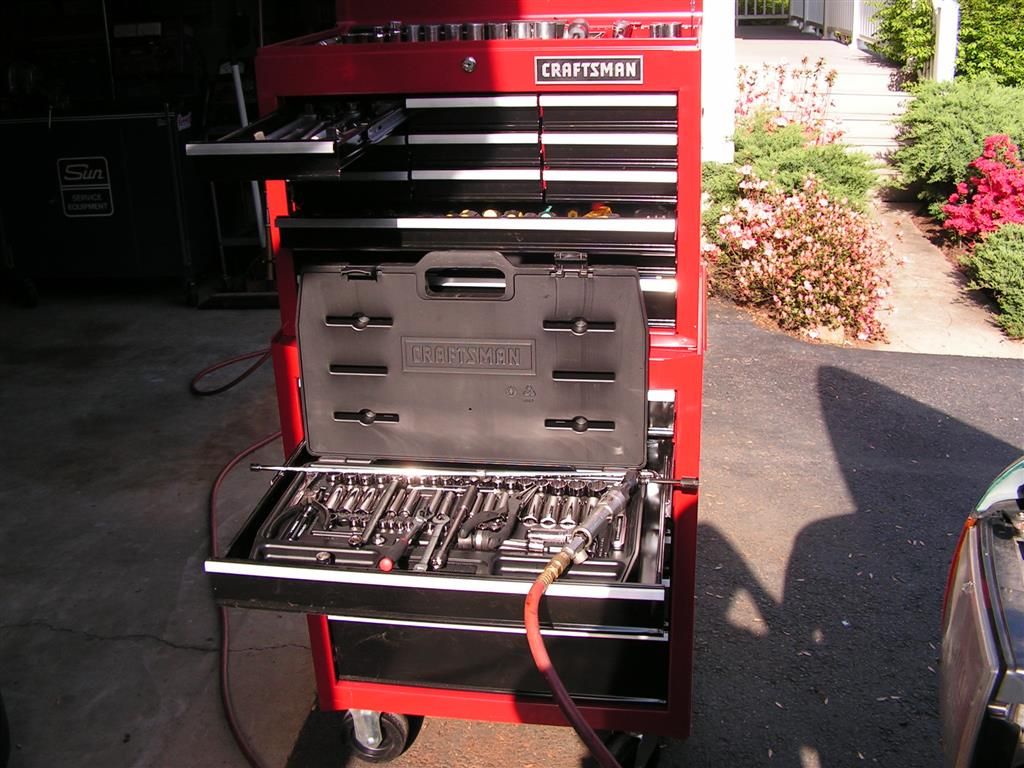
Just an aside; since my main tool box is so large and can't move very easily, I really like this new Craftsman secondary box full of basic tools that I can wheel to the project. Makes the job a lot easier. This is the first time I've made use of it, and I really like the fact that I can wheel it all over the garage and the driveway.
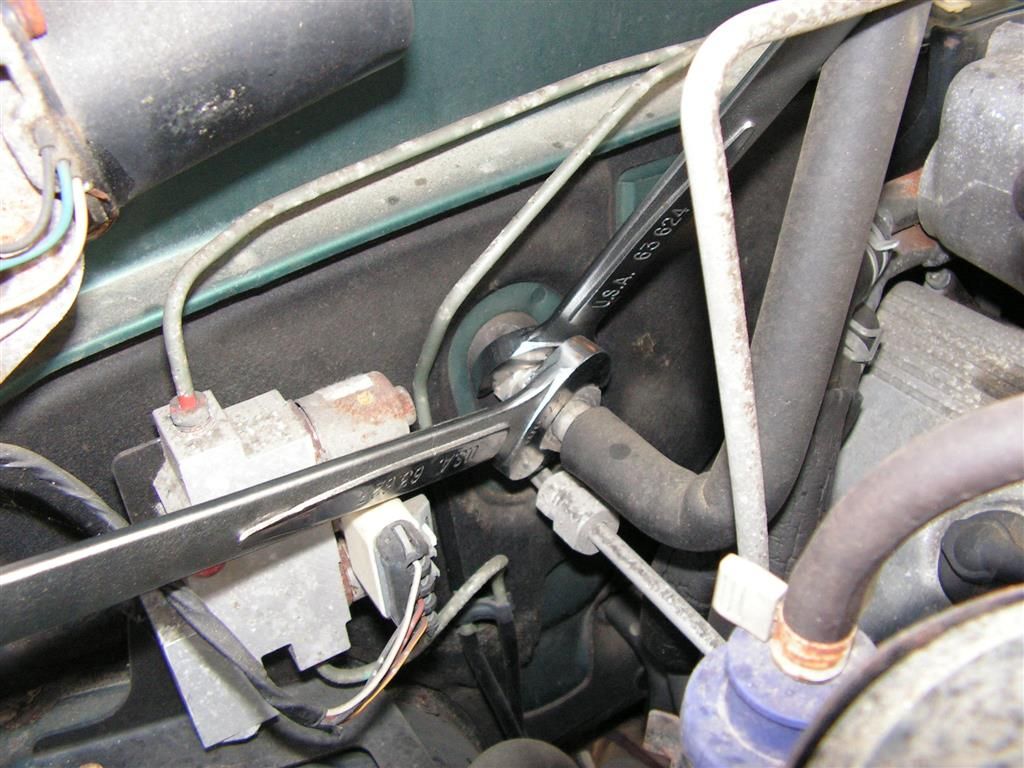
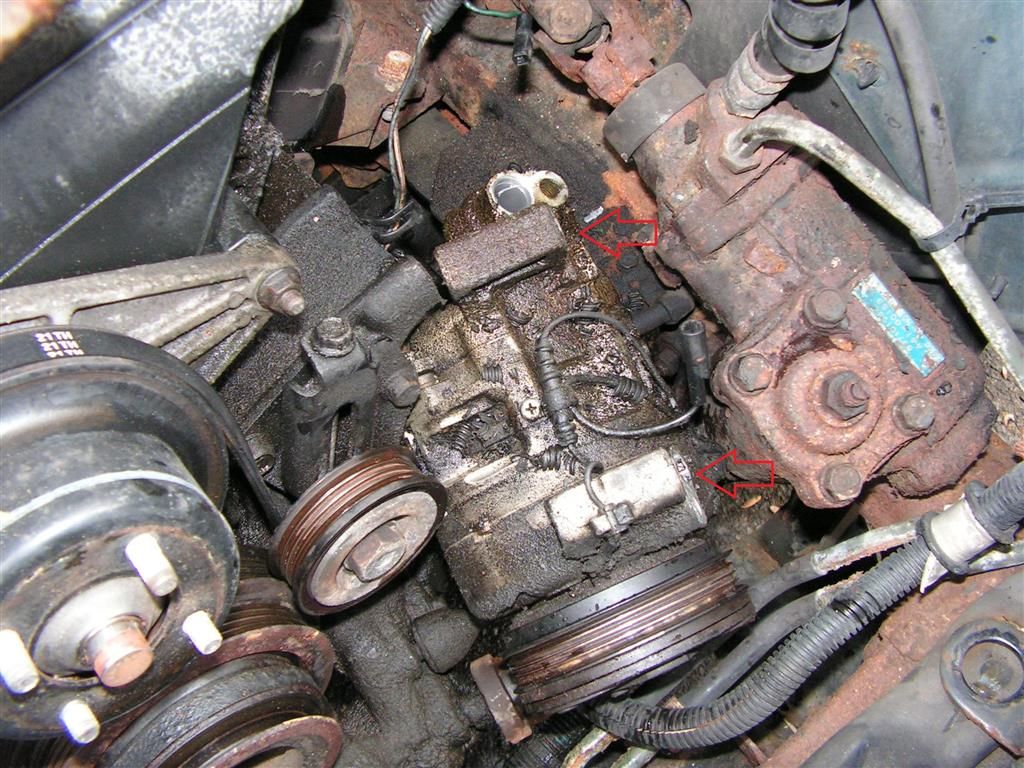
Now it's time to remove the pressure hoses from the compressor, receiver/dryer, and condenser. These hoses will need to be flushed and cleaned.
The compressor is disconnected from the main harness (simple plug-in connector)
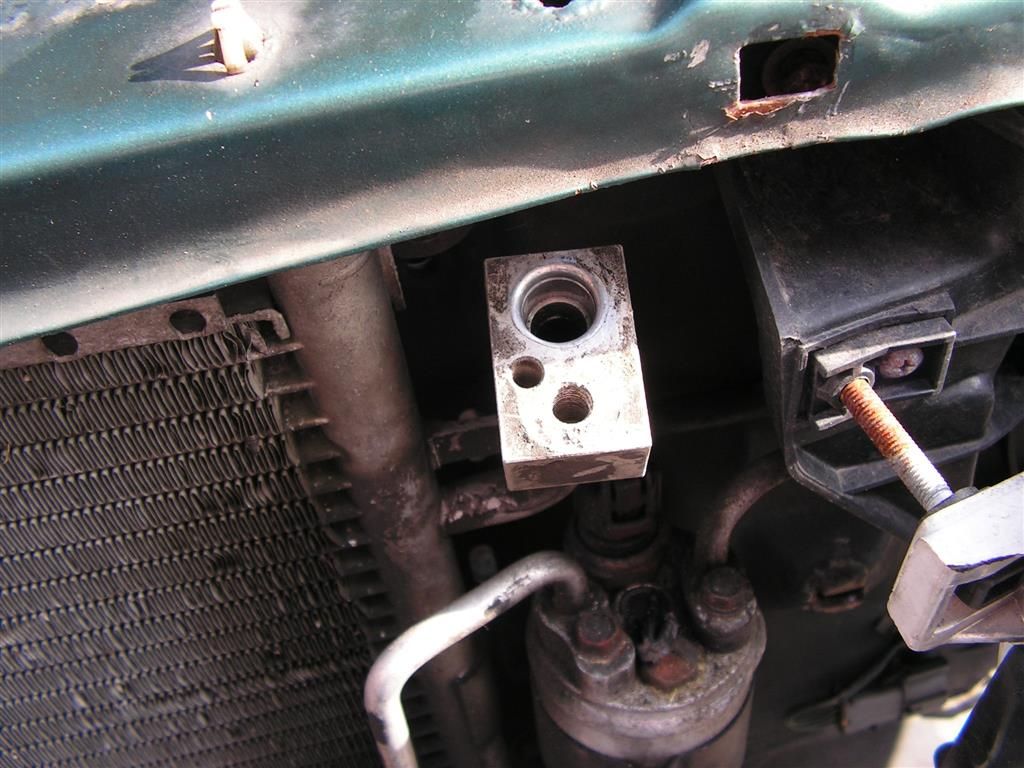
The receiver/dryer is next
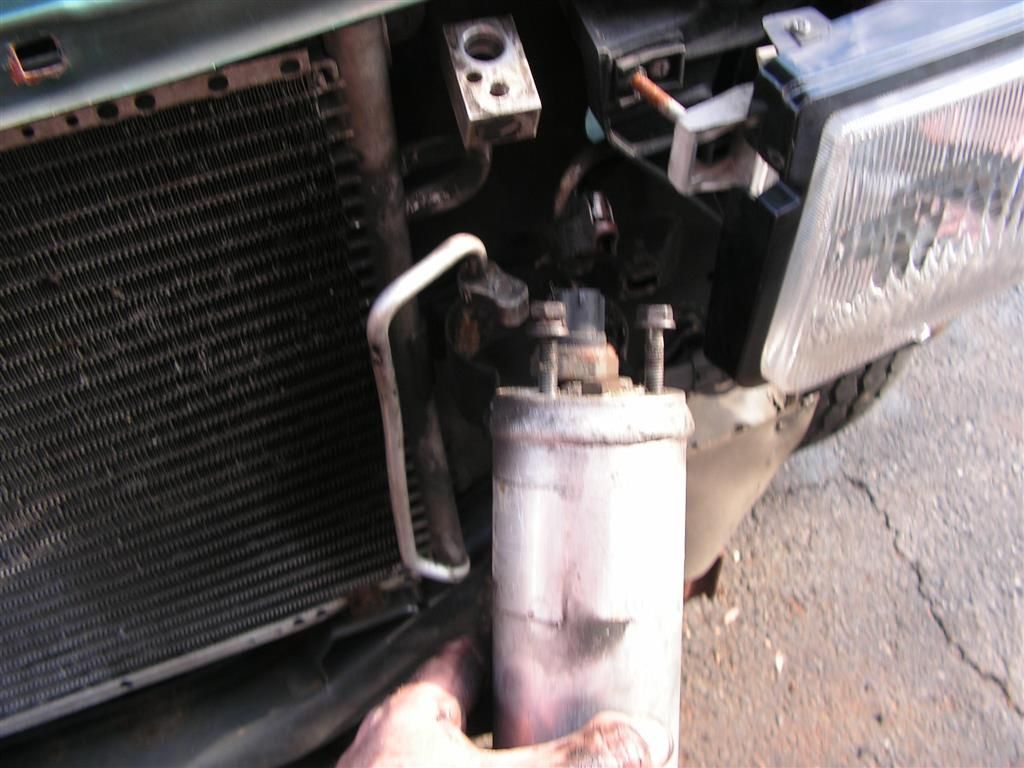
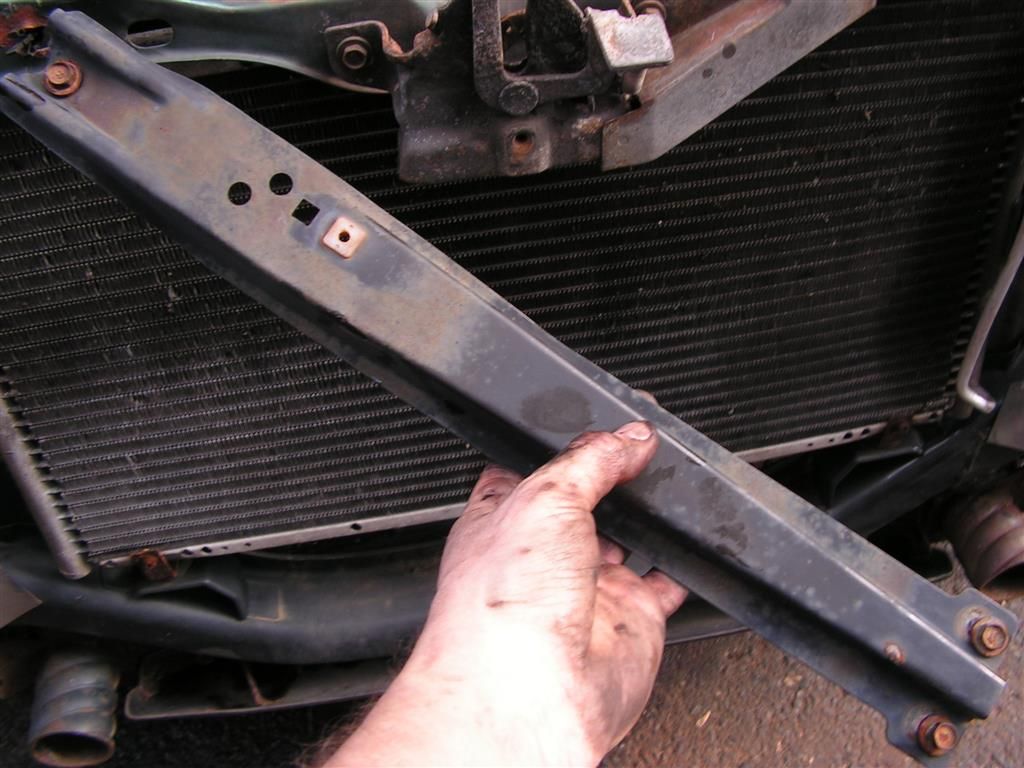
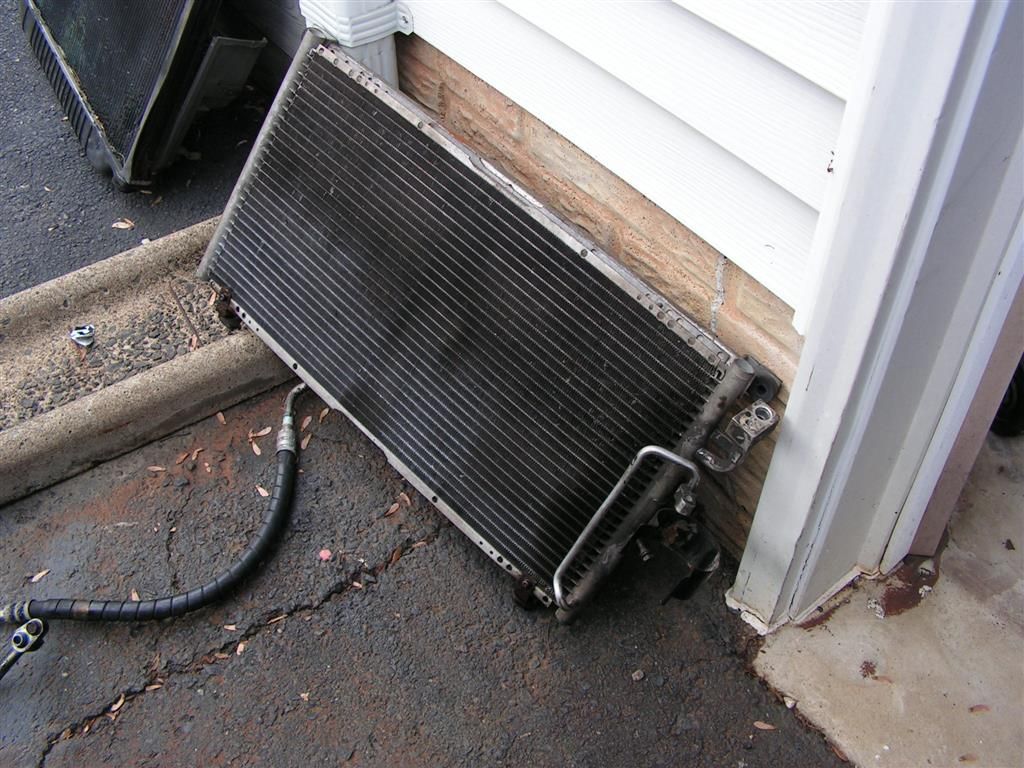
To remove the condenser, the hood latch and reinforcing bar is unbolted (three simple bolts), and the condenser itself is unbolted (two bolts) and dropped out the front of the vehicle
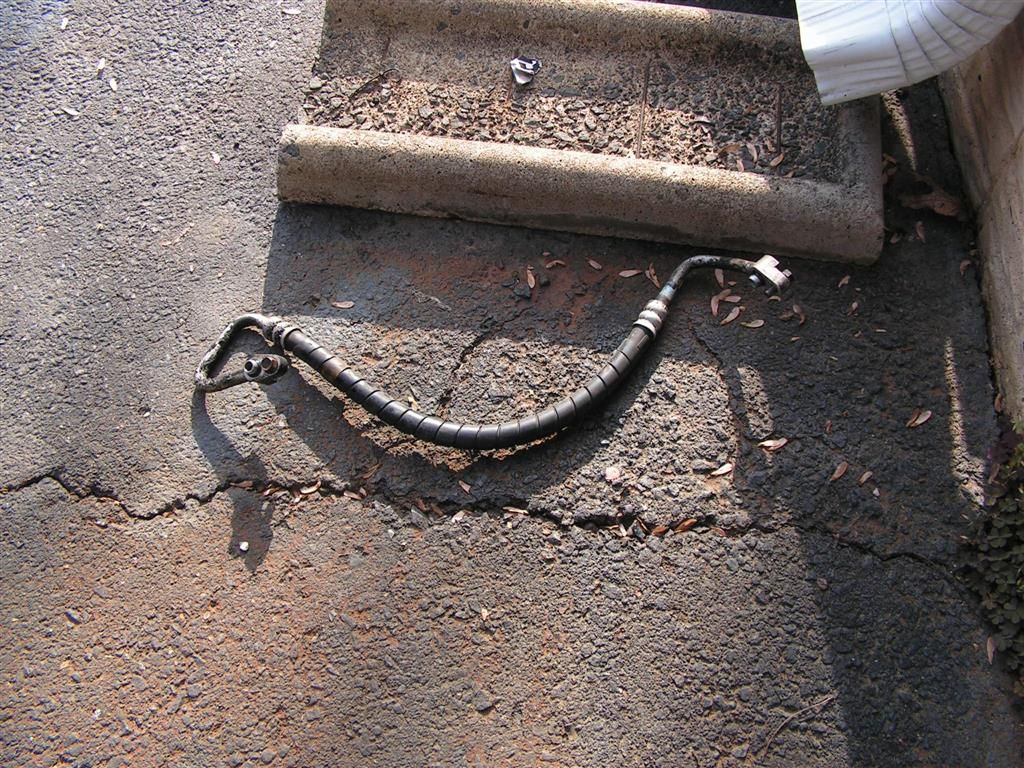
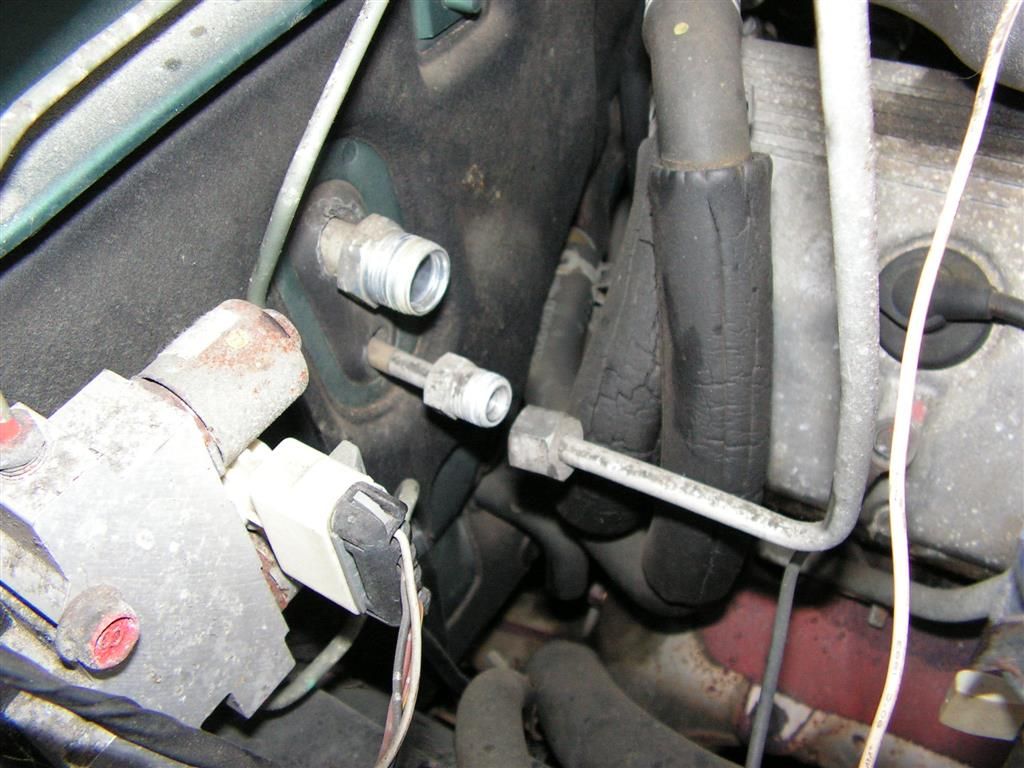
Now the high and low pressure lines are removed for cleaning and flushing
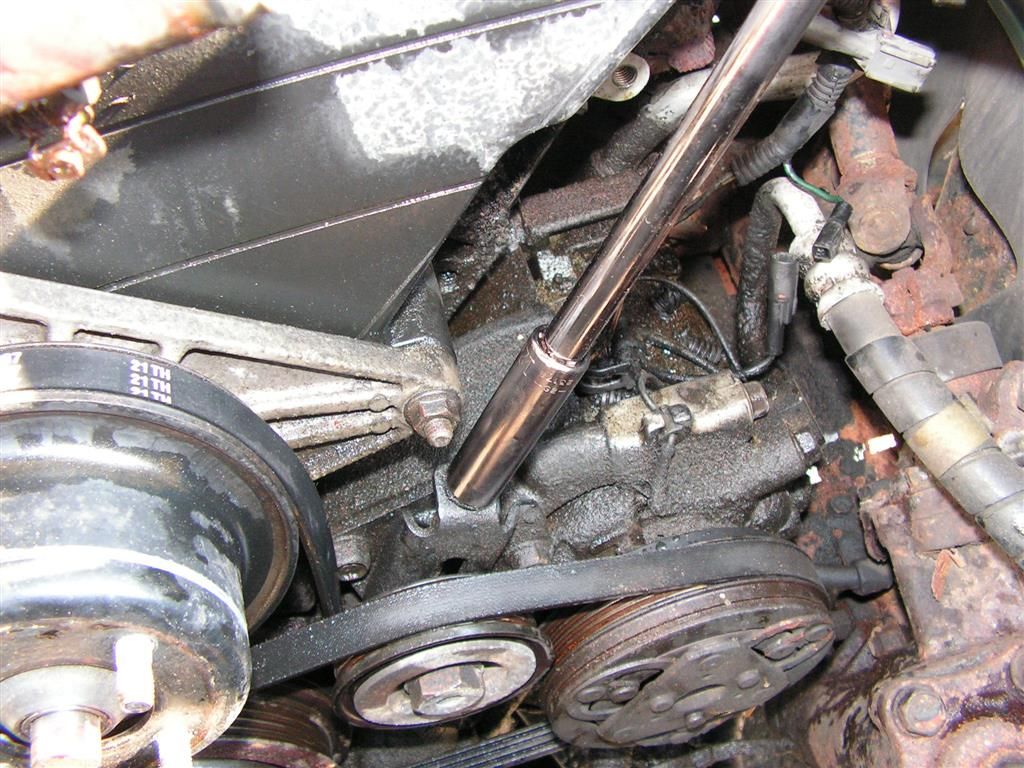
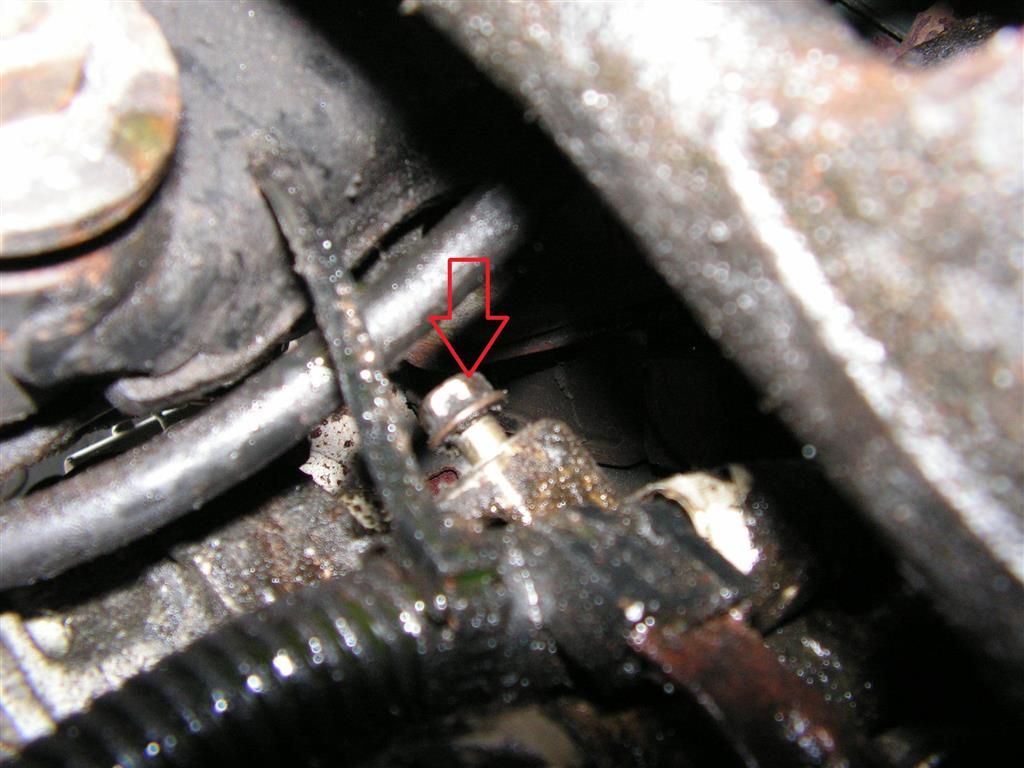
Finally the compressor itself is unbolted. There are four bolts holding the compressor onto a mounting bracket --- two on top and two on the bottom. With all the major pieces out of the way (radiator, air box, PS pump, condenser, fan and shroud) this is a snap. Access to the rear bottom bolt is from underneath, while the remaining three bolts are easily removed from the top.
The lower rear bolt -- not a big deal when using this procedure to access the unit.
The rest of the bolts can be taken from the top
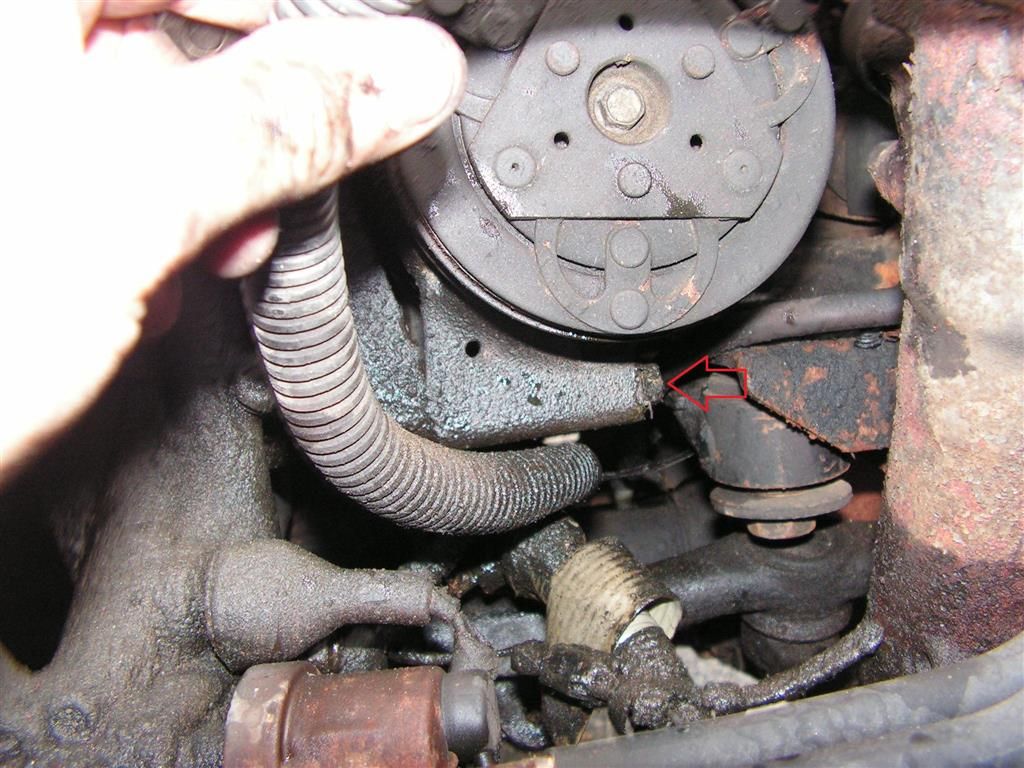
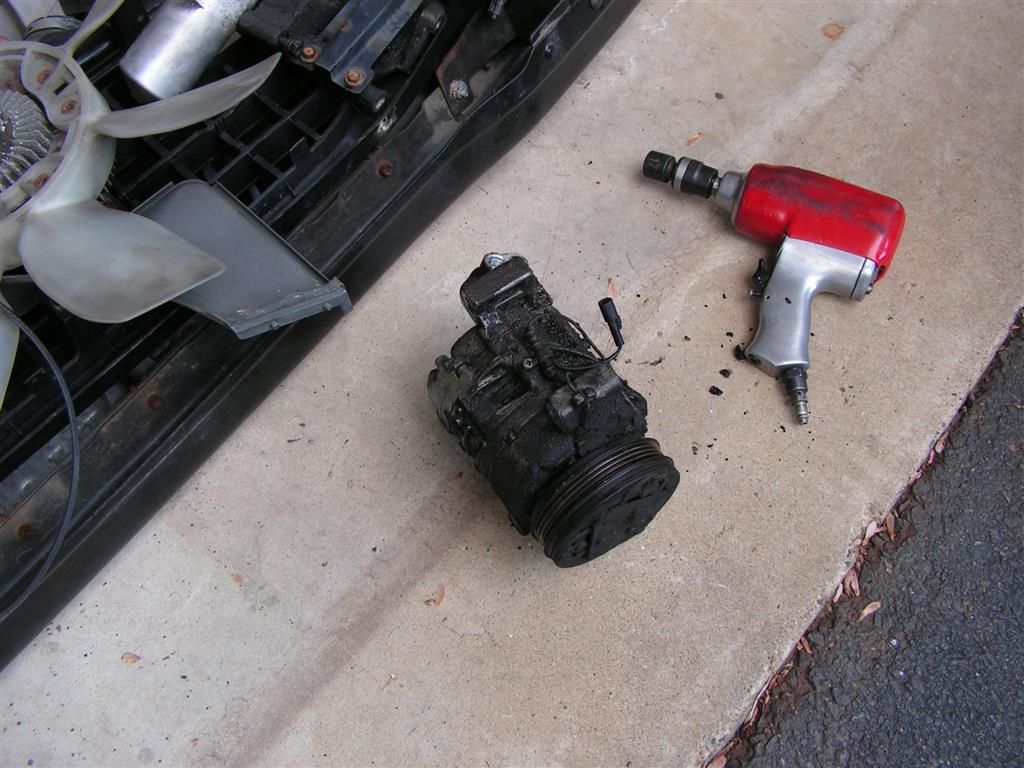
The compressor is now free -- covered in 20 years worth of old grease and grime -- yuck!!
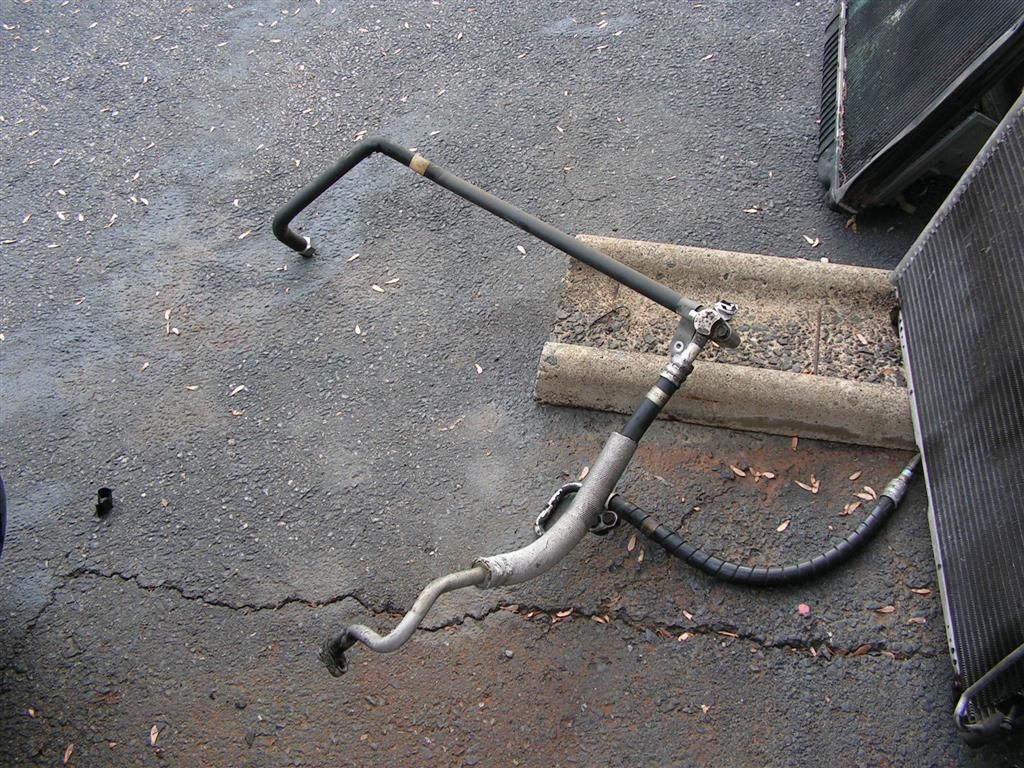
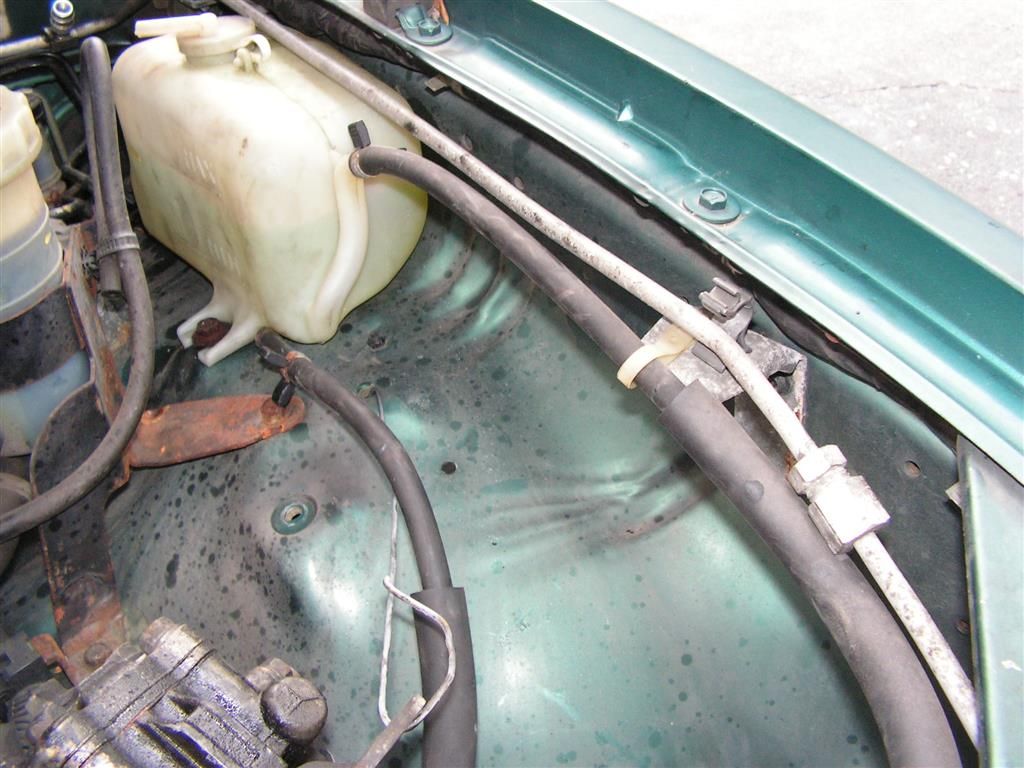
Lastly I removed the remaining pressure lines so that they can be cleaned and flushed.

All the pieces are out and ready for replacement or cleaning --
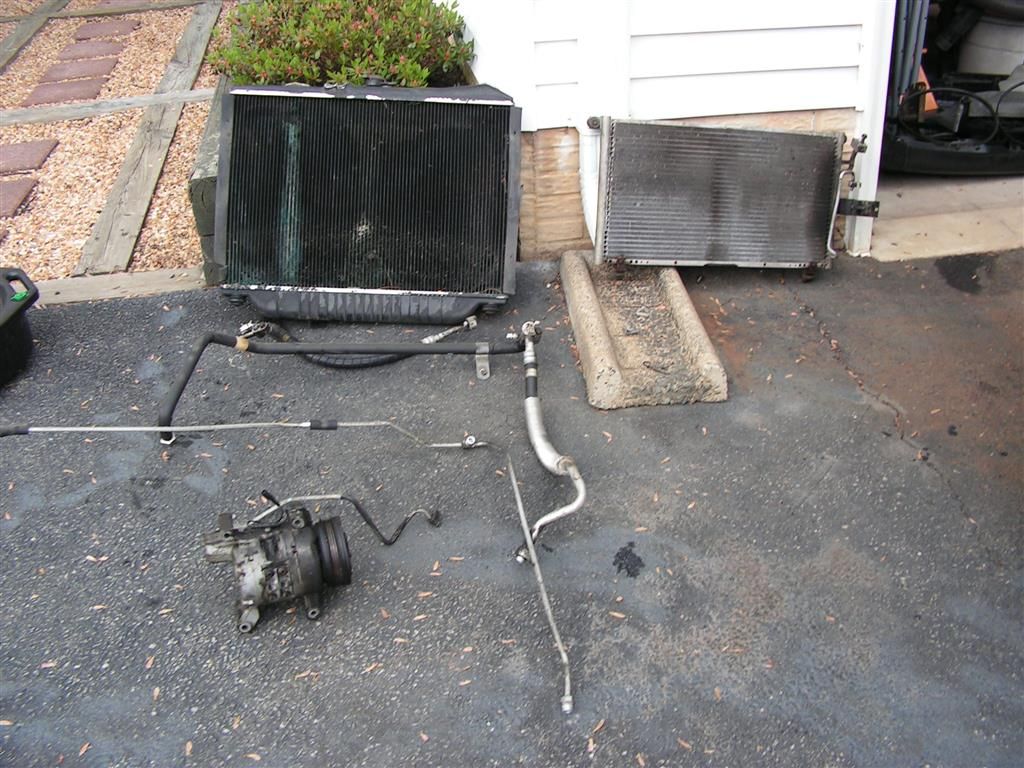
Total time doing this job with this method --- less than two hours. Now I just need to wait for the new parts to arrive, and to inspect, clean and flush the rest of the system.


